Is The Creality Sonic Pad Worth It?
Note: Creality Experts receives a commission for items you purchase from this page, at no additional cost to you. For more information, please see our affiliate link policy.
The Creality Sonic Pad [Amazon] is a 3D printer controller upgrade that promises to improve the print speed and print quality of almost any Creality 3D printer, along with enabling convenience features such as WiFi printing and remote monitoring. It’s compatible with almost every Creality 3D printer, from the original CR-10 to more modern machines such as the Ender 3 V2 Neo and Ender 3 V3 SE. In this review, we’ll cover our experience using the Sonic Pad to help you determine whether it’s an upgrade you should add to your Creality 3D printer.
What Is The Sonic Pad?
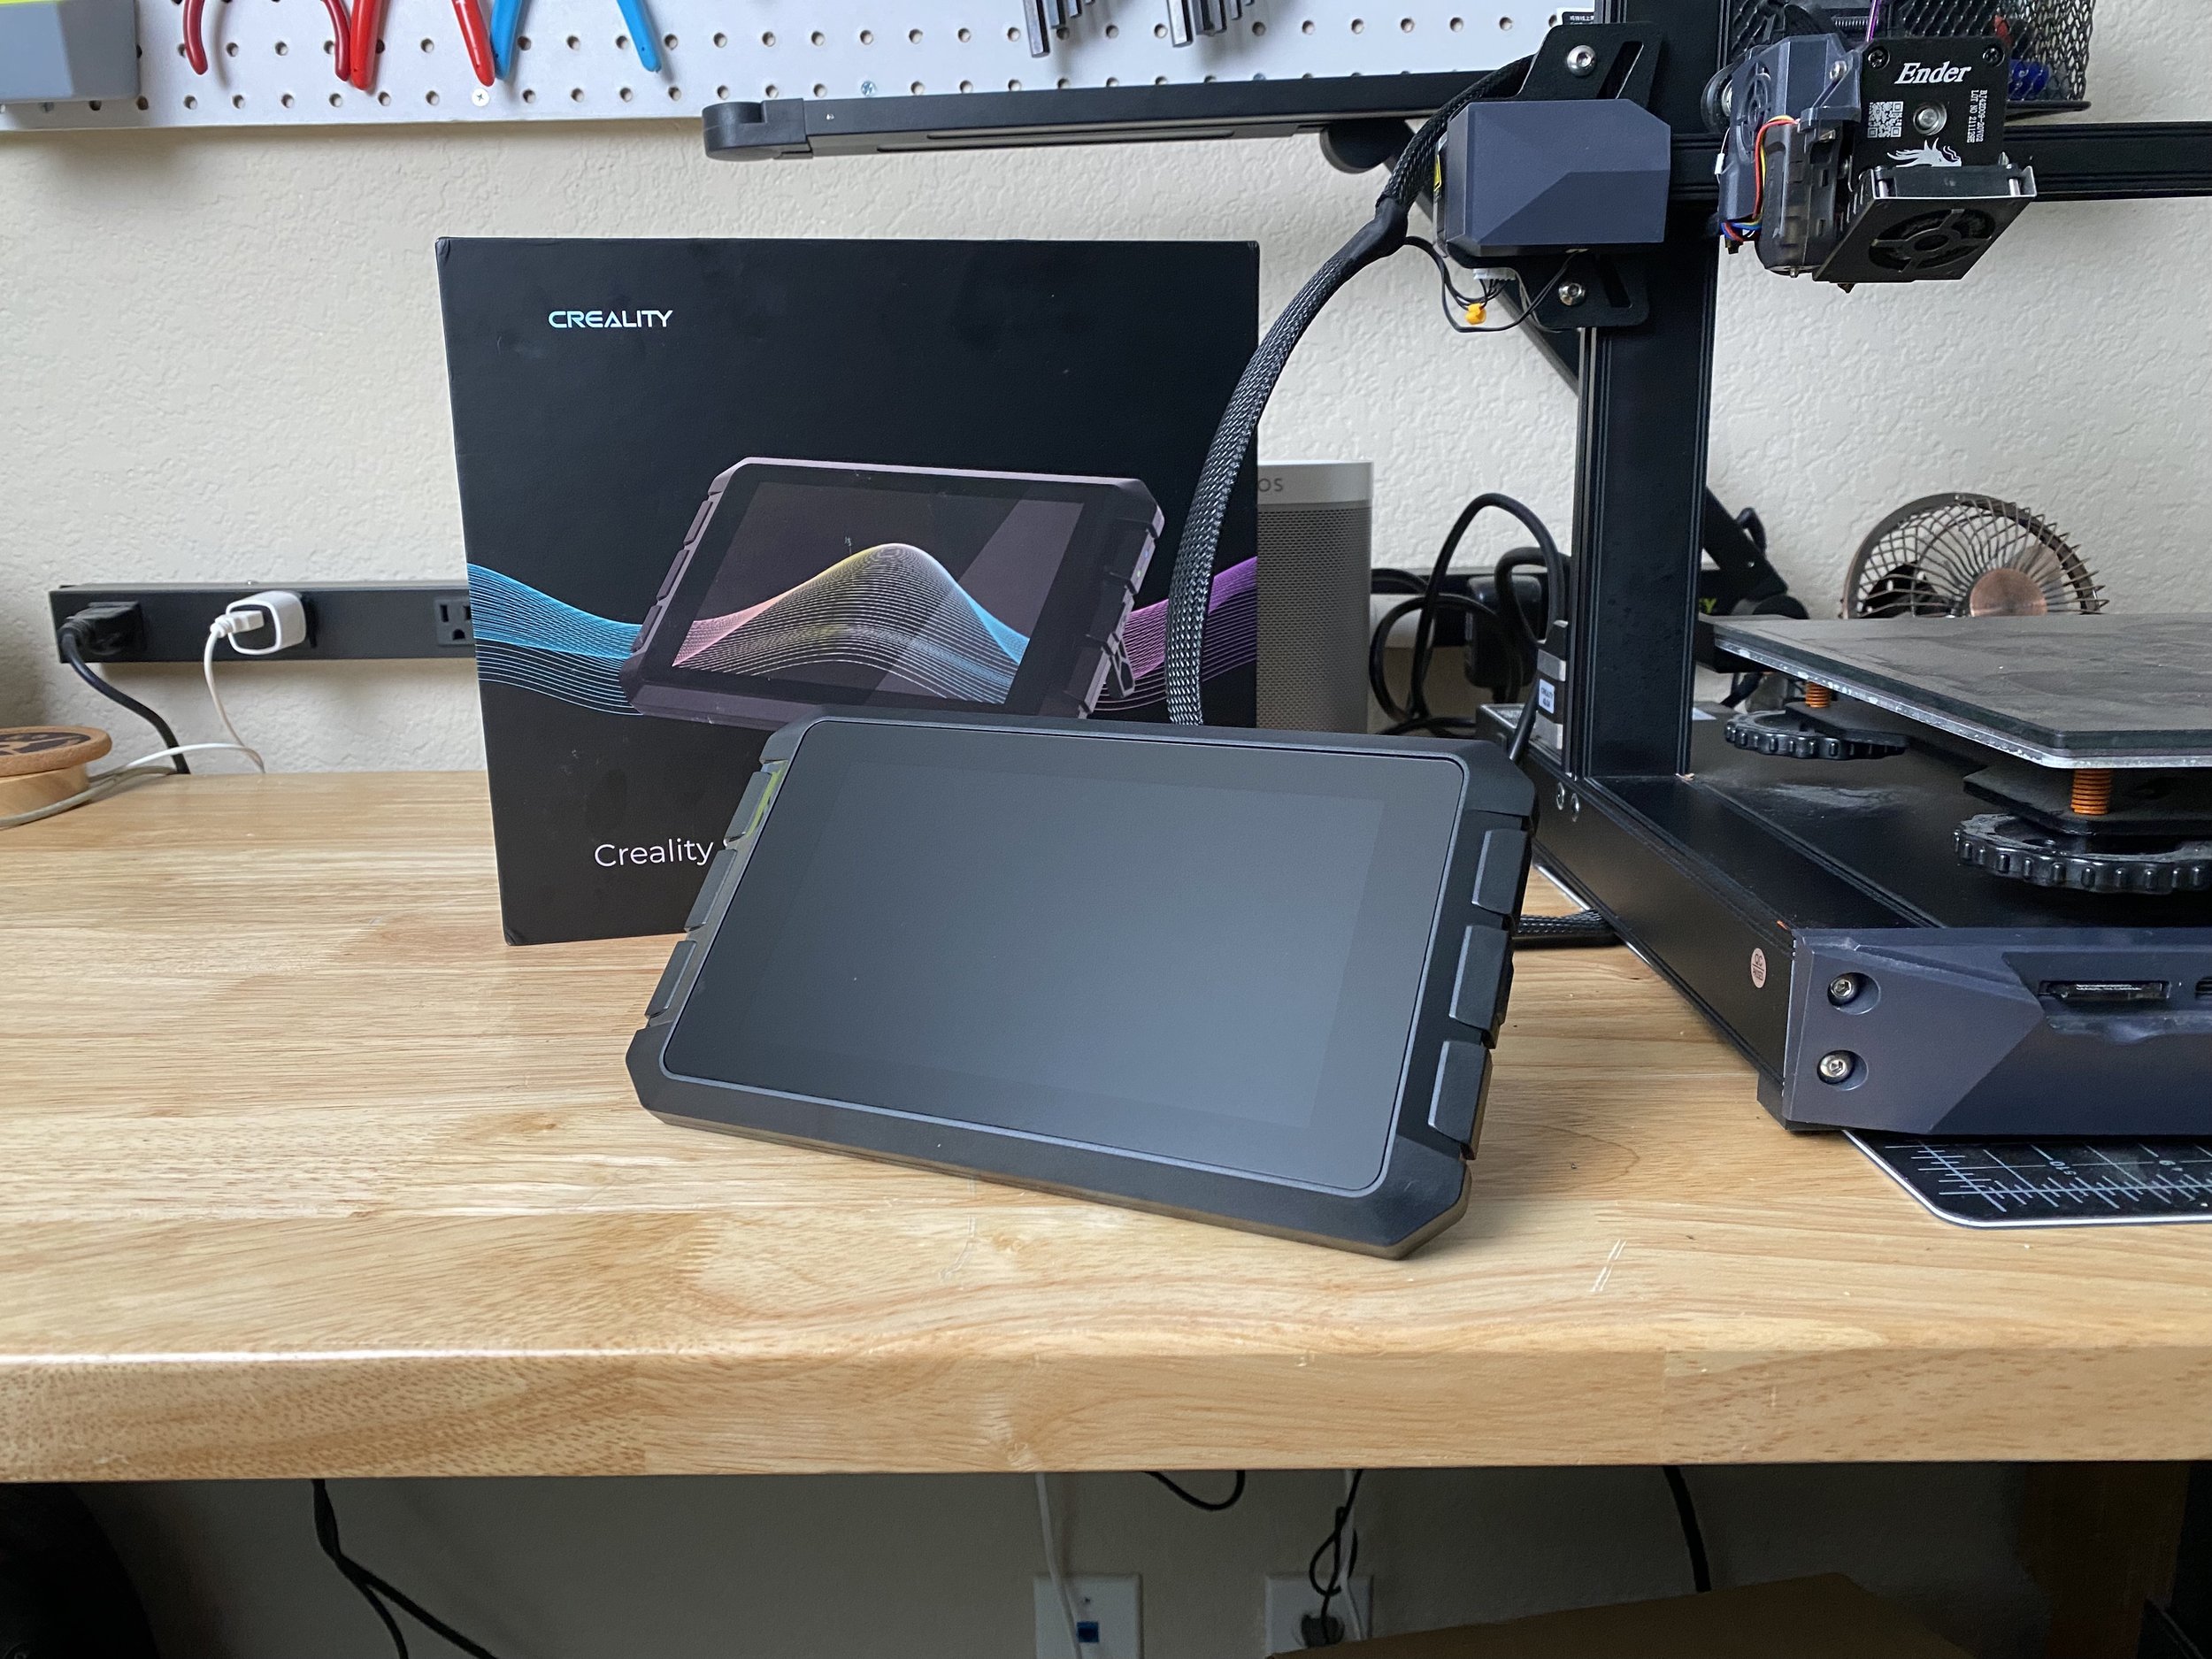
In addition to its built-in touchscreen, the Sonic Pad enables you to control your printer remotely over a WiFi network.
The Creality Sonic Pad is essentially a small computer with a touchscreen display that attaches to your 3D printer with USB. It allows you to control all aspects of the printer, including all of the configuration and control settings that are offered on the built-in controller on the printer, in addition to starting and monitoring print jobs. In comparison to the built-in controller, the Sonic Pad’s user interface is more attractive and has many more features and settings.
The Sonic Pad also has WiFi and Ethernet connectivity, so you can connect it to your local network. This allows you to load GCode files from a computer or phone, as well as start and stop prints remotely. You can even attach a webcam to one of the USB ports on the Sonic Pad to see a live camera view of your printer in the web interface.
The other benefit to the Sonic Pad is that it enables higher print speeds. It uses a variant of the open-source Klipper 3D printer firmware, which has a number of advanced features intended to improve print quality in general, and especially at higher speeds. The firmware is able to do this by running on a controller with more processing power than what is available on the built-in controller on most 3D printers. Many users in the 3D printing community are using a device such as a Raspberry Pi to run Klipper with their machines, but the Sonic Pad replaces the need for a custom Raspberry Pi setup. It gives you all of the Klipper functionality in a self-contained unit with a large touchscreen controller.
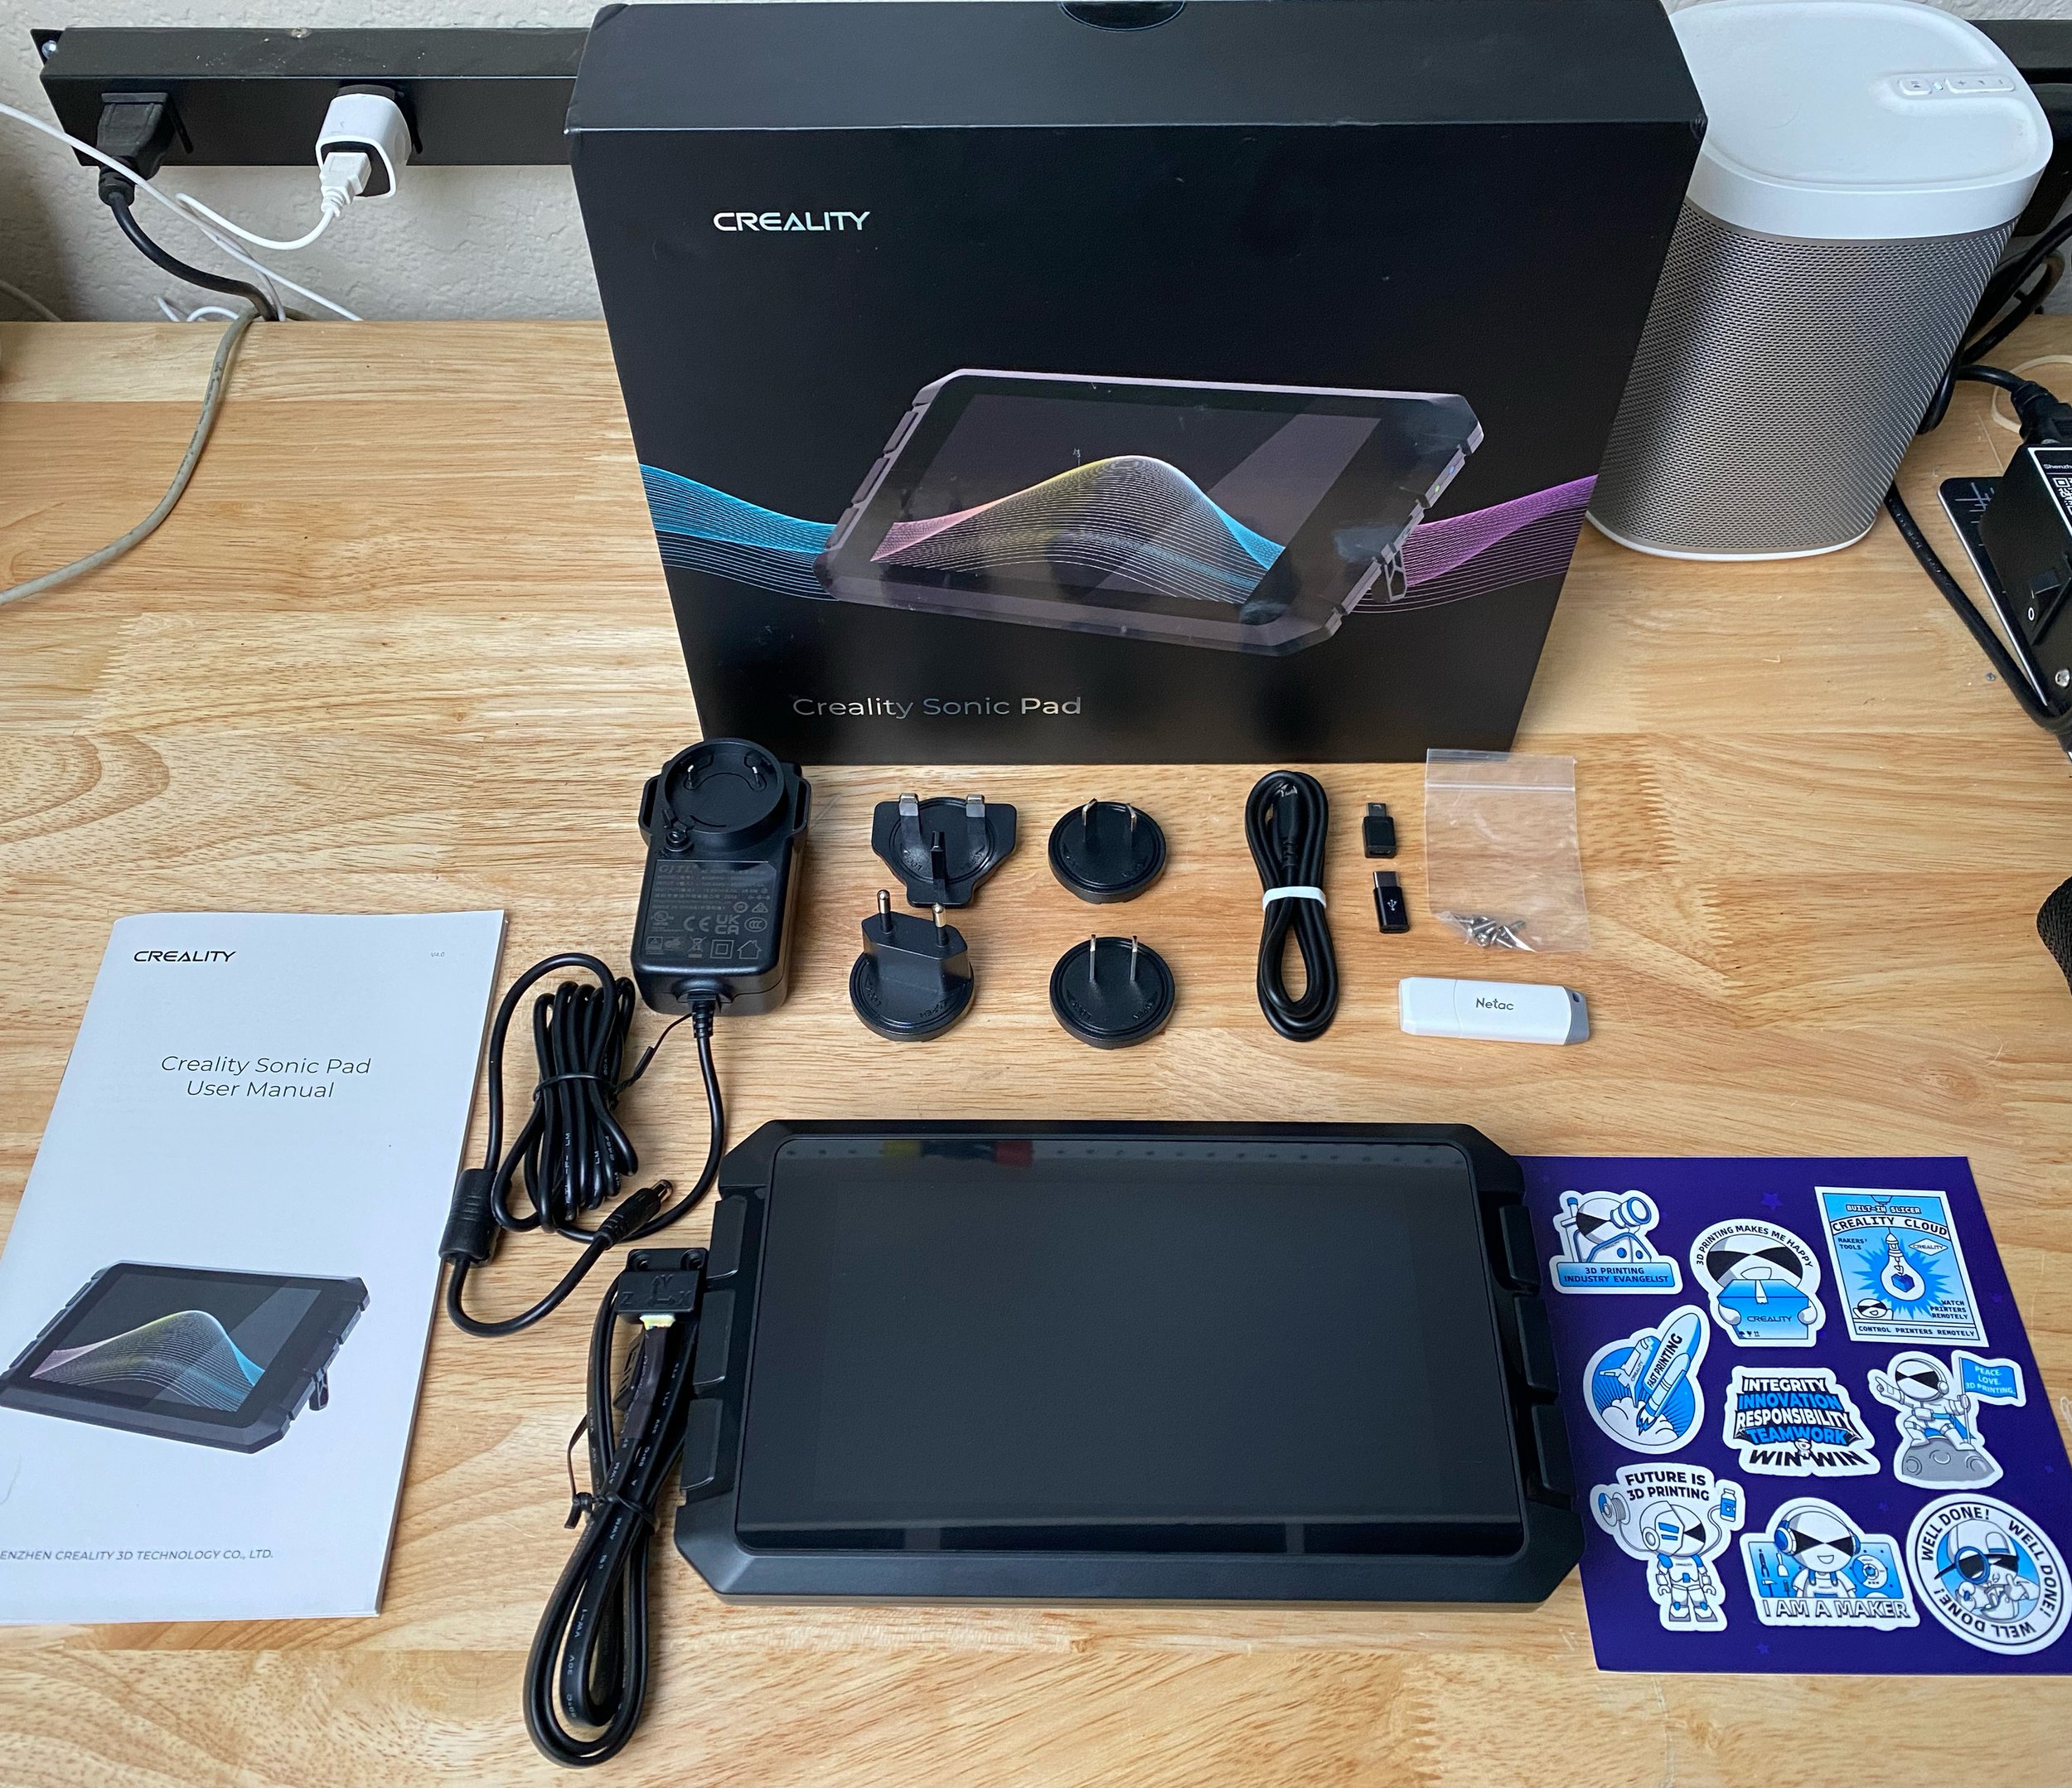
Our Experience with the Creality Sonic Pad
We purchased a Sonic Pad and set it up with a Creality Ender 3 S1 to test. After using it regularly for a few months, we’ve come away with a mostly positive impression, and we’re enjoying the modern features it adds to older printers such as the Ender 3 S1 that don’t have WiFi and Klipper built-in. In the sections below, we’ll cover the aspects we like and dislike about the Sonic Pad.
We won’t be covering the details of how to set up and use the Creality Sonic Pad in this article, but we have a complete Sonic Pad setup guide if you’re looking for a step-by-step guide on that process.
Things We Liked
Large, easy-to-use touchscreen interface
WiFi printing and monitoring
Faster print speeds
Multi-printer support
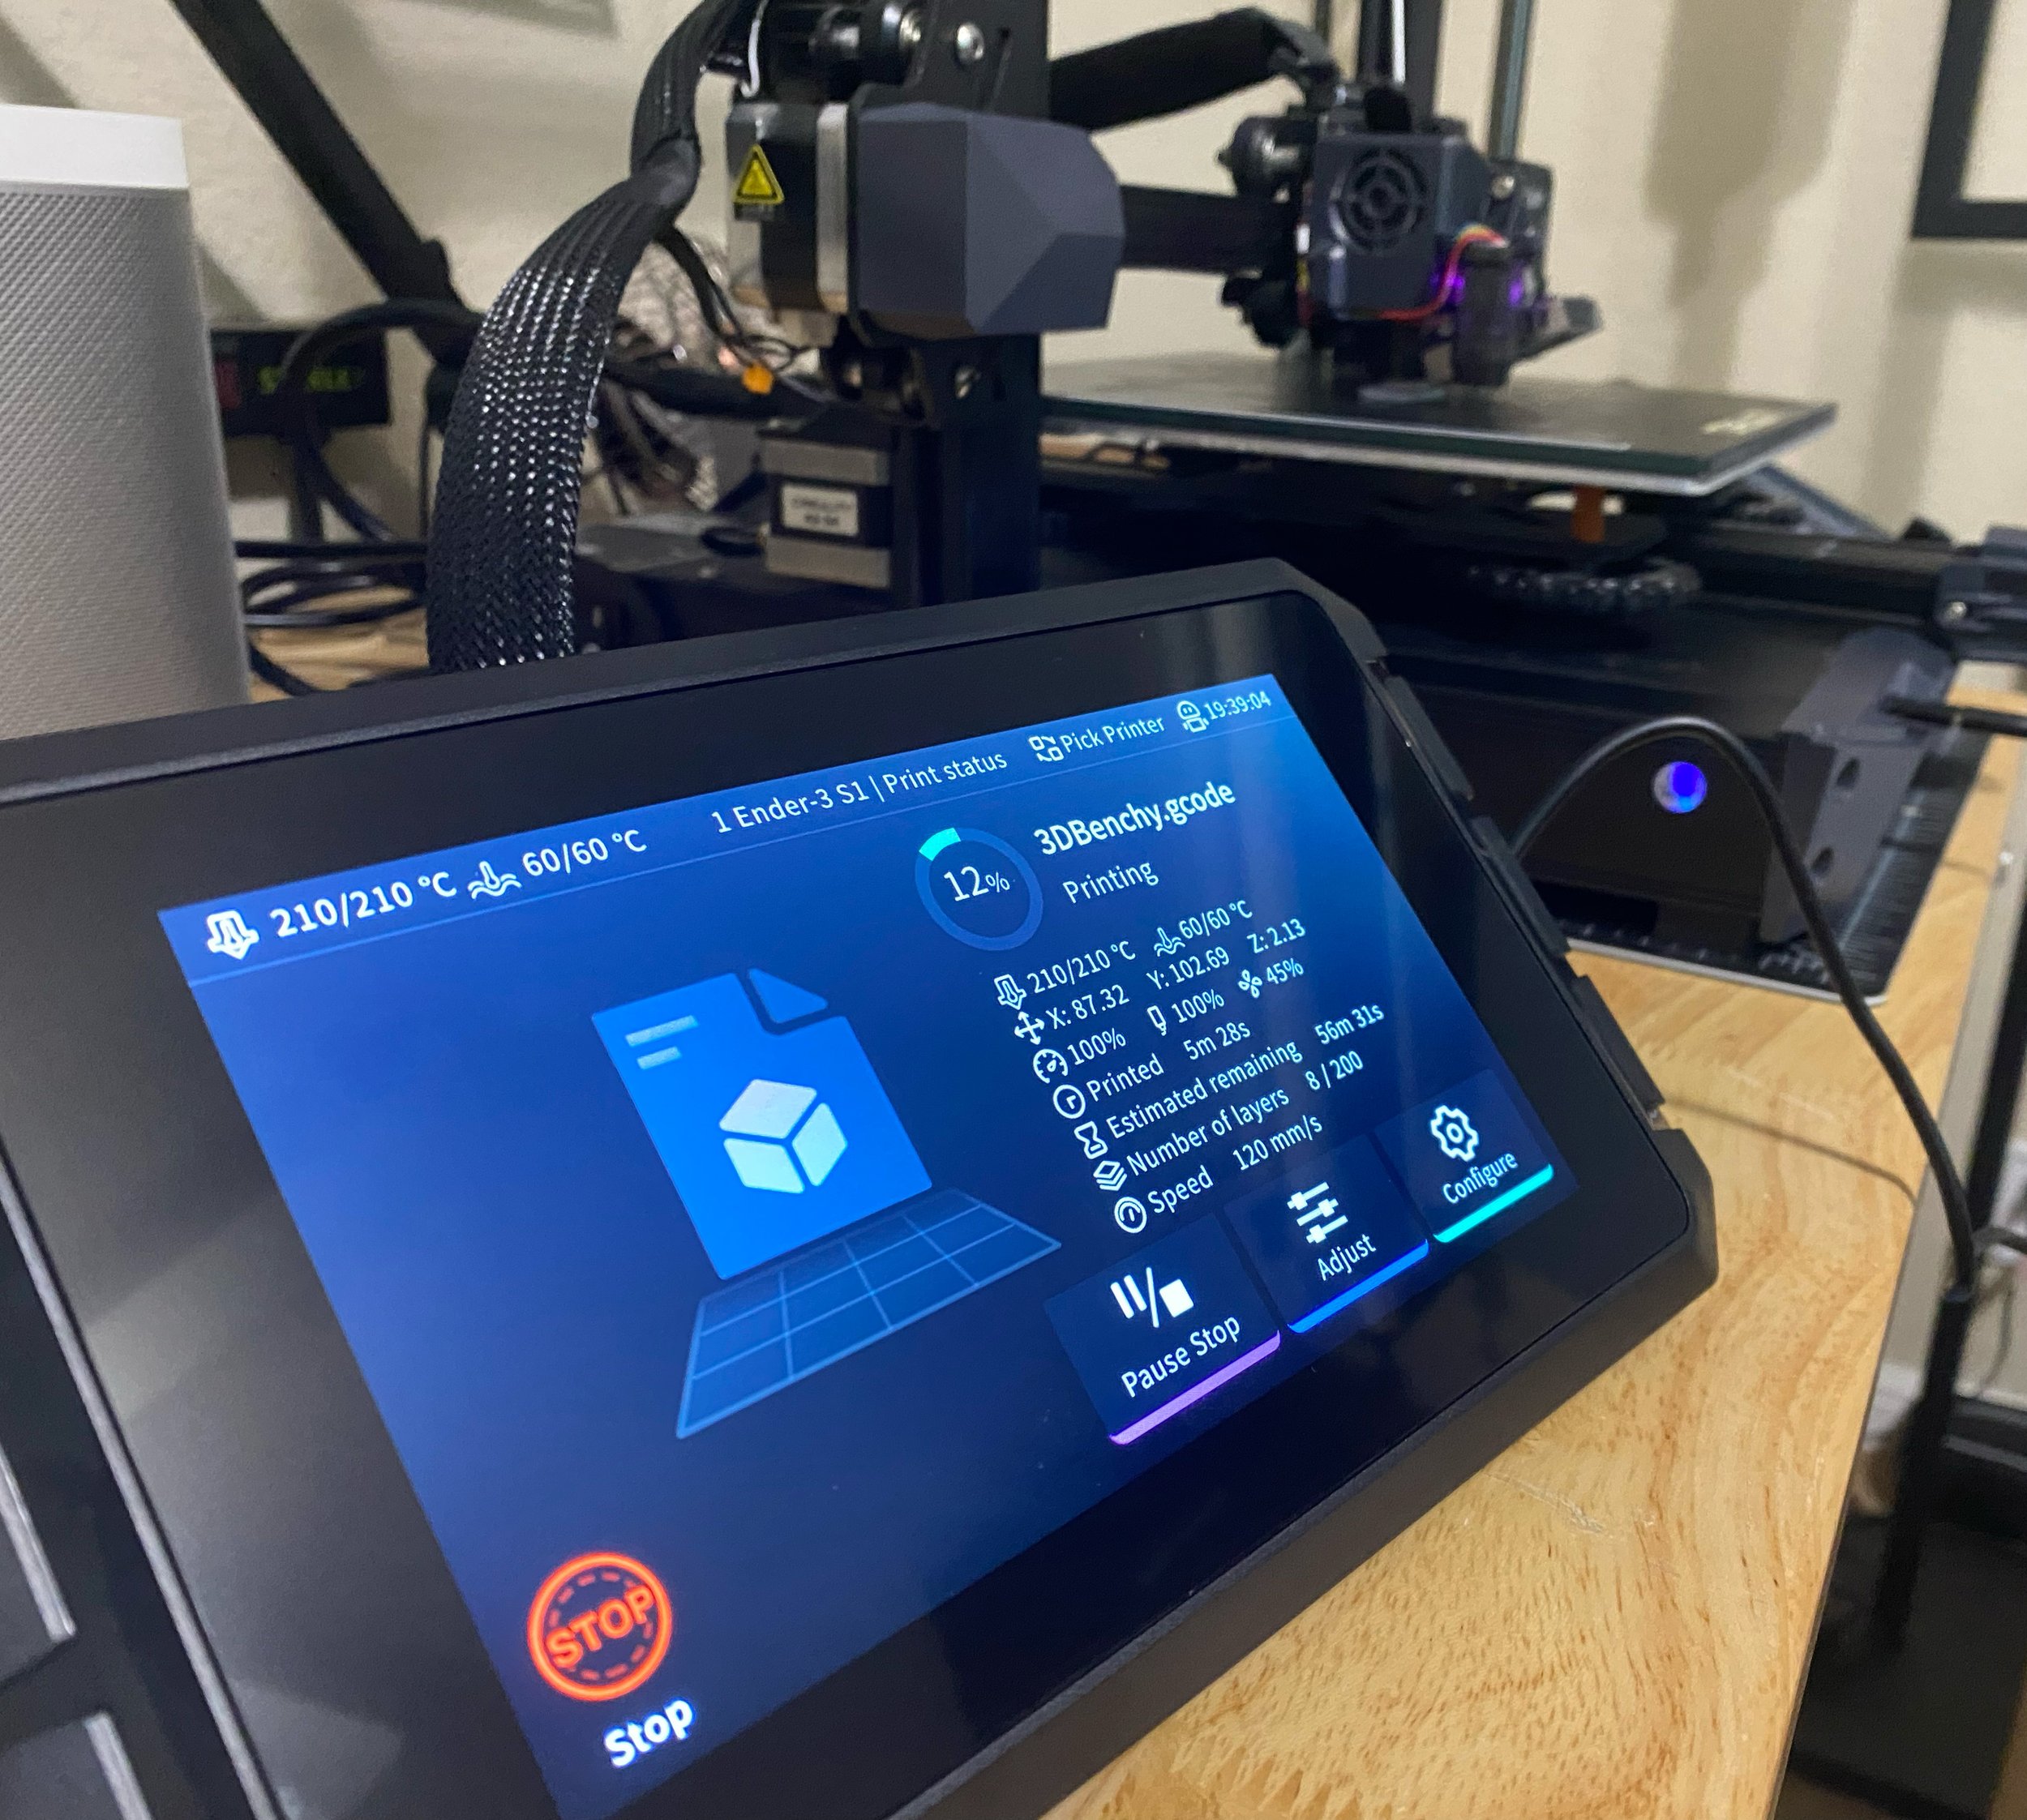
The Sonic Pad’s touchscreen is much larger and easier to use than the screen built into most Creality 3D printers.
One of the biggest advantages of the Sonic Pad is its large touchscreen. This display is much larger and easier to use than the screen built into most Creality 3D printers, which makes the UI easy to read and simple to navigate. We also liked that the UI has many of the same settings in the menus as the normal Creality controllers, which makes it easy to navigate through the UI if you’ve used a Creality printer in the past. While the simplistic controllers built into Creality printers are sufficient for regular use, there’s no denying that having a larger touchscreen display makes the printer easier to use.
However, we think our favorite feature of the Sonic Pad is its remote printing and monitoring capabilities. It has WiFi and Ethernet connectivity built-in, allowing you to control the printer from a computer or phone on your network (or even outside your network, if you configure your router appropriately). This lets you load GCode files onto the Sonic Pad, as well as control all aspects of the printer and monitor ongoing prints.
Connecting to the web interface was easy—once the Sonic Pad is connected to your local network, you can view its IP address from the Configure menu and simply enter that IP address in a browser to access the web interface. The interface is impressively full-featured and allows you to view the printer status and configure every printer setting. If you want, you can exclusively use the web interface and never interact with the Sonic Pad’s touchscreen directly.

The web interface is full-featured and gives you access to all of the functionality of the Sonic Pad.
We definitely found that we appreciate being able to monitor our 3D printers remotely. It’s convenient to be able to check the remaining time for an ongoing print, or preheat the printer from the other side of the house. To make for a full remote monitoring solution, you can attach a USB webcam to the Sonic Pad to see a live camera view in the web interface. We like having this level of monitoring so we don’t have to babysit the printer during a print.
But as nice as remote monitoring is, our favorite feature of the web UI is being able to load GCode files remotely. You can drag-and-drop a file from your computer into the web interface to upload it to the Sonic Pad. This removes one of the major annoyances of 3D printers, which is that you either need to have the printer located next to your computer, or carry a tiny microSD card back and forth between your computer and the printer to load new files. Being able to load a file and start a print over WiFi makes everything feel more modern and easy-to-use.
Of course, the Sonic Pad isn’t the only way you can control your 3D printer over WiFi. We’ve previously used OctoPrint, another popular remote 3D print server. In comparison to OctoPrint, we found the Sonic Pad’s web interface to be more full-featured and generally more modern. We’ve been using the remote printing feature frequently, and the Sonic Pad feels worth it for this feature alone.
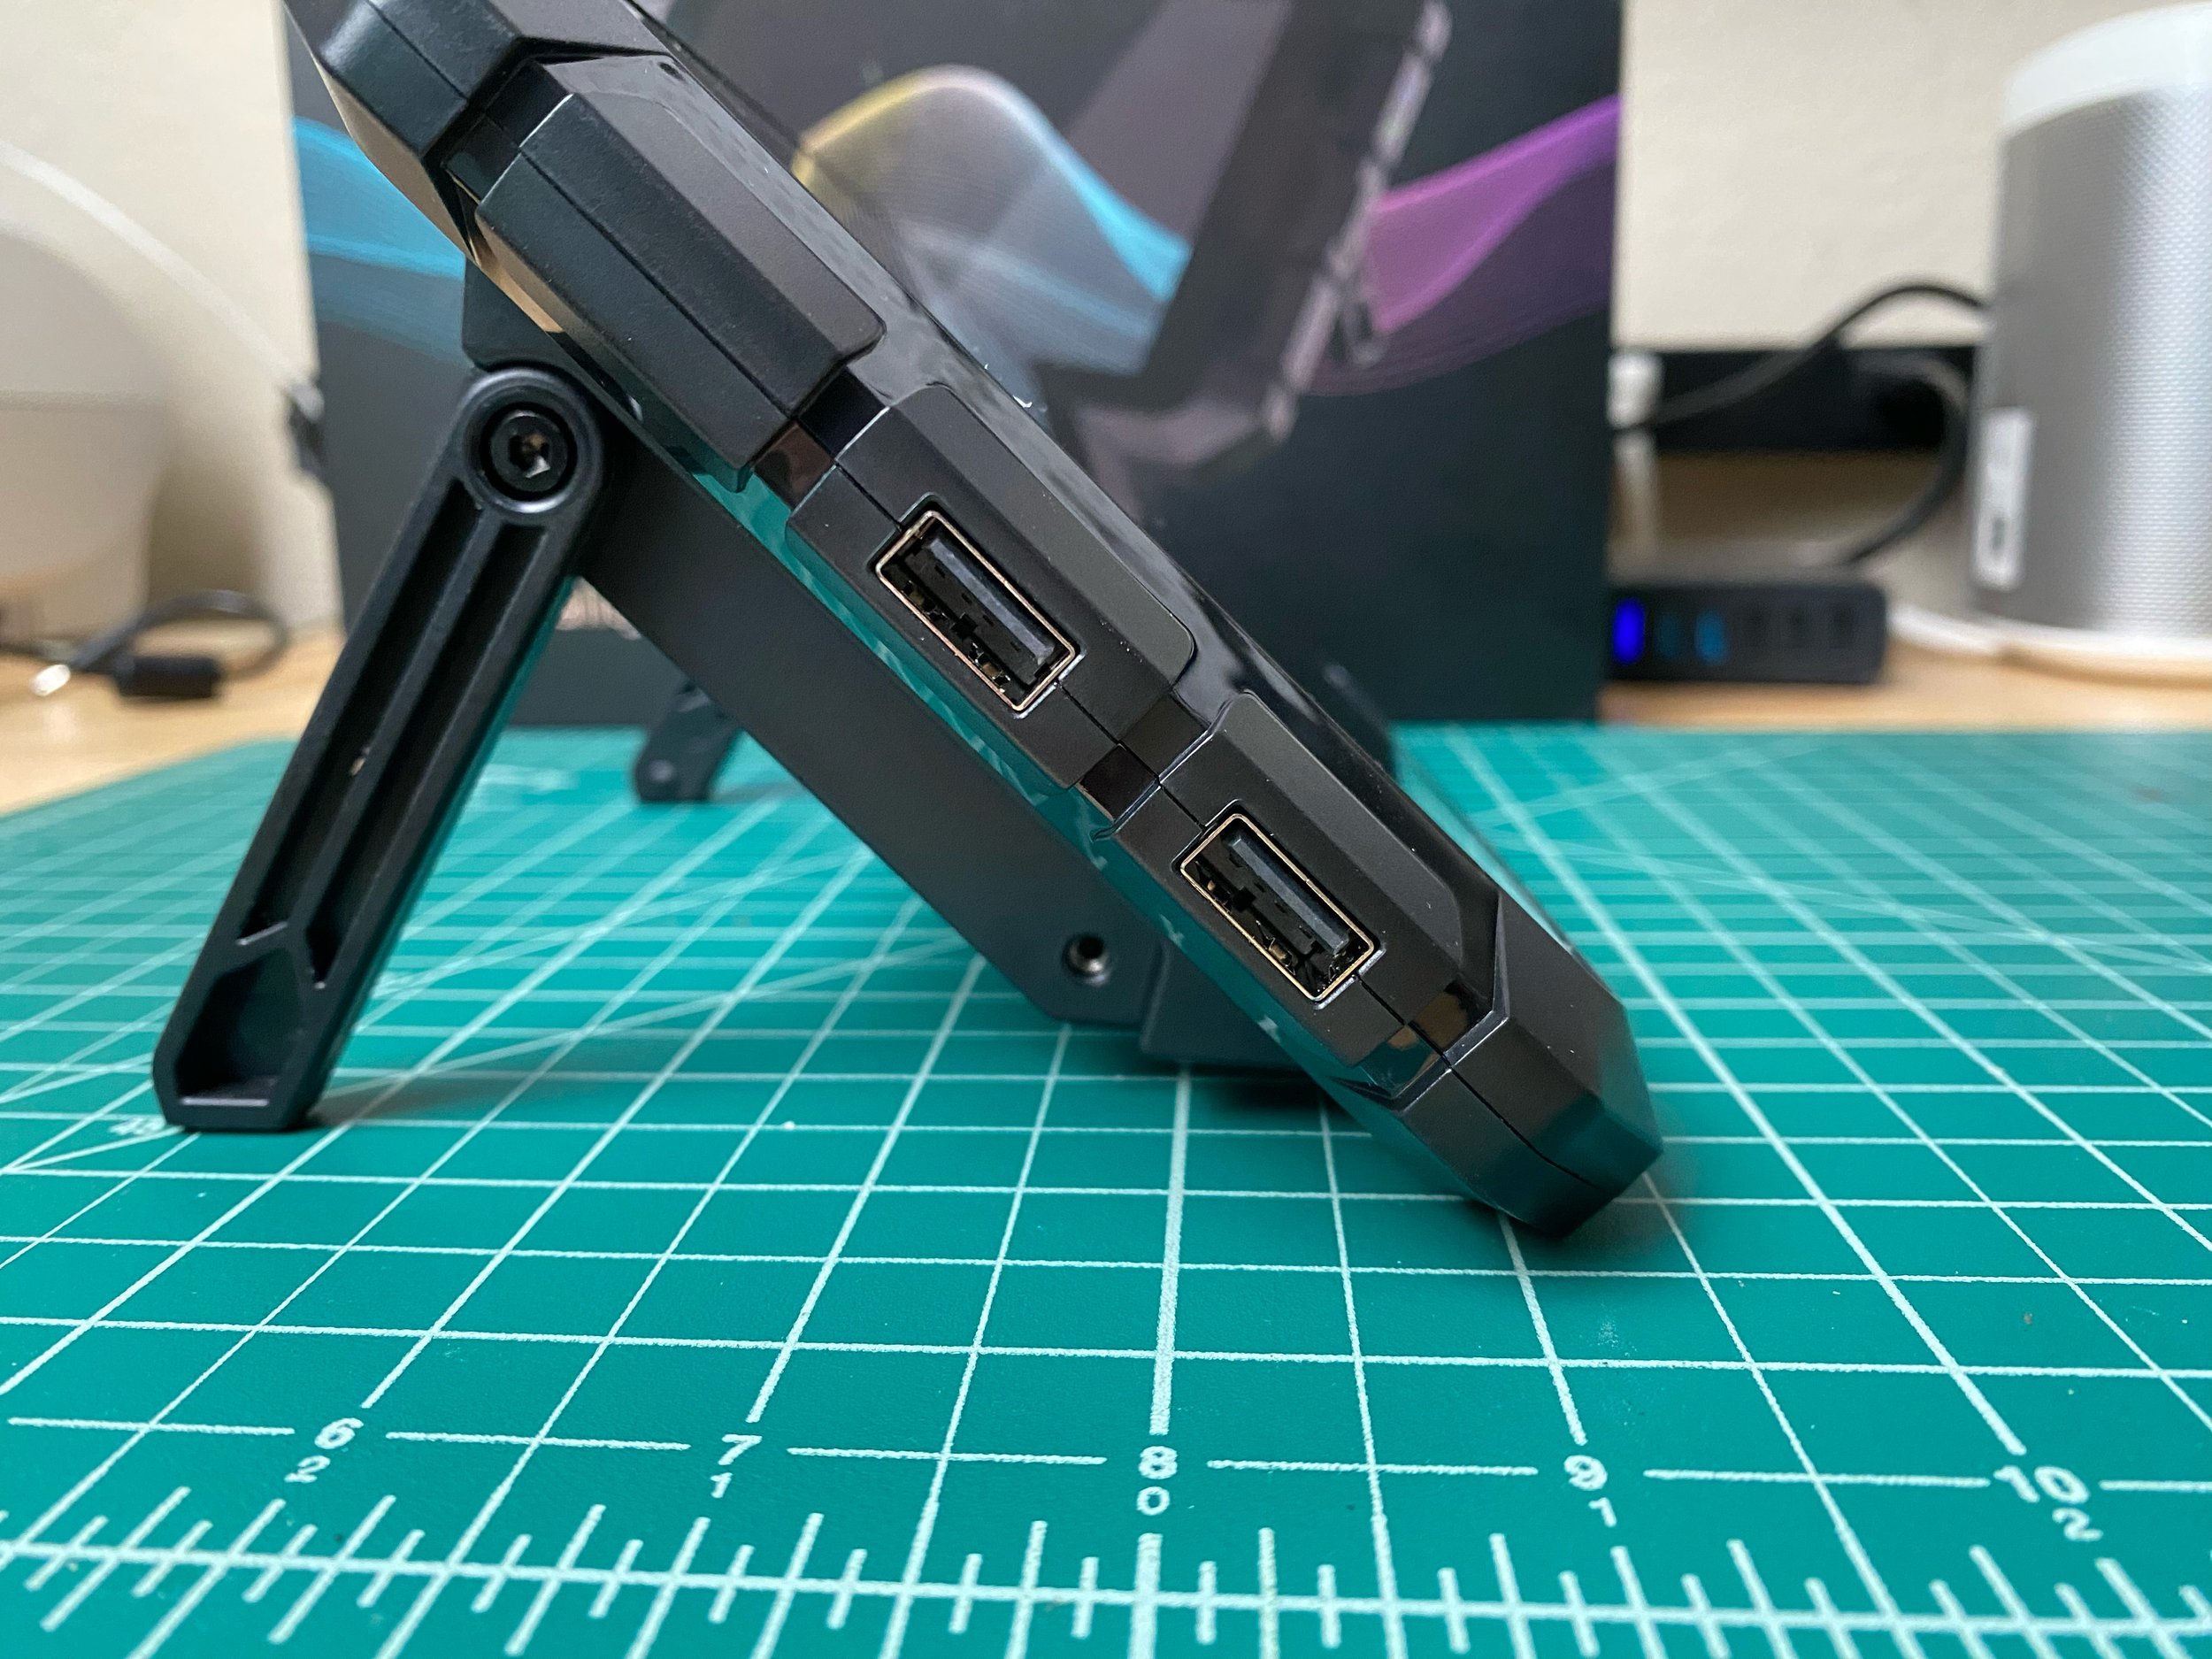
With a total of four USB ports (two on the side, and two in the back), the Sonic Pad can control up to four 3D printers at once.
We’ve done some limited testing with faster print speeds, and while we still need to do extensive testing to determine the best settings, we’re seeing promising results. Because the Sonic Pad is using its more powerful processor and the Klipper firmware to calculate printer movements rather than relying on the built-in controller, it’s able to attain higher print speeds than what you could normally achieve.
These results will vary depending on your printer model, but we’ve seen successful prints at 150 mm/s on our Ender 3 S1, and think we may be able to increase the speed further after more calibration. You will need to adjust some settings to get the full benefits of the Klipper firmware, which we discuss in more detail later in this article.
Finally, the Sonic Pad can also control up to four printers at once, which makes it a particularly good value if you have multiple 3D printers. Both the built-in touchscreen and web interface allow you to switch between any of the connected printers, and you can run prints on multiple printers at once. Since we run a large number of printers for our 3D printing business, we appreciate that we can gain the advantages of the Sonic Pad without having to buy a dedicated unit for each of our printers.
Things We Didn’t Like
Printer firmware installation was confusing
Can’t use printer controller directly once Sonic Pad firmware is loaded
Additional calibration required for advanced firmware features
Although the setup process wasn’t too challenging, the printer firmware installation process was somewhat involved. The Sonic Pad requires special firmware on the printer to allow it to control the printer more directly for higher performance. During the setup process, you can pick your printer model from a list and download the firmware directly onto the Sonic Pad. However, most Creality printer models will require you to load the printer firmware onto an SD card to flash onto the printer. The Sonic Pad doesn’t have a card reader built in, so you’ll need to attach a USB SD card reader to the Sonic Pad to load the firmware onto a card.
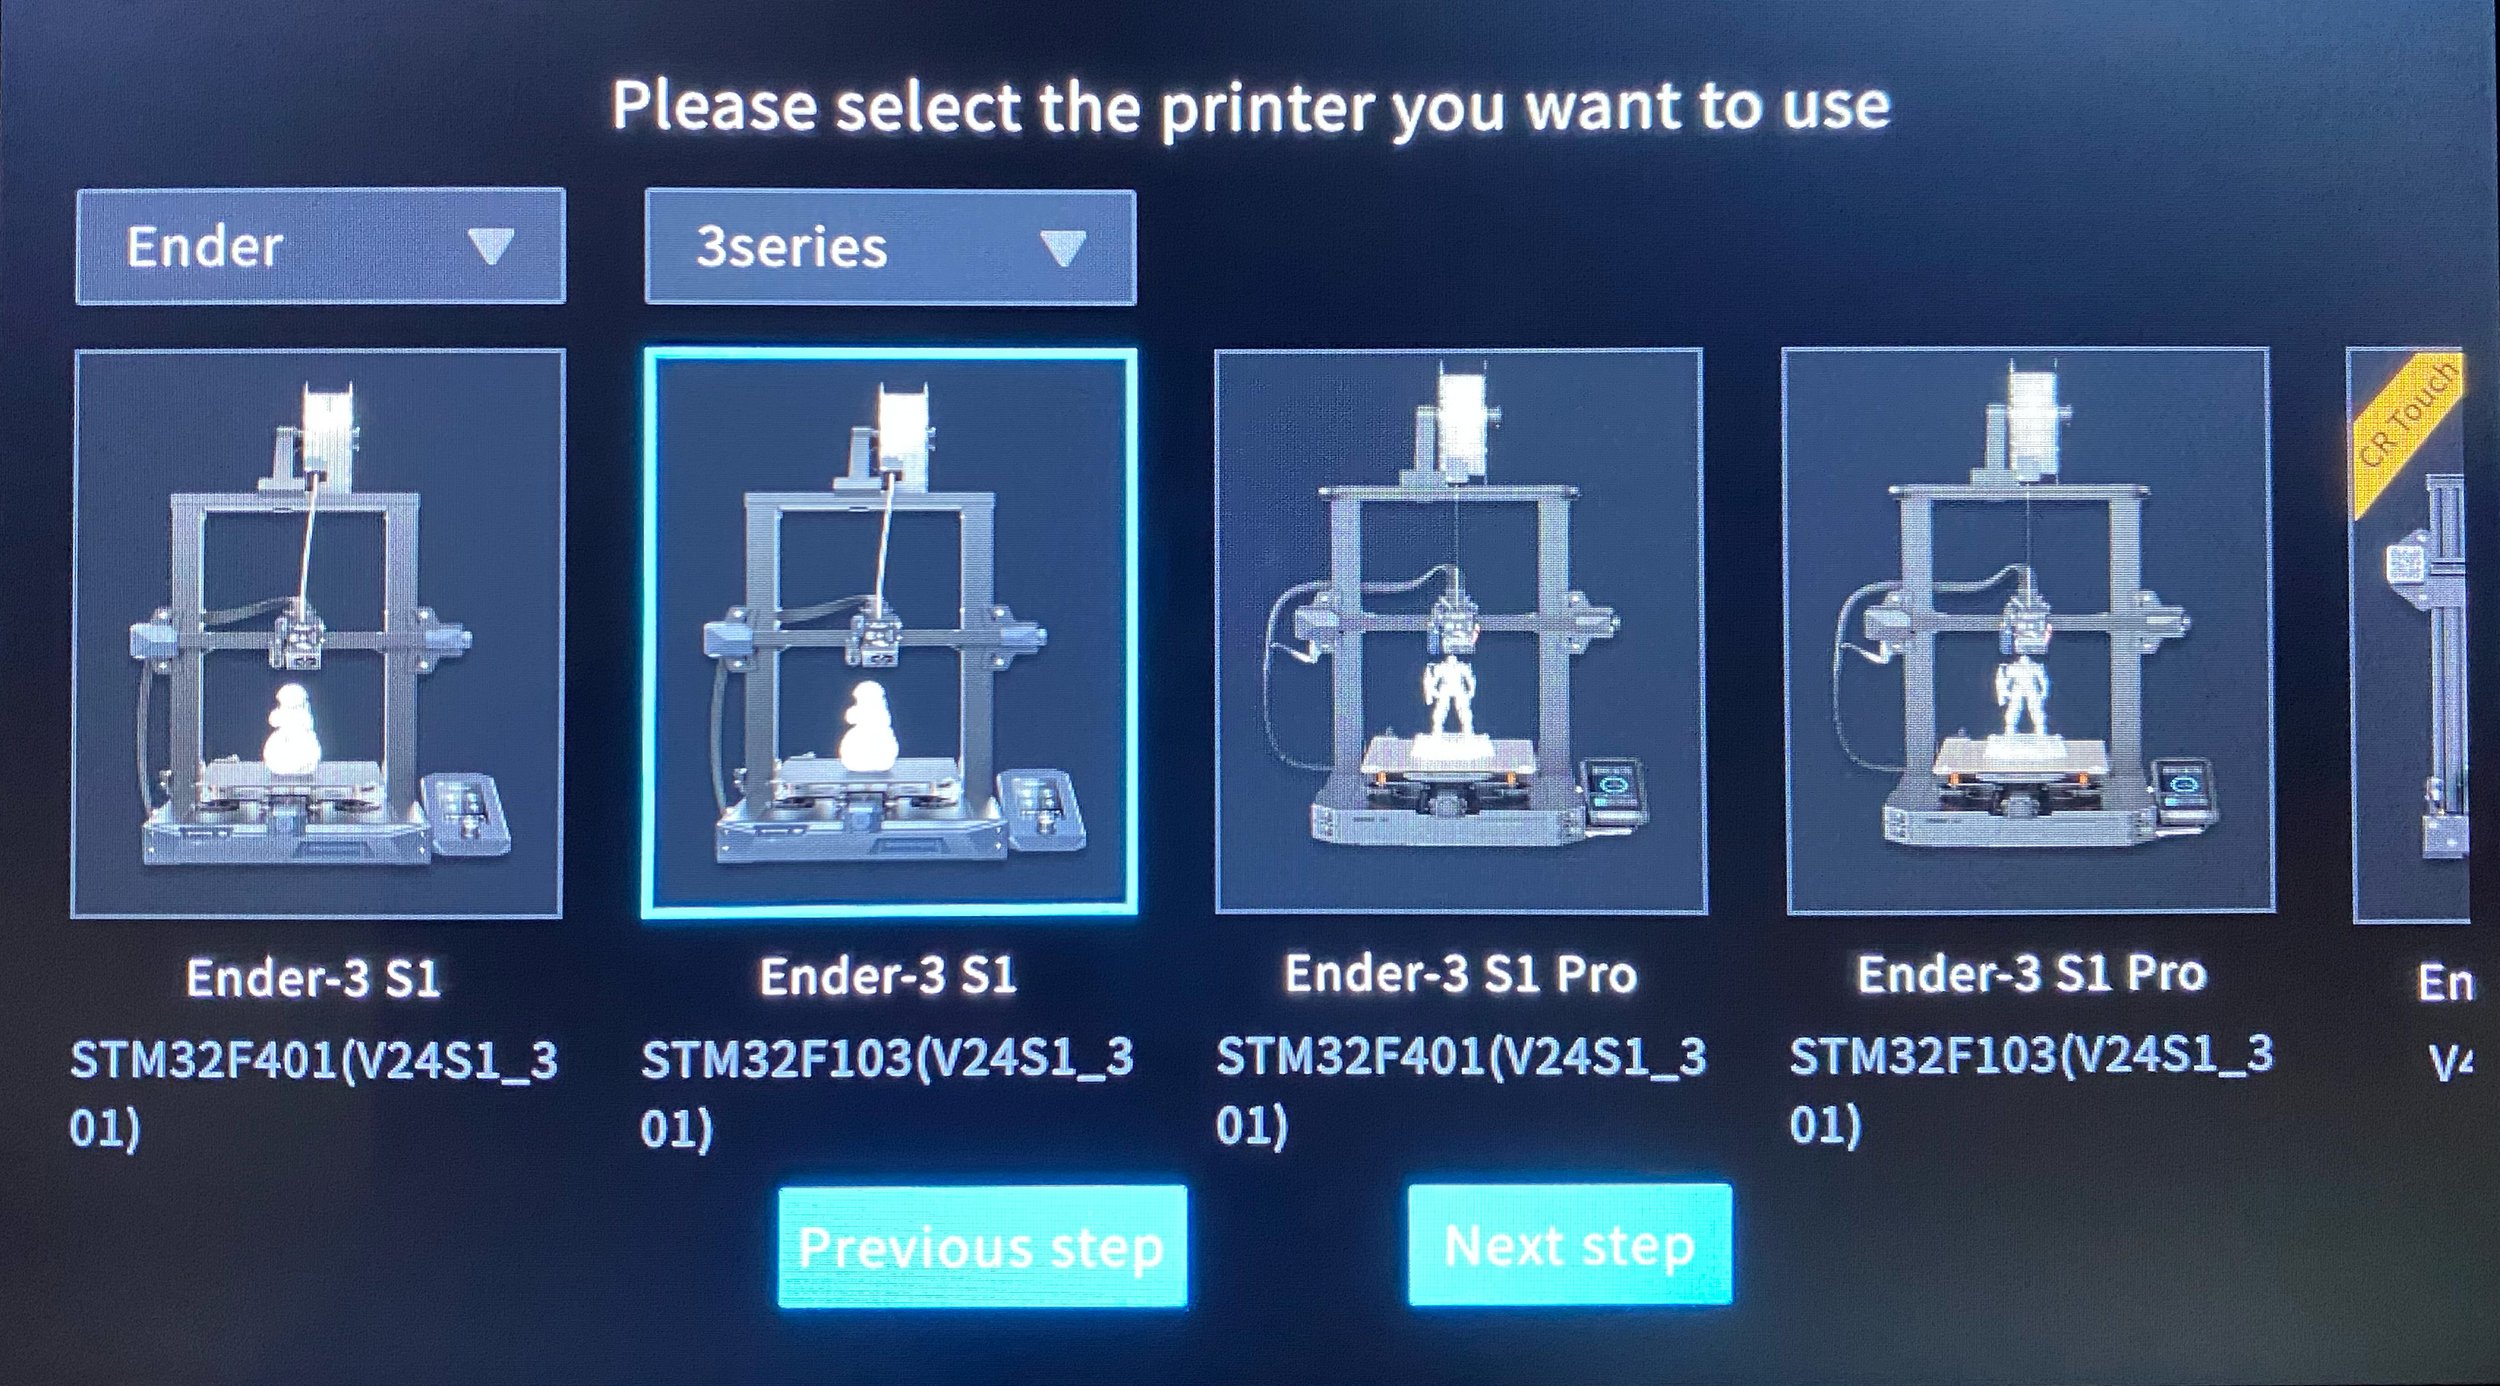
The setup wizard makes it easy to download printer firmware, but in some cases, knowing which exact firmware to choose can be a challenge. The Sonic Pad also doesn’t include a card reader, so you’ll need a USB card reader to load the printer firmware onto an SD card for flashing.
We wish it was possible to load the firmware directly from the Sonic Pad, or at least would have liked to see a card reader built into the unit. In addition, this firmware doesn’t seem to be publicly available online—you have to download it using the Sonic Pad. We would have preferred the ability to download the firmware with a computer.

Once you’ve installed the Sonic Pad firmware on the printer, you’ll need to keep the Sonic Pad connected via USB. The printer’s built-in controller will not function unless you re-flash the printer with its original firmware.
The other challenge is that you have to select the exact 3D printer version to ensure you get the correct firmware for your machine. This is obvious in many cases, but for some printers you may need to examine the printer’s mainboard to check the CPU version—we had to do this on our Ender 3 S1, and it was an unexpected annoyance during the setup process.
One thing we didn’t expect is that once you’ve installed the special printer firmware for use with the Sonic Pad, you will no longer be able to use the built-in controller on the printer. The display only shows a Creality logo, and you must control the printer with the Sonic Pad, either remotely or using its touchscreen controller. While the Sonic Pad controller is more pleasant to use than the built-in controller, it’s unfortunate that you have to re-flash the original printer firmware if you want to use the printer without the Sonic Pad attached.
The only other thing to be aware of with the Sonic Pad is that some of the Klipper firmware features require additional configuration and calibration. While you do get many of the print quality and print speed advantages of Klipper by default, you’ll need to spend some time adjusting settings for maximum performance. For example, the firmware can compensate for vibration and frame resonance at high print speeds, but to enable that feature you’ll need to complete a calibration process with a vibration sensor (which, fortunately, is included with the Sonic Pad). The firmware also supports a feature known as pressure advance, which should improve print quality, but that feature does not come configured by default.
In other cases, you simply won’t get the fastest or best printing performance without spending some time adjusting slicer settings and printer configuration settings. We had to adjust speed and acceleration settings in our slicer to achieve improved print speed, which took some experimentation and research to determine which settings would result in faster prints that maintained high print quality.
It’s a stretch to say we don’t like this, but it does mean that you should expect to spend some time experimenting with the settings to get the best performance. The initial setup is plug-and-play, but the high-speed printing aspects are not.
Should You Buy The Creality Sonic Pad?
Overall, we think the Sonic Pad is a worthwhile upgrade for Creality 3D printers such as the Ender 3 V2 Neo, Ender 3 S1, and Ender 5. You could even use it on an older machine such as the original Ender 3 or CR-10. The Sonic Pad breathes new life into these machines and gives them advanced features such as remote monitoring and a large touchscreen controller, making the printer immediately feel more modern and easy to use.
The setup process is straightforward enough, although you’ll need to be comfortable with the idea of flashing new firmware to your printer. There are no hardware aspects to the setup process, which does simplify things. We’d like to see this setup process become simpler in the future, but we don’t think it should hold you back from getting a Sonic Pad (and we do have a setup guide to help with the setup when you’re ready for it).
The main thing to be aware of is that you’ll need to spend some time adjusting settings on the Sonic Pad and in your slicer to achieve the highest print speeds and best print quality. The Sonic Pad does make it possible to improve these aspects of your printer, but you won’t see the full potential improvement without putting the effort into testing different settings.
If nothing else, the Creality Sonic Pad is probably worth it for most users just for the remote file transfer and printing features. This is the part of the Sonic Pad’s feature set that we use most often, and it tangibly improves the daily experience of using a 3D printer. It’s also a good choice if you’ve been considering trying the Klipper firmware, since the Sonic Pad is approximately the same cost as purchasing a Raspberry Pi or similar controller.