Comparing the Creality Ender 3 S1 vs Ender 3 V3 SE
In 2021, The Creality Ender 3 S1 series introduced the Sprite direct drive extruder, which brought a new level of reliability and capability to Creality’s 3D printer lineup. However, the S1 series has always existed in a higher price tier than machines such as the Ender 3 V2 Neo, leaving users with a choice between saving money with a Bowden extruder machine, or spending more for the benefits of direct drive.
However, in 2023 Creality introducing the Ender 3 V3 SE, which features a Sprite direct-drive extruder at a notably lower price point than the S1 series. Is there a catch, or has Creality just changed the equation for cost vs. performance?
In this article, we’ll compare the Creality Ender 3 S1 to the Ender 3 V3 SE to give you a clear view of what you can expect from these printers, and help you choose between them.
Note: Creality Experts receives a commission for items you purchase from this page, at no additional cost to you. For more information, please see our affiliate link policy.
Vs.
Shared Features
We’ll first take a look at the features that both the Ender 3 S1 and Ender 3 V3 SE printers include before looking at the differences between them.
Material Capabilities
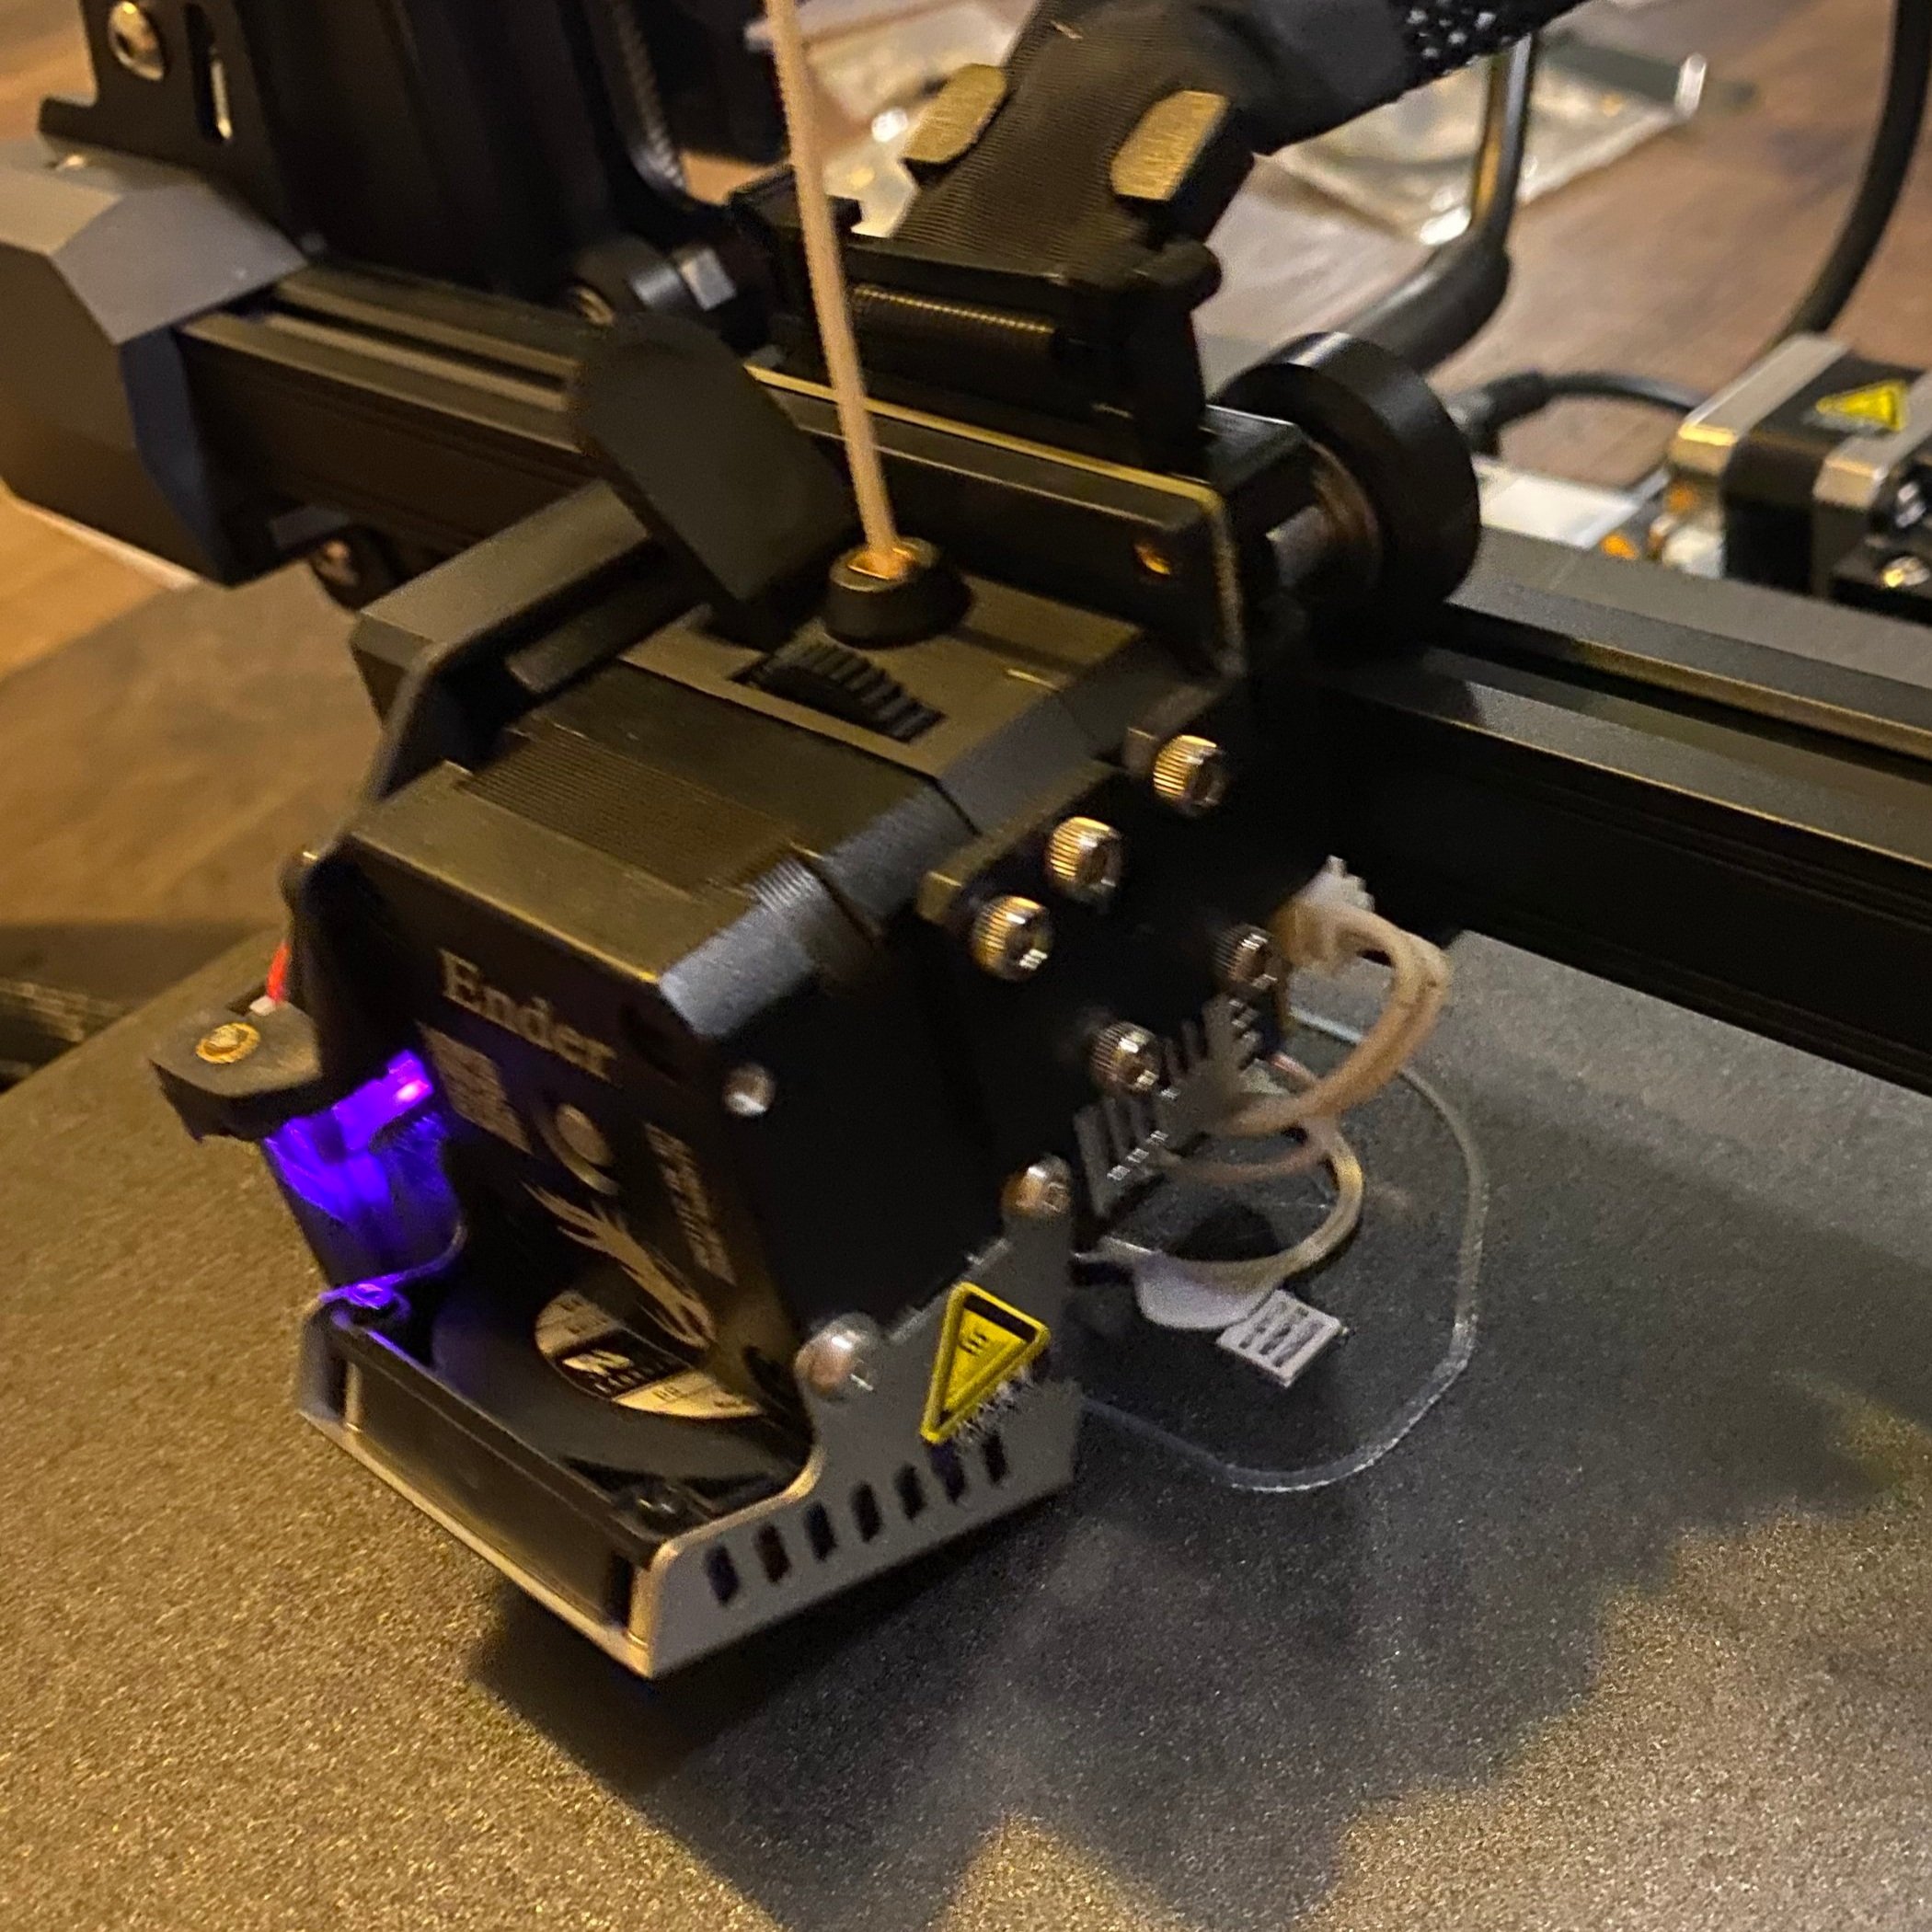
The Ender 3 S1’s Sprite extruder is not enclosed.
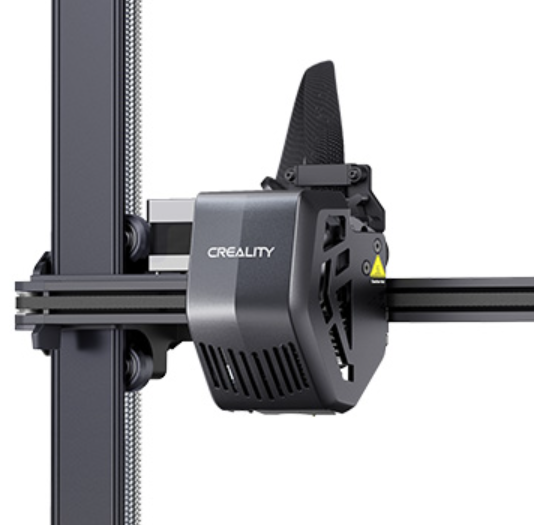
The Ender 3 V3 SE adds a new enclosure, and uses a slightly modified sprite extruder, but it does not appear to be different functionally
Both the S1 and V3 SE, like most printers in the Ender 3 series, are capable of heating up to 260C, which is hot enough to print common materials such as PLA, PETG, and ABS. The hot end includes a part cooling fan which cools models as they print and is especially useful when printing in PLA. All printers in the S1 series use the newer Sprite direct drive extruder, which neatly packs the extruder and hot end into a single compact assembly. Previous Ender models used a Bowden extruder, where the extruder was mounted separately on the side of the printer. The Ender 3 V3 SE uses a slightly modified version of the hot end with a bit more distance between the extruder and nozzle, but it is not a significant difference and does not impact performance. Both have a front mounted fan which provides plenty of part cooling.
Direct drive extruders offer a number of benefits over Bowden extruders, most notably:

Opening the Sprite extruder reveals a durable two-gear extruder which provides improved grip on the filament. The lever arm assembly is plastic which may be a failure point, but the new extruder arm is not under as much tension as the previous Ender 3 extruder. We’ve never seen this extruder break.
Less prone to stringing, which can occur if material continues to flow while the printer moves between two sections of the print. Bowden extruders require more retraction to combat this, and it is generally a bit harder to calibrate this setting on Bowden extruders, since too much retraction can cause the hot end to jam.
Much easier to print with flexible materials, such as TPU. While it is possible to print with these materials on a Bowden setup, you have to print very slowly, and even so the extruder can often jam.
Loading and unloading filament is faster, since there is no Bowden tube to run the filament through.
They do not require Bowden tube couplers. These are a common failure point on other Creality 3D printers, and while this is an easy problem to fix, it is a nuisance that isn’t encountered on direct drive extruders.
Bowden extruders do have some benefits as well, such as allowing the hot end assembly to be lighter since the extruder is mounted elsewhere. Both the Ender 3 S1 and Ender 3 V3 SE address this issue by including an additional Z axis motor to handle the additional weight of the direct drive extruder.
You’ll notice that the Ender 3 V3 SE extruder looks different, but this is just an added enclosure - the extruder itself is still the same Sprite extruder found on the S1 series printers.
Chassis Style
The Ender 3 S1 and Ender 3 V3 SE have the same compact body style typical of the Ender series. We don’t have any complaints about this body style—it doesn’t take up much space on a desk, and neatly hides all wires. We like that the Ender 3 V3 SE redesigned the gantry to have flush edges, which reduce the space needed for the printer and also give it a sleeker appearance.
Print Quality
The Ender 3 S1 and Ender 3 V3 SE both offer impressive print quality out of the box. Unsurprisingly, since the printers use similar components along the filament path and both use direct drive, you should not expect a significant print quality difference between the two machines.
These are a few samples we have printed with the Ender 3 S1 to show the quality you can expect from either of these 3D printers.

A 3D benchy test print showing a smooth surface finish.

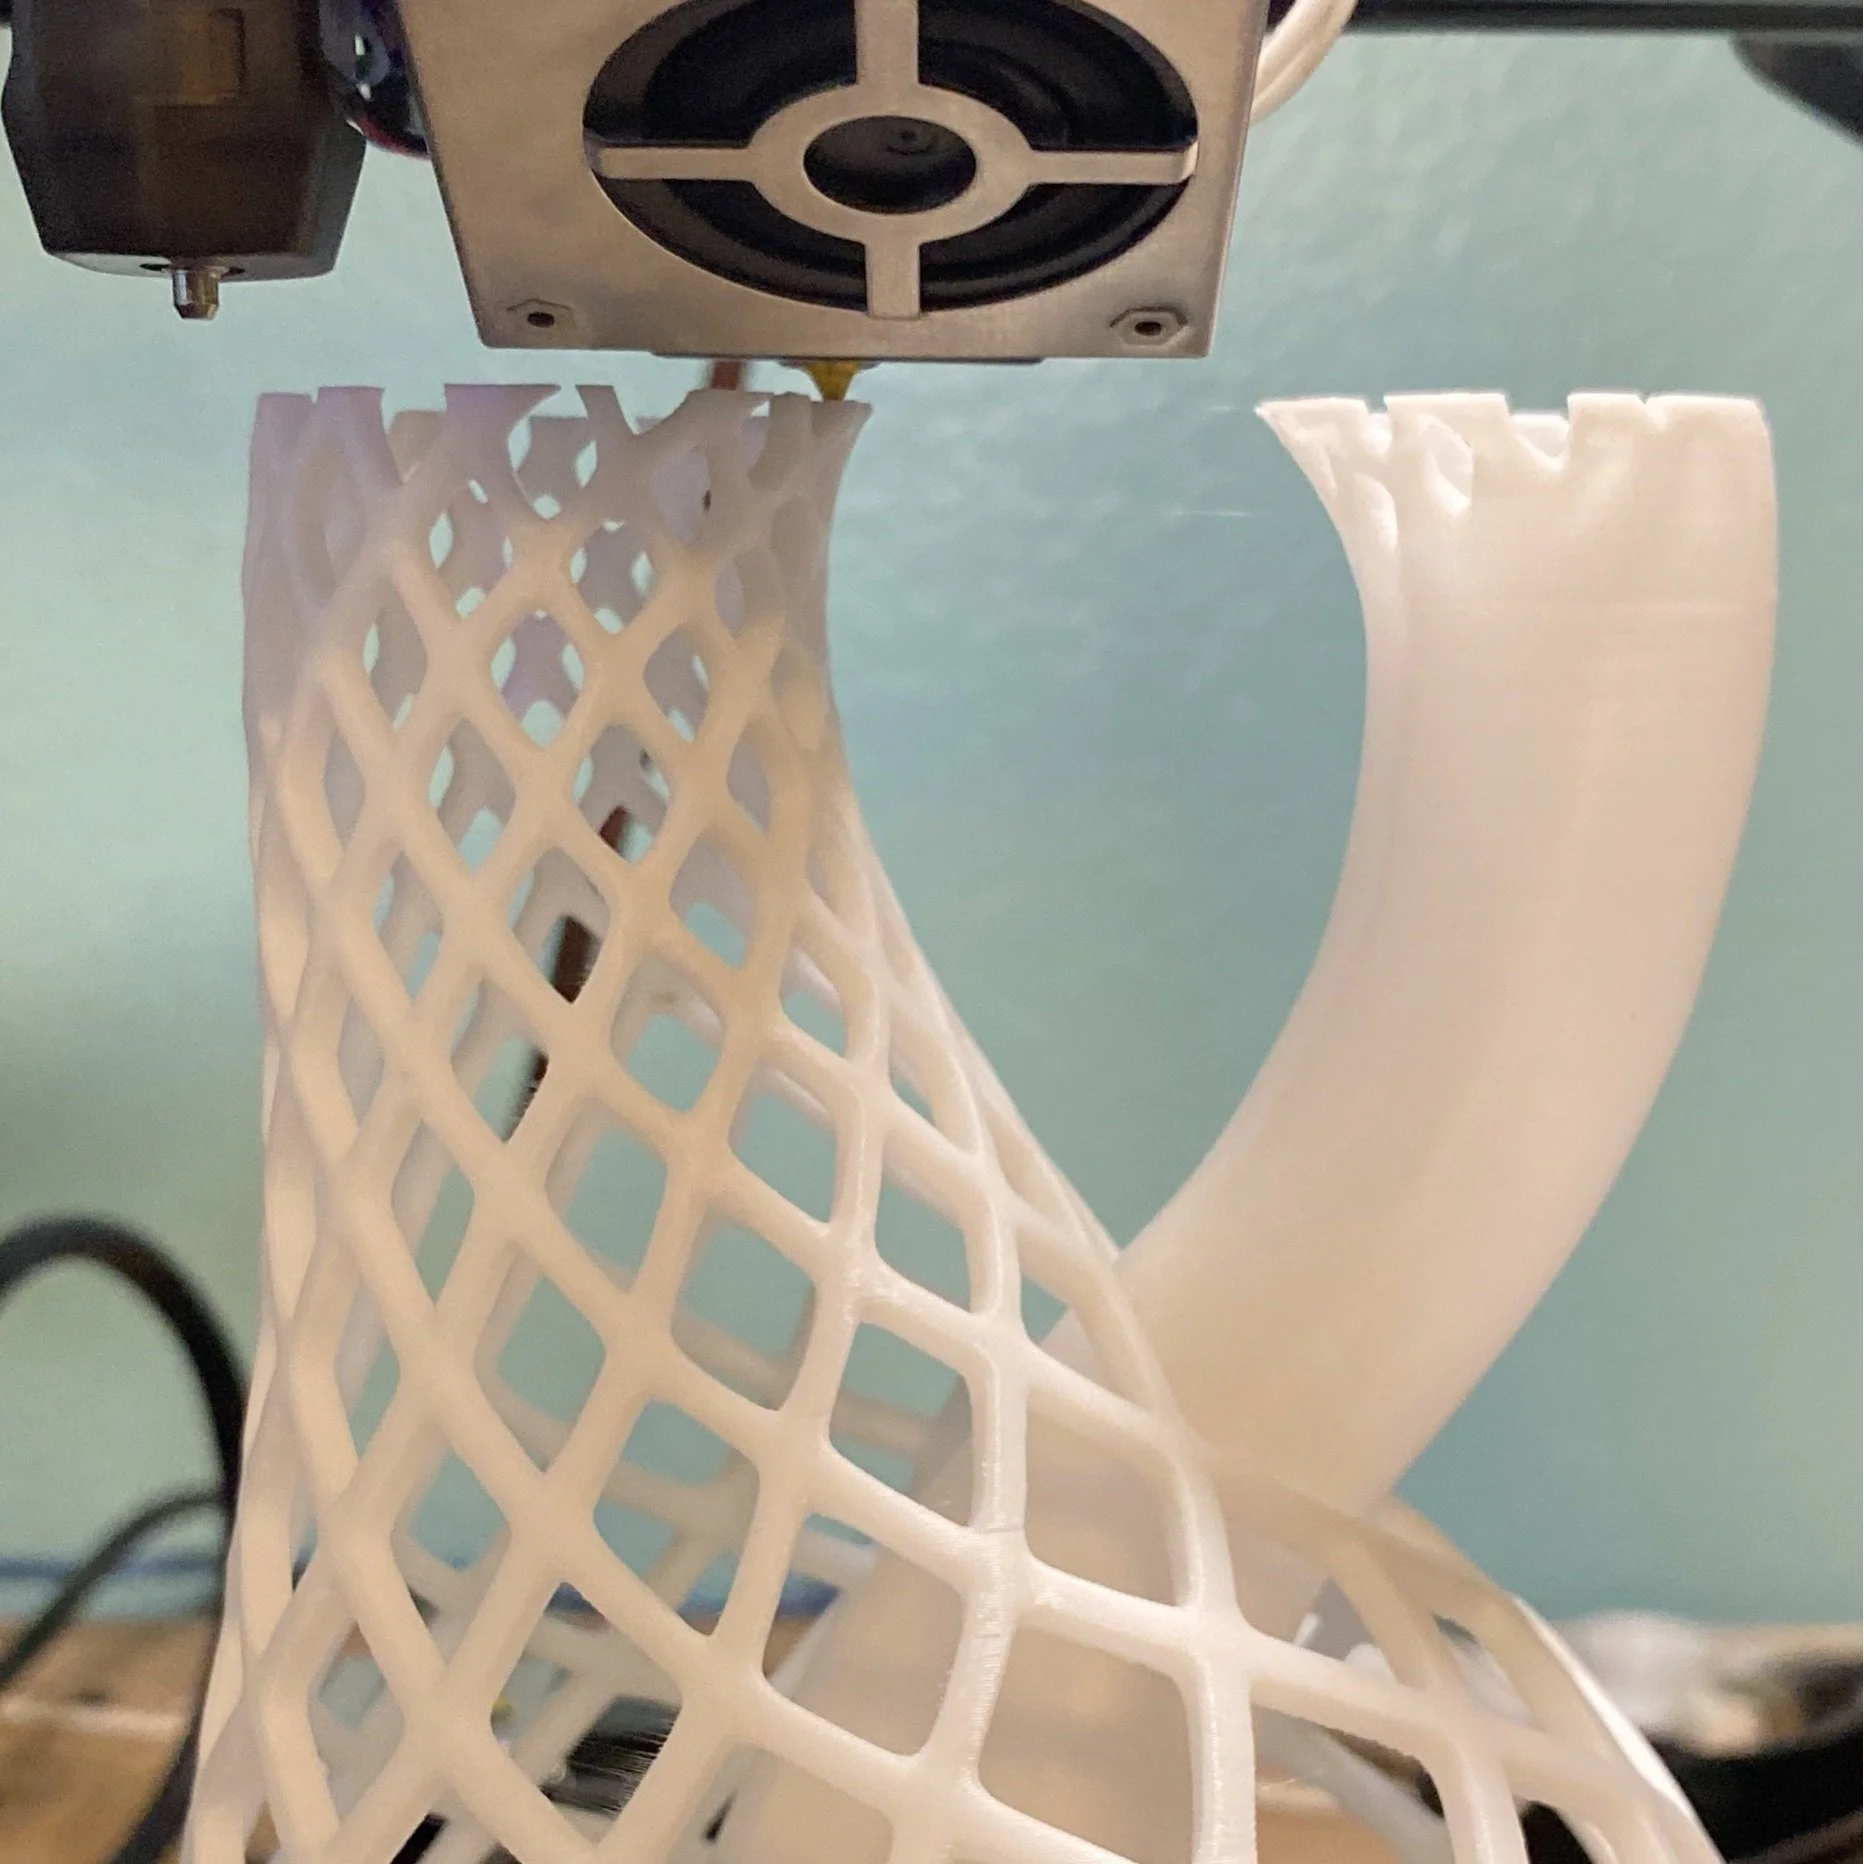
This starship model shows the great overhang performance of the Sprite hot end and cooling fan.
The direct drive extruder is able to handle small details like the ones in this print without any stringing.
Other Features
Both printers have a number of modern features that we’ve found beneficial:
The Ender 3 S1 and V3 SE both include auto bed leveling, which is a major improvement over previous printers in the Ender series. The CR-touch auto leveling sensor, now standard on most Creality 3D printers, probes many points on the bed before each print, and automatically compensates for any inconsistencies to ensure a more precise first layer.
Both 3D printers are equipped with thermal runaway protection, an important safety feature which ensures that the heated bed and hot end will not overheat if the temperature sensor malfunctions.
Both 3D printers are also equipped with power recovery, allowing you to resume a print if the printer shuts off due to a power failure.
Assembly
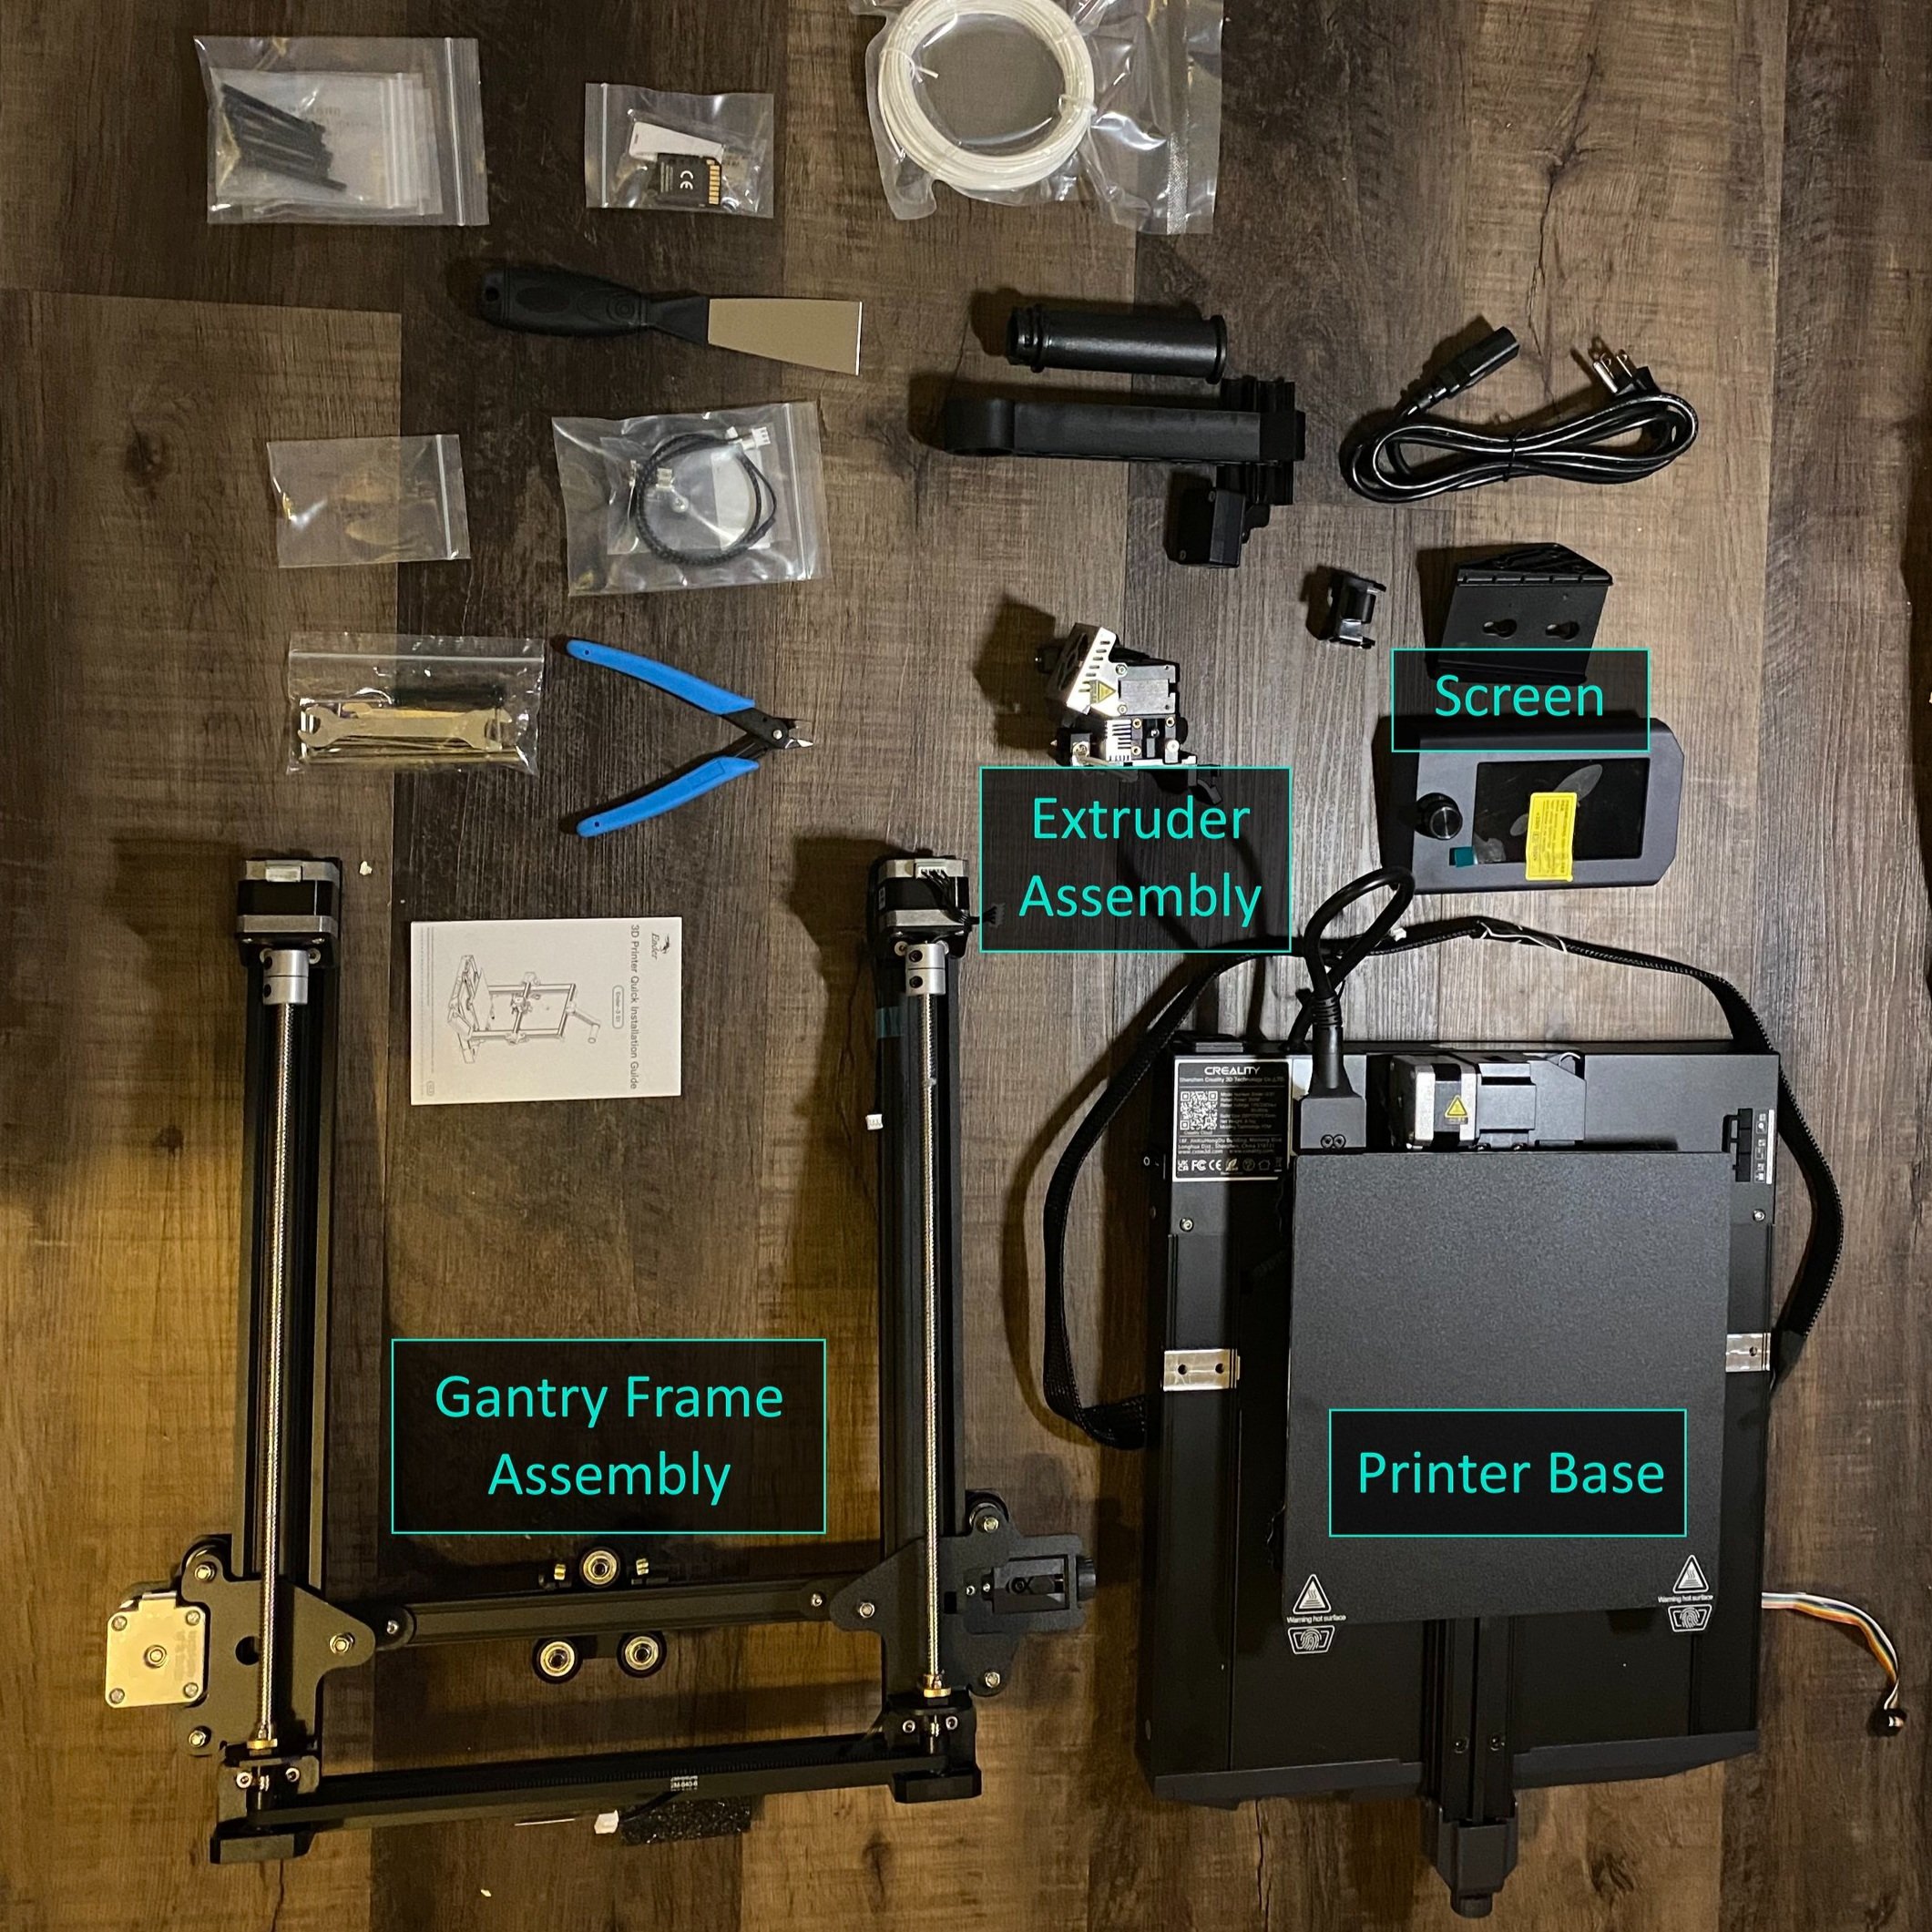
The Ender 3 S1 is pictured here, but the parts of the Ender 3 V3 SE are similarly packaged
Both the Ender 3 S1 and Ender 3 V3 SE are fairly easy to assemble, requiring you to put together only a few prebuilt pieces. The entire Sprite extruder and Z axis beams are pre-assembled, and just need to be mounted to the base of the printer. These printers typically take 10-15 minutes to fully assemble.
Physical Size / Footprint
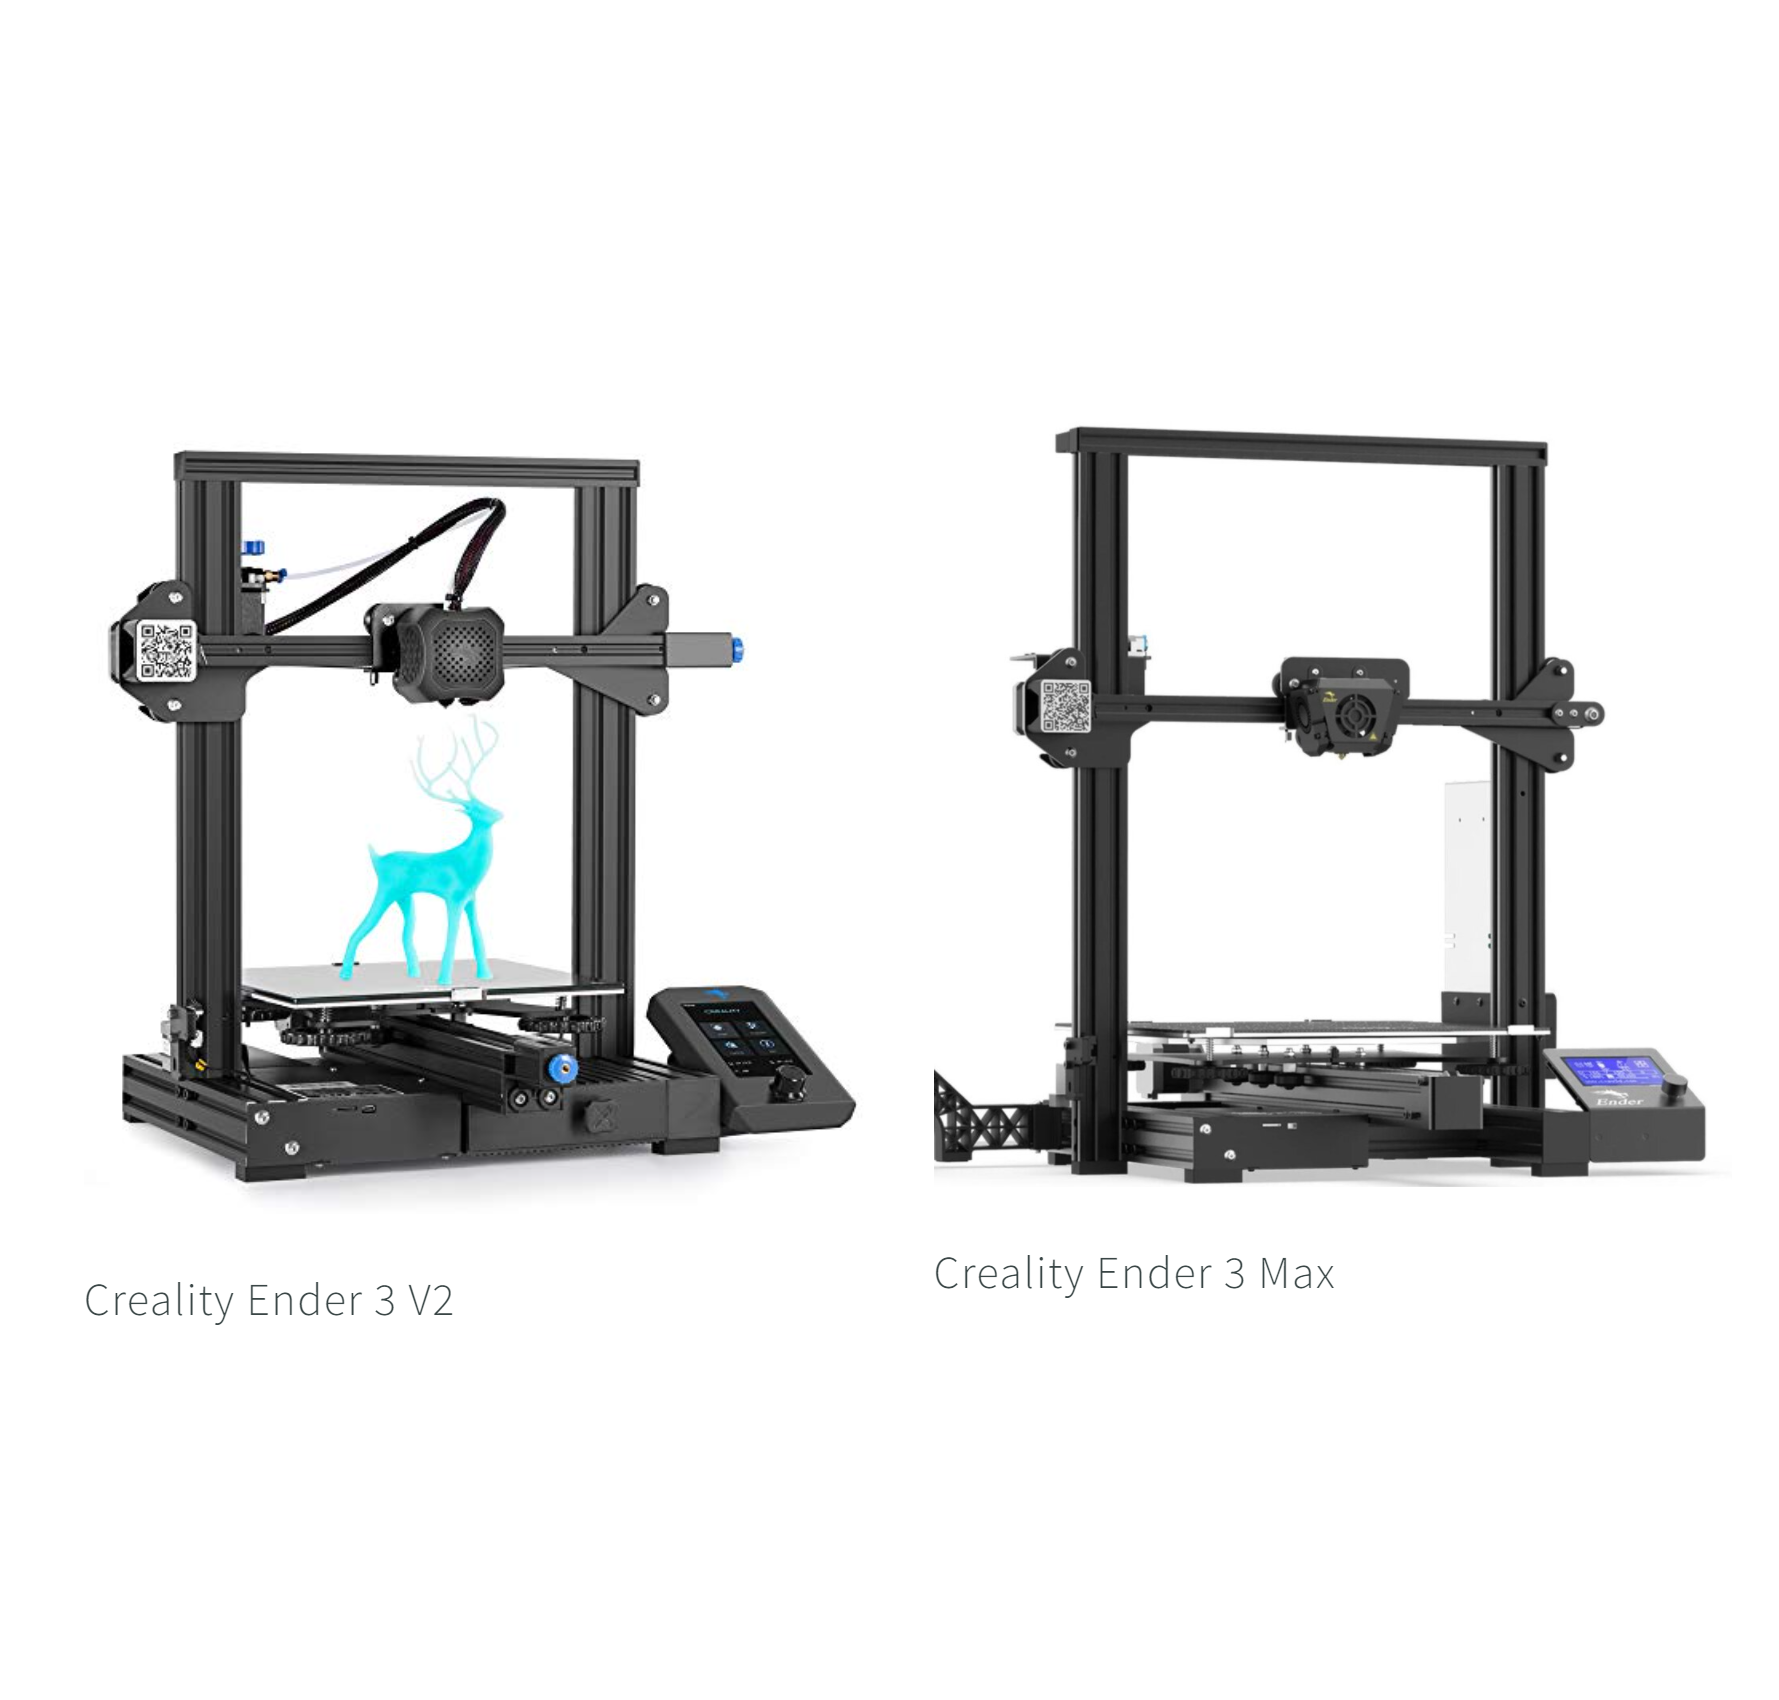
The printers are both about the same size, but they do require more vertical space than previous Ender 3 series printers due to the top mounted filament storage and increased Z build volume. For example, the Ender 3 V2 uses a side mounted spool holder, which requires about 8-10” of clearance on the left side of the printer. We prefer the top mount position since it makes it easier to fit on a desk where height is not a concern, and the filament is easier to access.
The total size of each 3D printer is:
Ender 3 S1: 487 x 453 x 622 mm (19.1” x 17.8” x 24.5”)
Ender 3 V3 SE: 475 x 450 x 490 mm (18.7” x 17.7” x 19.3”)
Build Volume
The Ender 3 S1 and Ender 3 V3 SE both feature a large front-mounted fan that is close to the nozzle, allowing air to flow to the part to cool it.
The Ender 3 S1 has a build volume of 220 x 220 x 270 mm, which is slightly taller than the Ender 3 V3 SE’s volume of 220 x 220 x 250 mm. While this is a bit larger than the standard 200mm cube of many 3D printers on the market, it is still small enough that the printer can easily fit on a desk. The extended Z height on these printers is convenient to allow larger parts while not increasing the amount of required desk space.
Part Cooling
The Sprite extruder on the Ender 3 S1 and V3 SE utilizes a single blower fan mounted to the front of the hot end. This fan is a bit larger than the one on the previous Ender 3 models, and it is positioned closer to the nozzle, which leads to superior cooling and overhang performance.
Improvements in the Ender 3 V3 SE
Now, we’ll cover the features of the Ender 3 V3 SE that are superior to the Ender 3 S1.
Motion System Updates
Both printers use a Cartesian motion system, where the print bed moves in the Y axis while the hot end moves along a carriage in the X axis and raises above the bed in the Z axis during the printing process. This is by far the most common motion system for consumer FDM 3D printers. However, the Ender 3 V3 SE does include linear rods to guide the Y axis movement, which should improve stability and support better quality at high speeds.
Faster Print Speeds
The firmware on the Ender 3 V3 SE supports much higher acceleration settings than previous Creality printers, allowing for much faster print speeds. The default acceleration is set to 4000 mm/s, as compared to 1000 maximum on the Ender 3 S1. We tested a benchy at a high speed setting (30 minute print time) and were impressed with the near perfect quality despite the speed.
Creality advertises capability of up to 250 mm/s, which is 5x typical printing speeds, but we saw some slippage when testing at this speed. However, the max speed of 175 mm/s is still very impressive and faster than what is possible on the S1 without firmware updates. We do think similar speeds are achievable on the Ender 3 S1 since there are no hardware differences, but it would require updating the firmware to unlock higher acceleration settings.

We printed this benchy at high speed in 30 minutes on the Ender 3 V3 and were very impressed with the quality
The Ender 3 V3 SE adds linear rails which provide more stability than the pulley system used on the S1.
Strain Based Z Offset calibration
The Ender 3 V3 SE added a very clever secondary system for calibrating the Z offset of the printer automatically. On previous models, part of the setup required you to adjust the print head until the nozzle was slightly above the bed, and then save the offset so that the nozzle is the correct height after the auto leveling. The Ender 3 V3 uses a strain sensor on the bed to measure the actual position of the nozzle by gently touching it to the bed. Using this data, it can set the Z offset automatically. This feature will allow you to use different bed materials of different thicknesses with minimal effort.
When we tested this feature, we did find that the initial offset was a bit too close to the bed, but it was easy to tweak this on the fly while the test print was running, and we only had to adjust it by about 0.08 mm
Usability Updates
The display and user interface on the Creality Ender 3 V3 SE are improved compared to the Ender 3 S1. While both printers use a jog wheel with a button to navigate the menus and are not touch screens, the Ender 3 V3 SE’s screen can display more colors and includes more information than what you get on the Ender 3 S1.
In many ways, the improved display is simply a nice-to-have feature that makes the Ender 3 V3 SE feel more modern. However, there are a few benefits you may appreciate. For example, the Ender 3 V3 SE displays a graph of the current hotend temperature, allowing you to monitor the temperature more easily than the simpler numbers-only display found on many other printers. Other features such as the automatic bed leveling, also benefit from the improved interface by being able to display more detailed information on the better screen.
This isn’t a major difference between the machines, but the Ender 3 V3 SE wins here because the interface displays more information and displays it more clearly than the Ender 3 S1.

While still not a touch screen, the Ender 3 V3 adds many usability improvements to the LCD.
Disadvantages of the Ender 3 V3 SE
The Ender 3 SE uses more plastic components than is typical on Creality printers; the base enclosure and top crossbeam, along with much of the side pieces of the gantry are all plastic. The printer uses metal where it matters, for example the side beams and gantry beam are all metal. We don’t forsee this having any functional impact, but it does make the printer feel slightly cheaper than its predecessors. However, we arent too surprised by this and think the choice makes sense to get this printer into the budget price range without sacrificing functionality.
Additionally, there are a few minor things we noticed that were lacking compared to the Creality Ender 3 S1:
Single Z Motor
While both printers have dual Z rods, the Ender 3 V3 SE only has a motor on the left side, and uses a belt across the top to drive the righthand Z rod. However, we don’t think a second motor is really necessary since the Z drive does not require much power to move, and the belt ensures that the gantry stays consistently level. The gantry is very rigid due to the additional support of the secondary Z rod regardless of the additional motor.
No bed leveling knobs
The Ender 3 S1 has 4 knobs on the edges of the bed to allow for adjustment of the height of the bed manually. This is not really often needed though since the automatic bed leveling sensor adjusts for the bed height. The Ender 3 V3 does not include manual bed leveling adjustments, but we don’t foresee this being a concern, especially with the new strain based z offset system.
Filament runout sensor is not included
The S1 series printers include a filament runout sensor, but we usually don’t use it, since the print is usually not usable if it is stopped mid print—for some reason, the printer cools down the bed, which releases the print and prevents it from being resumed. However, if you typically print functional parts and are usually monitoring the printer, a runout sensor can be a useful addition. If you want to use the feature, you can buy it as an upgrade for the Ender 3 V3 SE.
No belt tension adjustment knobs
The Ender 3 S1 allows you to quickly adjust the belt tension using hand knobs, which is convenient when initially setting up the printer or doing maintenance checks. With the Ender 3 V3 SE, you’ll need to use an Allen wrench to make these adjustments. Since this is such an infrequent task, it isn’t a huge usability benefit on the S1, and removing it does reduce the horizontal footprint of the Ender 3 V3 SE. Further, the printer does expose screws you can use to adjust the belts using an Allen wrench, which is perfectly sufficient.
Which printer should you buy?
The answer is very clear on this one - The Ender 3 V3 SE offers improved features at a lower price, so it is the clear better choice over the Ender 3 S1. The only potential catch is that the Ender 3 SE V3 can be difficult to find as of this writing, and Creality may have fulfillment issues or raise the price if they are unable to keep up with demand. However, as of this writing, the printer is very new, so we aren’t sure how this will pan out.
If you are looking for a bit more print volume, you may also want to look into the Ender 3 S1 Plus [Amazon]. This 3D printer is mostly the same as the Ender 3 S1, but with a larger 300 x 300 x 300mm build volume. It uses the same PTFE hot end and direct-drive Sprite extruder as the standard Ender S1, as well as the PC steel build surface. It does include a touchscreen LCD, which is an upgrade over the jog wheel interface found on both of the printers we’ve discussed in this article. There is no larger variant of the Ender 3 V3, so the Ender 3 S1 Plus is still worth considering if you want a direct drive extruder and larger build volume.
Click here to view the Creality Ender 3 V3 SE on Amazon.
Click here to view the Creality Ender 3 S1 on Amazon and Matterhackers.
Here’s a quick comparison of these printers to sum up the similarities and differences: