Comparing the Ender 3 V3 SE vs. Ender 3 V2 Neo
In this article, we compare the Creality Ender 3 V3 SE against the Ender 3 V2 Neo to help you understand the differences between these machines and choose the best one for your needs.
The Creality Ender 3 V3 SE was announced in August 2023, and represents a big step forward for entry-level 3D printers.
Creality’s Ender 3 series has long been known for solid, entry-level 3D printers that offer a great value for the price. The original Ender 3 defined a new class of budget 3D printers, and since then, Creality has released many iterations of this series, continually adding features previously found only in more premium printers. In 2022, printers such as the Ender 3 V2 Neo and Ender 3 Neo raised the bar higher, adding features such as automatic bed leveling that were previously only found on higher-end machines.
In 2023, the release of the Creality Ender 3 V3 SE represents an even bigger step forward. This printer offers an impressive feature set and polished appearance at a surprisingly low price, and we’re excited to see it as a new entry-level 3D printer in the market. We think that for a lot of users, the Ender 3 V3 SE may be an ideal choice for their next printer.
But with so many printers in the Ender 3 series, it can be hard to understand the differences and decide on a machine. In this article, we’ll compare the Ender 3 V3 SE with the Ender 3 V2 Neo, the previous version in the Ender 3 series.
Note: Creality Experts receives a commission for items you purchase from this page, at no additional cost to you. For more information, please see our affiliate link policy.
Vs.
Creality Ender 3 V3 SE and Ender 3 V2 Neo Similarities
The Ender 3 V3 SE and Ender 3 V2 Neo are similar in several ways, including build volume, size, and automatic bed leveling. We’ll cover all of the similarities in this section. One thing to note is that while these features are similar between the two printers, they aren’t identical. We’ll point out where the printers differ and explain how each of these features impacts your use of the printer.
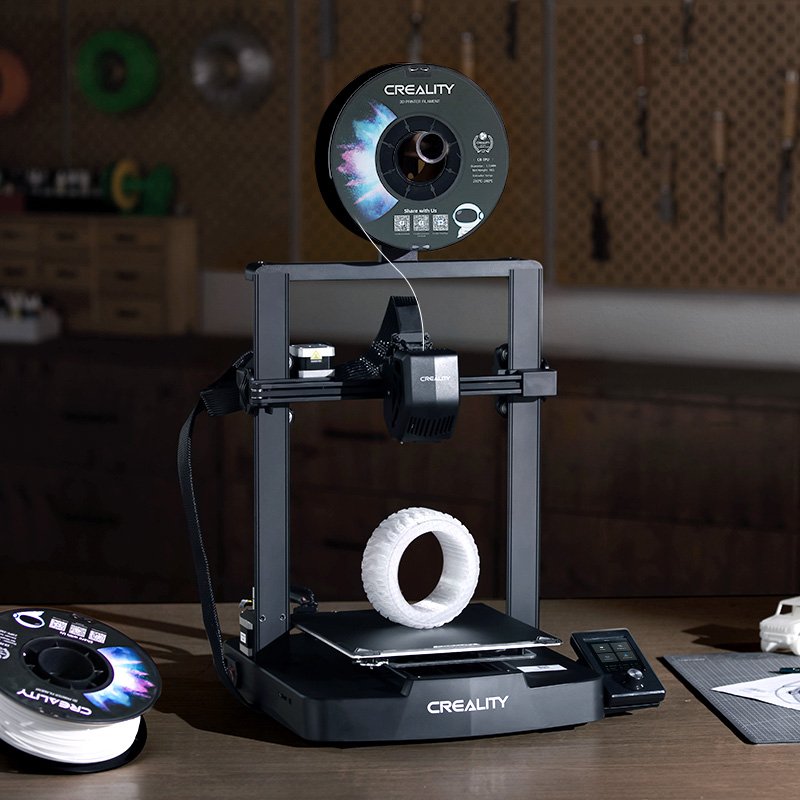
Both the Ender 3 V3 SE and Ender 3 V2 Neo (pictured) have a standard 220 x 220 x 250 mm (8.6 x 8.6 x 9.8 in) build volume.
Assembly
Both the Ender 3 S1 and Ender 3 V3 SE are fairly easy to assemble, requiring you to put together only a few prebuilt pieces. The entire Sprite extruder and Z axis beams are pre-assembled on the Ender 3 V3 SE, and just need to be mounted to the base of the printer. These printers typically take 10-15 minutes to fully assemble.
Build Volume
Like most other printers in the Ender 3 series, both the Ender 3 V3 SE and the Ender 3 V2 Neo have a 220 x 220 x 250 mm (8.6 x 8.6 x 9.8 in) build volume. This is a respectable build volume and matches many other 3D printers from Creality and other brands, but if you need to print larger objects, one of Creality’s larger machines would be a better choice. Build volume is a case where bigger isn’t always better, though, because a larger build volume also means the machine itself will be physically larger.
Size and Footprint
In terms of physical size, the Creality Ender 3 V3 SE and Ender 3 V2 Neo are similar, although the Ender 3 V3 SE actually edges out the Ender 3 V2 Neo. Here’s how they compare:
Ender 3 V3 SE: 349 x 364 x 490 mm (13.74 x 14.33 x 19.29 in)
Ender 3 V2 Neo: 438 x 424 x 472 mm (17.24 x 16.69 x 18.58 in)
The Ender 3 V3 SE is slightly taller, but makes up for it by having a smaller desk footprint while offering the same build volume as the Ender 3 V2 Neo. This is largely achieved through a redesign of the gantry to make it flush and not protruding on the sides like previous models, which also make the Ender 3 V3 look more polished. This difference may not seem significant, but on a crowded desk, we’ll take any size savings we can get.
Automatic Bed Leveling
Both the Creality Ender 3 V3 SE and Ender 3 V2 Neo include automatic bed leveling with the Creality CR-Touch sensor. Automatic bed leveling improves the reliability of your 3D printer by probing the bed height in a grid pattern before printing, ensuring an accurate first layer. This results in improved print quality and greatly reduces the possibility of printing failures.
We’re happy to see the use of the CR-Touch sensor rather than the older BLTouch sensor or an inductive sensor. Of all of the automatic bed leveling sensors we’ve used, the CR-Touch has been the most reliable.
In general, automatic bed leveling is a great feature and it’s something we’re happy to see on these newer entry-level printers.

The PC spring steel bed found on both printers can be removed and flexed to aid in part removal. This is one of the better print bed surfaces available.
Bed Surface
Both the Ender 3 V3 SE and Ender 3 V2 Neo include a PC spring steel bed surface, which is one of the better bed surface options available. PC spring steel tends to have very good print adhesion, and the bed can be removed and flexed to help free the completed print.
The main downside to this bed surface is that it’s susceptible to damage if a print sticks too well. Using a tool such as a scraper can damage the bed by removing the PC coating. If you run into this issue, or want a glass-smooth finish on the bottom of your prints, you can easily upgrade either of these machines to use a PEI spring steel bed [Amazon], which does not have these problems.
Next, let’s look at the differences between these two 3D printers.
Creality Ender 3 V3 SE and Ender 3 V2 Neo Differences
The Creality Ender 3 V3 SE and Ender 3 V2 Neo differ in a few important ways, such as their extruder style and user interface. We’ll cover these differences in detail and point out where you may benefit from choosing one of these printers over the other.
Extruder and Hot End
The Ender 3 V3 SE is the most affordable Creality 3D printer yet to include a direct-drive extruder, which is a substantial upgrade over the Bowden extruder on the Ender 3 V2 Neo. The Ender 3 V3 SE’s extruder is the same Creality Sprite extruder that we’ve seen on other machines such as the Ender 3 S1, and we’re excited to see this feature make it into an entry-level machine.
A direct-drive extruder improves your 3D printing experience in a few ways. First, it allows you to use less retraction than a Bowden extruder, which improves print quality and reduces print time. These differences are especially apparent when printing flexible filament such as TPU, and we’d go as far as to say that if you want to print TPU, you really need to be using a printer with a direct-drive extruder. Although Bowden machines can print flexible filament, they must print very slowly and without retraction enabled.
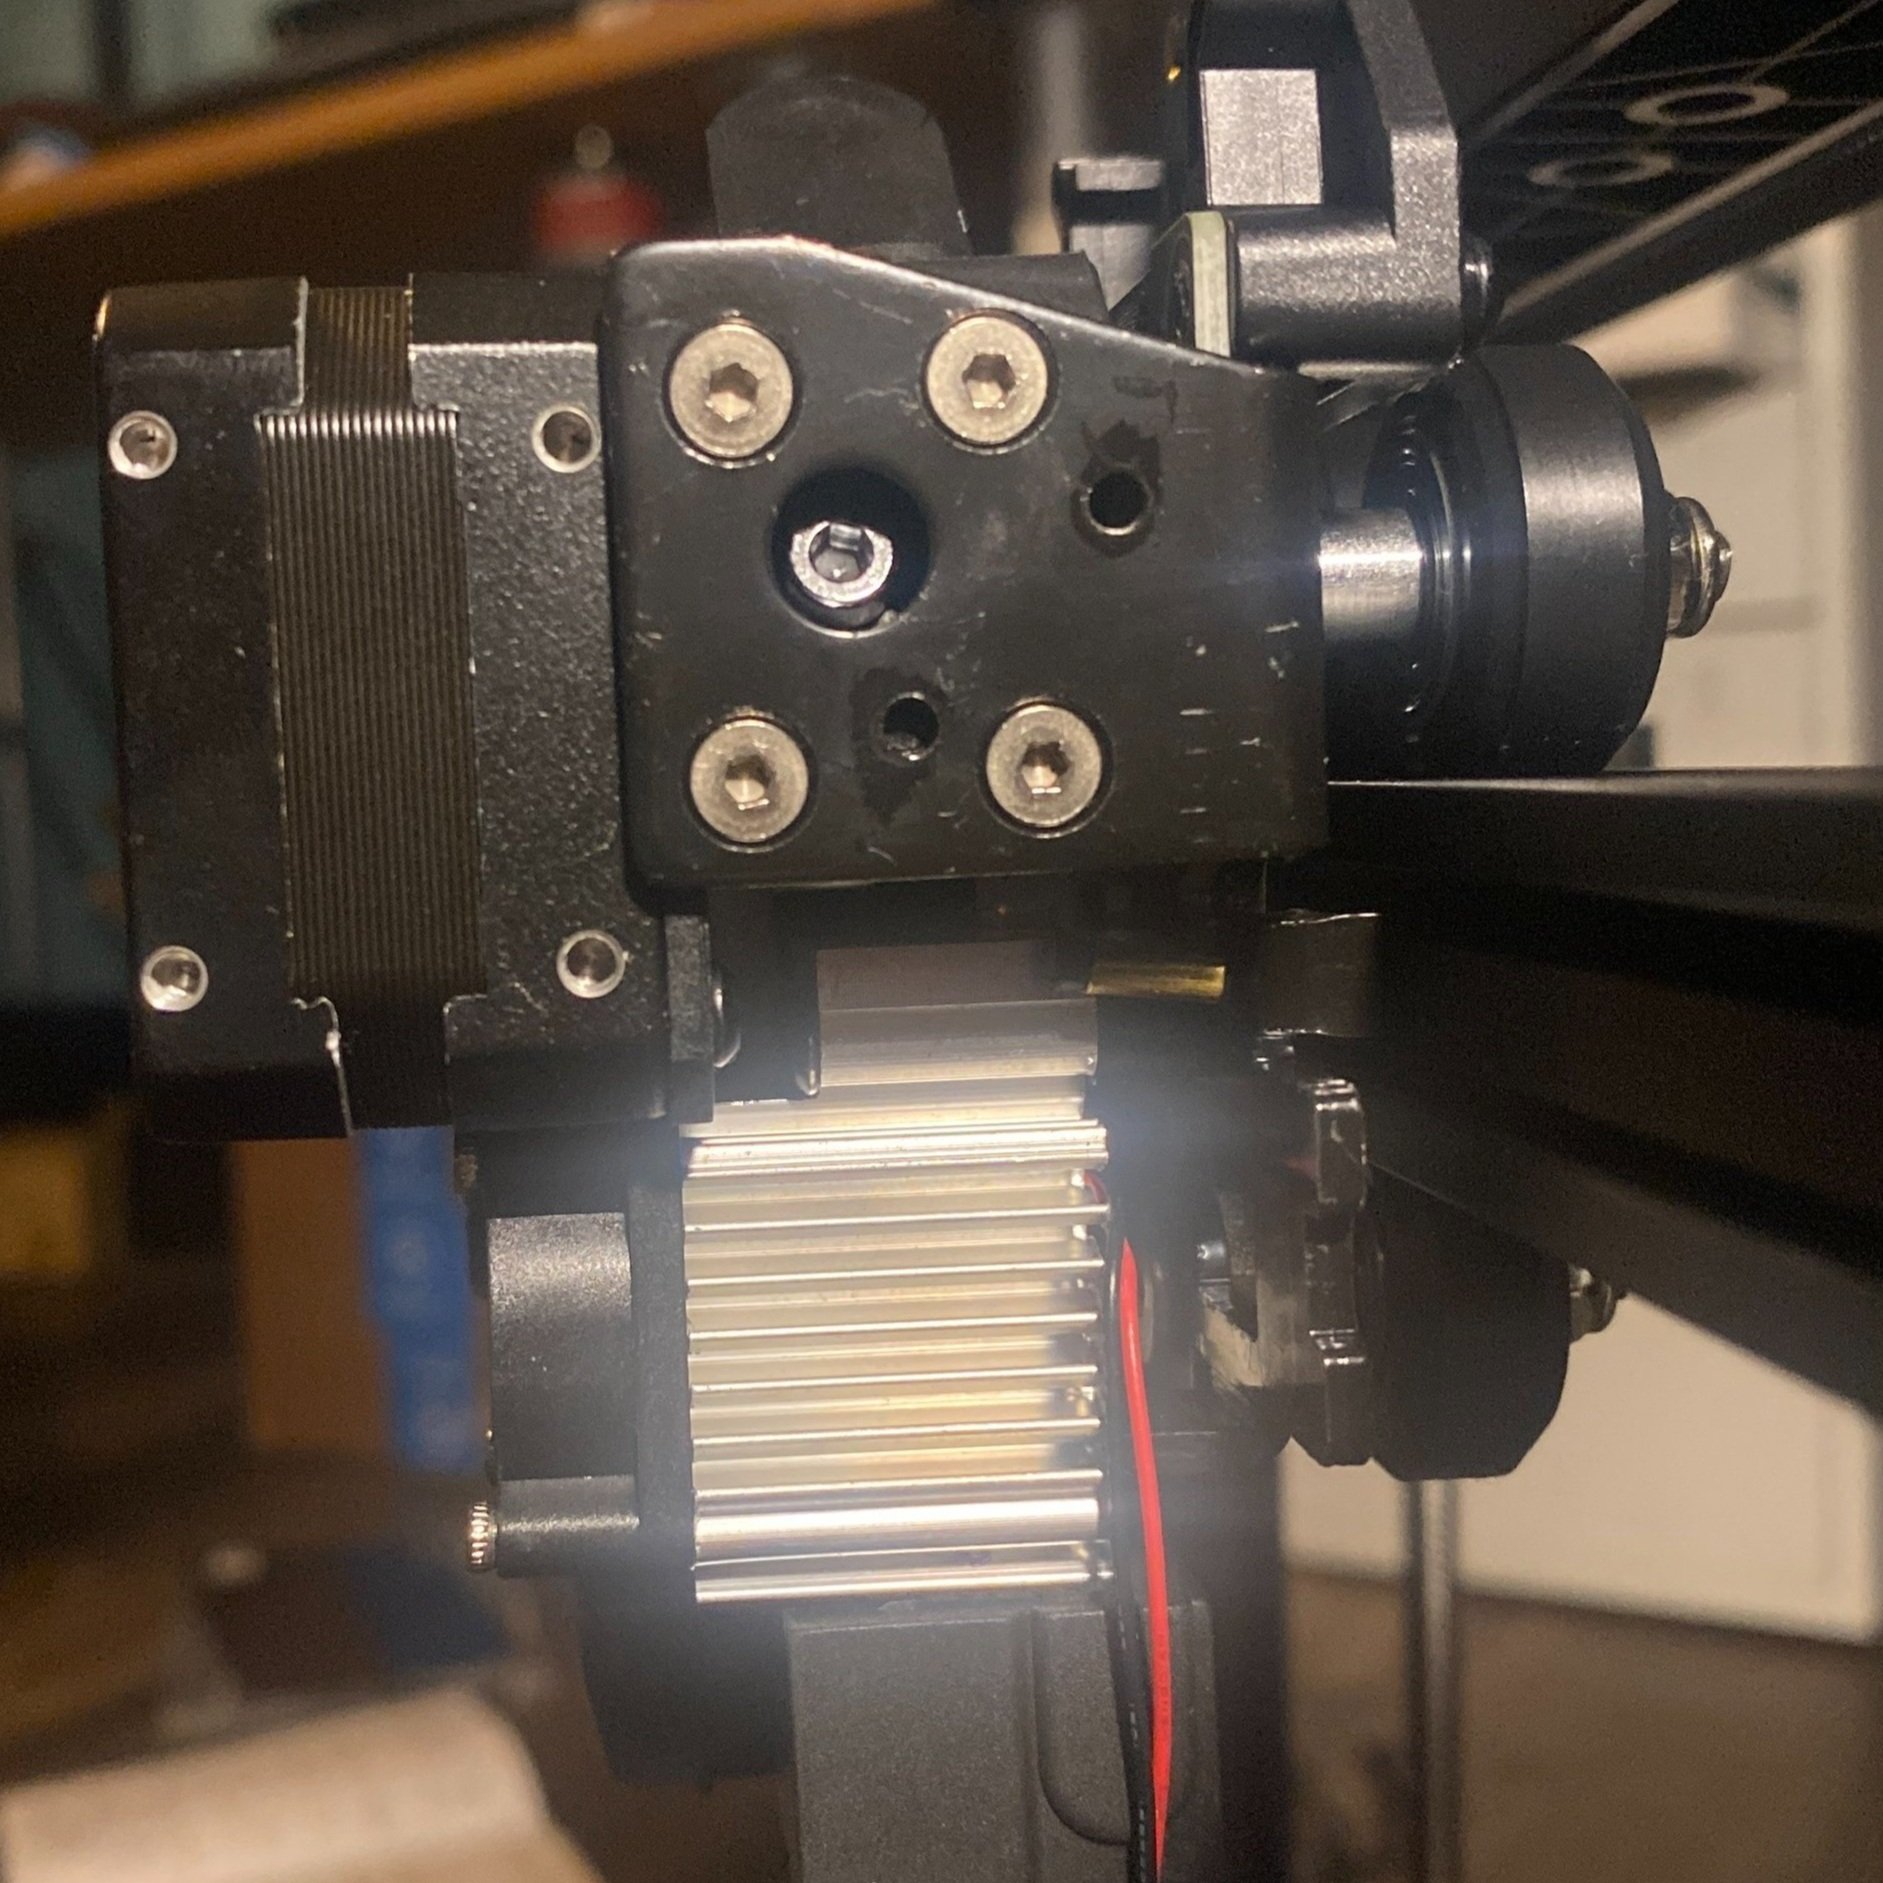
The Ender 3 V3 SE uses the direct-drive Sprite extruder, a substantial upgrade over previous entry-level Ender 3 models. (shown here with the enclosure removed)
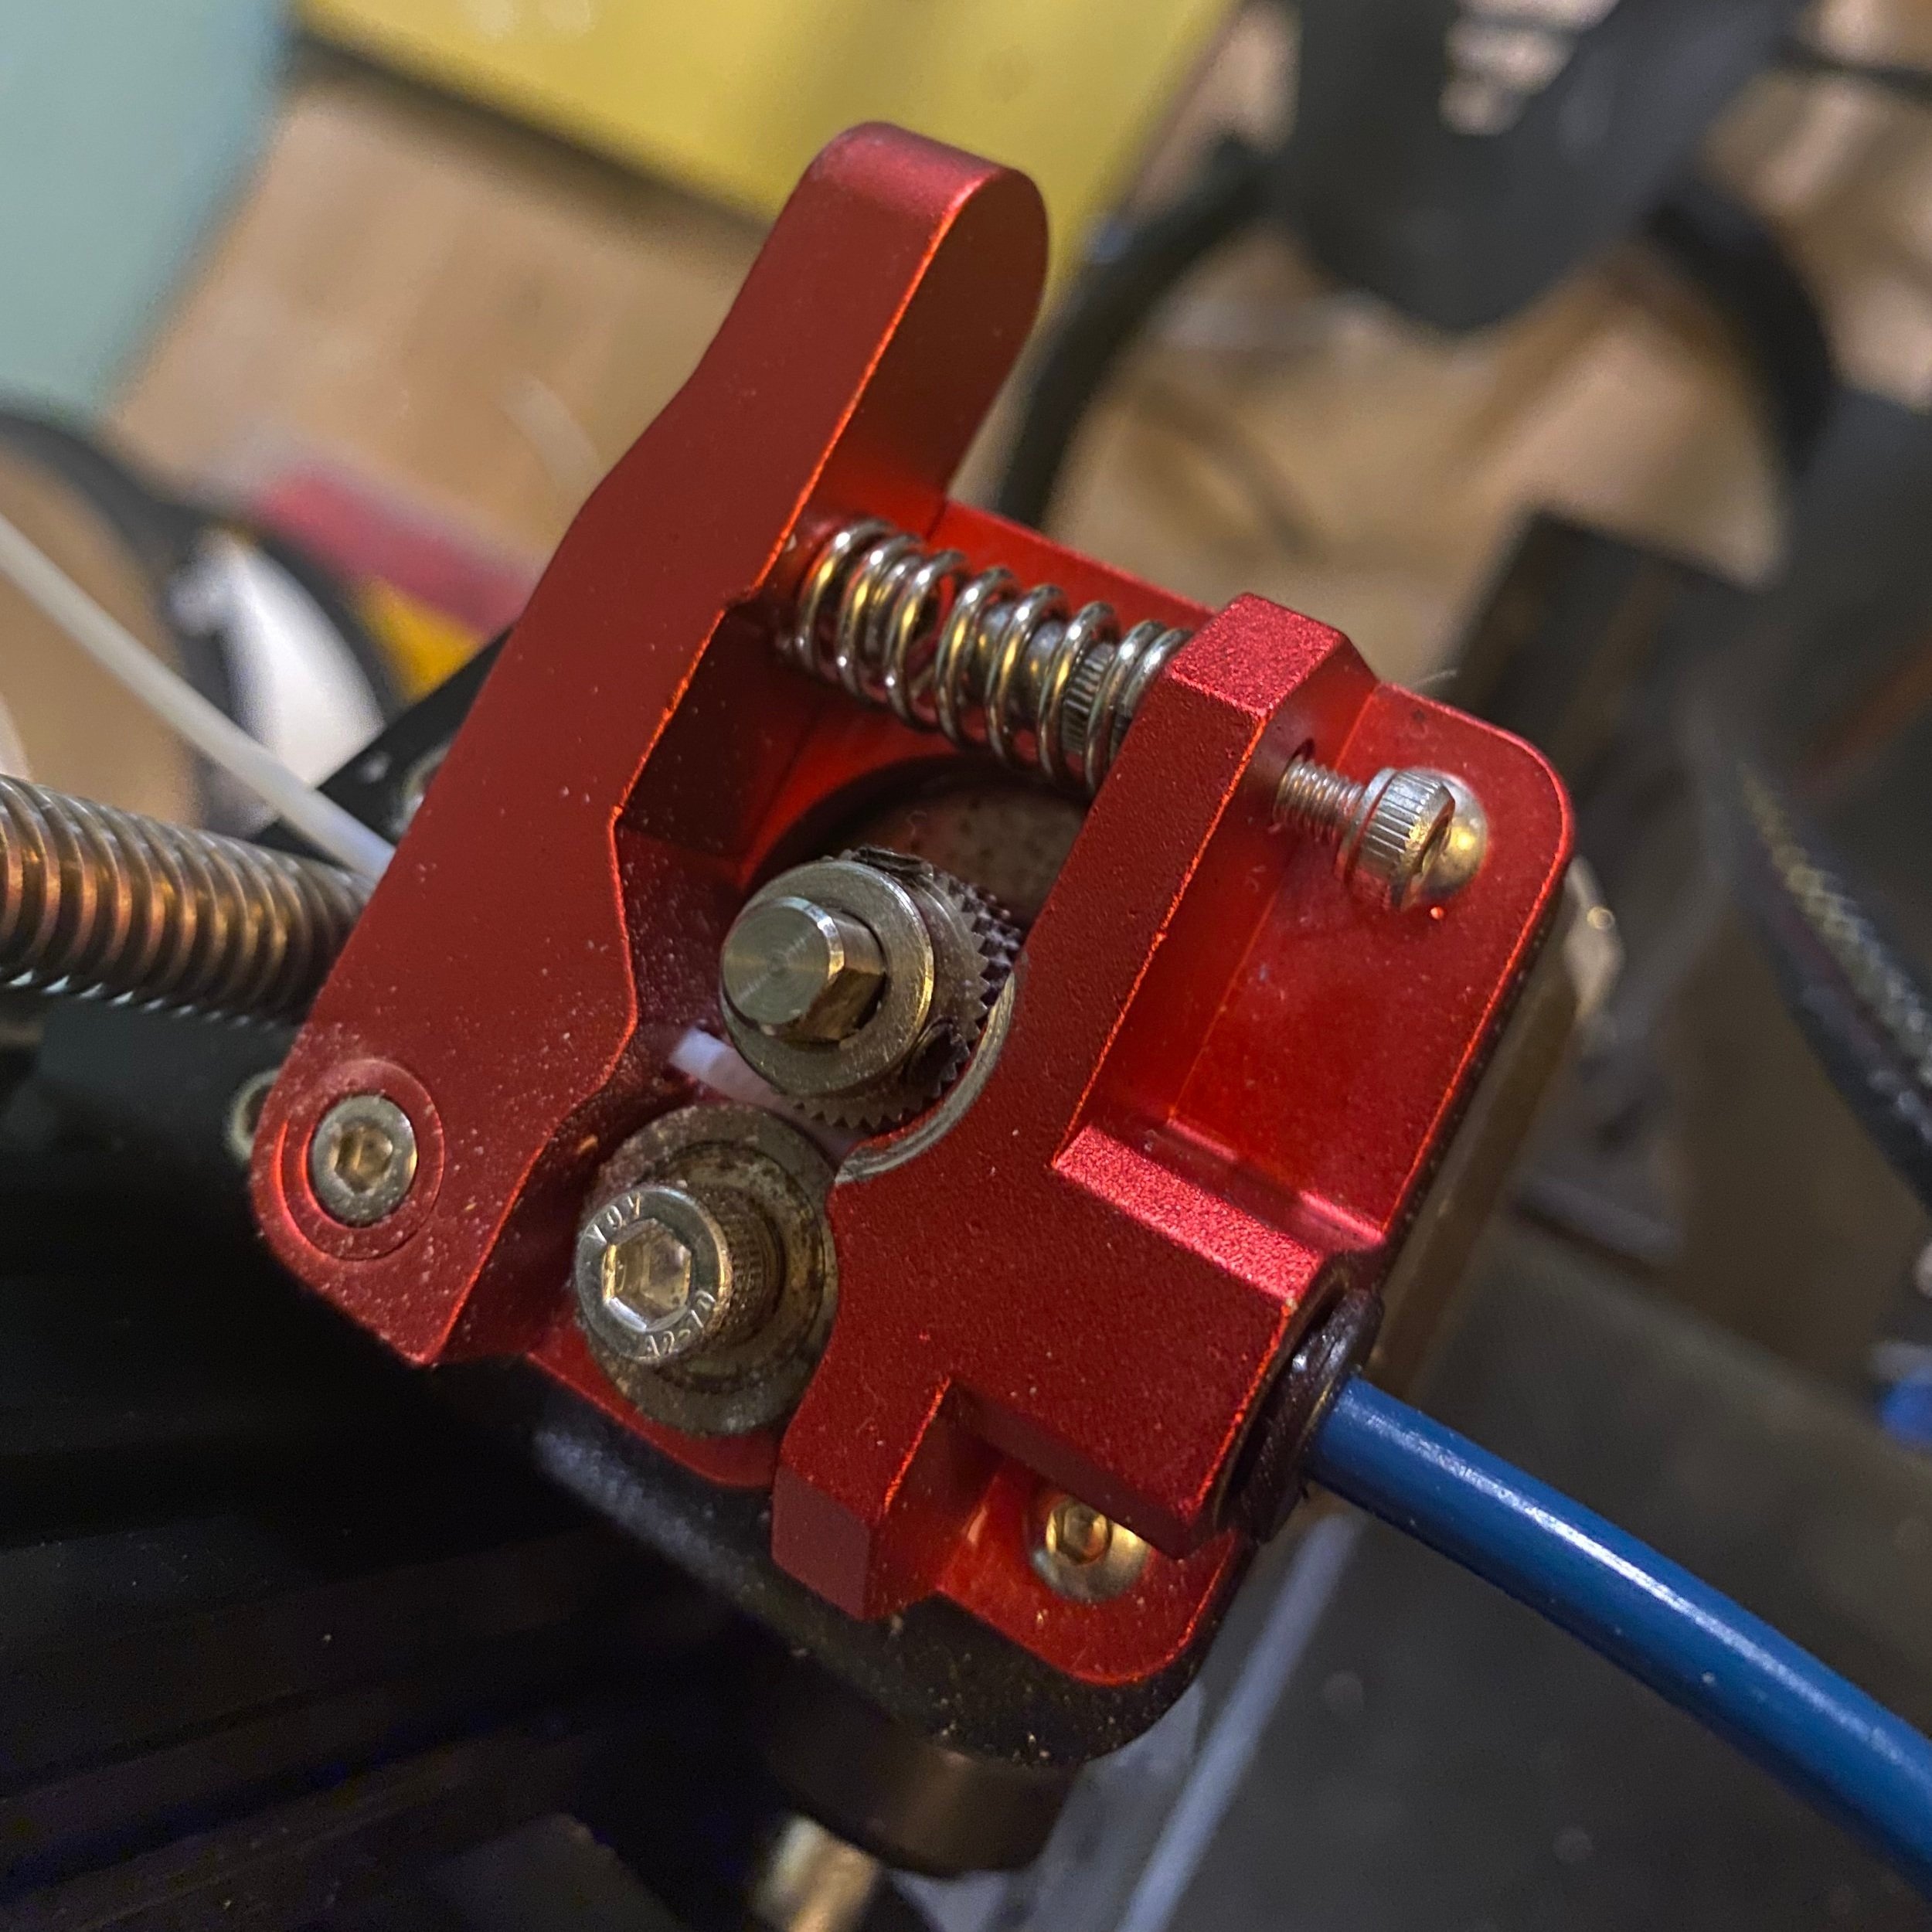
The Ender 3 V2 Neo uses a Bowden extruder, which is comparatively more prone to jamming and less well-suited for printing flexible filament.
We’ve also found direct-drive extruders to greatly improve the overall reliability of the 3D printer. Bowden extruders are more likely to cause jams in the hotend than direct-drive extruders. We have extensive experience with fixing these types of failures, but we’ve seen far fewer of them on 3D printers with direct-drive extruders.
One note is that the extruder and hotend system on the Ender 3 V3 SE is the Sprite, rather than the Sprite Pro. The main difference is that the Pro variant is an all-metal hotend capable of higher printing temperatures. The regular Sprite allows the Ender 3 V3 SE to print at up to 260 degrees C, which is plenty for all standard 3D printing filament types. However, if you want to print special high-temperature filaments, you’ll need to upgrade to an extruder and hotend such as the Sprite Pro.
This is the most meaningful upgrade on the Ender 3 V3 SE. Compared to the Ender 3 V2 Neo, you’ll see higher reliability, faster print speeds, and an improved ability to print flexible filament on the Ender 3 V3 SE.
Strain Based Z Offset calibration
While both printers use CR-touch auto leveling, the Ender 3 V3 SE added a very clever secondary system for calibrating the Z offset of the printer automatically. On previous models, part of the setup required you to adjust the print head until the nozzle was slightly above the bed, and then save the offset so that the nozzle is the correct height after the auto leveling. The Ender 3 V3 uses a strain sensor on the bed to measure the actual position of the nozzle by gently touching it to the bed. Using this data, it can set the Z offset automatically. This feature will allow you to use different bed materials of different thicknesses with minimal effort.
When we tested this feature, we did find that the initial offset was a bit too close to the bed, but it was easy to tweak this on the fly while the test print was running, and we only had to adjust it by about 0.08 mm
Faster Print Speeds
The firmware on the Ender 3 V3 SE supports much higher acceleration settings than previous Creality printers, allowing for much faster print speeds. The default acceleration is set to 4000 mm/s, as compared to 1000 maximum on the Ender 3 V2 Neo. We tested a benchy at a high speed setting (30 minute print time) and were quite impressed with the near perfect quality despite the speed.
Creality advertises capability of up to 250 mm/s, which is 5x typical printing speeds, but we saw some slippage when testing at this speed. However, the max speed we achieved of 175 mm/s is still very impressive and faster than what is possible on the S1 without firmware updates. We do think similar speeds are achievable on the Ender 3 V2 Neo since there are no hardware differences, but it would require updating the firmware to unlock higher acceleration settings.
Motion System
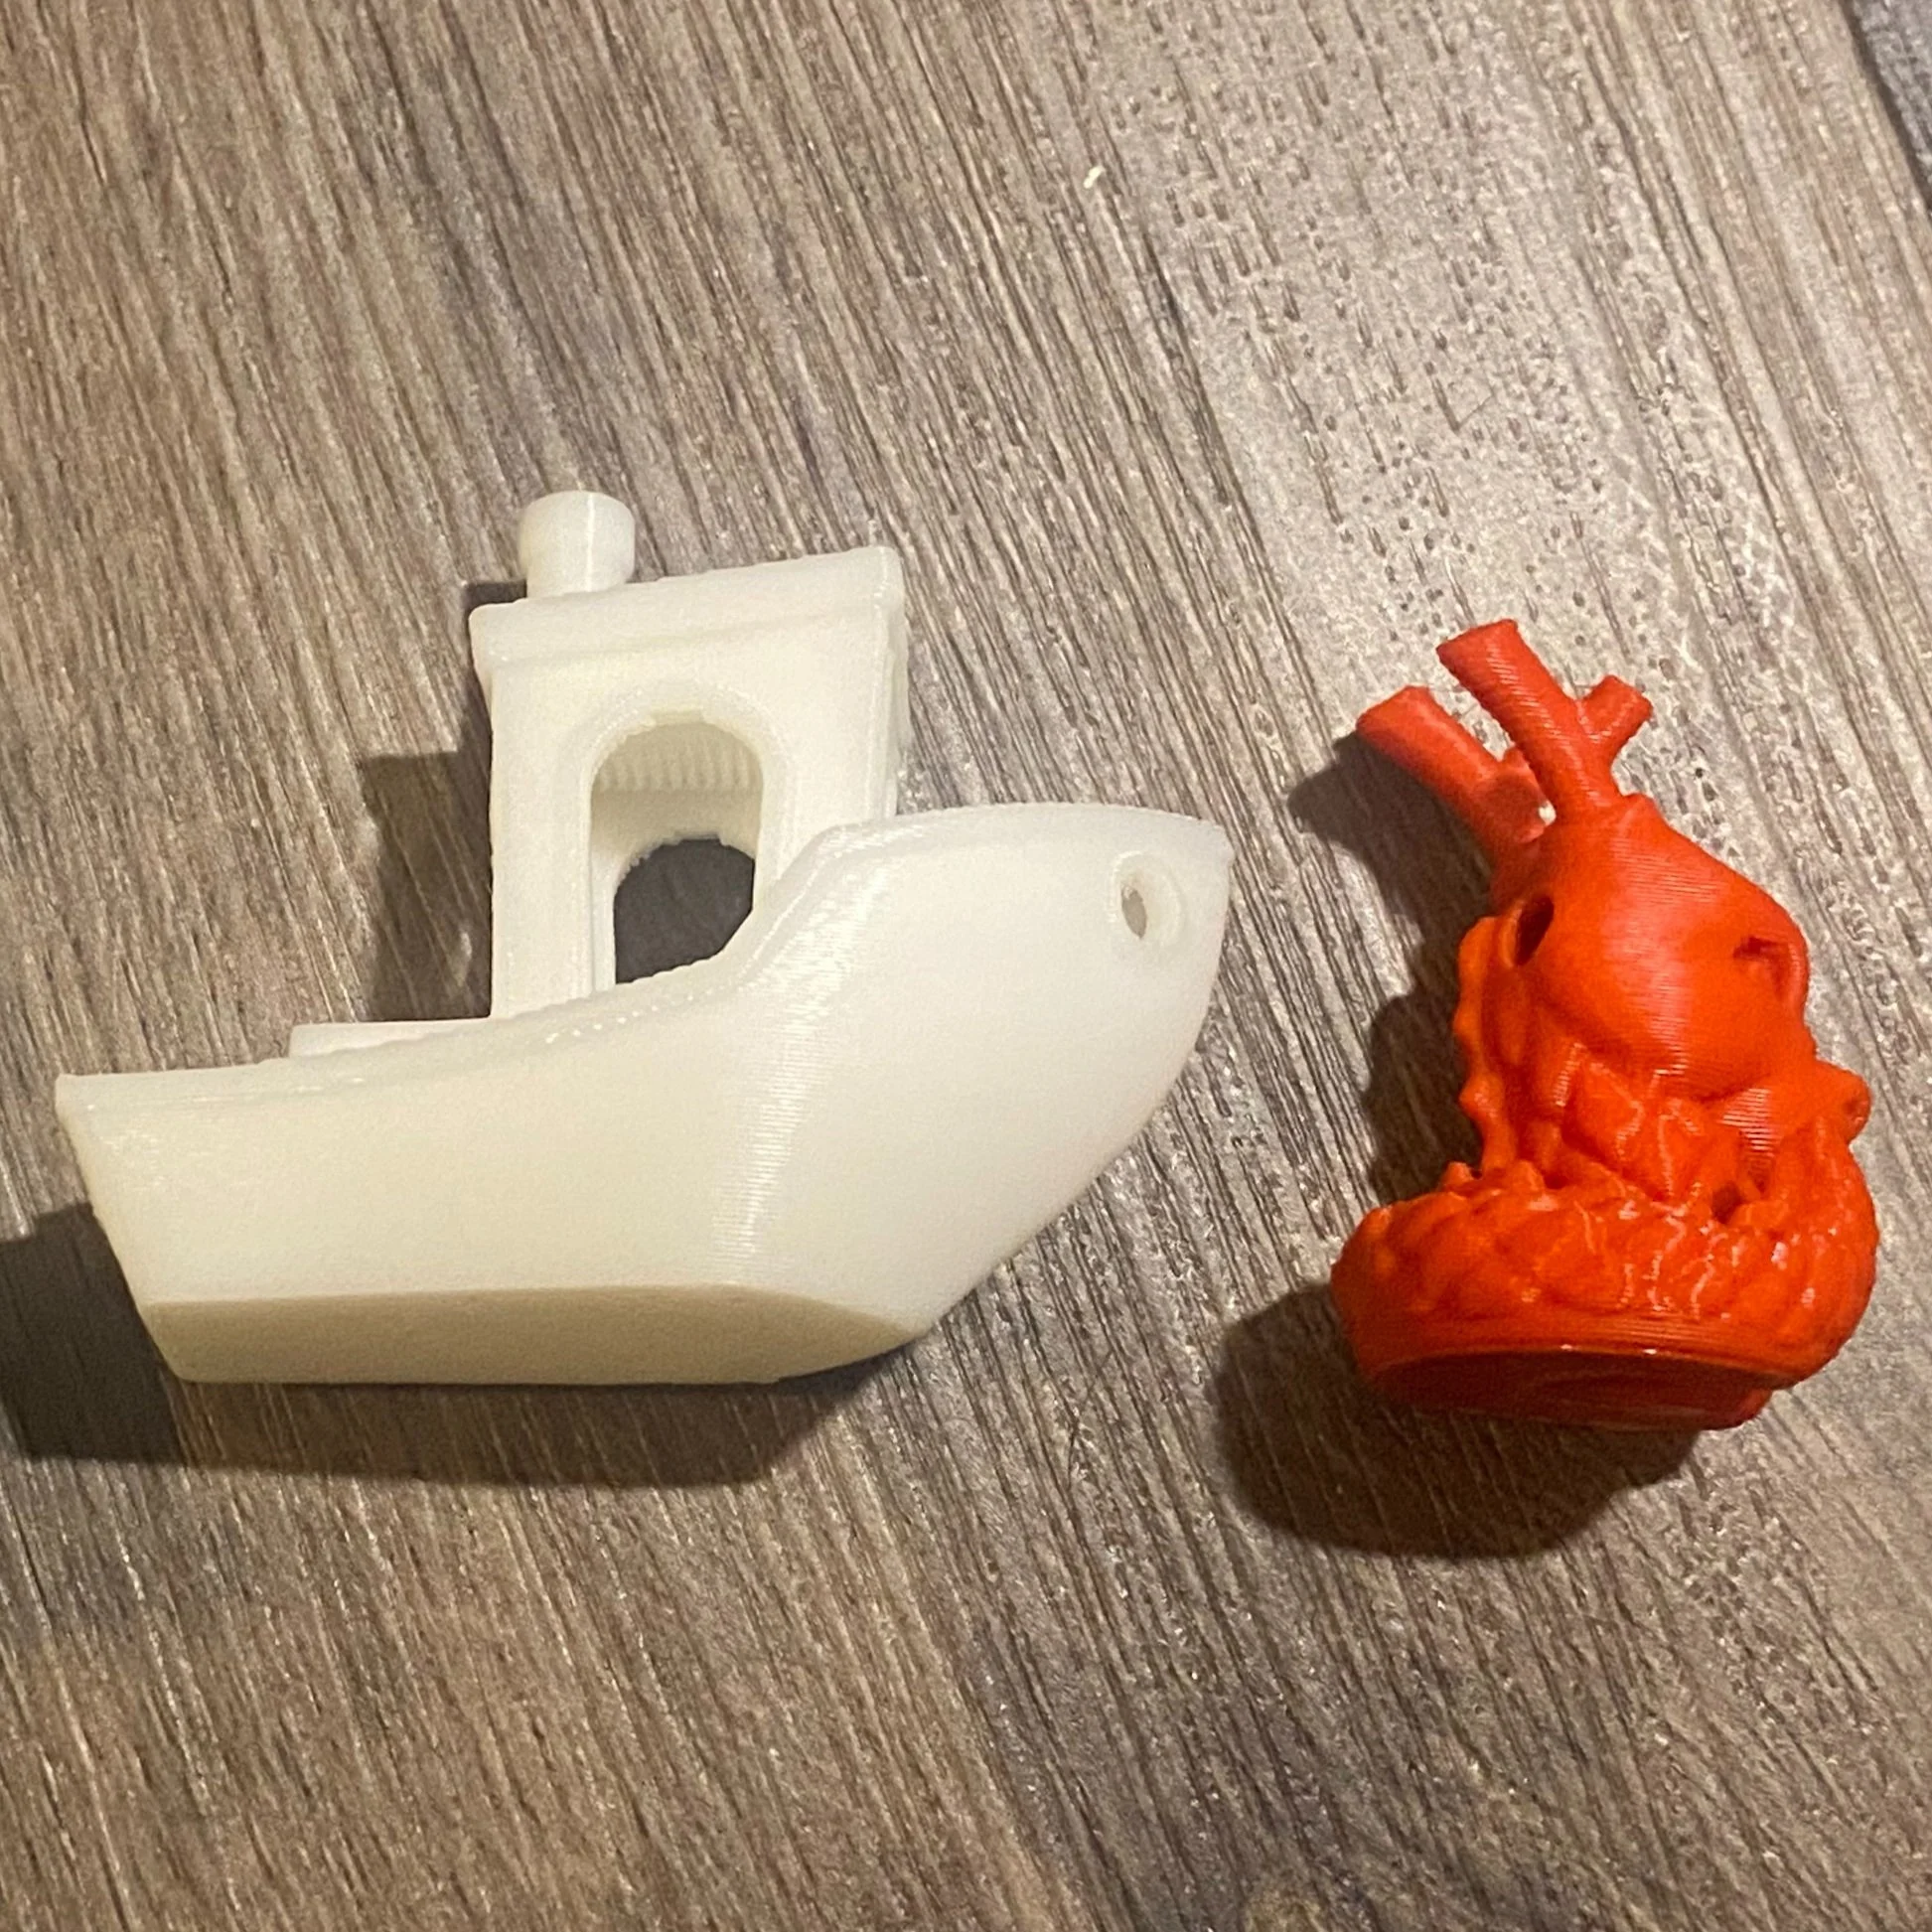
We printed these test pieces at 175mm/s and were impressed with the high quality results
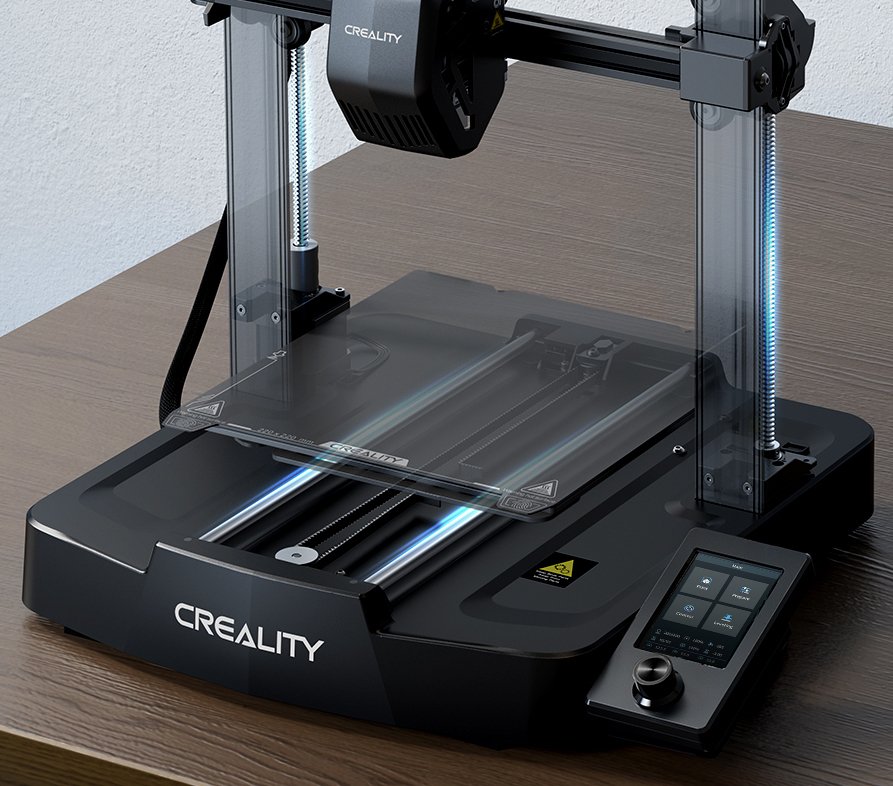
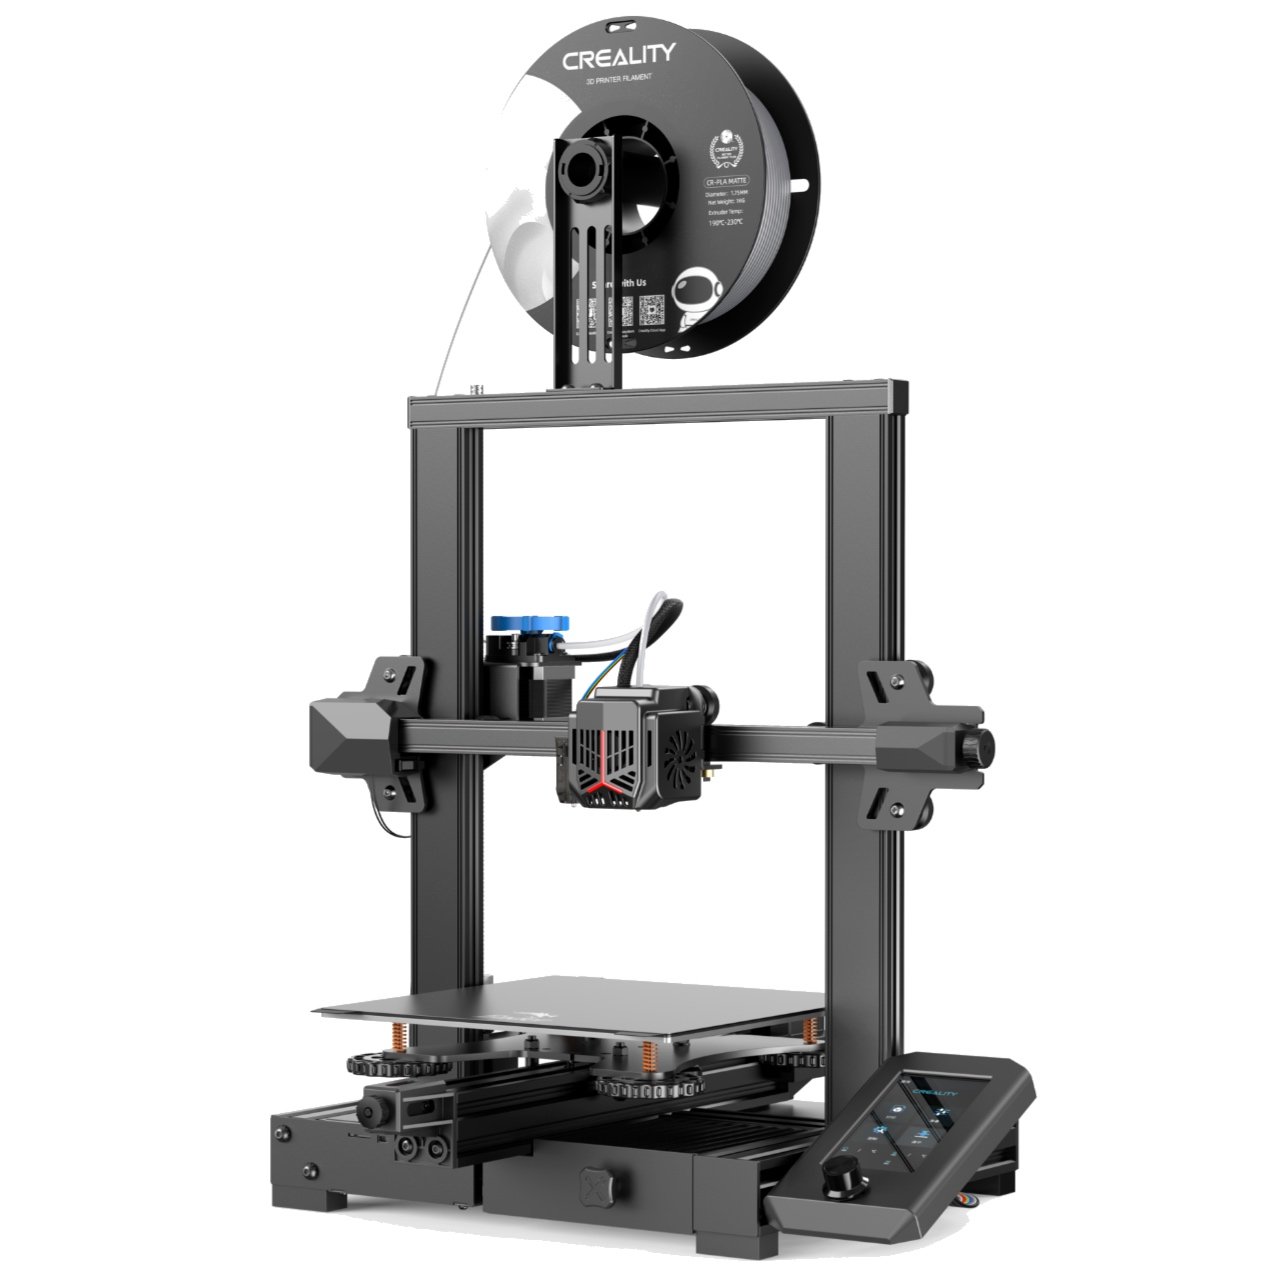
The Ender 3 V3 SE uses linear rods in the Y axis and has dual Z leadscrews, which should improve stability.
Both printers use a Cartesian motion system, where the print bed moves in the Y axis while the hot end moves along a carriage in the X axis and raises above the bed in the Z axis during the printing process. This is by far the most common motion system for consumer FDM 3D printers. However, the Ender 3 V3 SE does include two upgrades in this area.
First, it uses linear rods to guide the Y axis movement, which is an improvement over the Ender 3 V2 Neo that should provide a bit more stability. For similar stability reasons, it also includes a second Z axis leadscrew, allowing it to raise both sides of the gantry at once rather than relying on a single leadscrew. Its worth noting that the Ender 3 V3 still uses a single Z motor on the left side; the right Z rod is driven using a belt across the top of the printer. This is a clever design choice since the Z axis does not require much power, and the shared drive ensures they stay in sync.
While we haven’t had any issues on printers with the single leadscrew design, both of these motion system upgrades should improve the stability of the Ender 3 V3 Neo and reduce print artifacts from mechanical vibration.
User Interface

The Ender 3 V3 SE includes an upgraded display that displays more information during the print.
The display and user interface on the Creality Ender 3 V3 SE are improved compression to the Ender 3 V2 Neo. While the controls are similar—both printers use a jog wheel with a button to navigate the menus—the Ender 3 V3 SE’s screen can display more colors and includes more information than what you get on the Ender 3 V2 Neo.
In many ways, the improved display is simply a nice-to-have feature that makes the Ender 3 V3 SE feel more polished and modern. However, there are a few benefits you may appreciate. For example, the Ender 3 V3 SE displays a graph of the current hotend temperature, allowing you to monitor the temperature more easily than the simpler numbers-only display found on many other printers. Other features such as the automatic bed leveling, also benefit from the improved interface by being able to display more detailed information.
This isn’t a major difference between the machines, but we give the edge to the Ender 3 V3 SE here because the interface displays more information and displays it more clearly than the Ender 3 V2 Neo.
Which Printer Should You Choose?
The most interesting aspect of the Creality Ender 3 V3 SE is its price. With an MSRP rivaling Creality’s lowest-end machines, but with a feature set matching that of their higher-end models, the Ender 3 V3 SE feels like an unbeatable value in 3D printing.
The inclusion of the Sprite direct-drive extruder is the real game-changer on this printer. We’ve never seen a direct-drive extruder on a Creality printer at this price point, and that feature offers enough added value that we think it’s worth purchasing the Ender 3 V3 SE over Creality’s other entry-level printers.
The upgraded motion system, and user interface offer additional good benefits over the Ender 3 V2 Neo, and the Ender 3 V3 SE matches that printer in features such as automatic bed leveling and build volume. It has no downsides compared to the Ender 3 V2 Neo.
Perhaps a more difficult question is whether you should upgrade from an existing Ender 3 V2 Neo to the Ender 3 V3 SE. There’s no doubt that the SE is a better machine, but these two printers are close enough in price and base features that you may be better off installing the Creality Sprite extruder upgrade kit [Amazon]. We’ve reviewed a similar kit and have found it to be reliable and a great improvement on older printers.
In short, we think the Ender 3 V3 SE is an excellent value for the money, and a printer you should consider. If you’re buying new, the Ender 3 V3 is the clear better choice - the only reason to go with the Ender 3 V2 Neo is if you’re able to find it at a substantially lower price than the Ender 3 V3 SE.
View these 3D printers on Amazon:
If you’d like to compare other printers, take a look at our 3D Printer Comparison Tool. This tool lets you view multiple 3D printers side by side to easily compare features.