Comparing the Creality Ender 3 V3 vs. Ender 3 V3 SE
Note: Creality Experts receives a commission for items you purchase from this page, at no additional cost to you. For more information, please see our affiliate link policy.
In the fall of 2023, Creality introduced the Ender 3 V3 SE and Ender 3 V3 KE, the first models in a new generation of the venerable Ender 3 lineup. These new V3 models brought several advanced 3D printer features down to an entry-level price point, and have been two of our top recommended models due to their value and feature sets.
In early 2024, Creality followed up with the Ender 3 V3, a new higher-end model in the V3 lineup. While it has the same 220 x 220 x 250 mm build volume as the Ender 3 V3 SE and Ender 3 V3 KE, it offers a number of added features that position it as a more premium 3D printer. But is the Ender 3 V3 worth the added cost over the lower-priced models in the V3 line?
In this article, we’ll compare the Creality Ender 3 V3 to the Ender 3 V3 SE, which is the most affordable machine in the V3 lineup. We’ll start by covering the similarities between the 3D printers, and then point out areas where the two printers differ. For each feature, we’ll give you our opinion on how it will affect your experience with the printers to help you decide which machine is better for you.
If you want to see the key specs at a glance, we’ll list them right here. Otherwise, keep reading for our analysis of these two 3D printers.
Vs.
Similarities Between the Creality Ender 3 V3 and Ender 3 V3 SE
The Creality Ender 3 V3 and Ender 3 V3 SE have a few key features in common. We’ll discuss each one in this section.
Build Volume
Both 3D printers have a build volume of 220 x 220 x 250 mm (8.6” x 8.6” x 9.8”). This is the most common size for consumer FDM 3D printers, and is a good middle ground of offering a decent printable area without making the machine itself too large and bulky. If you need to print larger models, you can certainly find 3D printers with a larger build volume, but these machines will enable you to print a wide range of functional and decorative parts.
Automatic Bed Leveling

The Ender 3 V3 SE uses a CR-Touch probe for automatic bed leveling and a strain gauge for automatic Z offset calibration. Both sensors are visible here. In contrast, the Ender 3 V3 uses a single strain gauge sensor for both purposes.
Both the Ender 3 V3 and Ender 3 V3 SE include automatic bed leveling, which eliminates the need to manually level the bed. Both machines also include automatic Z offset calibration, which sets the distance of the nozzle above the bed automatically. These features make it much easier to get started with your first prints and improve the day-to-day reliability of the machine.
The two printers do use different sensor types for leveling. The Ender 3 V3 uses a newer strain-based system in which a strain gauge sensor detects when the nozzle touches the bed. It uses this system for both automatic leveling and Z offset calibration. On the other hand, the Ender 3 V3 SE uses a Creality CR-Touch probe for automatic bed leveling, and a separate strain gauge sensor for Z offset calibration.
We haven’t experienced any issues with the sensors on the Ender 3 V3 SE, but the Ender 3 V3’s system is simpler and has fewer moving parts, which makes it a bit better.
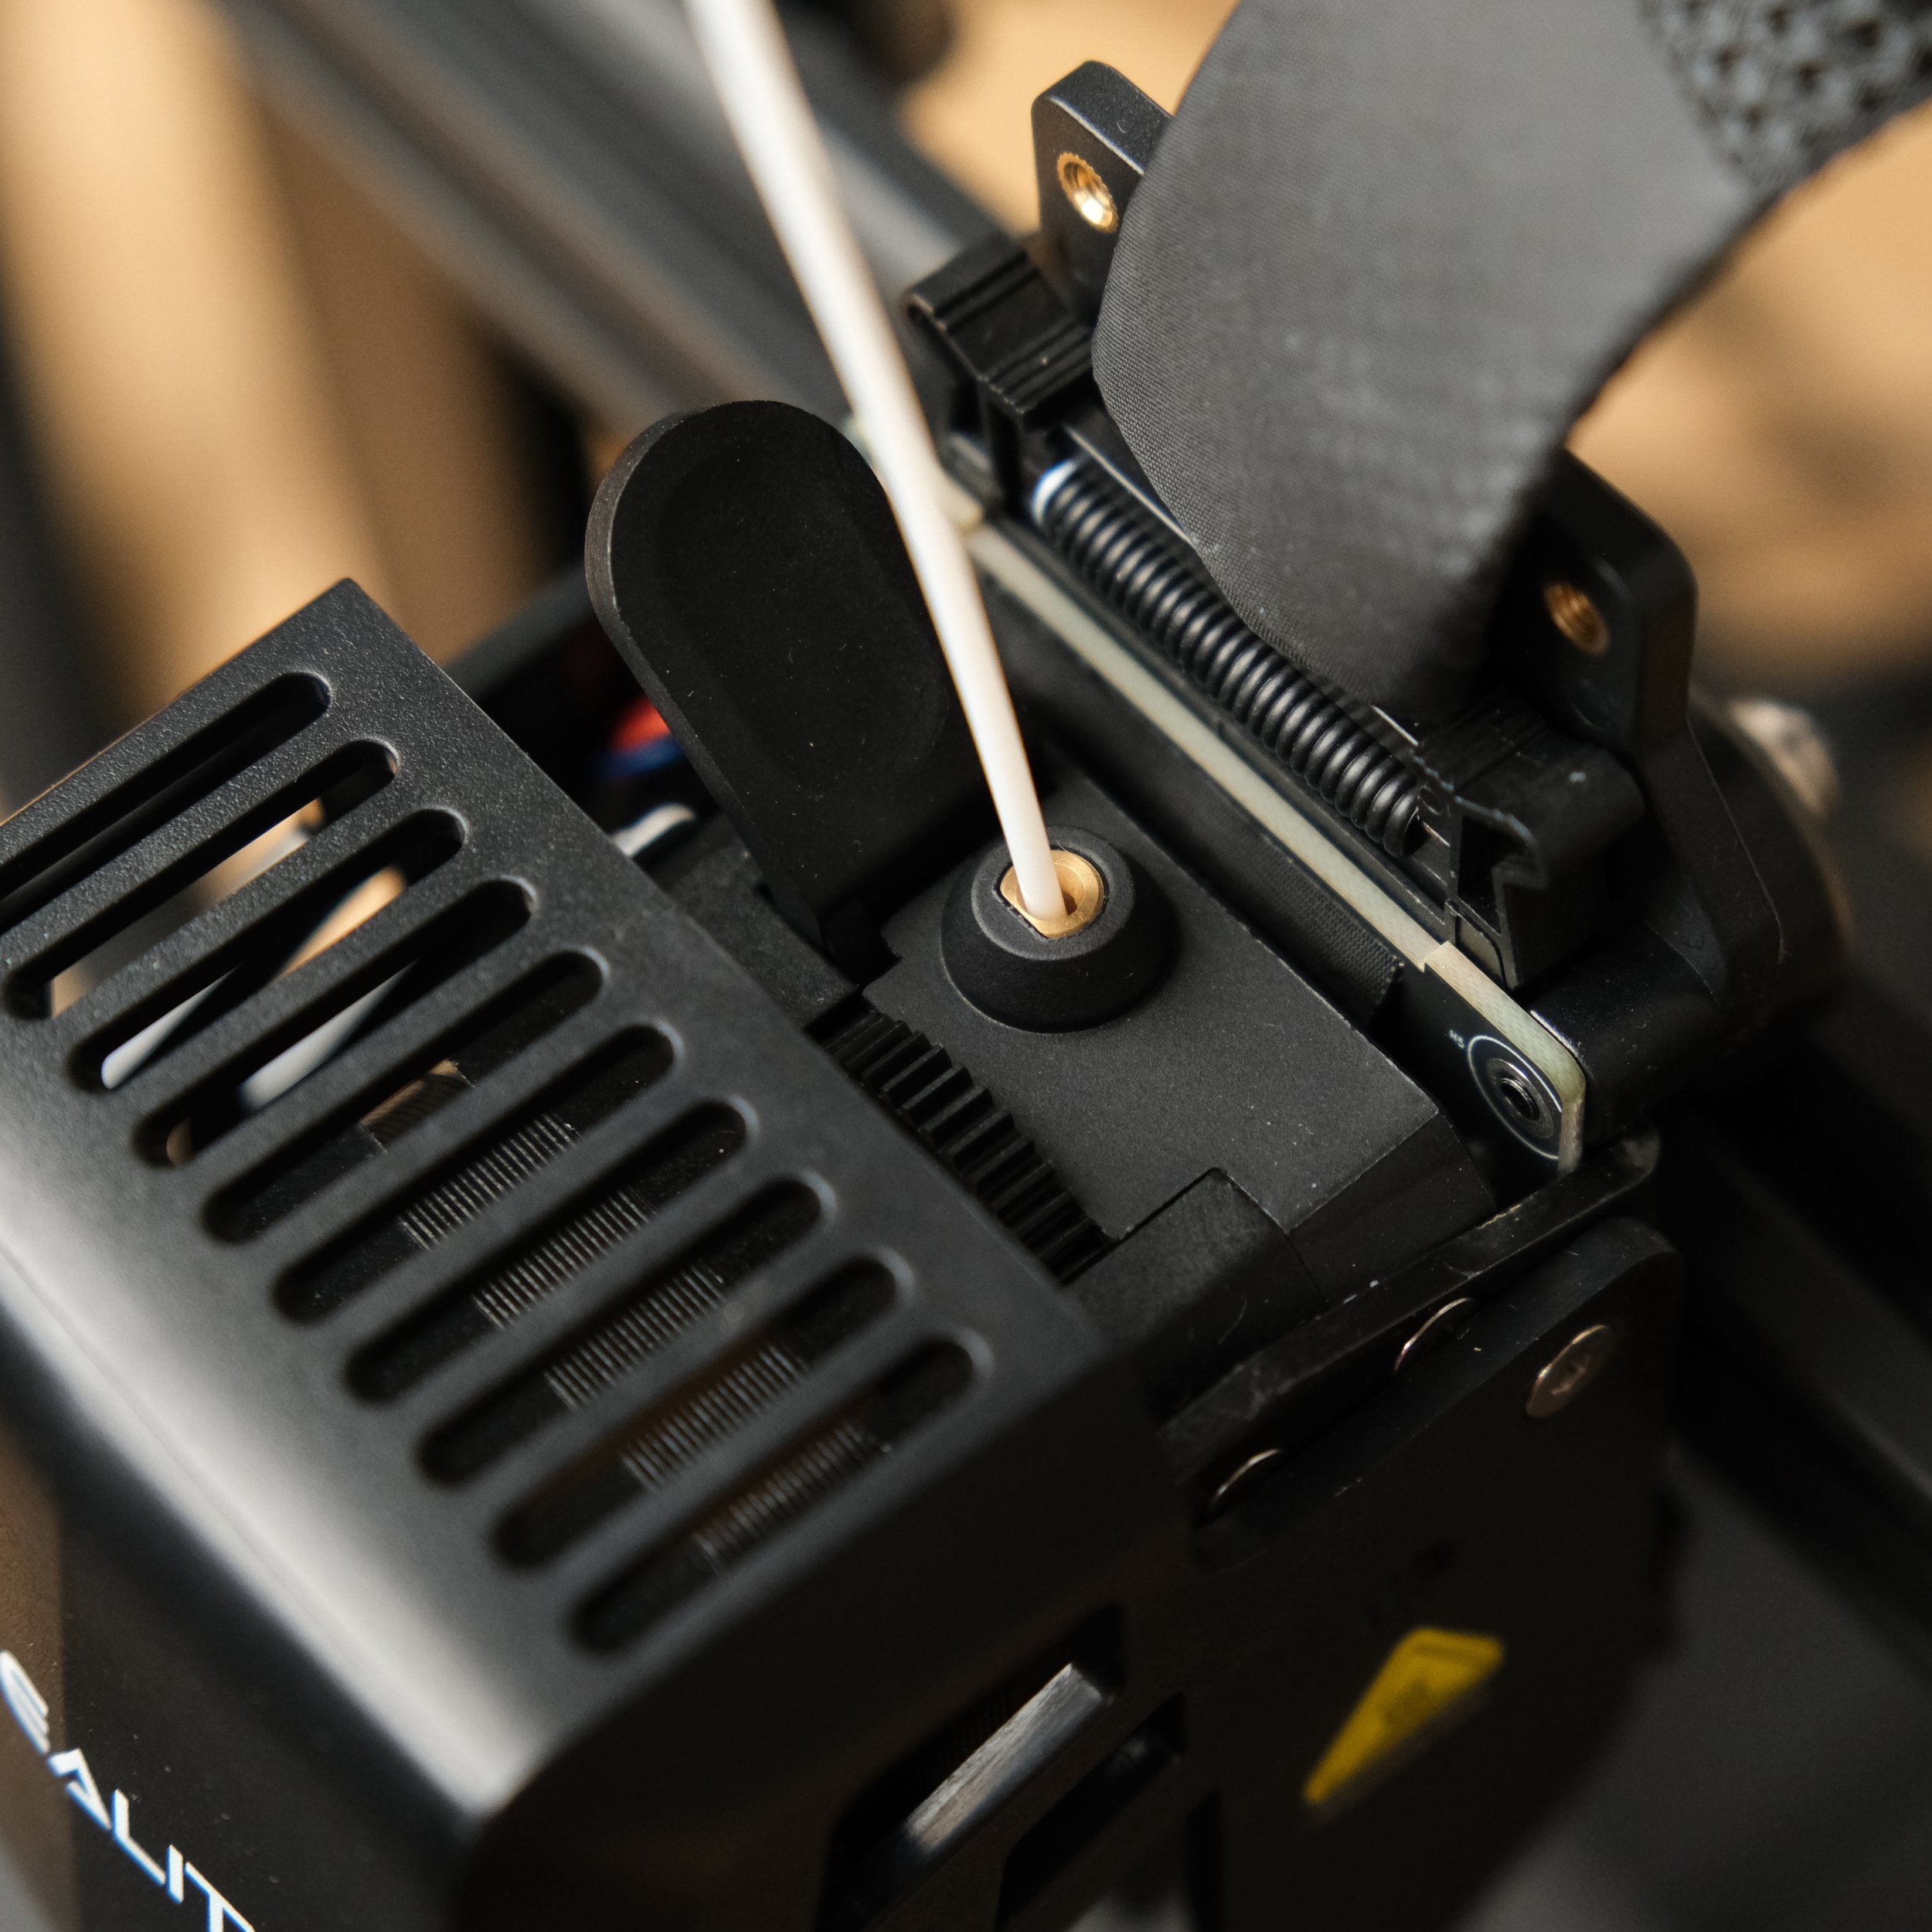
Direct Drive Extruder
Both 3D printers include a direct drive extruder, which we prefer over the Bowden extruder found on many older Creality printers. Direct drive extruders are more reliable and offer much better performance with flexible filaments such as TPU.
Both printers have a direct drive extruder, which we prefer over the Bowden extruders found in older models.
The printers use different extruder designs. The Ender 3 V3 SE uses a variant of Creality’s Sprite extruder, which is a design they’ve used on several previous printers. We have many printers with this extruder design and have been very pleased with the performance, so we have no concerns with its functionality or long-term reliability.
The Ender 3 V3 uses a new direct drive extruder design that Creality claims is more reliable than the older designs. We have no reason to doubt their claims, but since this is a newer design, we don’t have long-term test data on its performance.
Differences Between the Creality Ender 3 V3 and Ender 3 V3 SE
The Ender 3 V3 and Ender 3 V3 SE are different in several important ways. We’ll cover each difference in this section, and help you evaluate how to factor these differences into your choice between the two printers.
Motion System

The Ender 3 V3 uses an unusual CoreXZ motion system, where two motors mounted in the base of the printer drive the X and Z axes with an arrangement of belts.
The Ender 3 V3 includes a new motion system that we haven’t seen on many other 3D printers. It’s a “CoreXZ” design that uses two fixed motors to drive the X and Z axes via belts. The Y axis is driven by a separate motor, matching most other “bedslinger” 3D printers.
The CoreXZ design is intended to reduce the vibration and inertia of the Z axis movement by reducing weight on the gantry, since the motors can be mounted in the base and don’t need to move with the gantry. Although the benefits of this design make sense on paper, we aren’t convinced this change will make a substantial difference in the performance of the printer.
The Ender 3 V3 does incorporate a few other improvements in its motion system. It uses linear rods on the X, Y, and Z axis, which reduces vibration and allows the printer to print at higher speeds than older models. It also includes automatic tensioning on the XZ drive belts. We don’t find ourselves needing to adjust belt tension often on any 3D printer, but the added automation does reduce the required maintenance on the machine.
The Ender 3 V3 SE uses a more traditional Cartesian motion system, which we’ve seen on many other bedslinger 3D printers. It does improve on the design of older Creality printers by using linear rods for the Y axis, although the X and Z axes still use aluminum extrusion beams with rubber drive wheels, similar to older 3D printers.
Overall, we don’t think the CoreXZ motion system is a big reason to buy the Ender 3 V3 over the Ender 3 V3 SE, but the linear rods on the X and Z axes may make more of a difference in reducing print artifacts caused by vibrations.
Print Speed
The Ender 3 V3 is capable of much faster print speed than the Ender 3 V3 SE—up to 600 mm/s print speed with 20,000 mm/s acceleration, compared to a maximum 250 mm/s print speed and 2,500 mm/s acceleration on the Ender 3 V3 SE. In other words, at top speed the Ender 3 V3 can print more than twice as fast as the Ender 3 V3 SE.

It’s important to be aware that 3D printers do not always print at their top speed. Depending on the geometry of the model and the slicer settings you’ve chosen, the printer will often print much more slowly than these speeds, and printing at high speeds can often result in poorer quality prints. In the case of the Ender 3 V3 SE, Creality actually advertises a lower “typical print speed” of 180 mm/s.
Both of these machines are much faster than older Creality 3D printers such as the original Ender 3, but the Ender 3 V3 is clearly the faster of the two machines in this comparison, and matches or exceeds the print speeds of many more expensive machines. If you want to be able to finish your prints as quickly as possible, the V3 will be the better choice over the V3 SE.

Unlike the SE model, the Ender 3 V3 uses a new nozzle design. It’s easier to swap nozzles, but replacements aren’t as affordable or interchangeable with third-party parts.
Hotend and Nozzle
The Ender 3 V3 includes a newer hotend design that is capable of heating to 300 degrees C, compared to the Sprite hotend on the Ender 3 V3 SE which can heat to 260 degrees C. While both printers are more than capable of printing standard materials such as PLA, ABS, and PETG, the Ender 3 V3 can additionally print high-temperature materials such as nylon.
The Ender 3 V3 also uses a new nozzle design that appears to have a few improvements over the older design used in the Ender 3 V3 SE. The nozzle has an integrated bimetallic heartbreak, which is an upgrade we’ve found to be worthwhile for reducing heat creep during printing. Additionally, the new nozzle is a “quick change” design that can be easily loosened and replaced with one hand, which is faster and easier than the older design. The downside, however, is that this new nozzle design isn’t compatible with the wide range of affordable nozzles on Amazon, which will limit your purchasing options for new nozzles.
Print Bed Surface
The Ender 3 V3 includes a textured PEI build plate, which is one of our favorite print bed materials. This surface offers excellent layer adhesion, but printed models still release easily once the bed cools. It’s also a flexible magnetic sheet that can be removed from the bed and flexed to aid in part removal.

Both printers include flexible magnetic beds, allowing you to remove the bed to aid in part removal, or to replace the bed with a different material if desired.
On the other hand, the Ender 3 V3 SE comes with a PC spring steel bed, which is a good print bed surface but isn’t quite as good as the textured PEI on the Ender 3 V3. The PC coating tends to not be quite as durable, and also sometimes adheres a little too well to printed parts, making them more difficult to remove. Fortunately, it’s still a magnetic surface, and if you find it annoying to work with, you can easily replace it with a textured PEI build plate. For that reason, this isn’t a big differentiator between the printers—it’s an easy upgrade you can purchase later.
Connectivity and Firmware

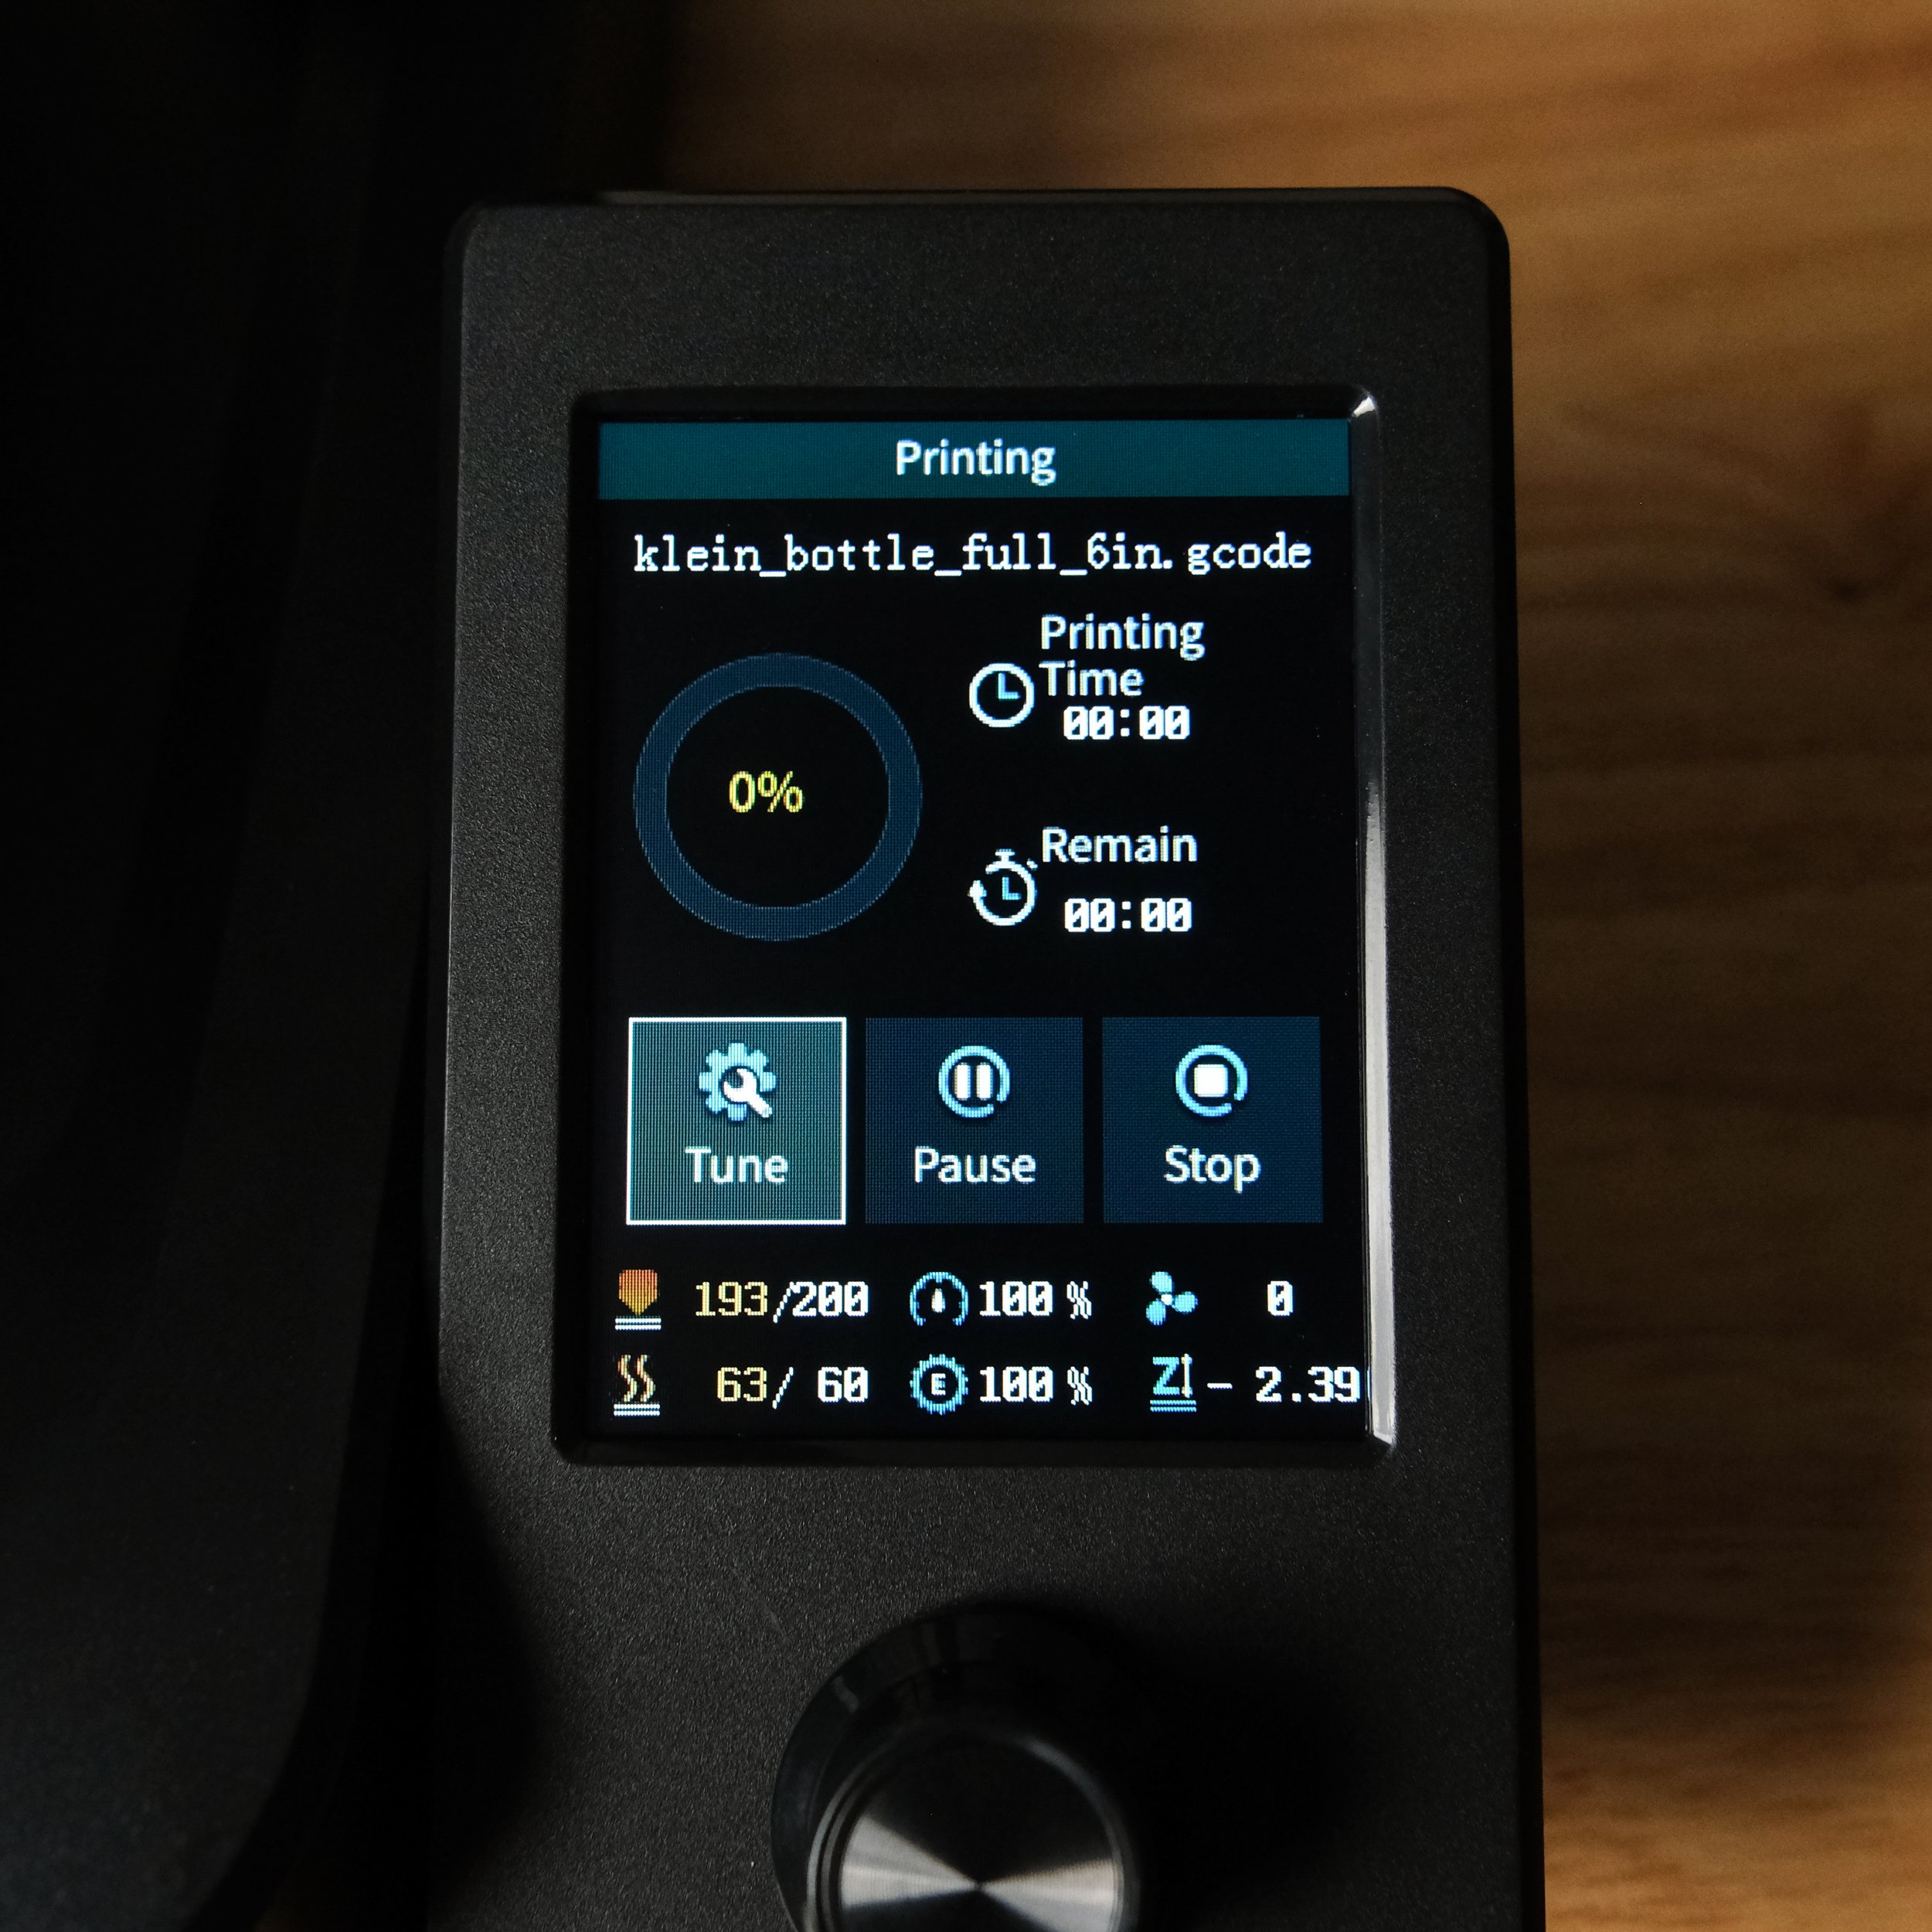
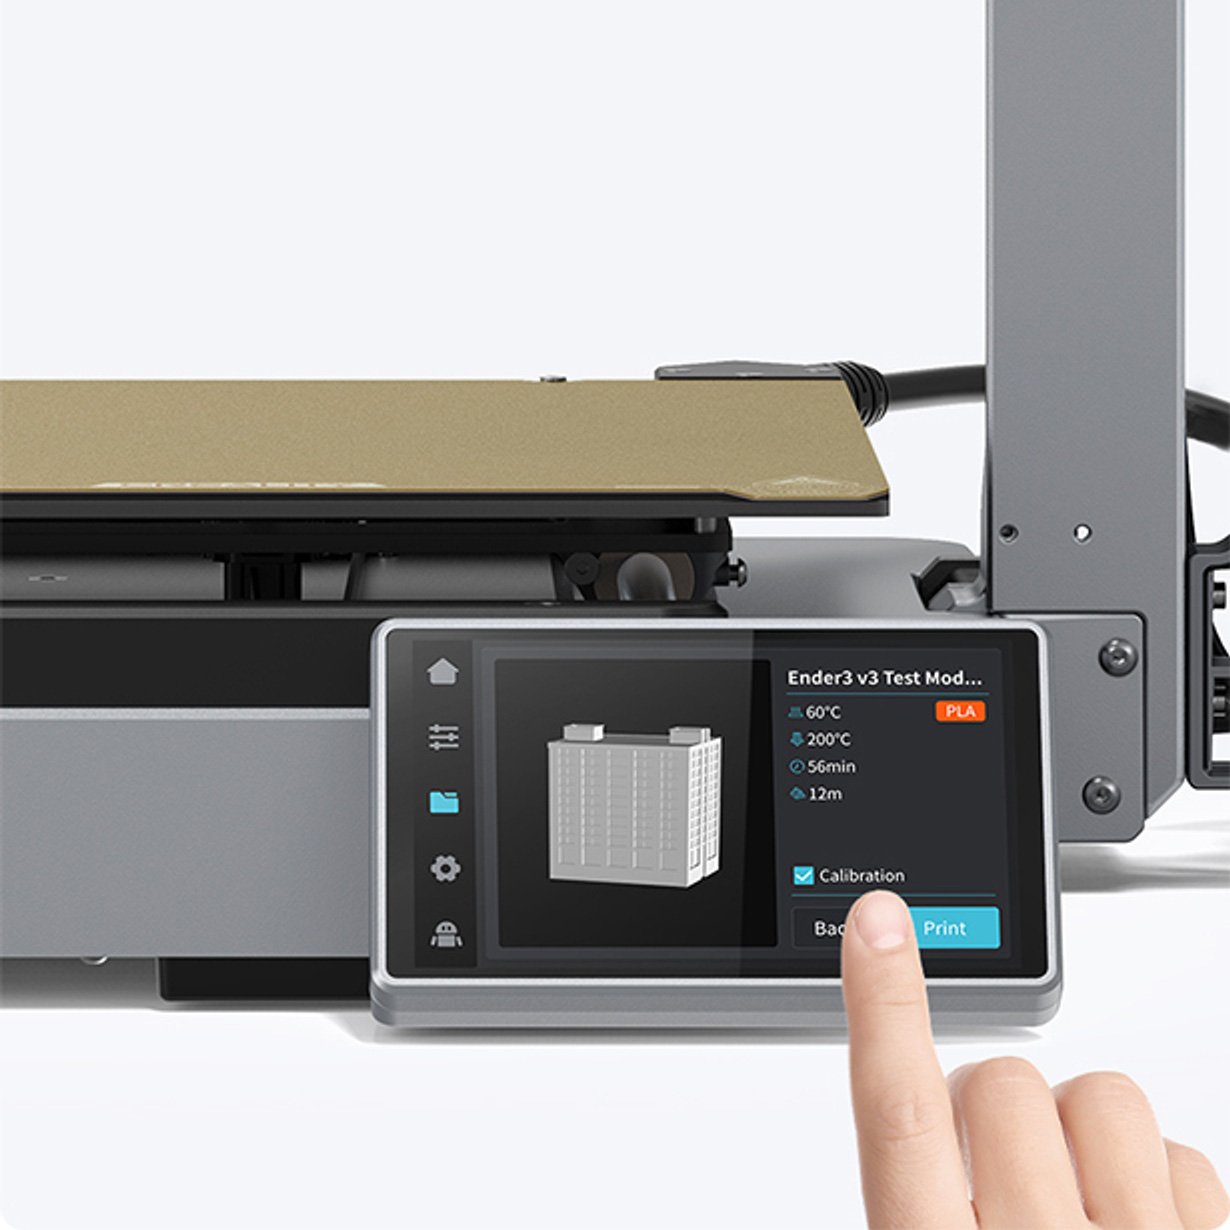
The Klipper-based firmware on the Ender 3 V3 will let you monitor every detail of your printer from a phone or computer app. (Ender 3 V3 KE shown here; the Ender 3 V3 offers this same functionality).
One of the most impactful differences between the two printers is in their included firmware and external connectivity. The Ender 3 V3 SE is more similar to older Creality 3D printers, while the Ender 3 V3 uses newer and much more capable firmware. This affects how you interact with the printer, as well as how you load gcode onto the machine to print models. It also affects the maximum print quality and speed you can get from either machine.
On the Ender 3 V3 SE, you’ll need to use either a direct USB connection to your computer or a SD card to load gcode files for printing. To print models or adjust settings, you’ll need to use the user interface on the printer. Creality’s firmware works well and is reliable, but the interface can be a little limiting and doesn’t always display information clearly. It’s a fairly simple interface that shows you what you need to see to use the printer, but doesn’t provide much extra information.
The Ender 3 V3 uses newer firmware based on the open-source Klipper project, and that brings a number of major improvements to the V3. For one thing, the interface displays information more clearly, and offers more options for adjusting the behavior of the printer. But more importantly, the Ender 3 V3 allows you to connect to the printer over WiFi, allowing you to wirelessly load gcode and monitor the printer. We’ve really appreciated the wireless functionality on newer 3D printers, and find it to be a major benefit for day-to-day use.
Additionally, the Klipper firmware on the Ender 3 V3 uses more sophisticated algorithms to control the 3D printer, resulting in improved print quality over the firmware found in older Creality 3D printers. While the Ender 3 V3 SE has a few firmware improvements to improve print quality over the older machines, the Klipper firmware in the Ender 3 V3 will have a much larger impact on the print quality of that printer.
In our opinion, this is one of the most important differences between the two printers. The WiFi connectivity of the Ender 3 V3 will make it easier to use than the Ender 3 V3 SE, and the Klipper firmware offers tangible benefits in print quality and speed.
Display and User Interface
Both printers include an integrated display and controls to allow you to start prints, monitor ongoing prints, and change settings. However, the printers do differ in how this feature is implemented.
The Ender 3 V3 SE uses a 3.2” color LCD screen with a knob controller. This is a design we’ve seen on many previous Creality 3D printers, although the SE has a better screen than most of its predecessors. The knob controller is simple to use and allows you to choose menu options, then click the button to select. As far as its user interface, it’s fairly basic, but gives you the key controls you need to operate the printer. We don’t have any concerns about the Ender 3 V3 SE’s controls.
On the other hand, the Ender 3 V3 includes a larger 4.3” color LCD touchscreen controller. This display is higher quality than the one found on the SE, and the touchscreen makes it easier to quickly navigate through the menus. In addition, the Klipper-based firmware on the Ender 3 V3 provides more configuration options and monitoring capabilities, which makes the controller more useful and capable than the SE.
The display and user interface probably shouldn’t be your only factor in choosing a 3D printer, but it is another area where the Ender 3 V3 stands above the Ender 3 V3 SE.
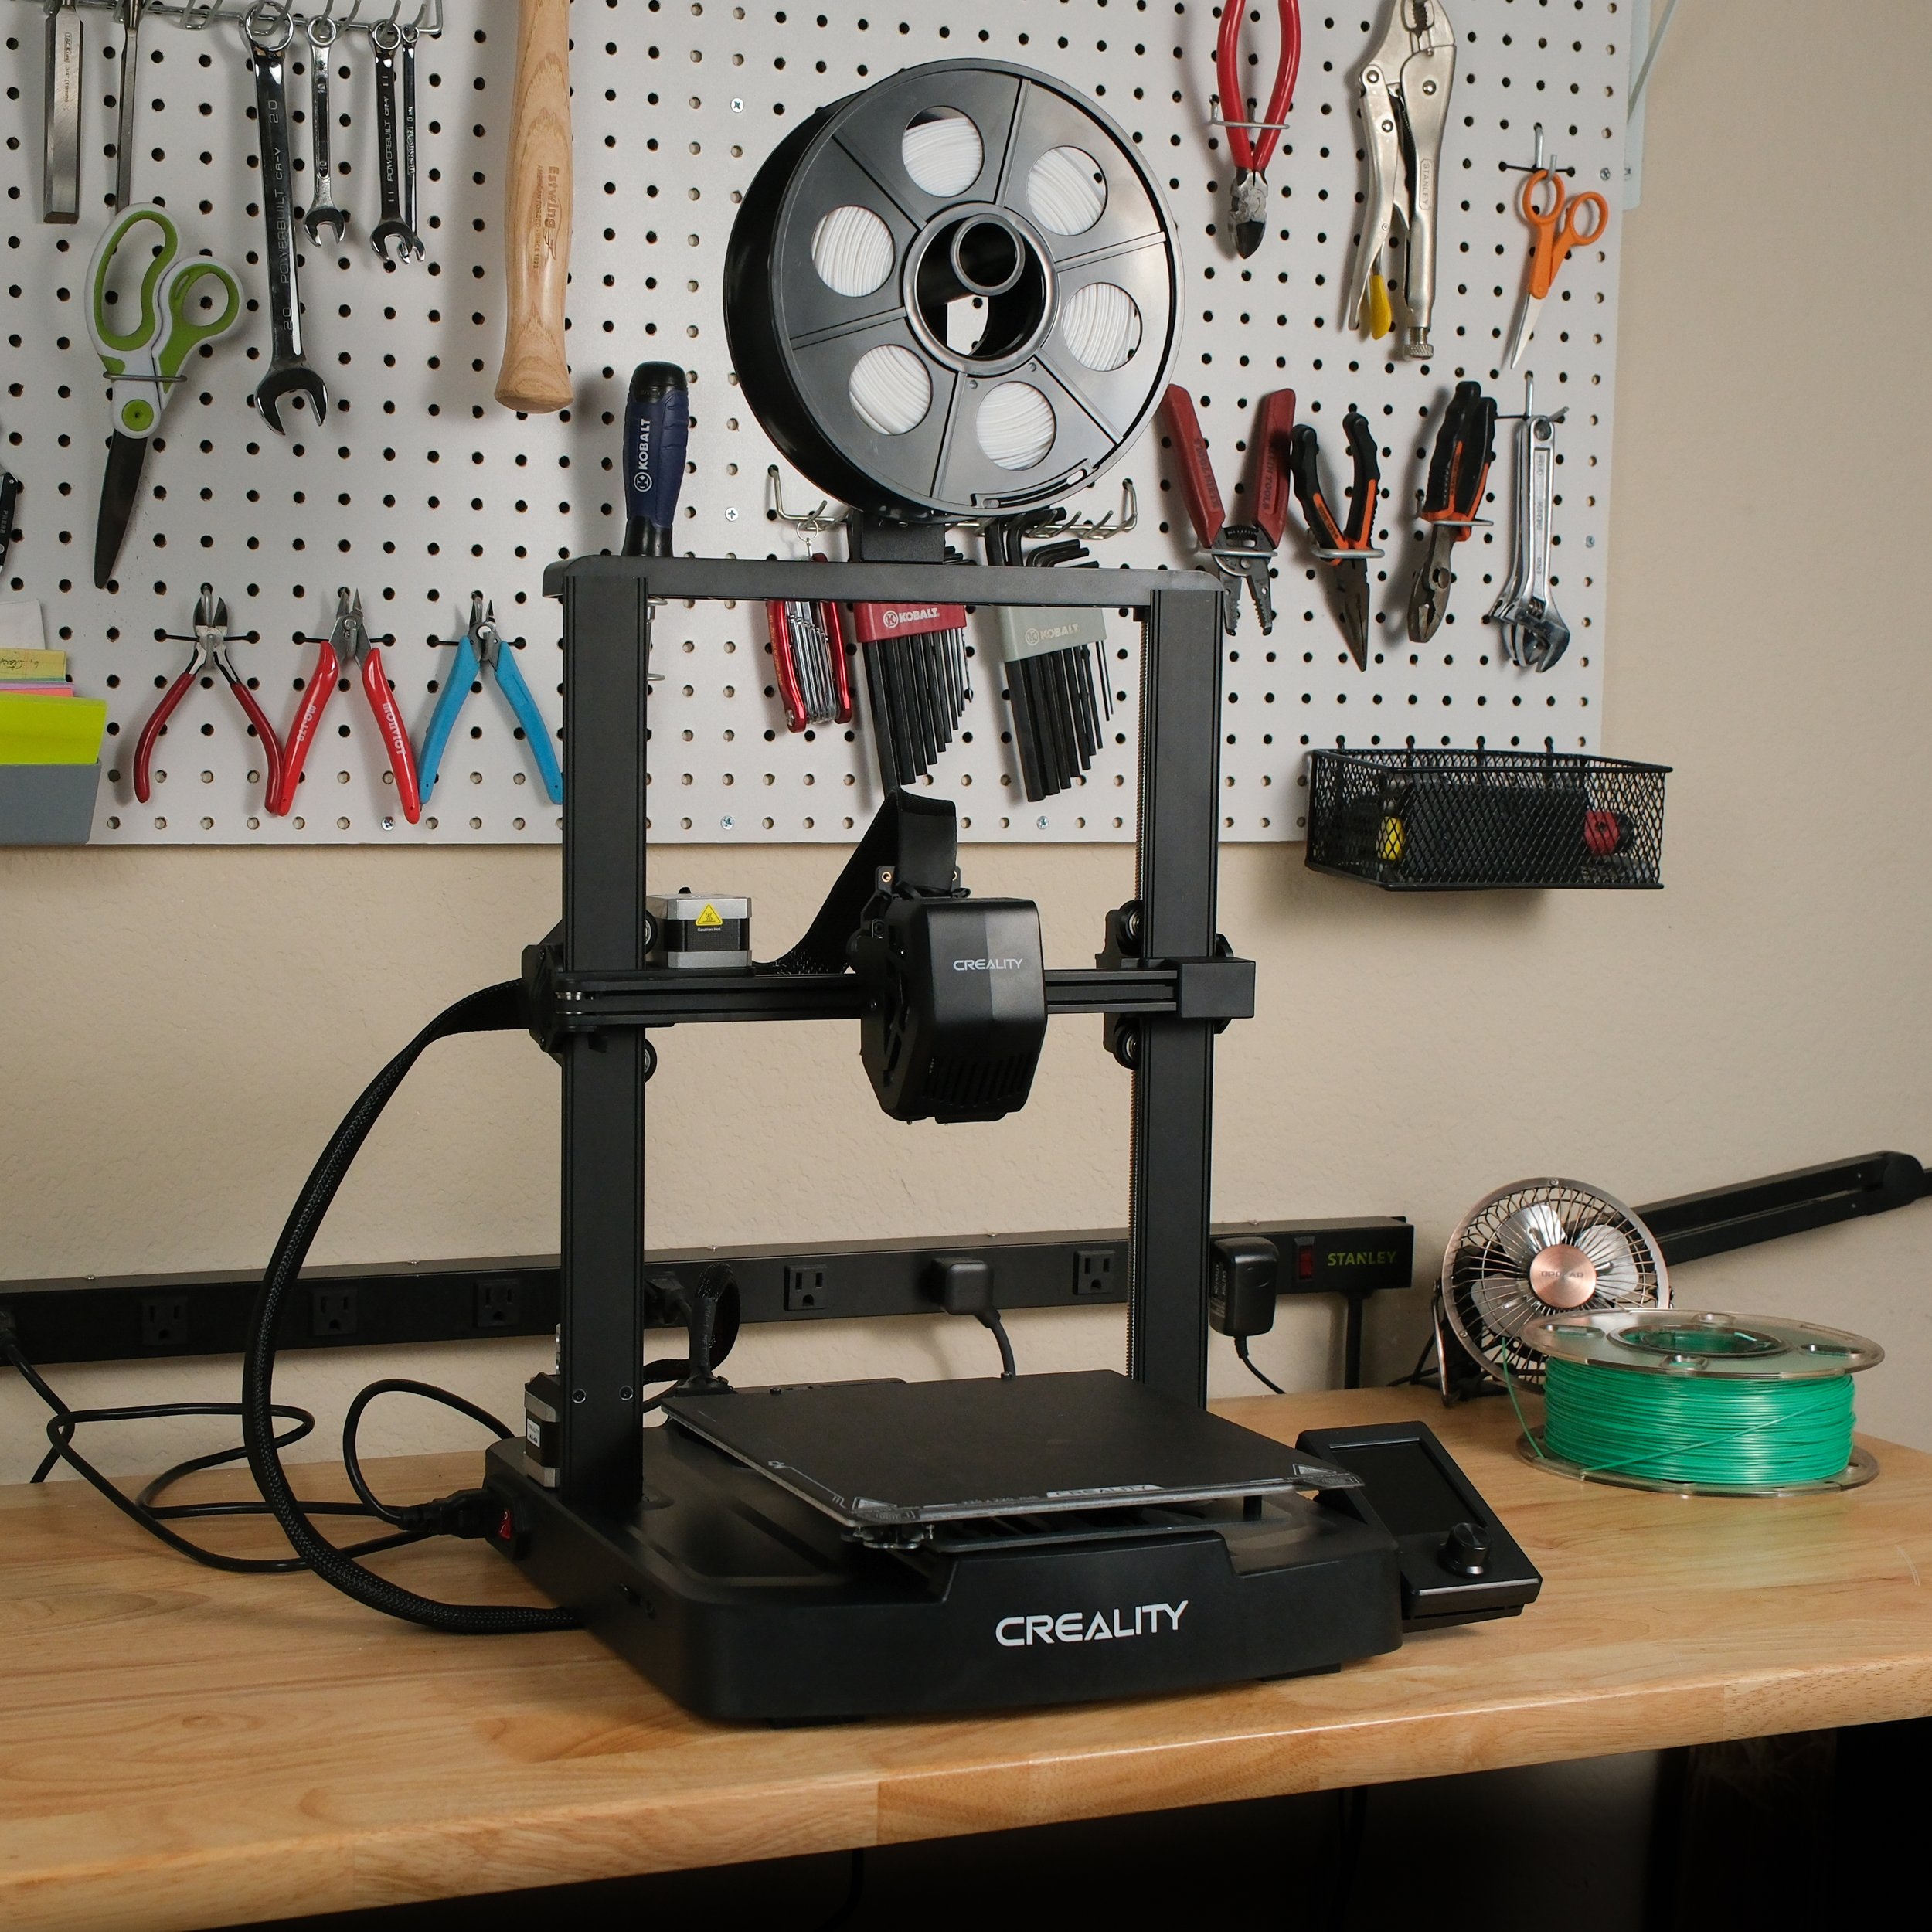
Physical Design

The Ender 3 V3 SE has a clean design, but the enclosure is mostly made of plastic.
The Creality Ender 3 V3 and Ender 3 V3 SE are both bedslinger 3D printers, and roughly share the now-familiar physical design of that style of machine, with a print bed that moves back and forth in the Y axis and an X carriage that runs along a gantry. The gantry raises in the Z axis, guided by two vertical supports. However, beyond those basics, the two printers do have distinctly different physical appearances.
The Ender 3 V3 SE offers an impressively clean design, with most of its parts hidden in an enclosed base. The display attaches to the right side of the printer, similar to most previous Ender 3 models. However, the enclosure around the base is primarily made of plastic, and the printer doesn’t look or feel quite as premium as some other models. That may not be an issue at all for you, and the printer does have a sleek, rounded appearance, but the plastic may be a detractor if appearance is important to you.
The Ender 3 V3 introduces a new aluminum design that looks cleaner and more modern than any of the other Ender 3 printers. We hope to see this design language used on more future Creality machines. The base is diecast aluminum, and the vertical supports are also a single large aluminum piece, resulting in a printer design that looks much more premium than the SE. The display is mounted to the front of the machine rather than the side, although any gains in desk space from that choice are offset by the Ender 3 V3’s spool holder being side-mounted rather than the top mount found on the Ender 3 V3 SE.
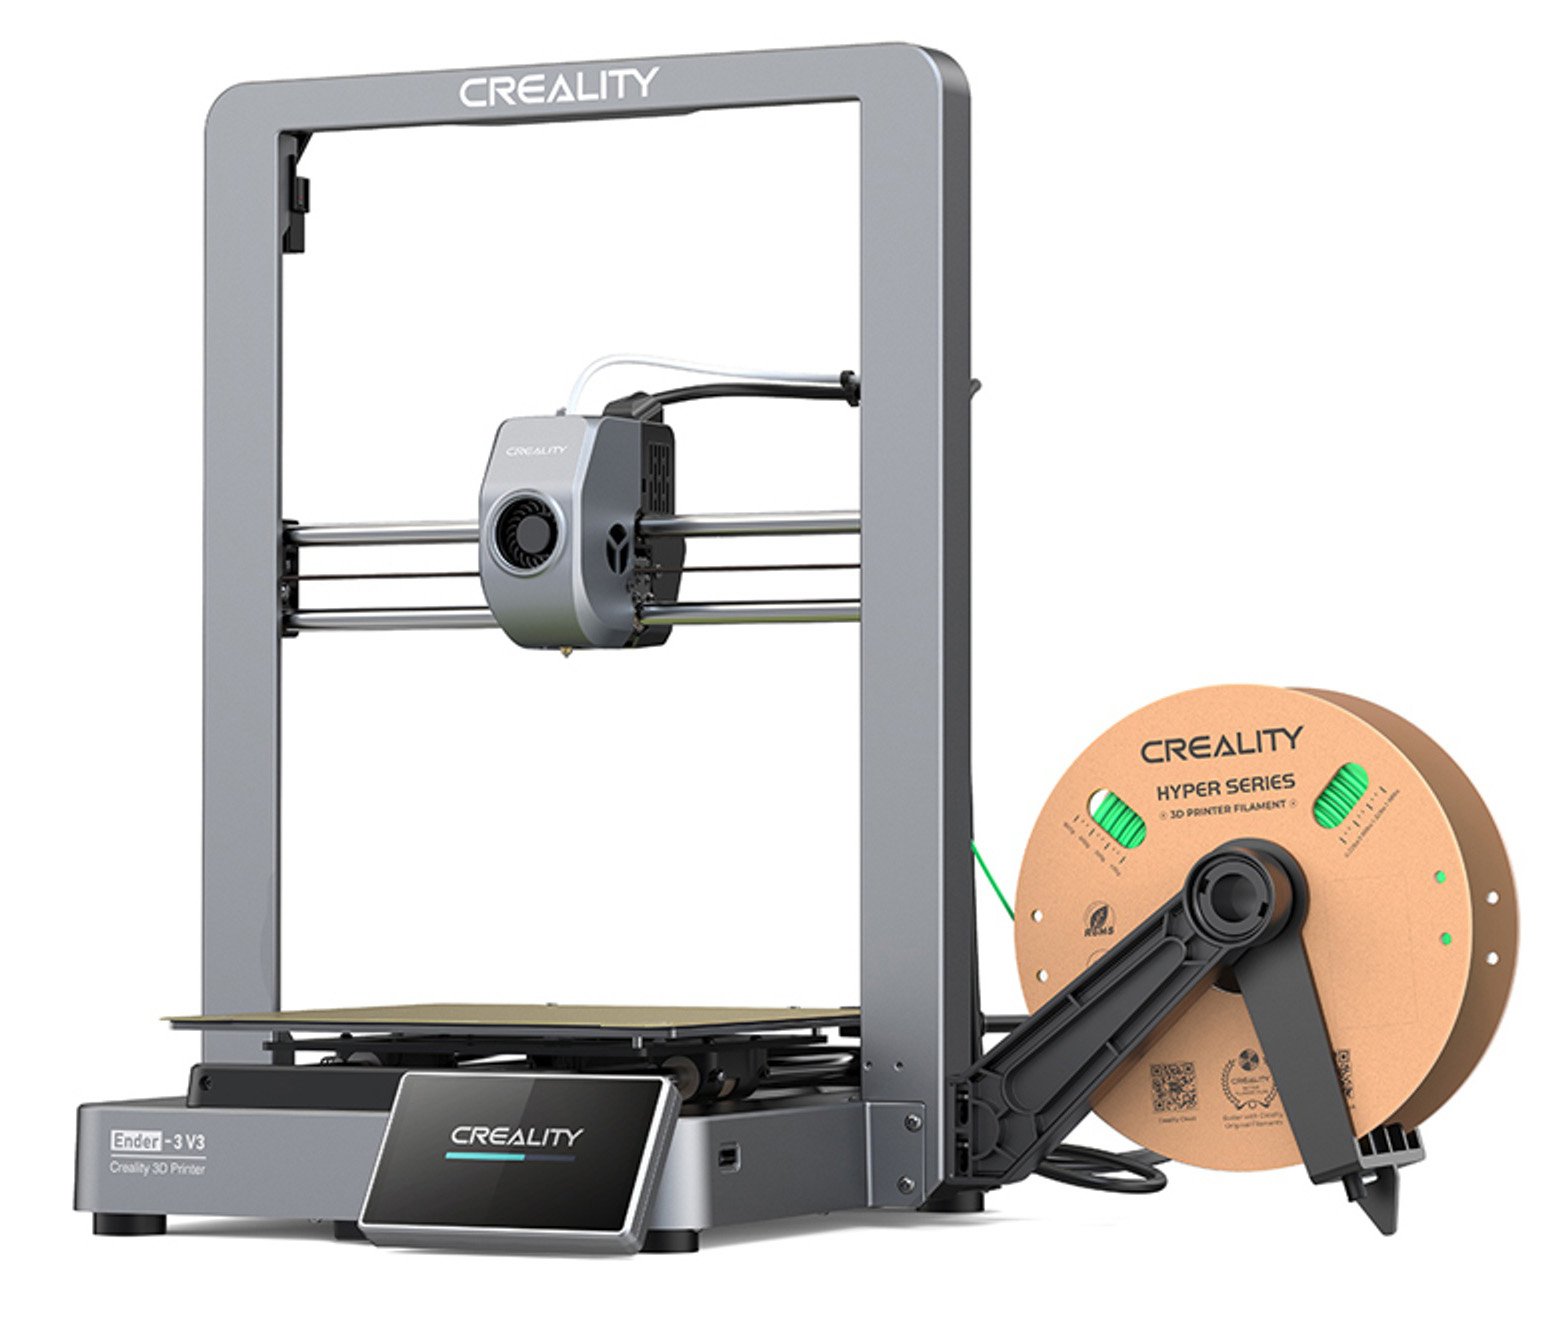
We like the new aluminum design of the Ender 3 V3 and hope to see a similar aesthetic on future Creality 3D printers.
In our opinion, the physical design probably shouldn’t be a major consideration in your choice between these 3D printers. Both machines have a tidy design with few exposed wires and components, and besides the differences we discussed in the Motion System section above, the physical design won’t affect the performance of either printer. But if looks are important to you, the Ender 3 V3 has a more appealing design.
Which 3D Printer Should You Choose?
There’s no doubt that the Creality Ender 3 V3 is a higher-end machine than the Ender 3 V3 SE, but it also comes at a much higher price. Is it worth paying extra for the V3? It’s not an easy question to answer, but we’ll give you our thoughts.
If you’re just getting into 3D printing and want to test the waters at an affordable price, the Ender 3 V3 SE is a great entry point. We’ve previously reviewed that printer and have been impressed with its performance—it’s far more capable than Creality’s older Ender 3 models, and we’re sometimes a bit jealous that we didn’t have access to printers like the SE when we were first starting. It’s a machine that shouldn’t hold you back at all from enjoying 3D printing, and we readily recommend it as a great entry-level printer.
But if you’re looking for a higher-end 3D printer to replace an older machine, or if you prefer to buy a more premium machine to get more advanced features, the Creality Ender 3 V3 does offer a substantial set of improvements over the Ender 3 V3 SE. The most important of these is probably the firmware and connectivity—by allowing you to connect over WiFi, it just feels more modern and easy-to-use compared to the SE. But the Ender 3 V3 also features much faster print speeds, a more robust motion system, more capable hotend, and an upgraded display and controller. Almost all aspects of the printer are upgraded when compared to the Ender 3 V3 SE.
Whether those features are worth the added price is up to you to decide, but it’s hard to go wrong with either machine. We’re never afraid to point out problems where we see them, but it’s hard to find too many faults in either of these 3D printers, and in our opinion, both machines offer a good value for their cost.
Click here to view the Creality Ender 3 V3 on Amazon.
Click here to view the Creality Ender 3 V3 SE on Amazon.
You can also see a side-by-side comparison of the specs of the two printers in the table below.
If you’d like to compare other printers, take a look at our 3D Printer Comparison Tool. This tool lets you view multiple 3D printers side by side to easily compare features.