Creality Sonic Pad Setup Guide
Note: Creality Experts receives a commission for items you purchase from this page, at no additional cost to you. For more information, please see our affiliate link policy.
In this guide, we'll show you how to set up the Creality Sonic Pad for use with a Creality 3D printer such as the Ender 3 V2, Ender 5, or CR-10 Smart.
The Creality Sonic Pad [Amazon link] is a standalone touchscreen controller that you can use with most FDM 3D printers from Creality and other brands. It offers a number of features not found in most 3D printers, such as the ability to control the printer remotely, monitor it with a webcam, and load files from a USB stick or from a computer on your network. The Sonic Pad can also improve the print quality and speed of your 3D printer by bypassing the printer's own firmware and using its more powerful processor to directly control the printer hardware.
Although the Sonic Pad includes an instruction manual that describes the setup process, we found a few parts of the setup confusing, and decided to create this detailed guide to help you set up the Sonic Pad with your Creality 3D printer. Specifically, this process requires you to update the firmware on your 3D printer, and we encountered a few issues you should be aware of when setting up the Sonic Pad. With this guide, we're hoping to help you quickly get up and running with the Sonic Pad on your 3D Printer.
Unboxing, Power Up, and Initial Settings
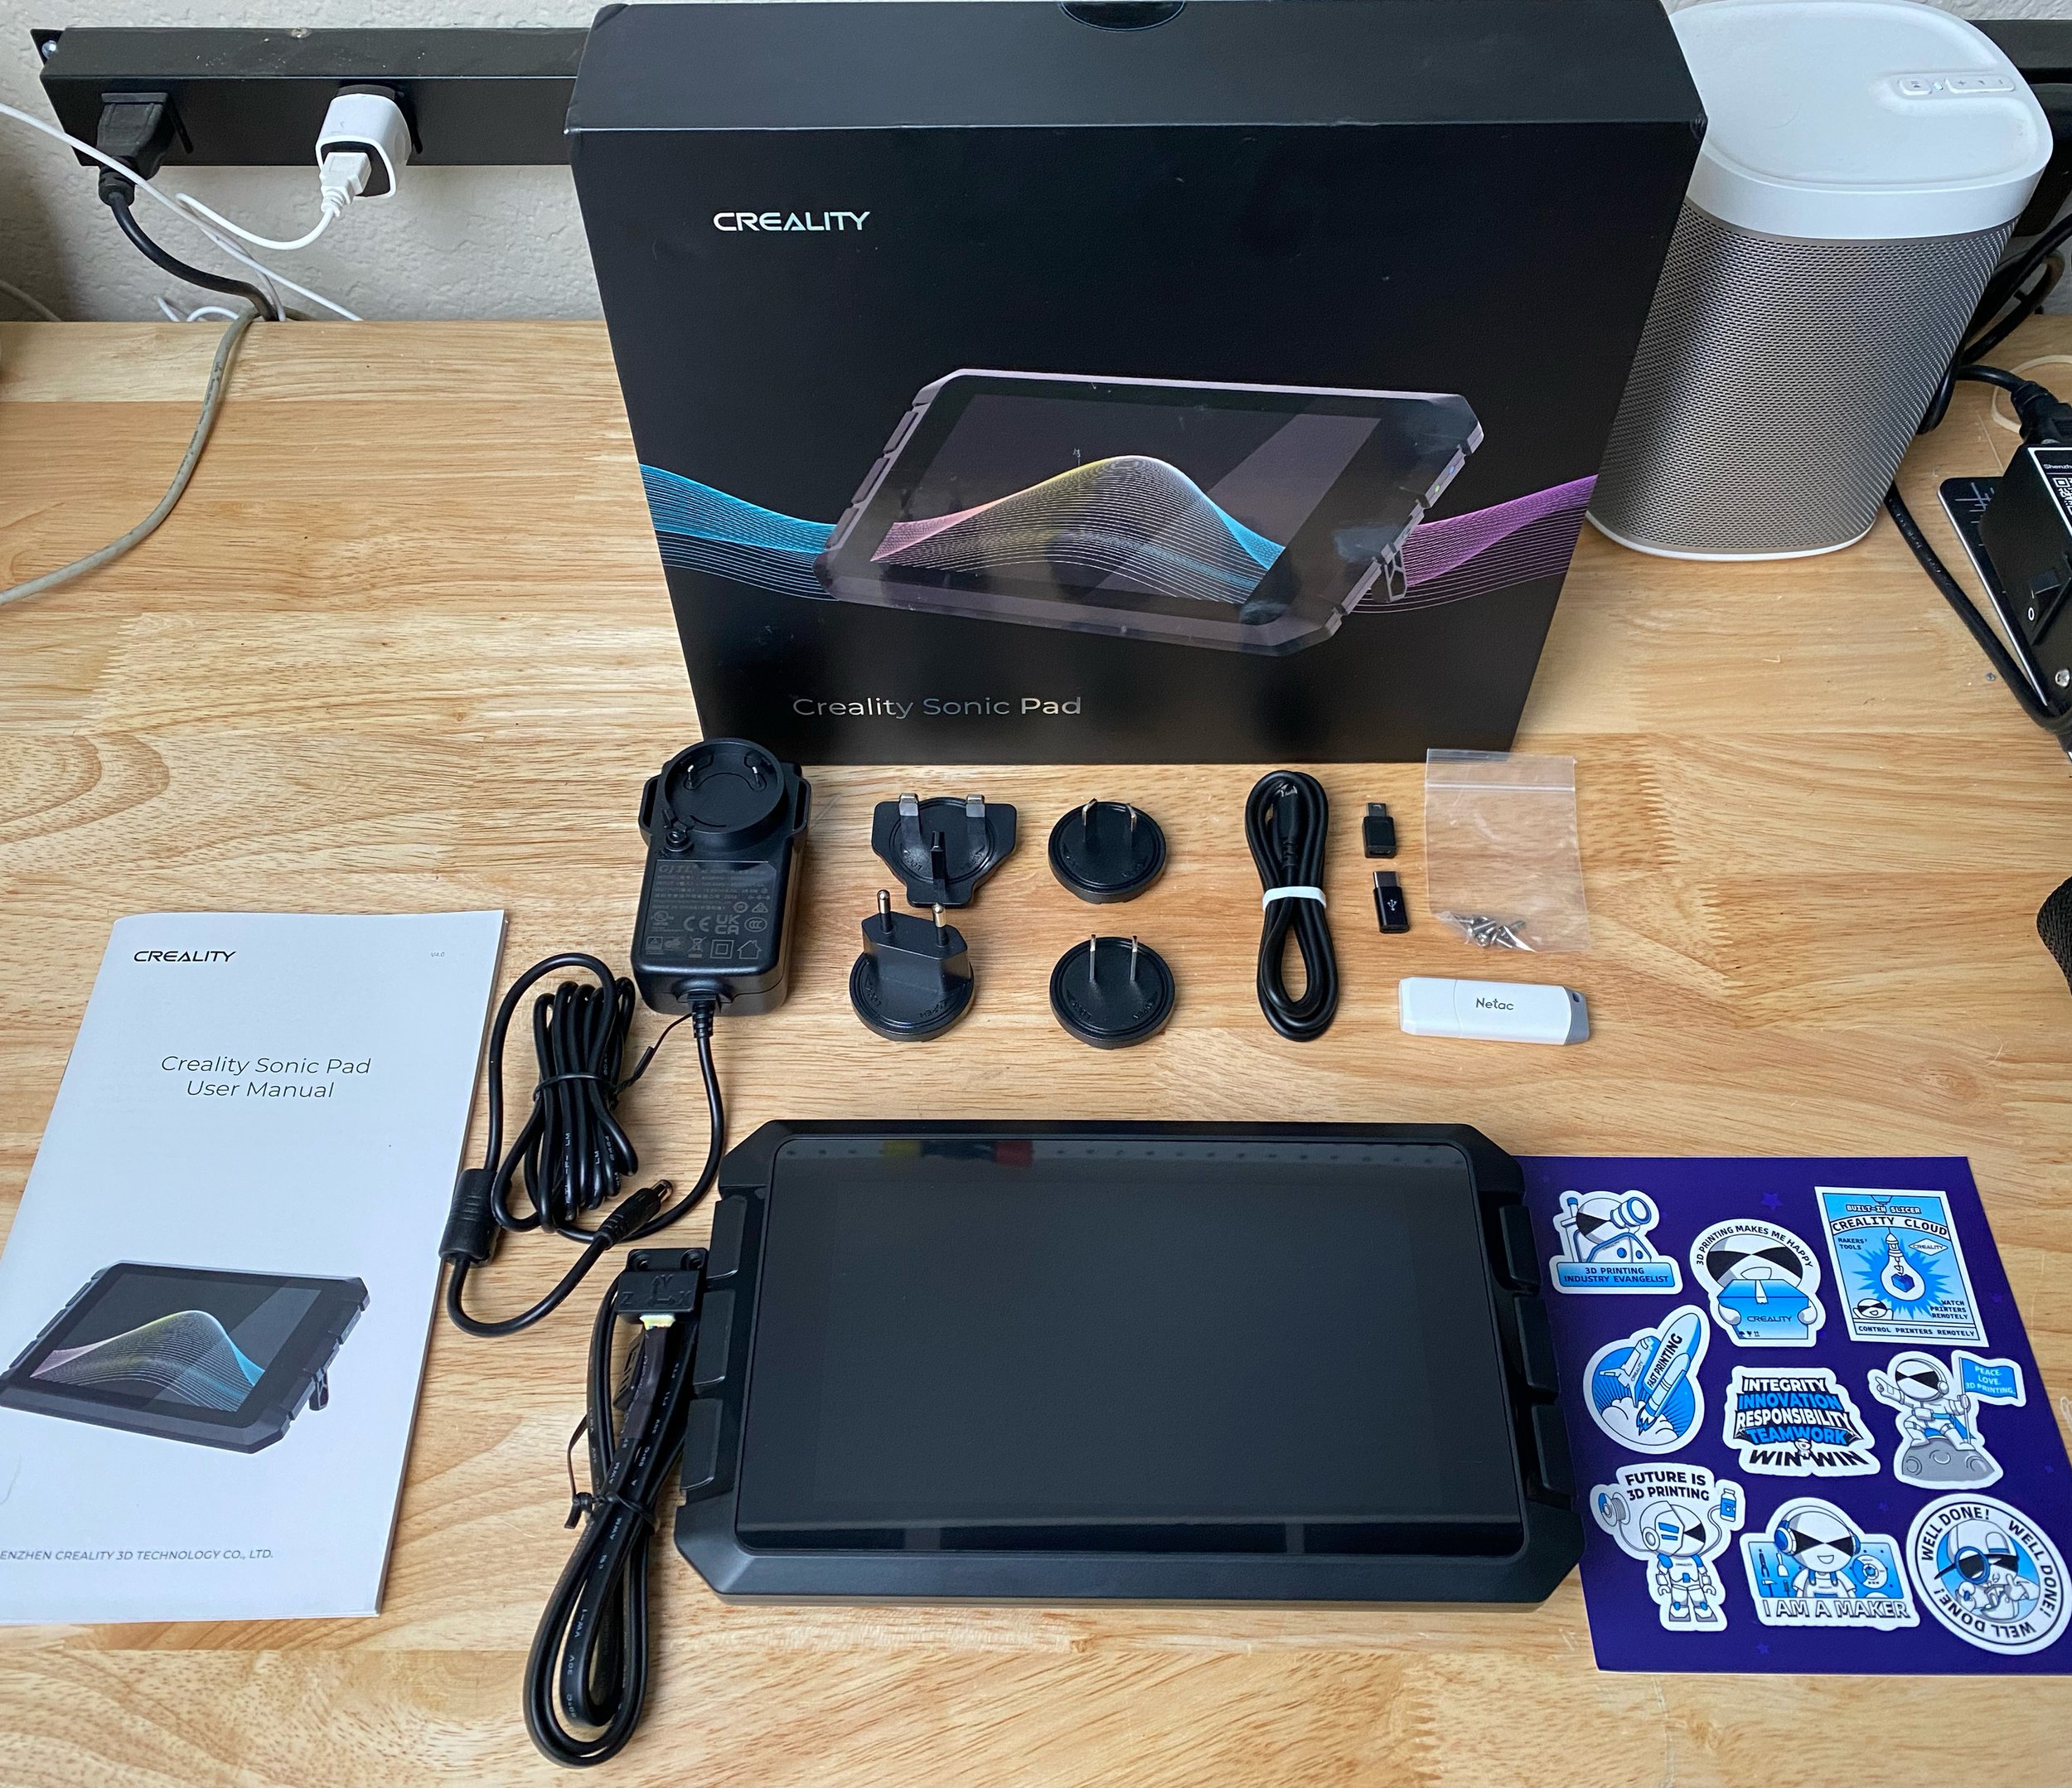
Inside the box, you'll find the Sonic Pad unit itself, power cable with multiple adapters for different power outlets, micro USB cable with adapters for mini USB and USB-C, USB thumb drive, G sensor for advanced motion calibration, and the instruction manual.
Follow these steps to set up the Sonic Pad plugged in and started up:
Locate the correct power plug for your country's power outlets and twist it onto the power adapter until it locks in place. Plug the power adapter into the corresponding connector on the back of the Sonic Pad, then plug it into a power outlet.
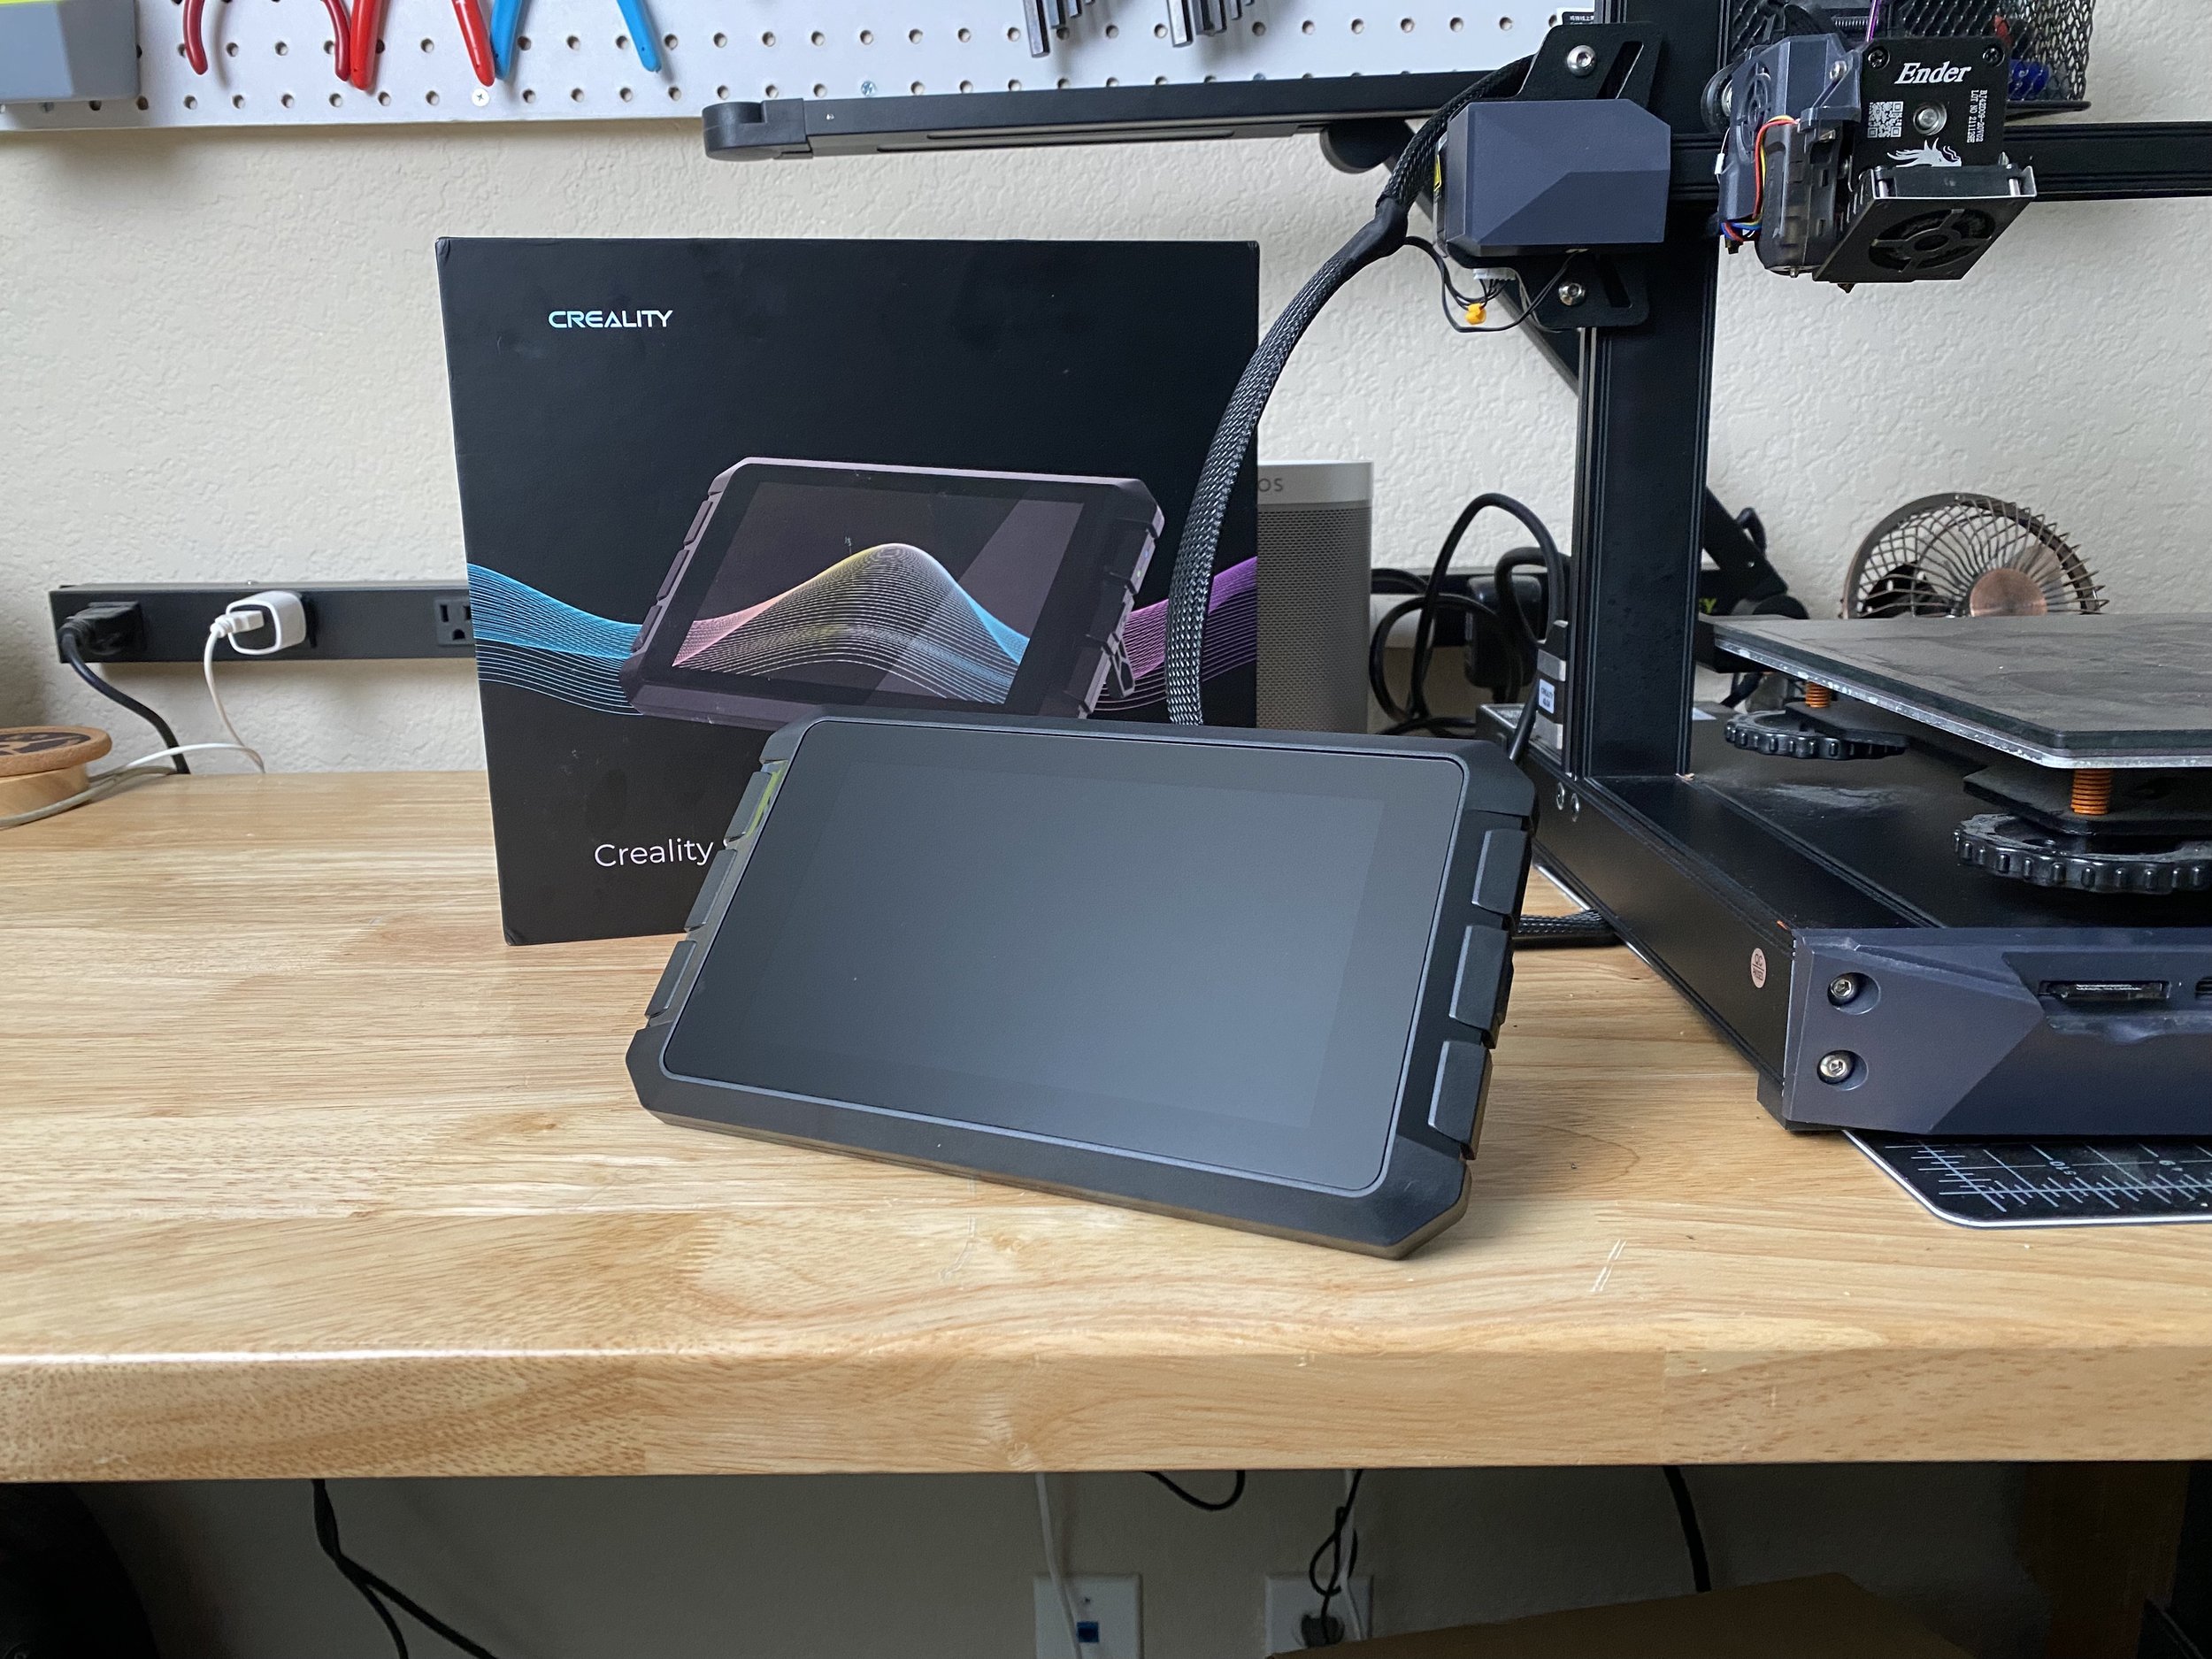
Press the power button on the right side of the Sonic Pad to turn it on. The screen should light up, and a loading bar will appear. The loading bar completes several times before the Sonic Pad fully boots up, and the boot process takes a few moments (longer than a normal 3D printer controller). When the boot process is complete, you will see a menu asking you to set the language for the user interface.
Follow the steps in the setup wizard to configure the language, review and accept the license agreement, and set the timezone.
On the next screen, you will need to connect the Sonic Pad to your local network. You can connect an Ethernet cable to the back of the Sonic Pad, but it also includes Wi-Fi if you prefer to use your wireless network. While you don't necessarily have to connect the Sonic Pad to your network, doing so will enable it to download firmware updates for itself and connected 3D printers, as well as allowing you to control and monitor your 3D printer remotely.
Once you have configured the network settings properly, the Sonic Pad may prompt you to update its firmware. We did this on ours, and the firmware update downloaded and installed quickly. Once the update is complete, the Sonic Pad will reboot, and while you will need to go through the first few setup setup steps again, the settings you chose the first time will still be set, so you can easily jump through these screens.
When you reach a page asking you to select a 3D printer model, you're ready to continue to the next section.
Updating 3D Printer Firmware
In this section, you will need to configure the Sonic Pad for your specific model of 3D printer and prepare the printer for use with the Sonic Pad. To enable the Sonic Pad to directly control the printer's functions, you will need to update the firmware on your 3D printer to a special version that is designed for use with the Sonic Pad. The Sonic Pad setup walks you through this process, but we found it to be confusing and error-prone, and have documented it more clearly here to help you avoid the mistakes we made the first time we set it up. We highly recommend you review all of the steps in this section before updating the firmware on your printer.
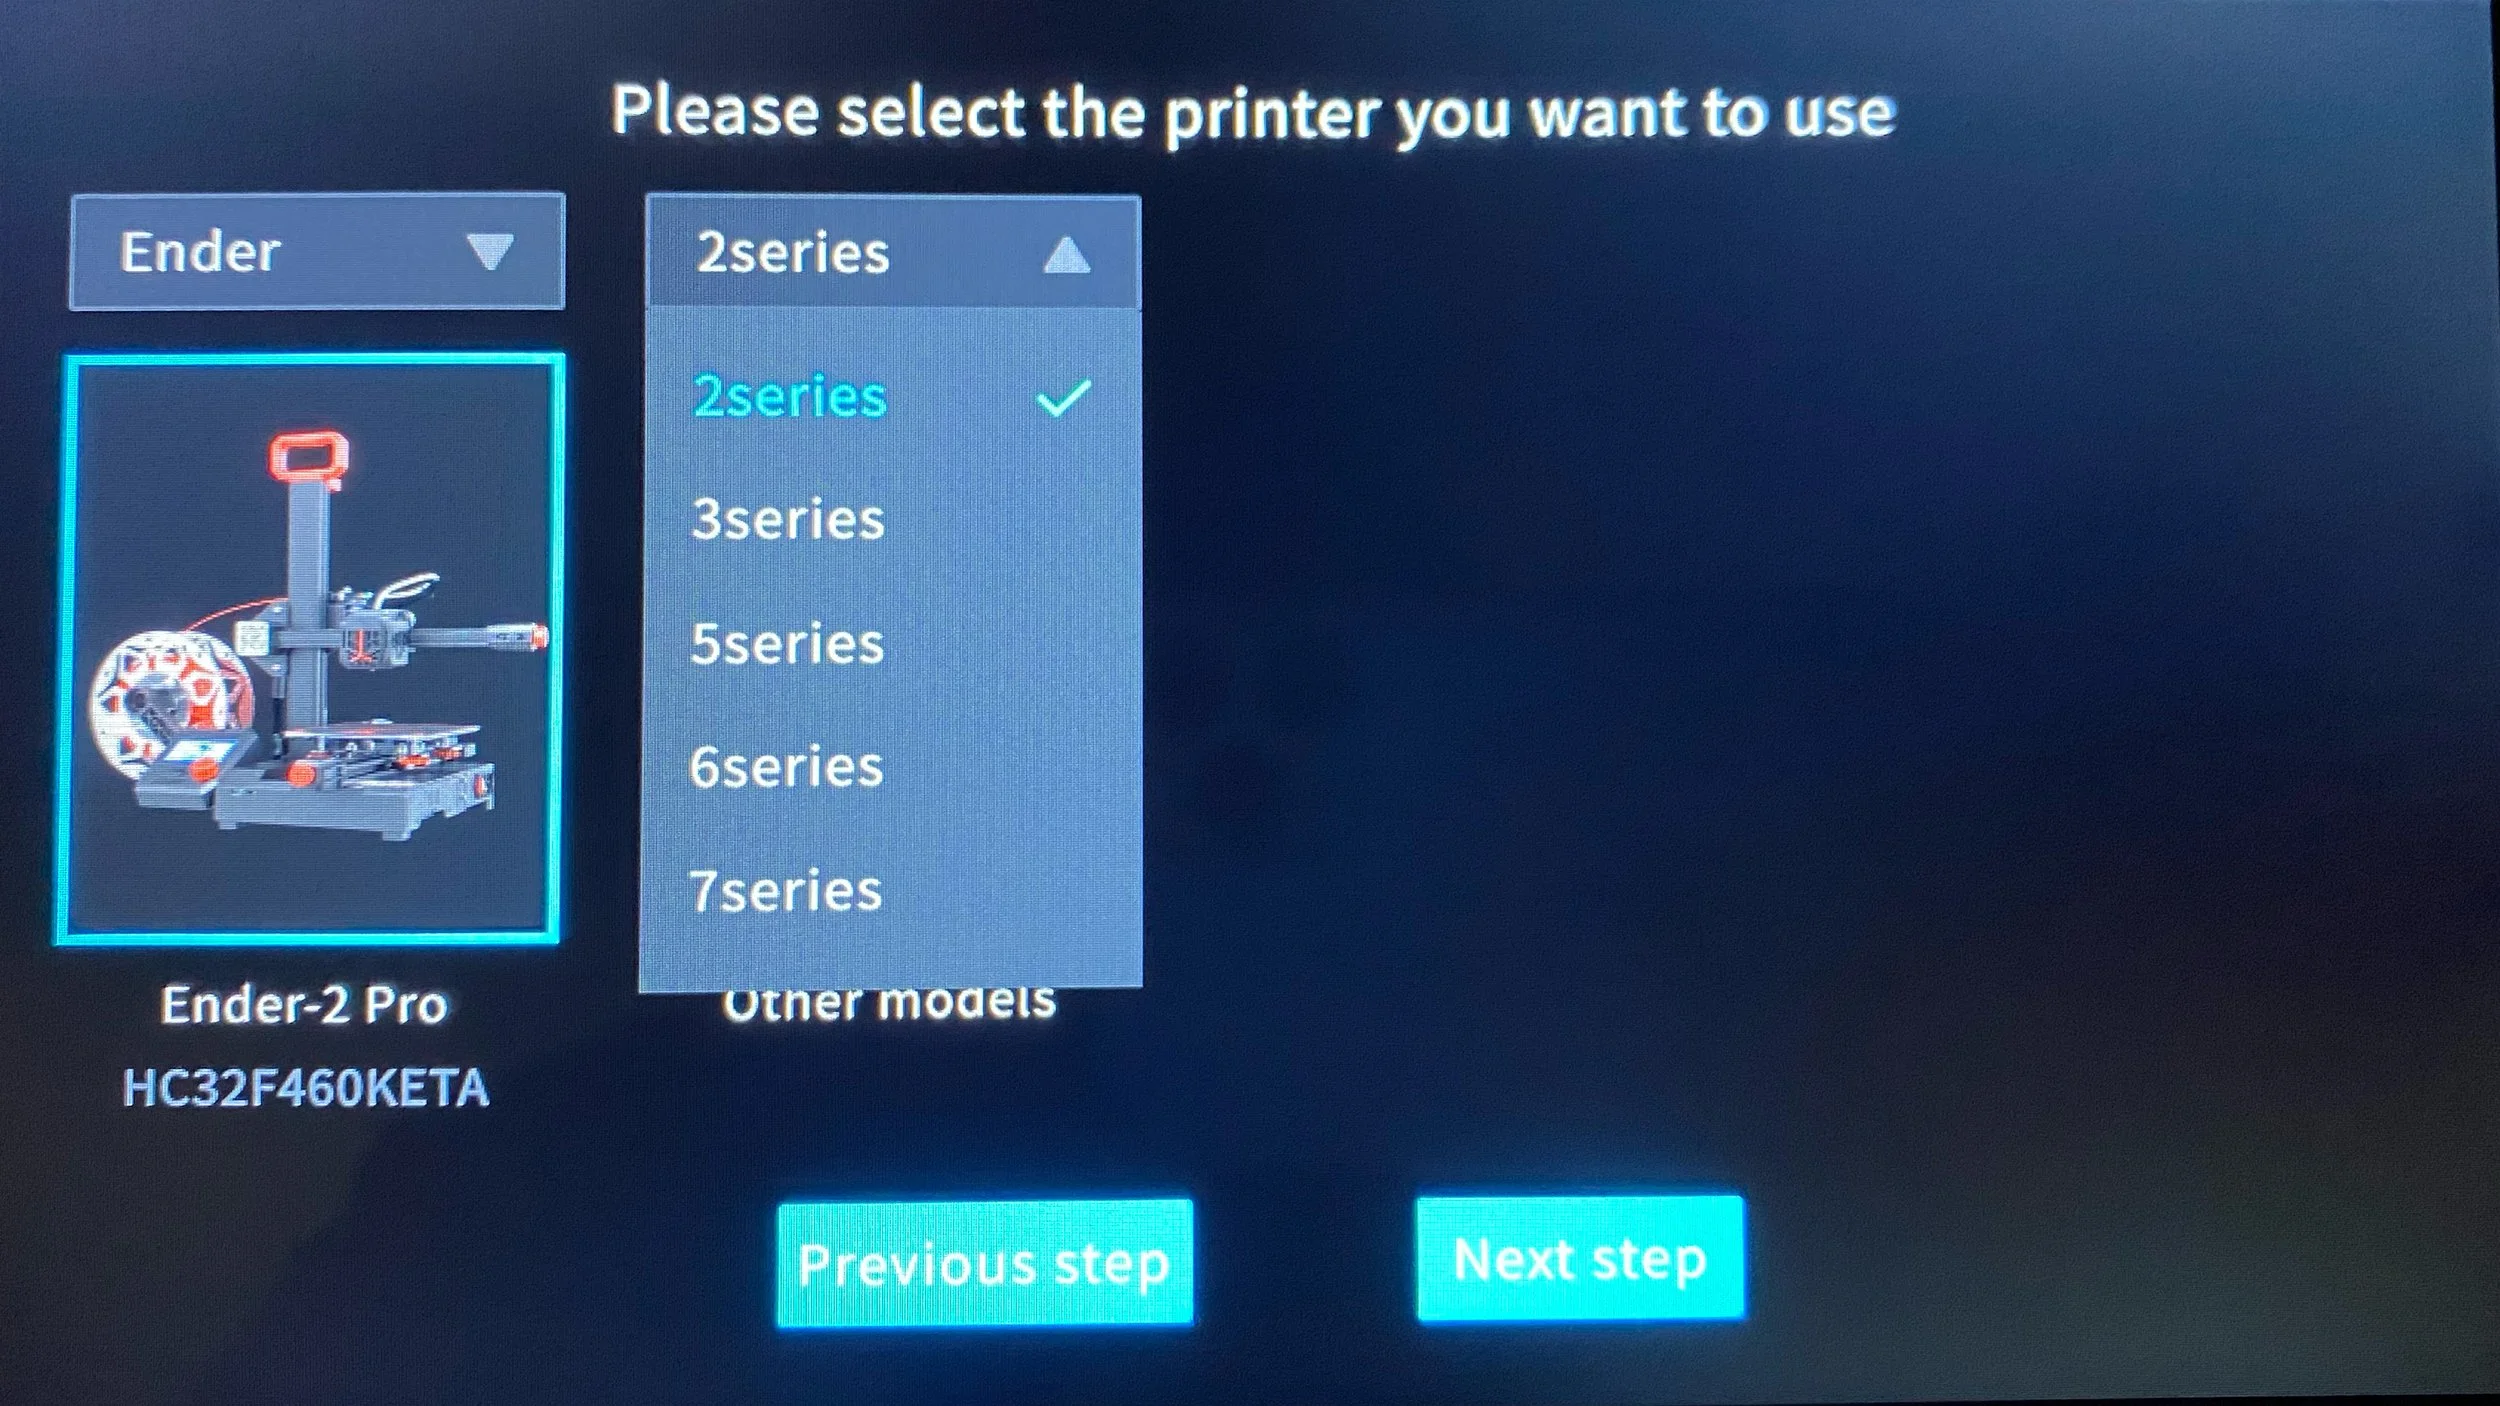
In the user interface, select the 3D printer model you wish to use with the Sonic Pad. Note that you'll need to select the model name first, such as "Ender" or "CR", and then select the series, such as "3 series" or "5 series", in the second drop-down menu.
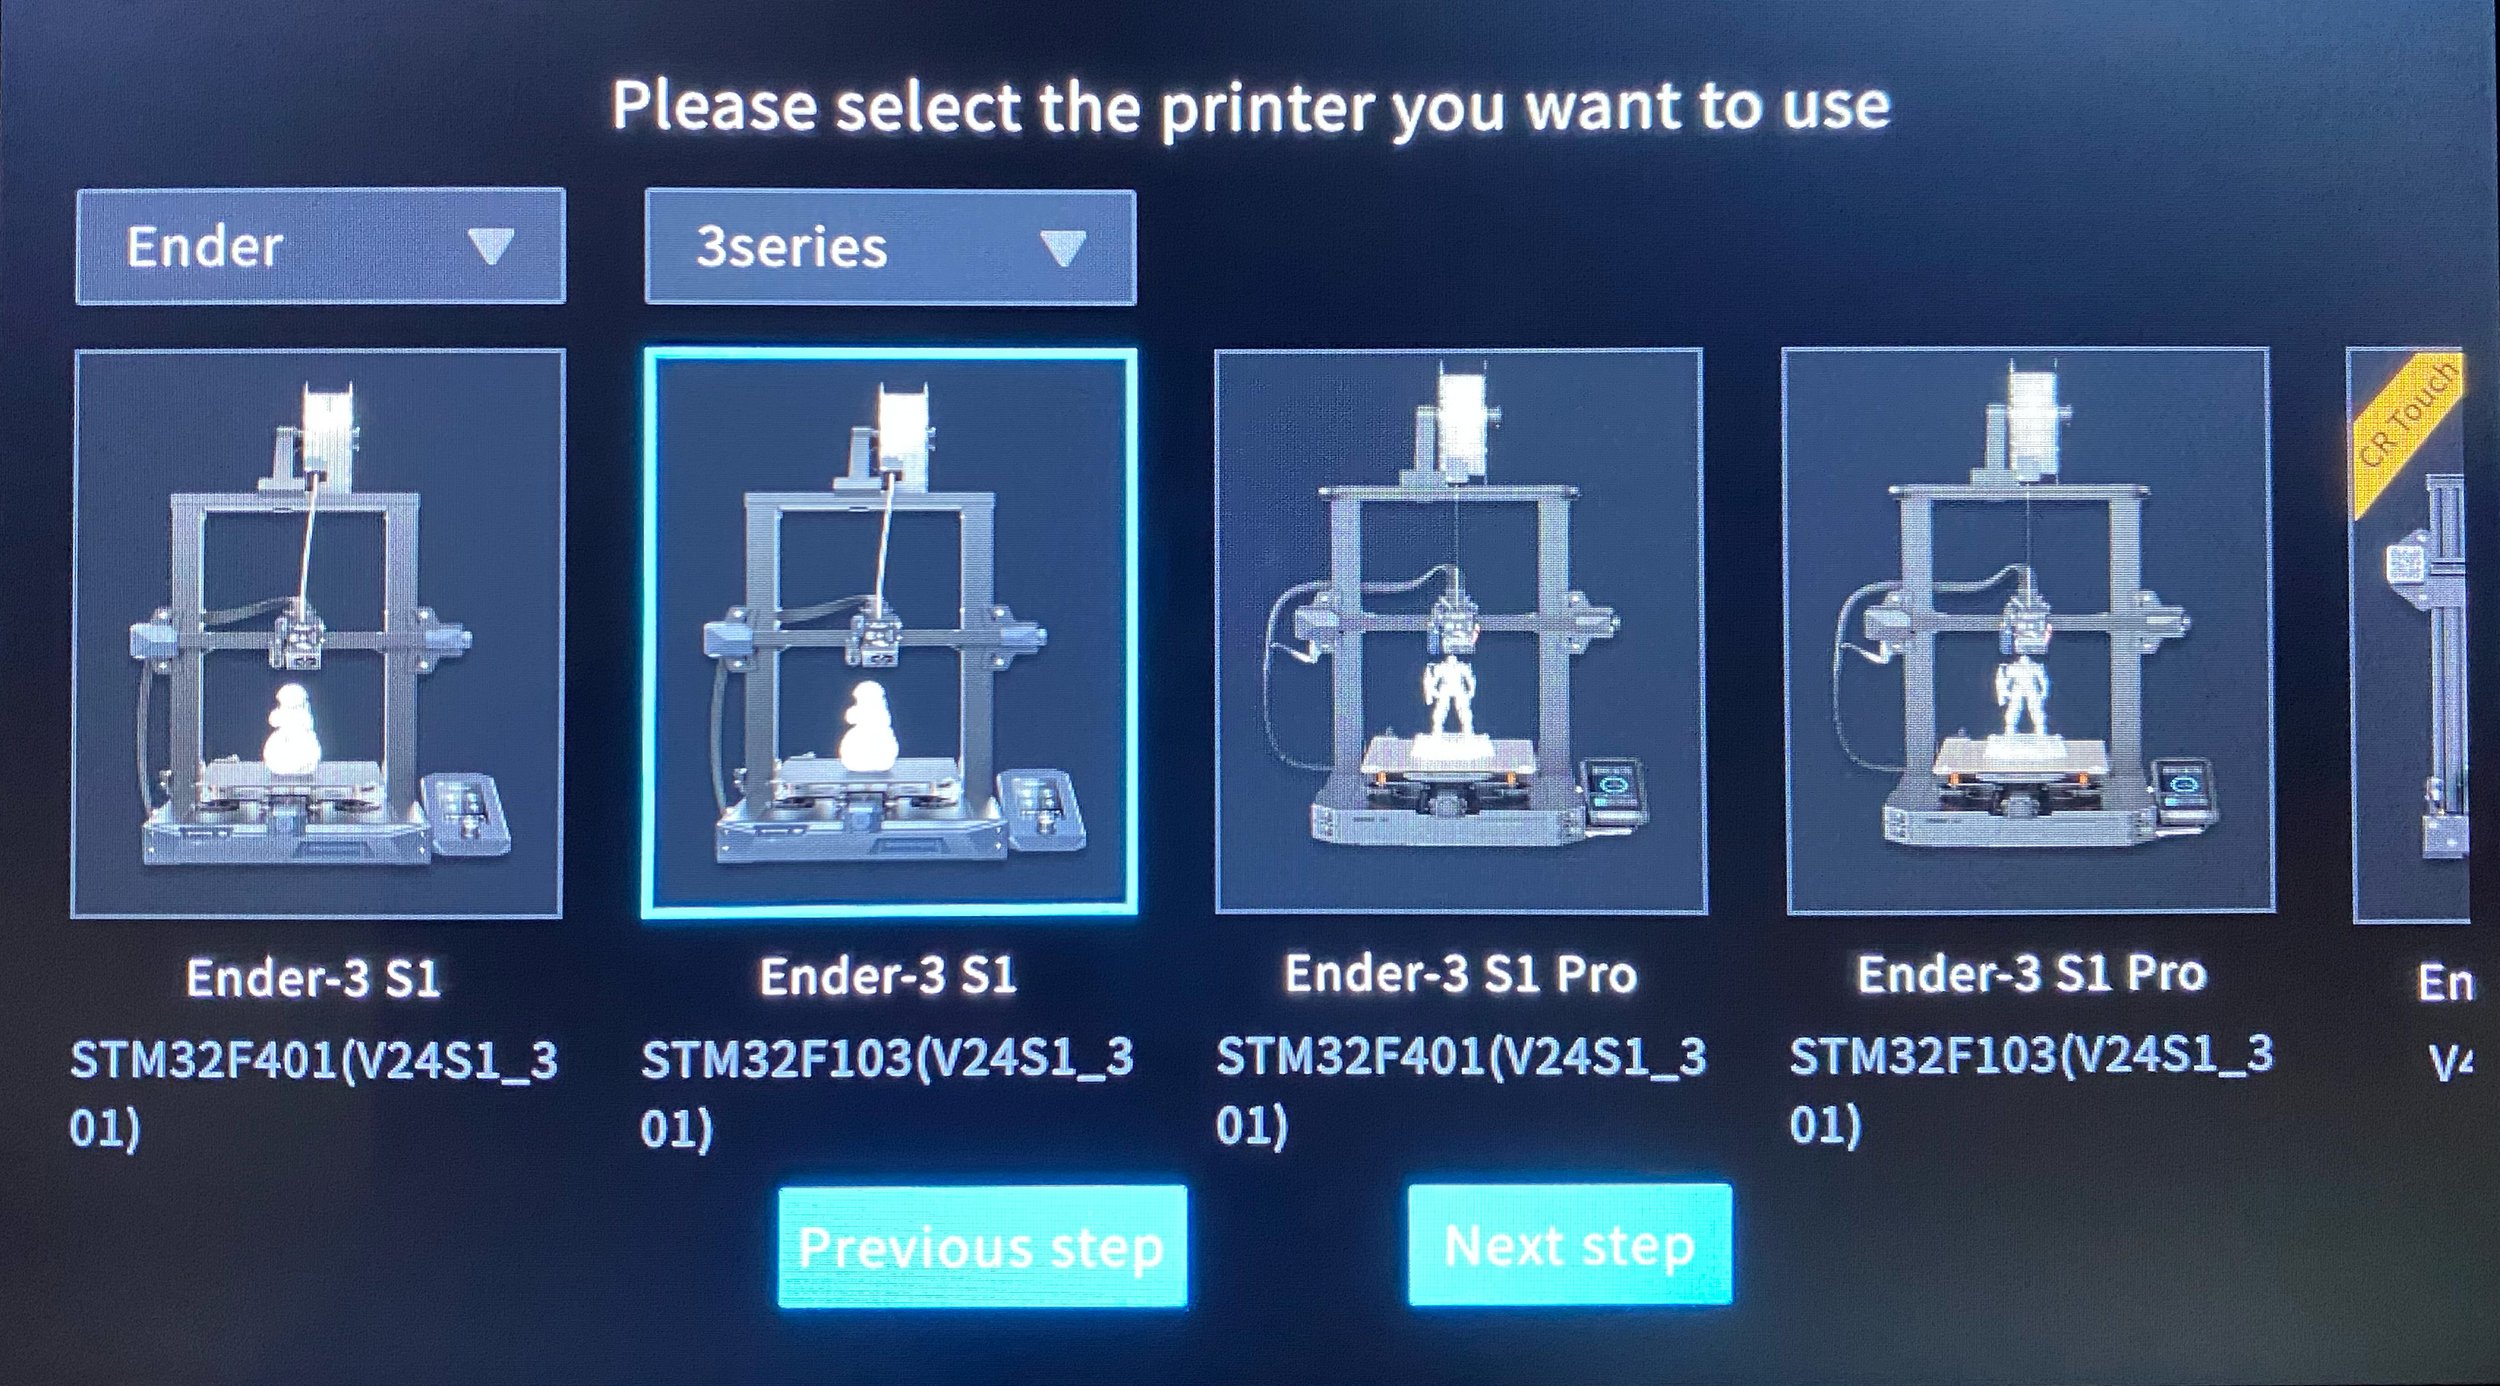
Note: Although you can use the Sonic Pad with non-Creality 3D printers and the interface offers an option for this, the firmware update steps may be different for other 3D printer brands and are not covered in this guide.Before continuing, double-check that you have selected the exact 3D printer model you are using. It's very easy to make a mistake here, and if you load the wrong firmware on your printer, it can prevent your printer from starting up at all (but don’t worry, any firmware changes are reversible). For example, on the Ender 3 S1, the Sonic Pad presents two separate Ender 3 S1 entries: one is labeled STM32F401, and the other is labeled STM32F103. These correspond to different mainboard CPU versions, so if you don't know which one your printer has, you will need to open the printer to examine the mainboard to confirm it. In our case, we actually did load an incorrect firmware version the first time (blame our impatience and excitement to get started) and temporarily couldn’t start up our Ender 3 S1. We were able to recover it with a confusing process of loading firmware from another source, but it’s easier to just select the correct firmware version the first time.
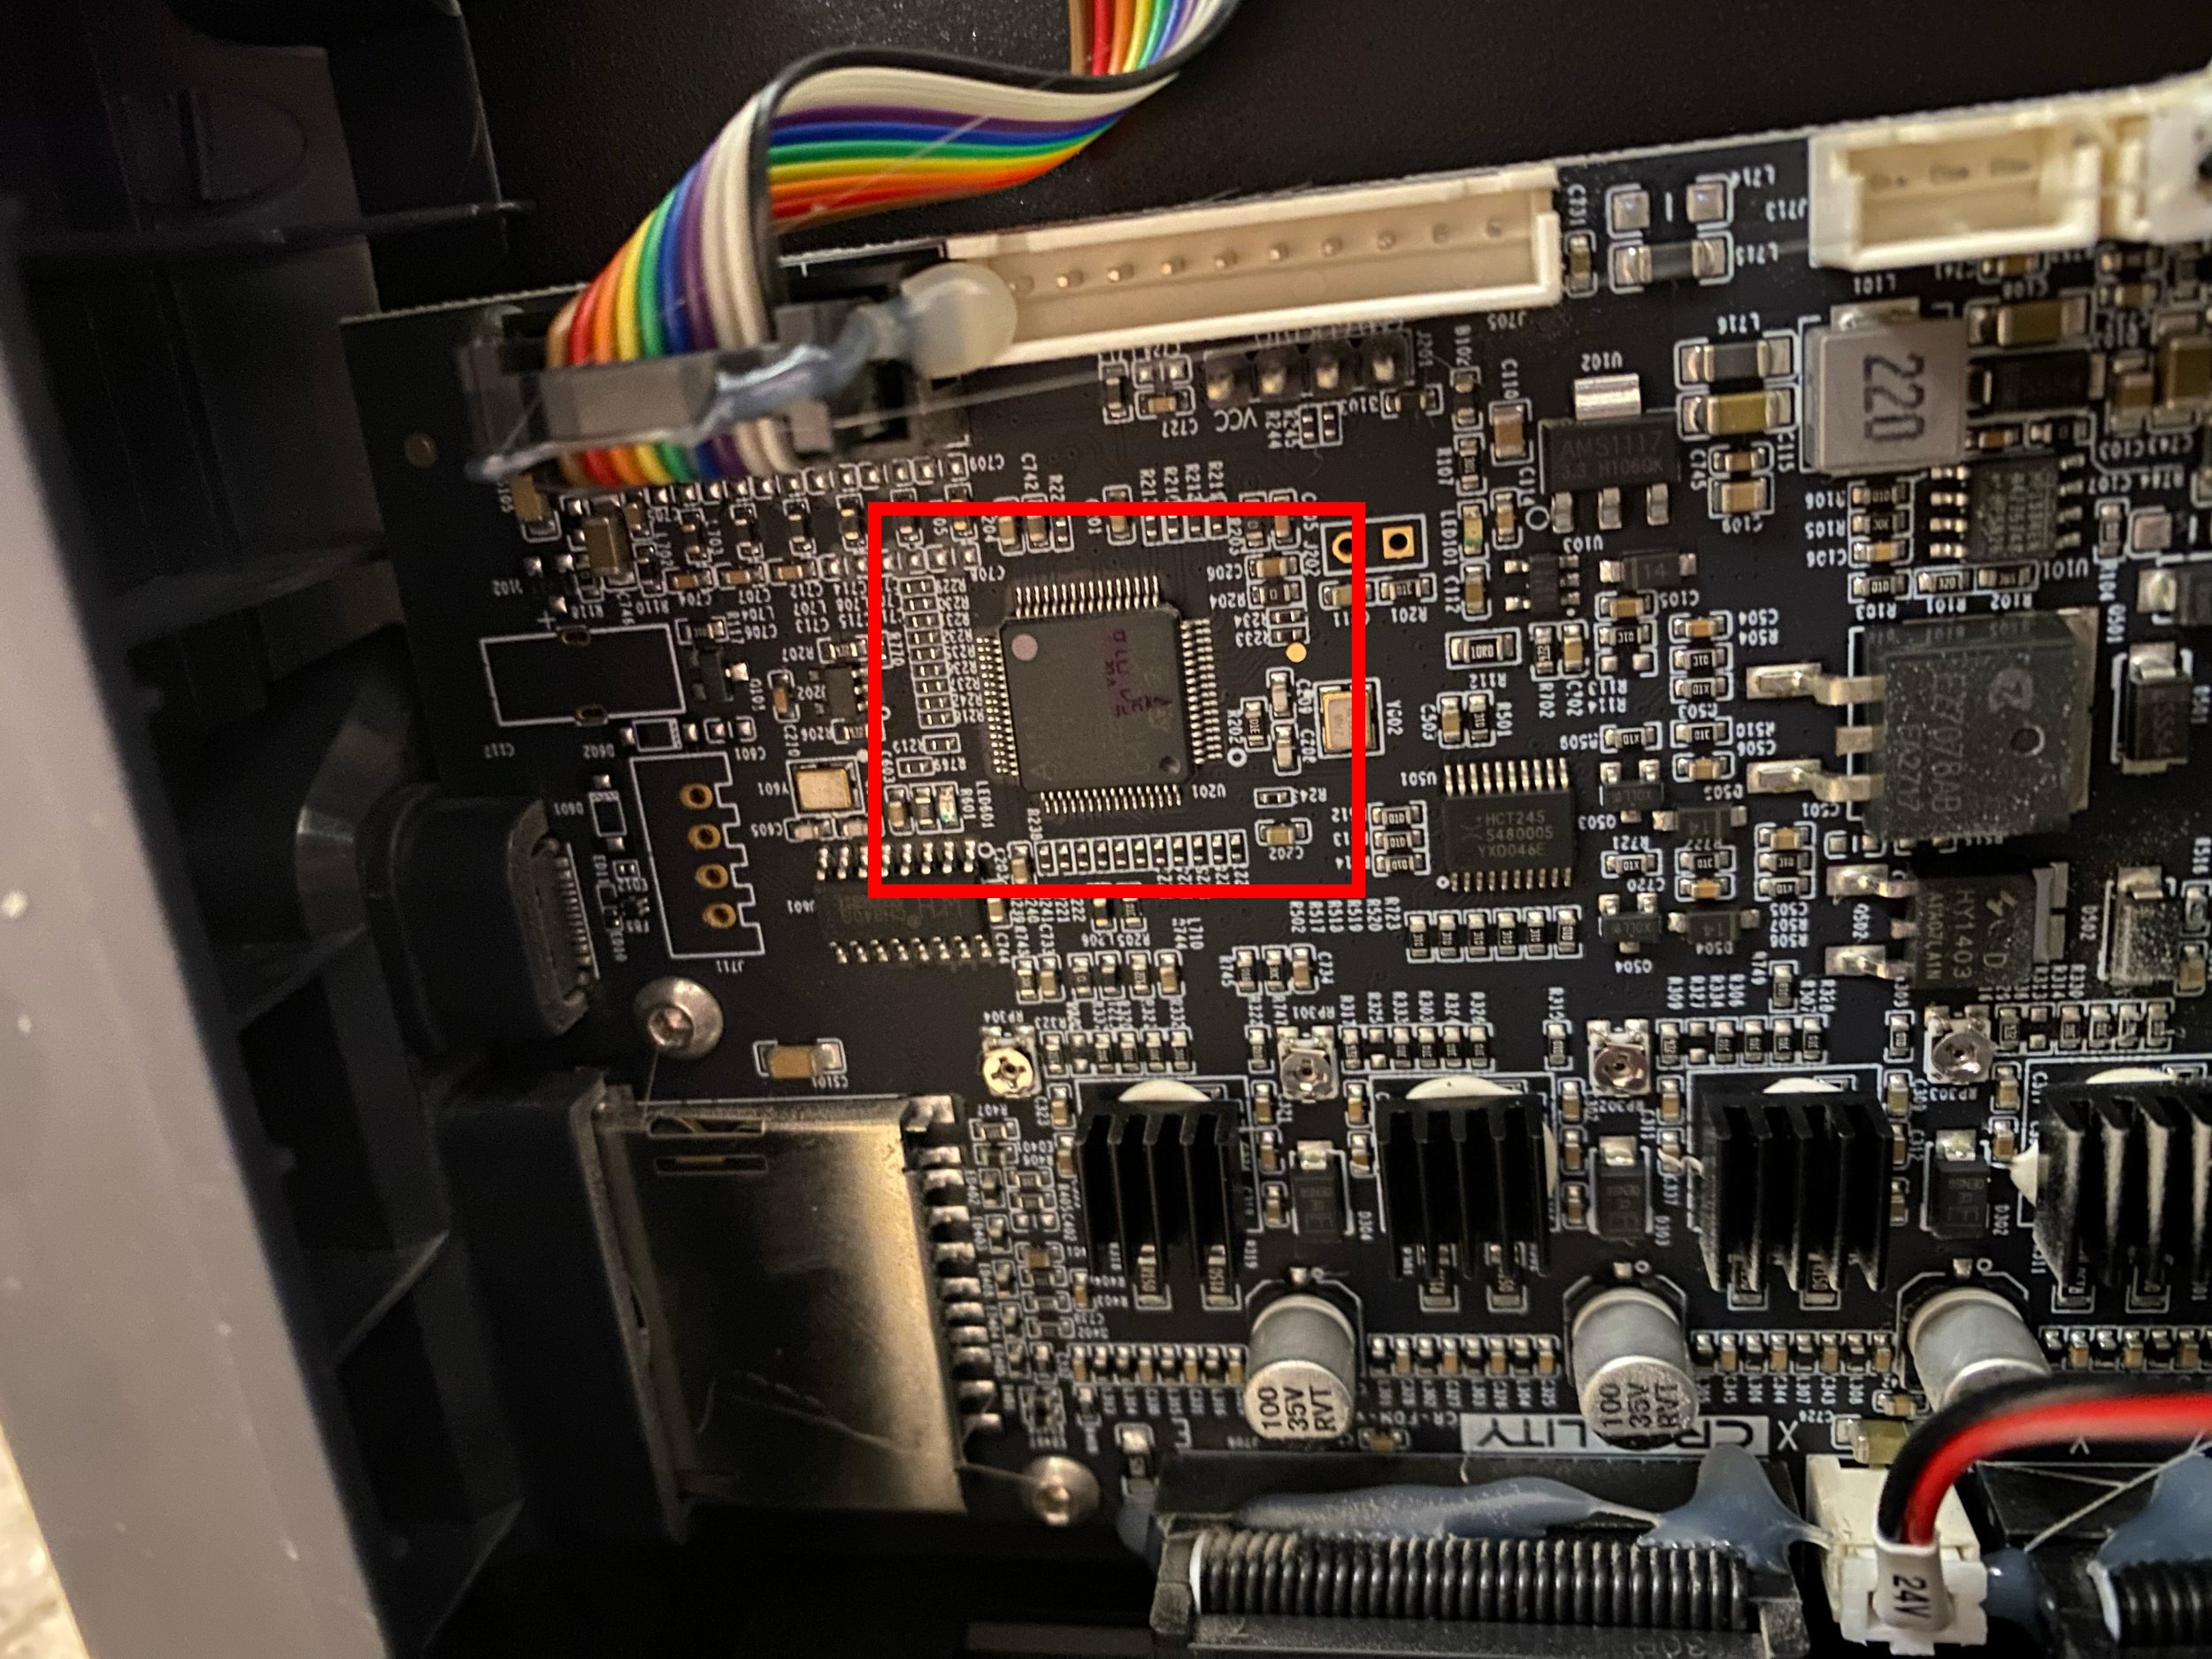
On the Ender 3 S1, confirming the firmware version is a fairly simple process of removing the screws from the bottom of the printer, lifting off the metal cover, and looking at the text on the largest chip on the mainboard. In our case, the correct version was the "F401" version, but we had no way to know that without examining the mainboard.
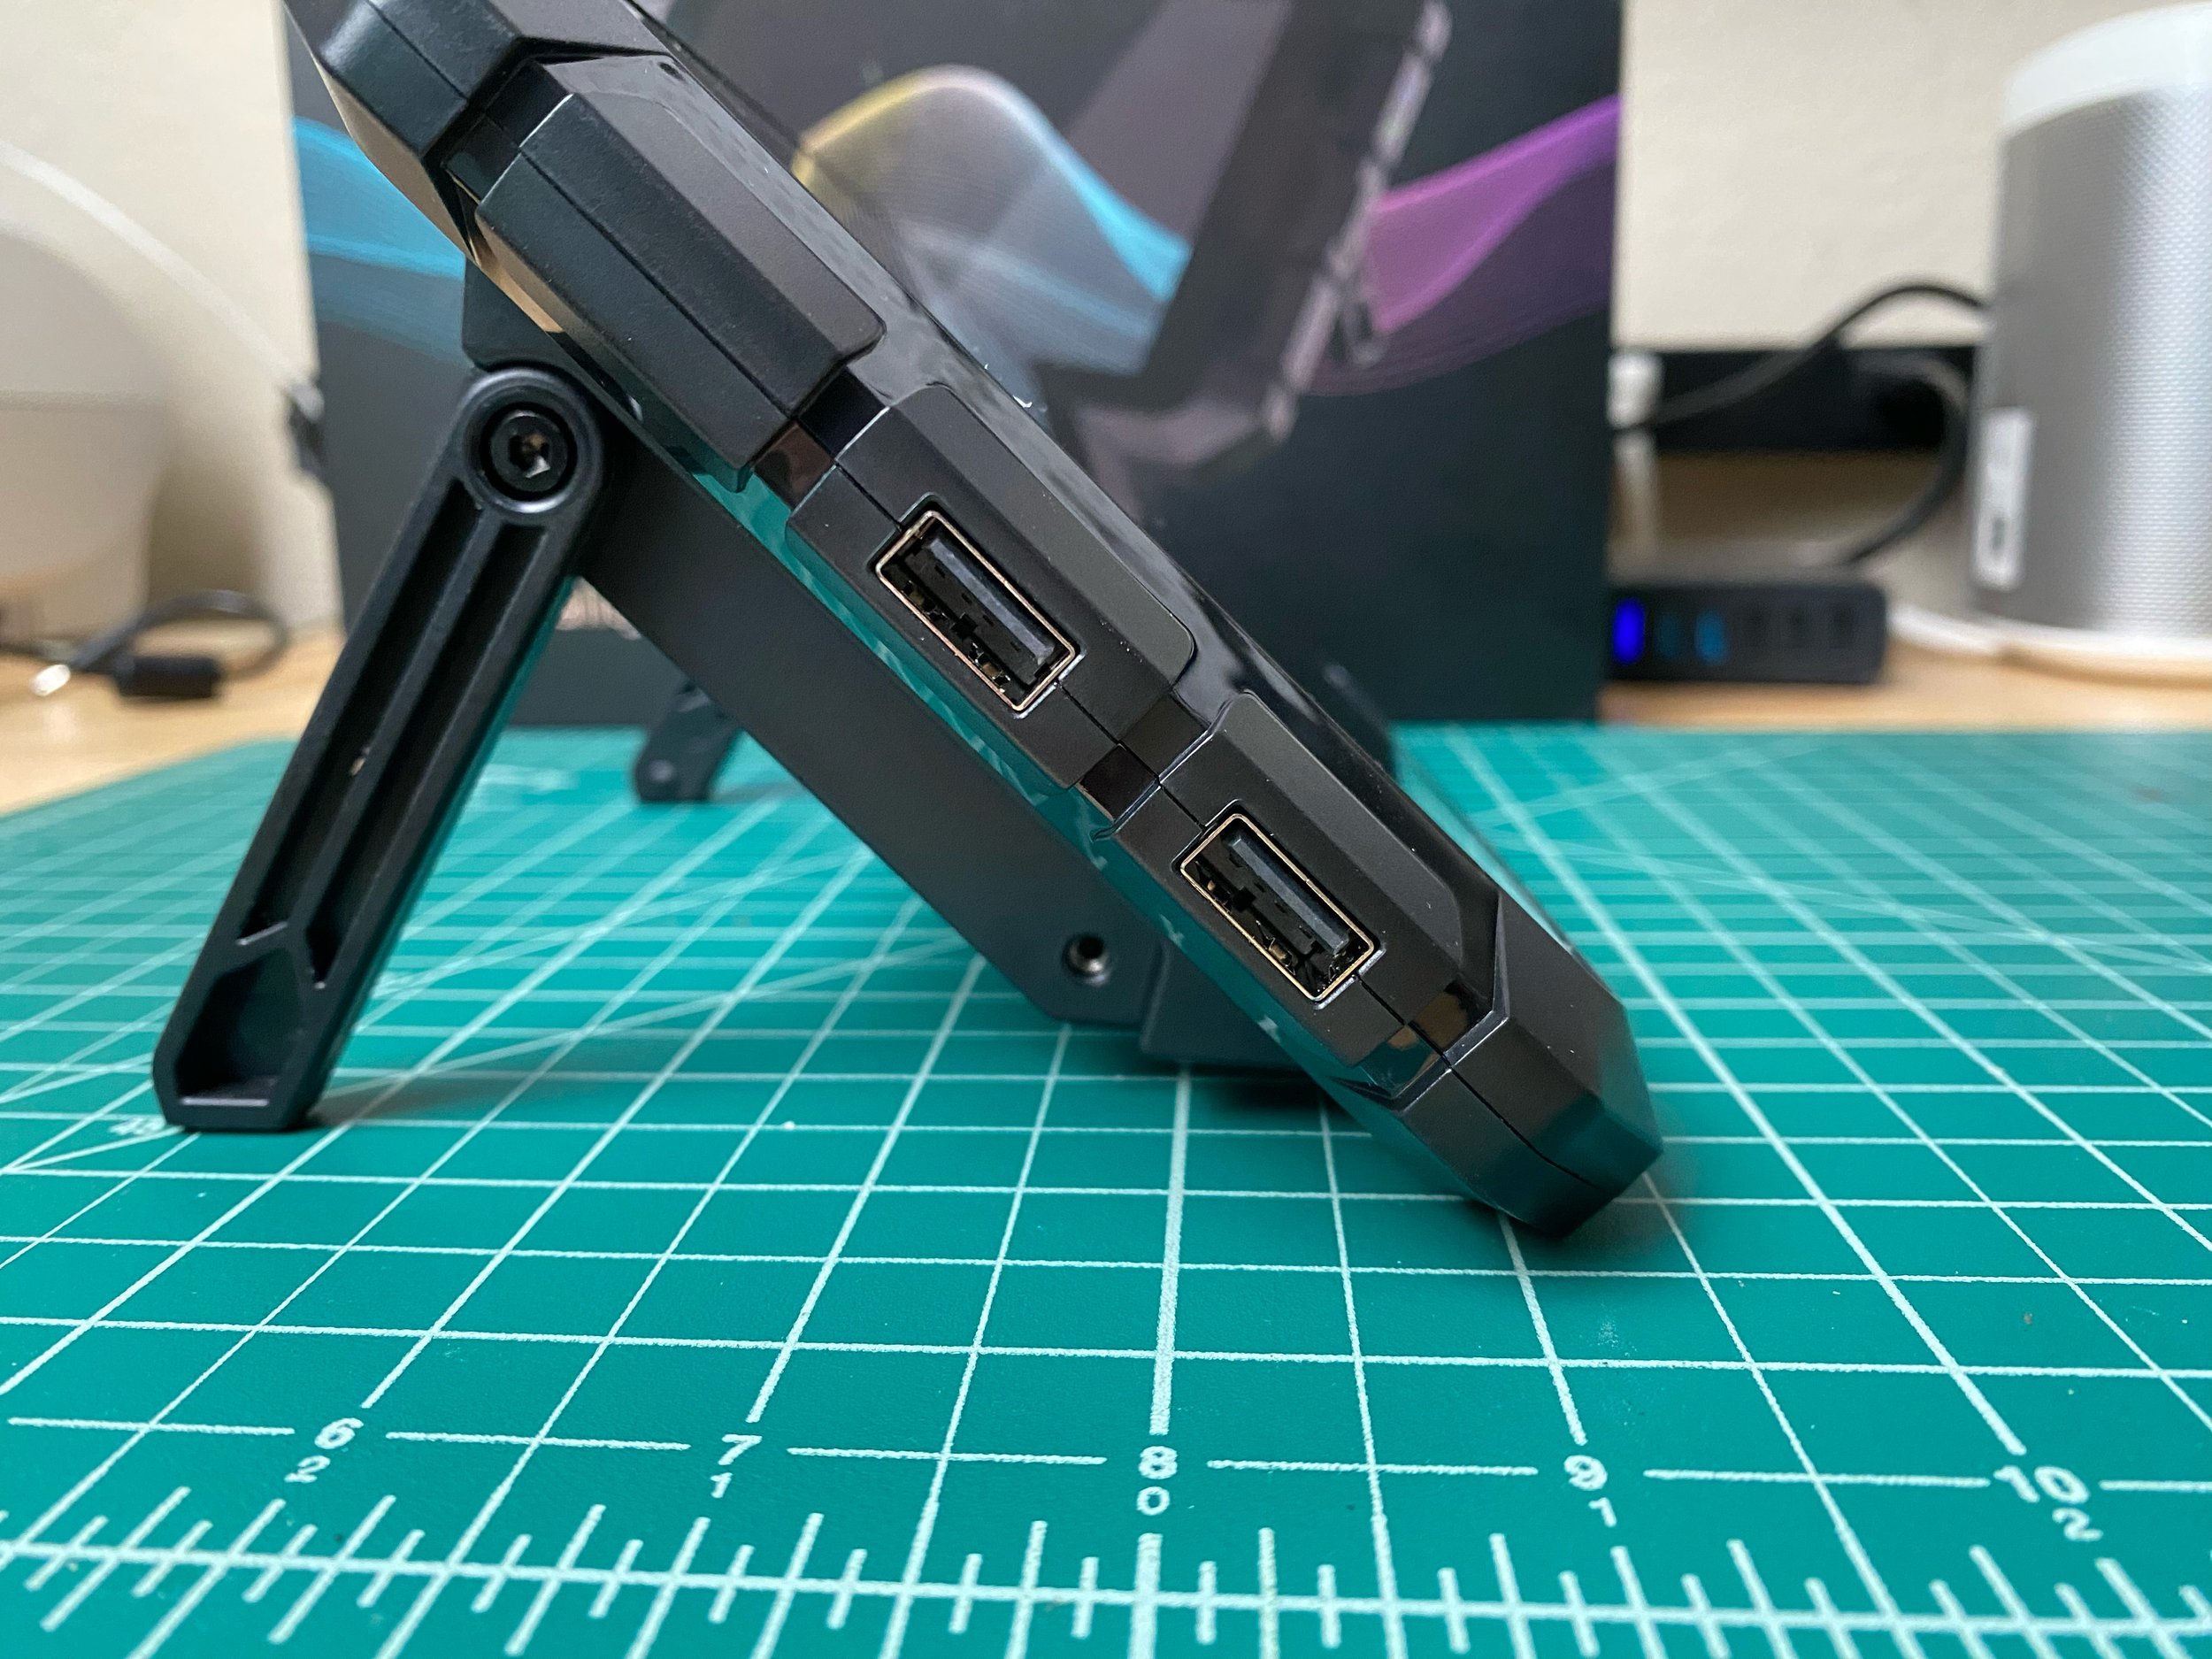
The Sonic Pad is very specific about which USB port you use for certain tasks. The firmware must be loaded on a card reader plugged into the bottom USB port on the side.
Once you have selected the correct 3D printer version, the Sonic Pad will prompt you to plug a card reader into the lower-left USB port so it can load the firmware onto the card. After inserting the card reader and hitting Next, the Sonic Pad will load the firmware onto the card and instruct you to insert the card into the printer. You will use this card to update the 3D printer firmware.
With the 3D printer powered off, insert the card into the slot on the printer. Power the printer on.
If the firmware update worked properly, you will see a loading bar on the printer's control screen, and then will just see a Creality logo with no controls. This is the expected state of the printer once the firmware has been loaded, because you will use the Sonic Pad to control the printer instead of using its own screen and controller. The printer can’t be controlled with its built-in controller when the Sonic Pad firmware is installed (of course, you can always go back to standard firmware if you wish to discontinue use of the Sonic Pad).
Note: If the firmware update does not work properly, power off the printer and insert the card into a computer so you can examine its contents. In our case, the Sonic Pad placed the firmware file within a "STM32F401_Update" subfolder, which caused our Ender 3 S1 to not detect the firmware file. We had to move the firmware file to the root directory of the card for our printer to update properly. It seems that different Creality 3D printer revisions handle this differently, so you may need to make a similar change depending on your printer and whether the firmware update works. The easiest way to confirm the correct location for the firmware file is to look online for firmware update instructions for your specific printer model, and note where they instruct you to place the firmware file.
Connecting and Testing the 3D Printer
After updating the 3D printer firmware, you will need to connect the printer to the Sonic Pad, connect to it, and complete an initial self-test process. This process helps you verify that the Sonic Pad is controlling your printer correctly, and includes some initial calibration to set the Z offset for machines with automatic bed leveling.
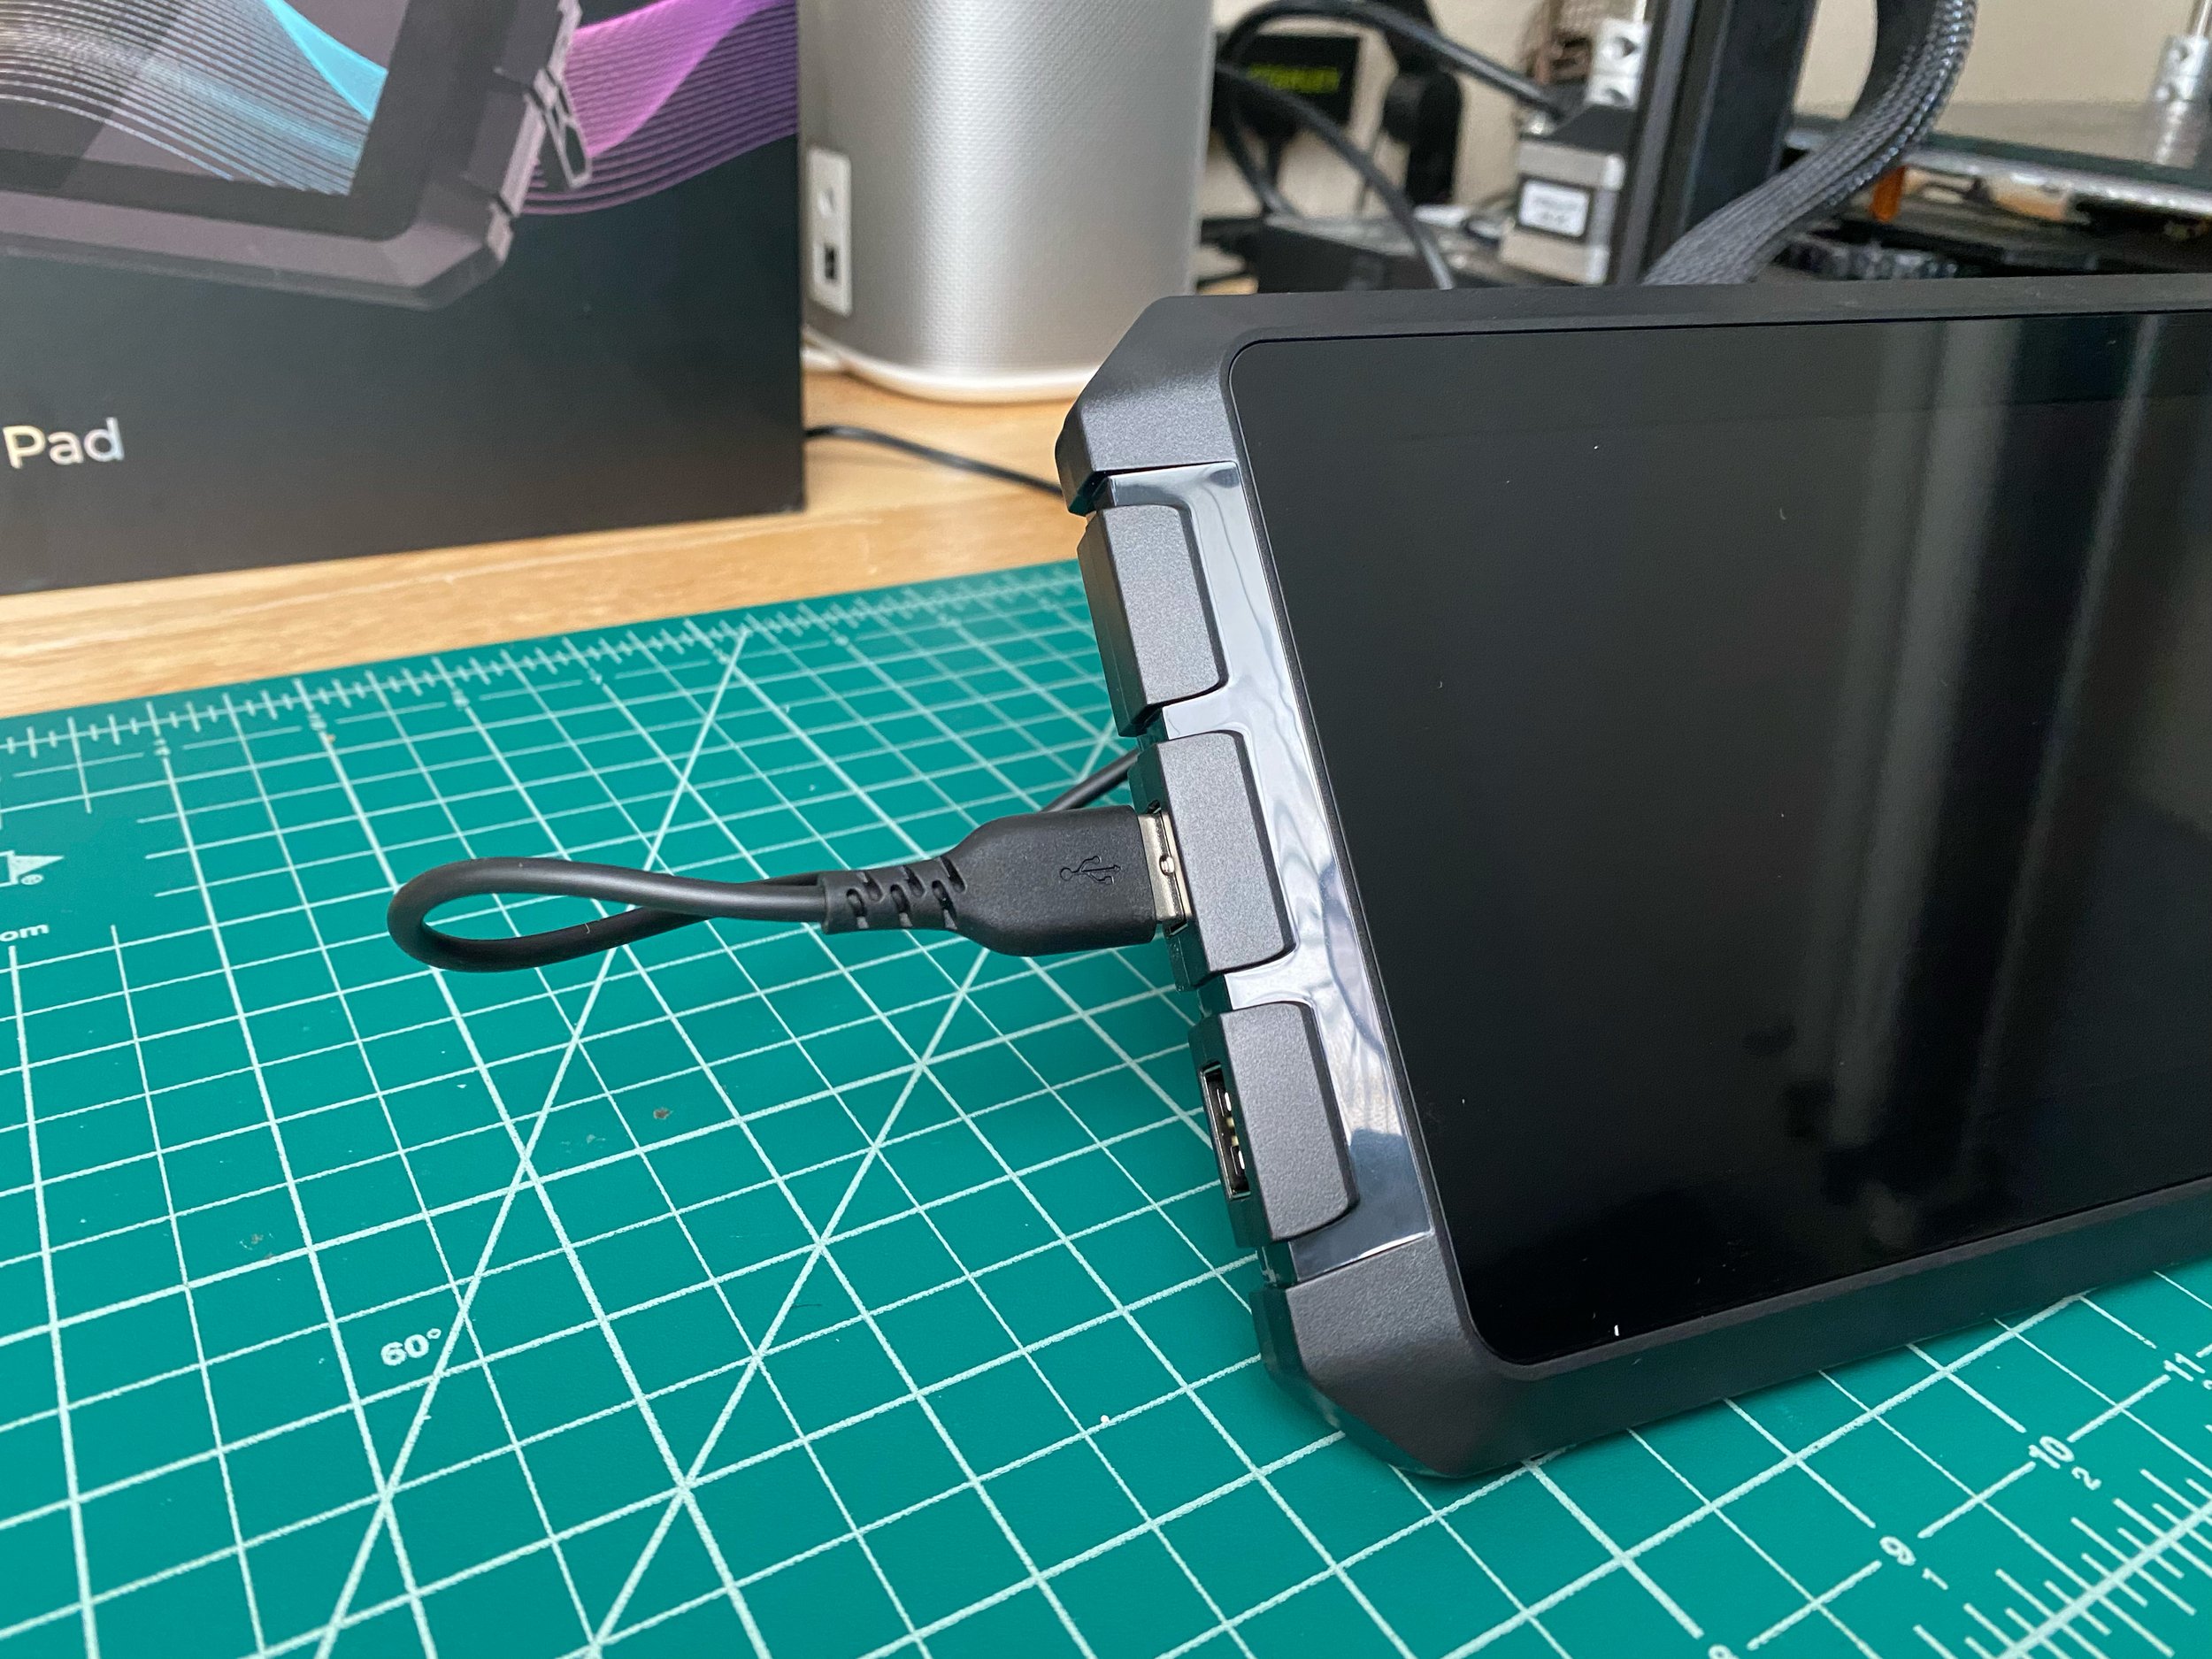
If you’re only using one 3D printer with the Sonic Pad, that printer must be plugged into the upper USB port on the left side.
Use the included USB cable to connect the Sonic Pad to the USB port on your 3D printer. You must connect the cable to the USB1 port on the Sonic Pad, which is on the upper left side of the device when viewed from the front. The other end should connect to the USB port on the front of your printer. You may need to use one of the included adapters, depending on what type of USB port your printer uses.
Power the 3D printer on and tap Next on the Sonic Pad to connect to the 3D printer. This process will take a few moments, and when it is complete, you should see a message letting you know that the printer is connected.
Next, you will need to begin the self-test process. Note that while the interface warns that this process could take 30 minutes, we found it to be much faster. For us, this process took less than ten minutes, but this can vary based on your 3D printer model.
Follow the instructions on the Sonic Pad to test each aspect of the 3D printer. This process will spin up each of the fans on the printer and ask you to verify that the correct fan spun up. It will then home all three axes of the printer.
If your 3D printer includes an automatic bed leveling probe, the self-test process will ask you to set the Z offset appropriately. You will see the printer probe the bed once, then pause with the nozzle several millimeters above the bed. To set the Z offset, set a sheet of paper on the print bed, and use the onscreen controls to carefully move the nozzle down in the Z axis until it is just touching the paper. When you can slide the paper and feel slight resistance from the nozzle, you have reached the correct Z offset.
Once the Z offset is set properly, you will need to manually level the bed. Even though a printer with automatic bed leveling can compensate for inconsistencies in bed height, manually leveling the bed typically improves performance by not requiring the printer to work as hard to compensate for leveling issues. The Sonic Pad will guide you through this process.
First, tighten all four bed leveling knobs until the knobs will not tighten any further. The screen indicates which direction you should turn the knobs, but your goal is to move the bed as far away from the nozzle as possible.
The screen will display an image of the print bed with four numbered circles, one in each corner of the bed. These are buttons which allow you to select a bed corner to level. You should tap the lower left corner, which will move the nozzle to that corner, home the Z axis, and move the nozzle to within a few millimeters of the bed. Then, you can loosen the bed knob until the bed is properly leveled with the nozzle. Use a sheet of paper between the bed and nozzle to verify when you have set the leveling for that corner properly. Repeat this process for all four corners of the bed.
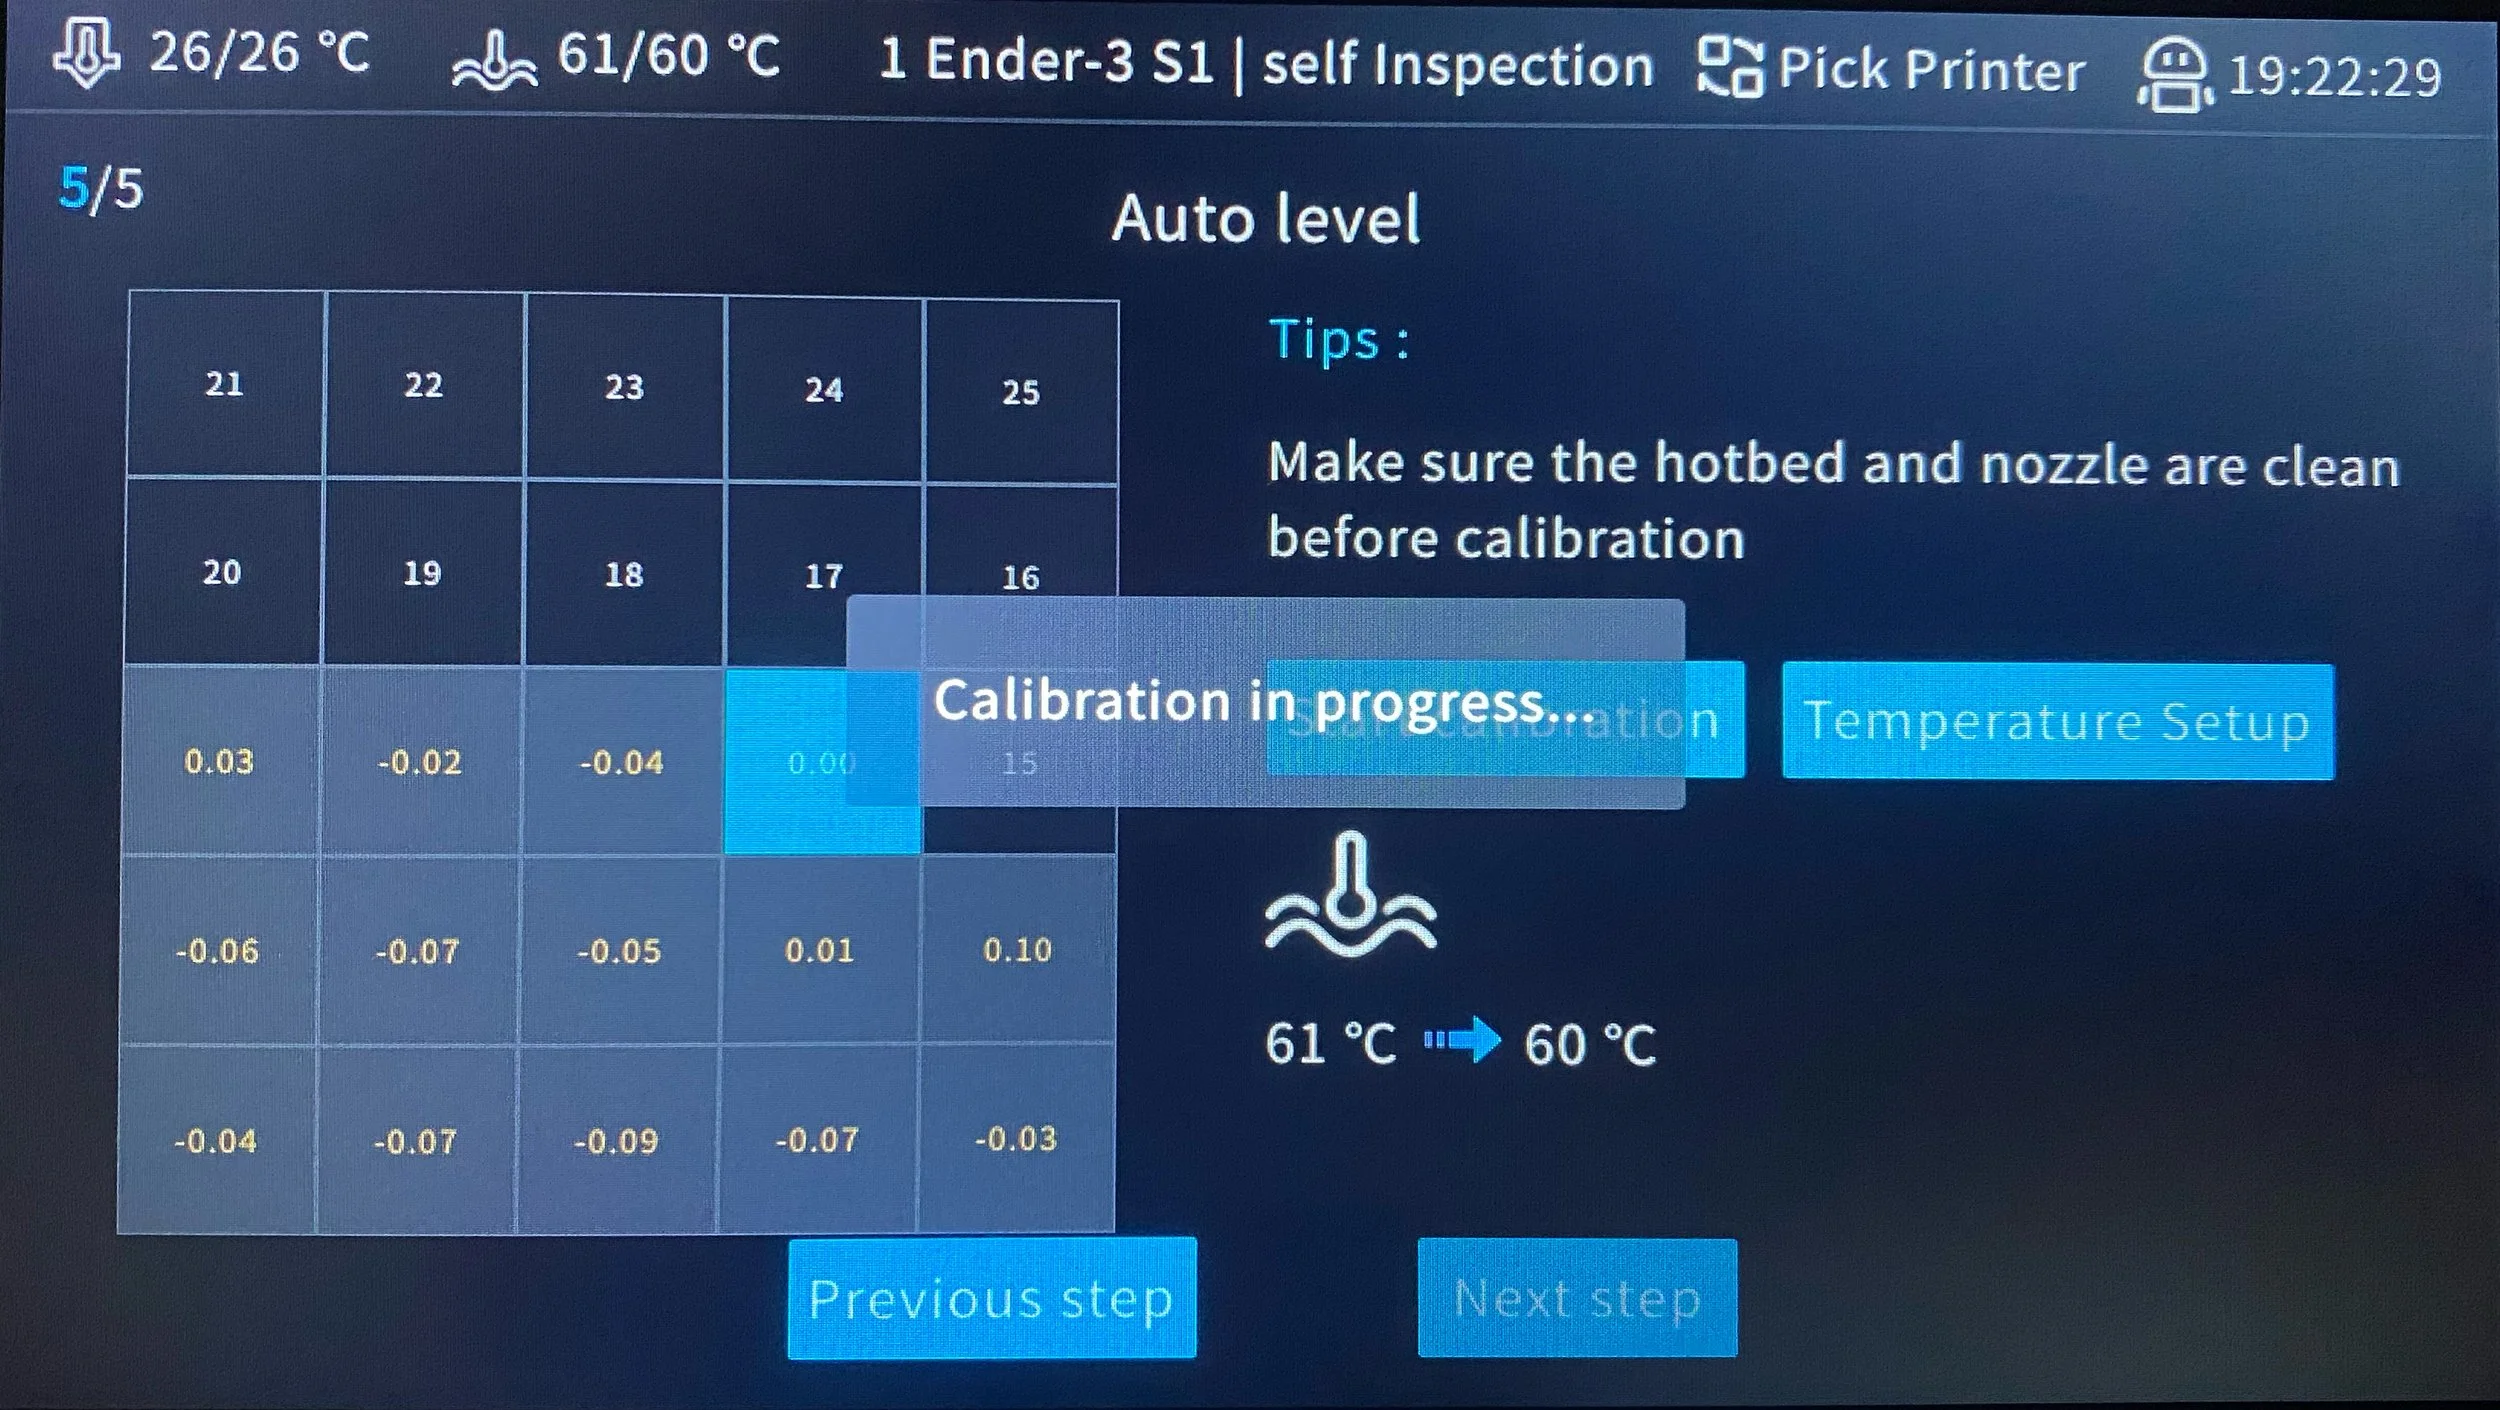
Finally, if your printer has automatic bed leveling, it will complete the leveling process by probing the bed in a grid pattern. This will conclude the self-test process.
Once the self-test is complete, you should see the main Sonic Pad interface with controls for your printer and the Sonic Pad itself. You are now ready to use the Sonic Pad.
Using the Sonic Pad
Once the Sonic Pad is set up with your 3D printer, you can use it to control the printer and start prints. You can also connect to it remotely from a computer or phone, allowing you to load .gcode files over the network or even start prints remotely. While this section is not intended to be a comprehensive guide to using the Sonic Pad, we'll give you a tour of the main functions to help you get started.
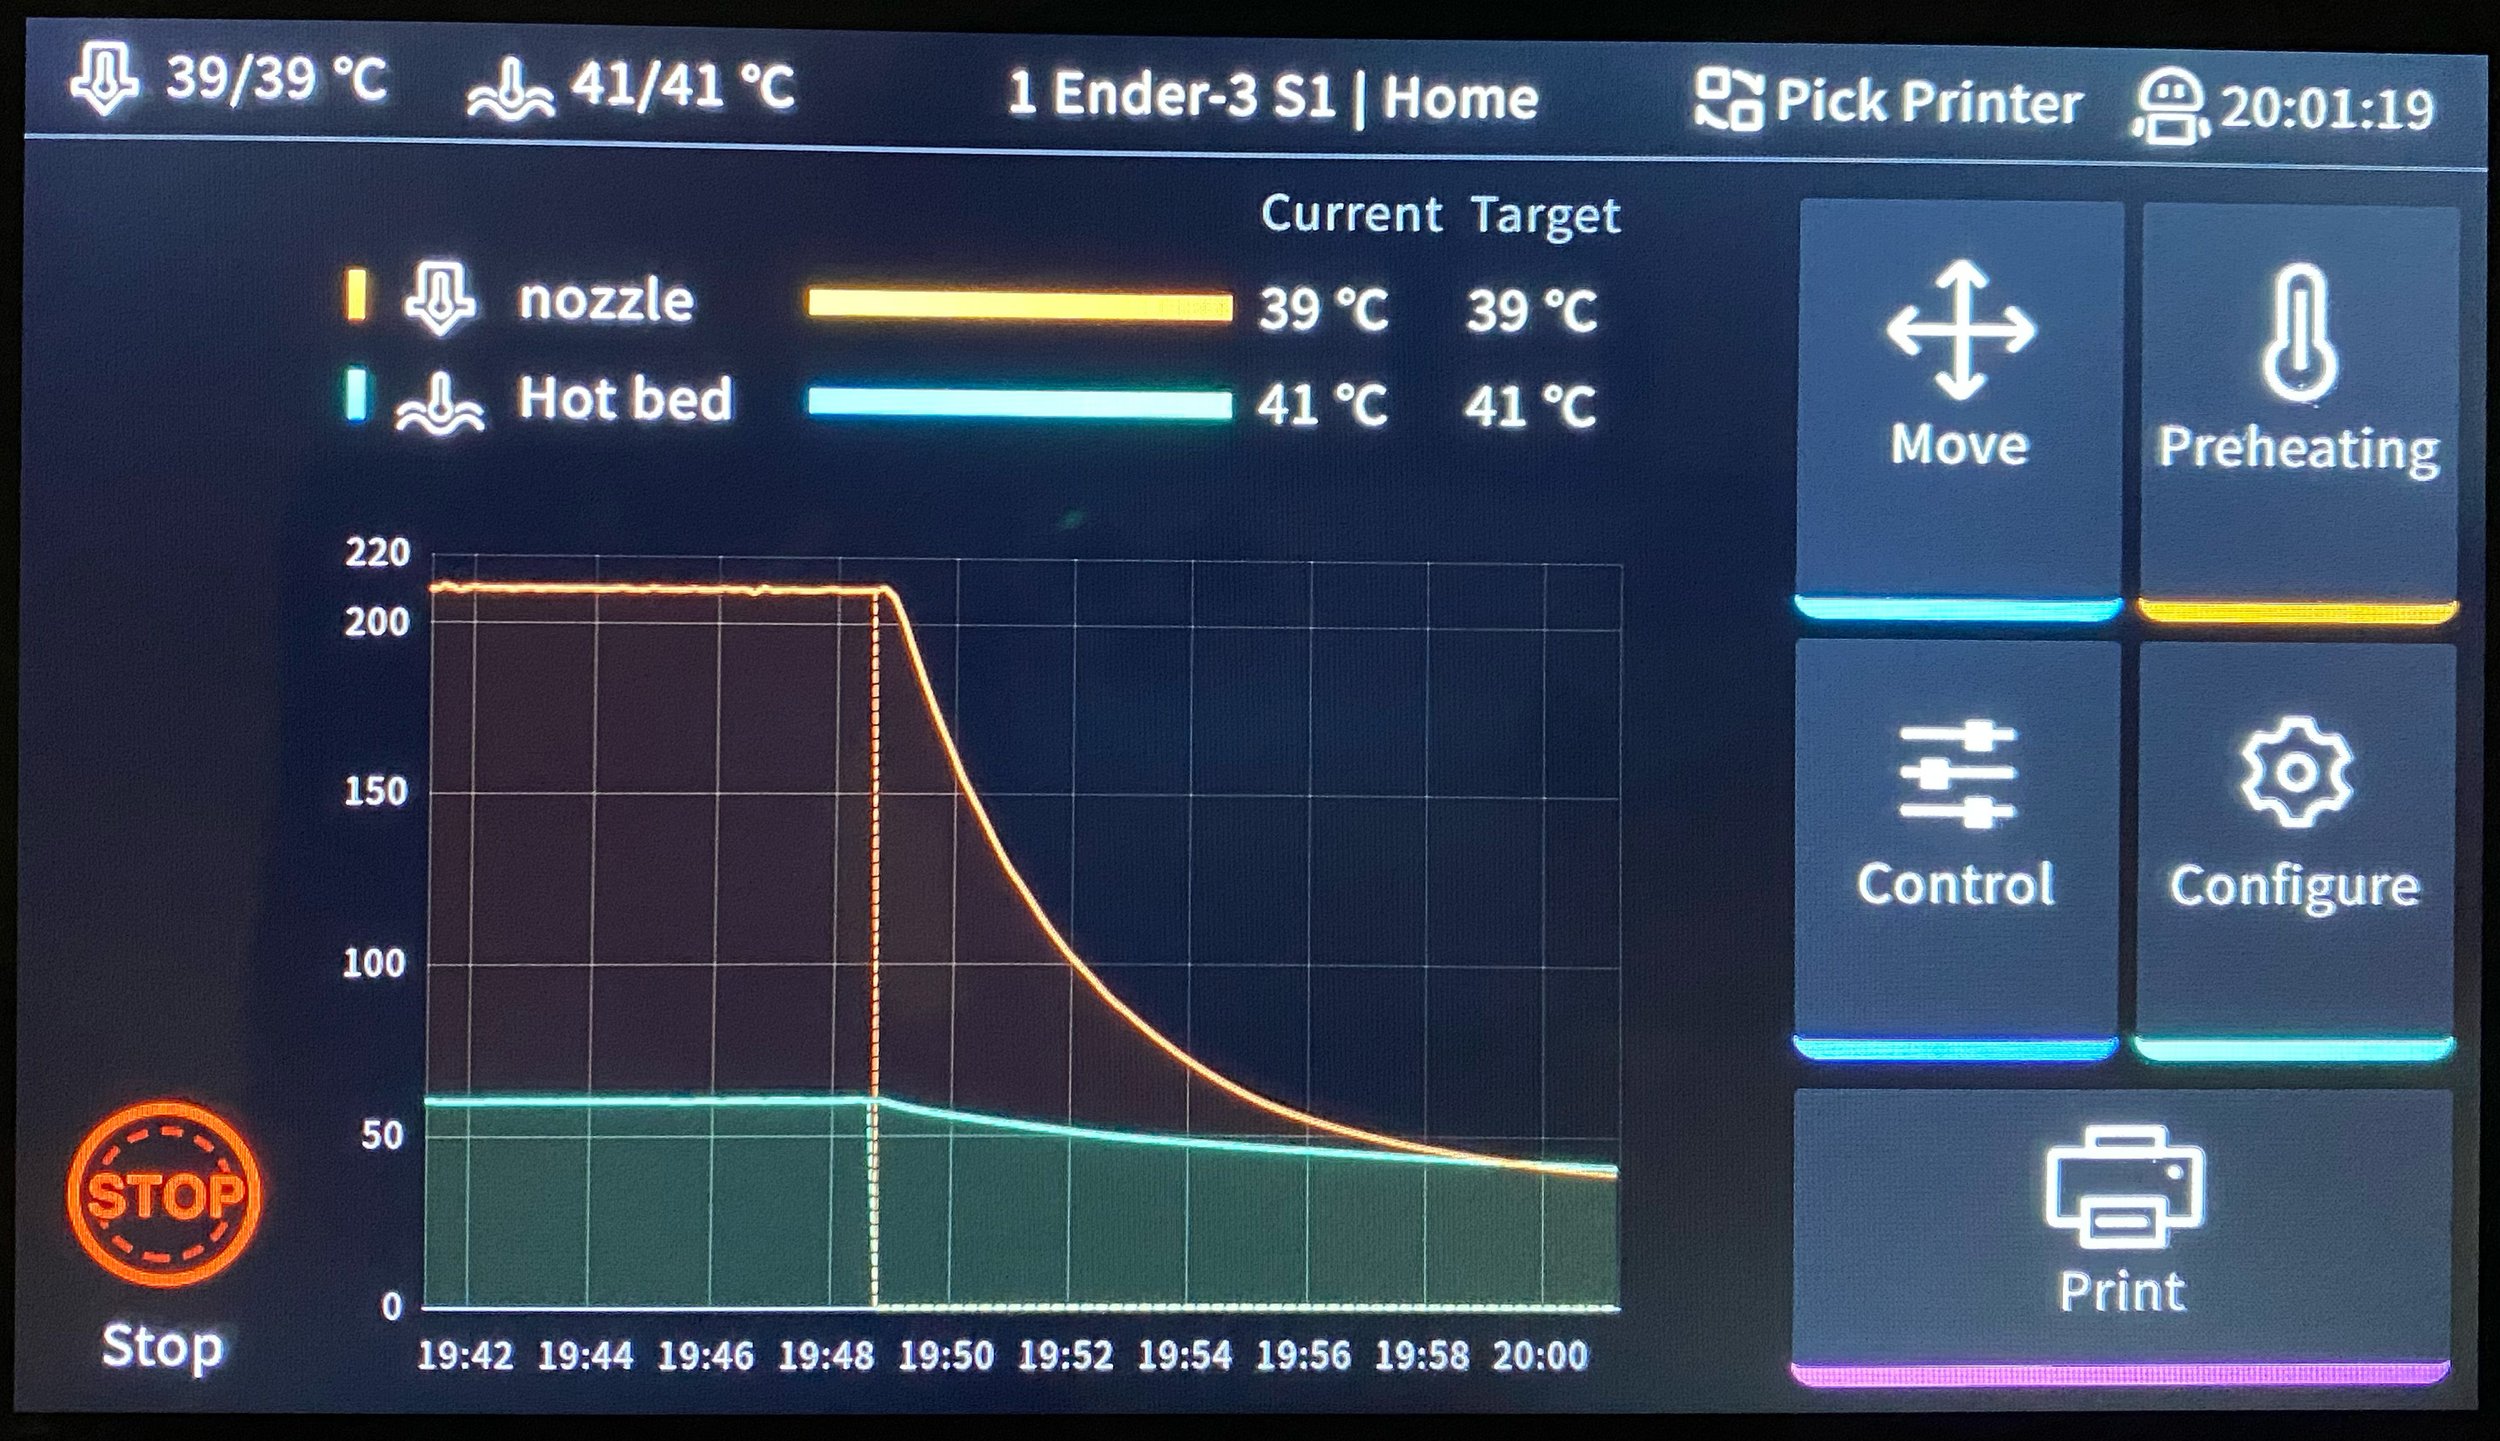
The main screen of the Sonic Pad shows the current temperature of the printer's bed and hotend, and has a set of buttons which closely match the options you're used to from the built-in controller on a Creality 3D printer. You'll see buttons for Move, Preheating, Control, Configure, and Print. Each of these buttons takes you to a menu with additional settings and controls. We recommend navigating through each of the menus to see what options are available to you--it's more than what you'll find on the built-in controller from your printer.
Moving and Preheating the 3D Printer
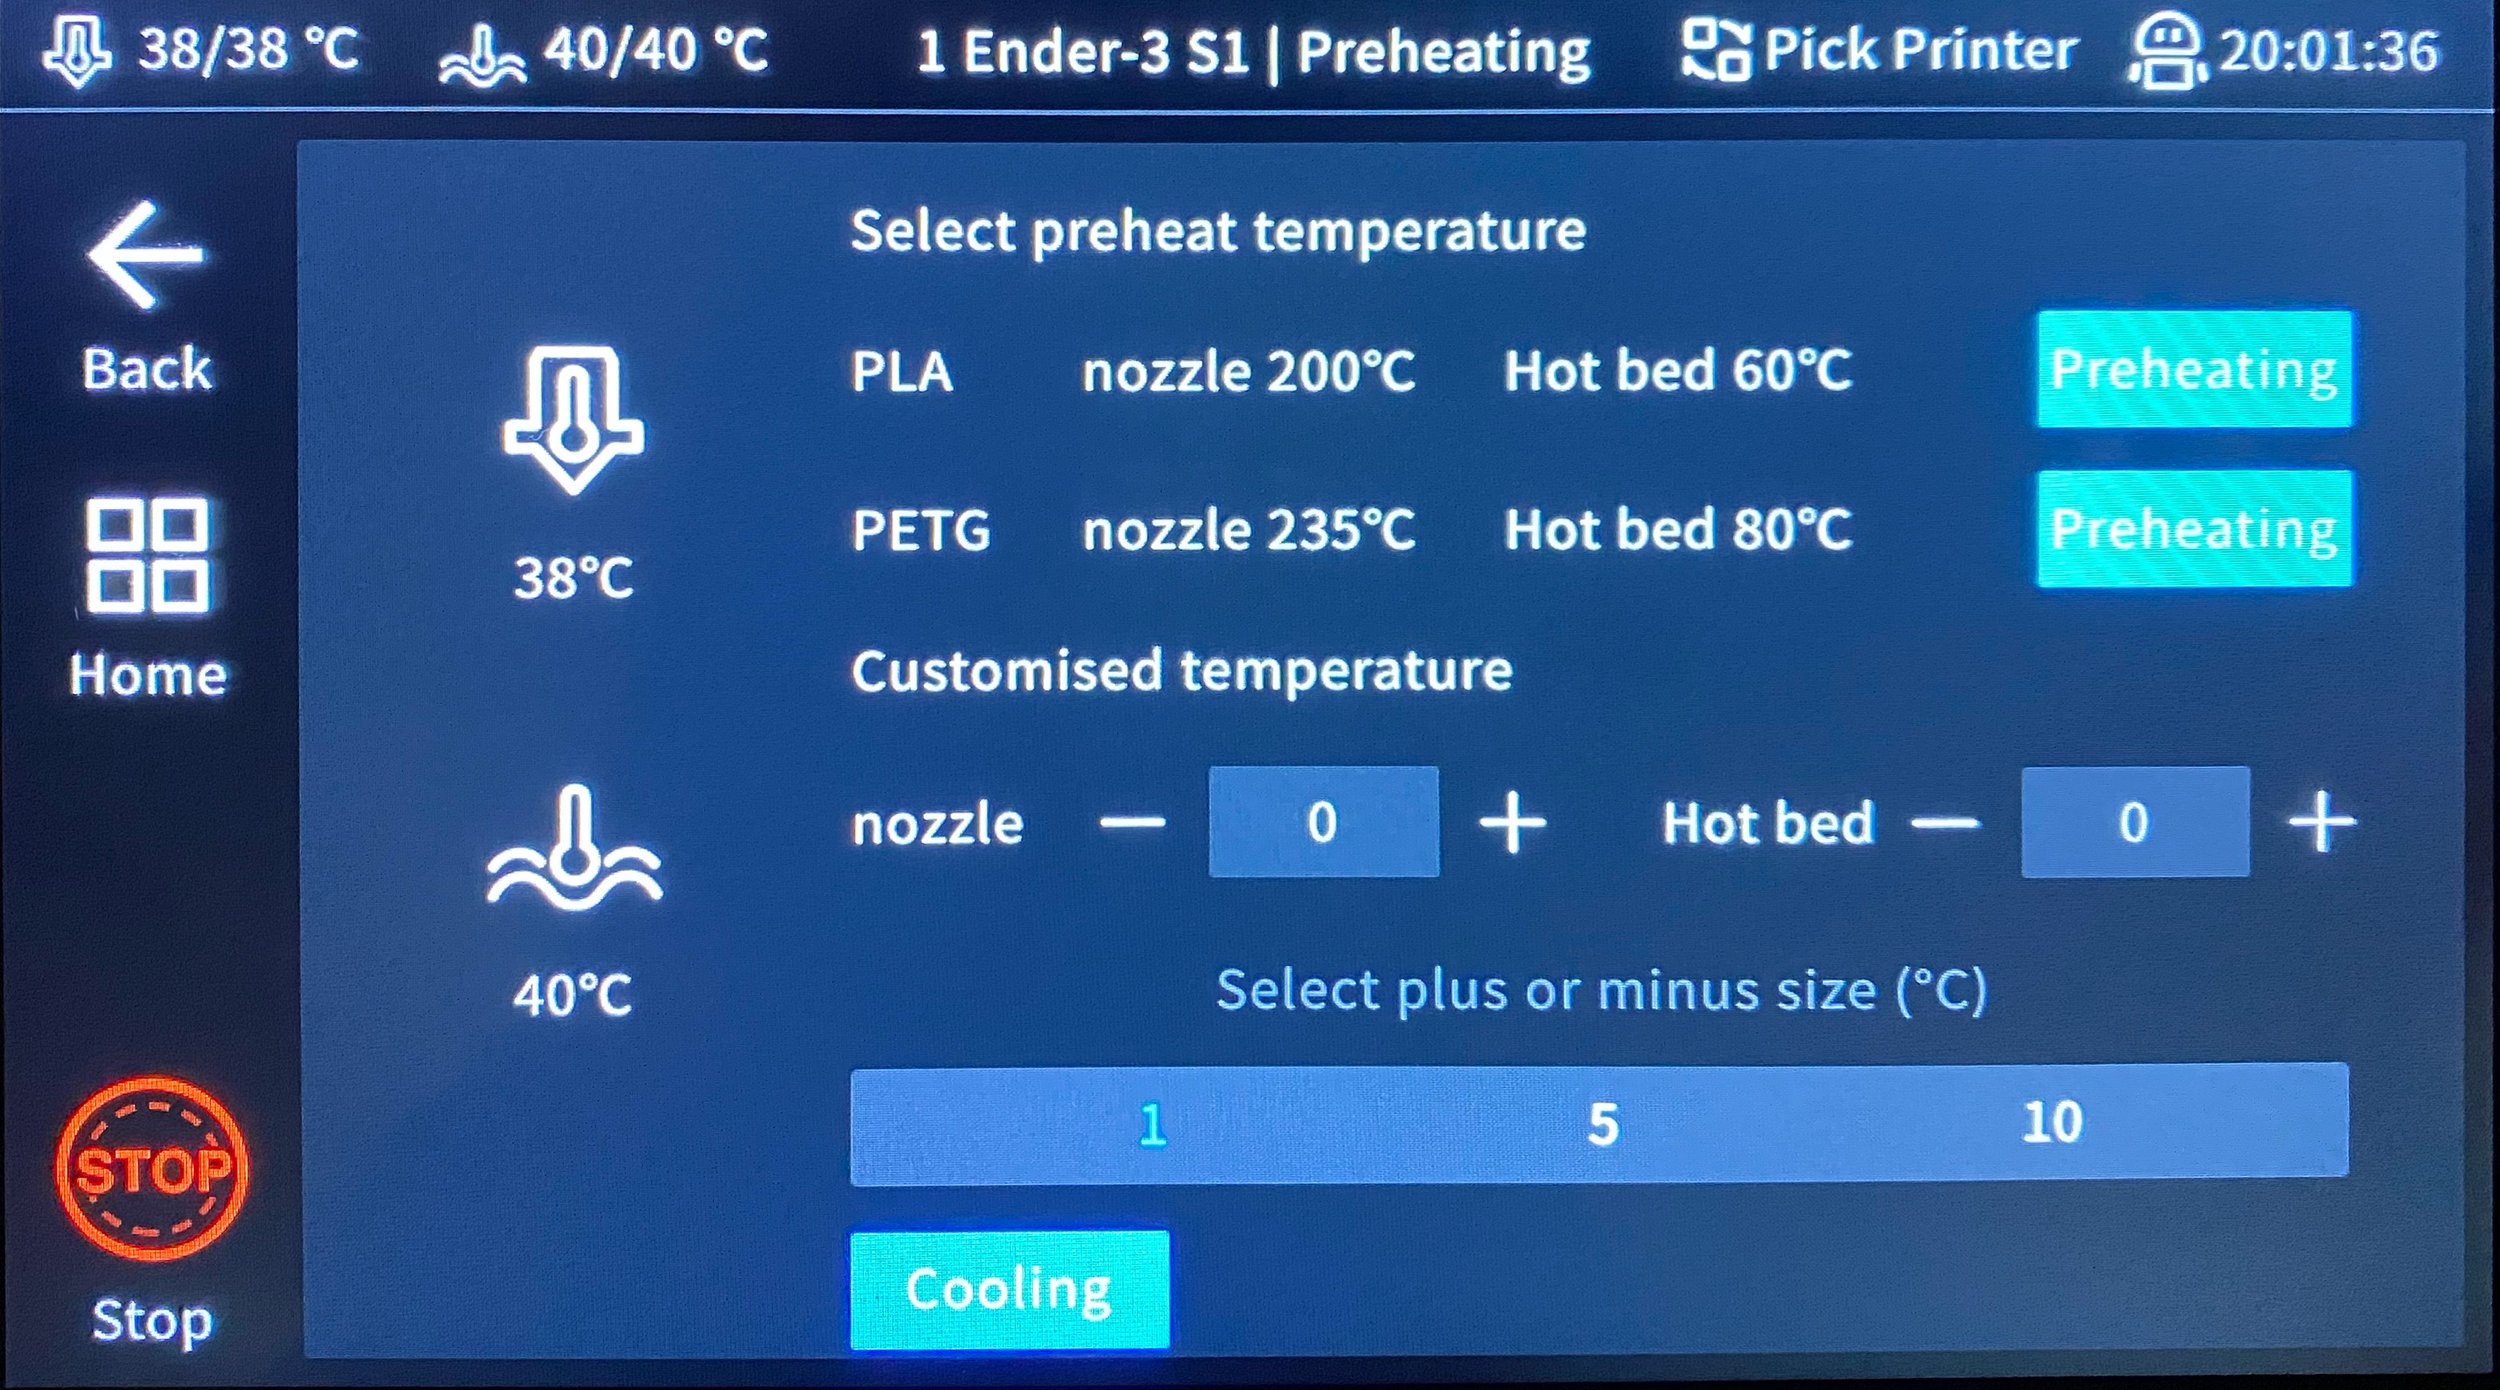
The Move and Preheating buttons allow you to control the 3D printer before starting a print. You can move and home the printer in all axes, and can preheat the nozzle and bed to either a preset or custom temperature. These settings are self-explanatory and work in the way you'd expect, similar to the 3D printer's built-in controller.
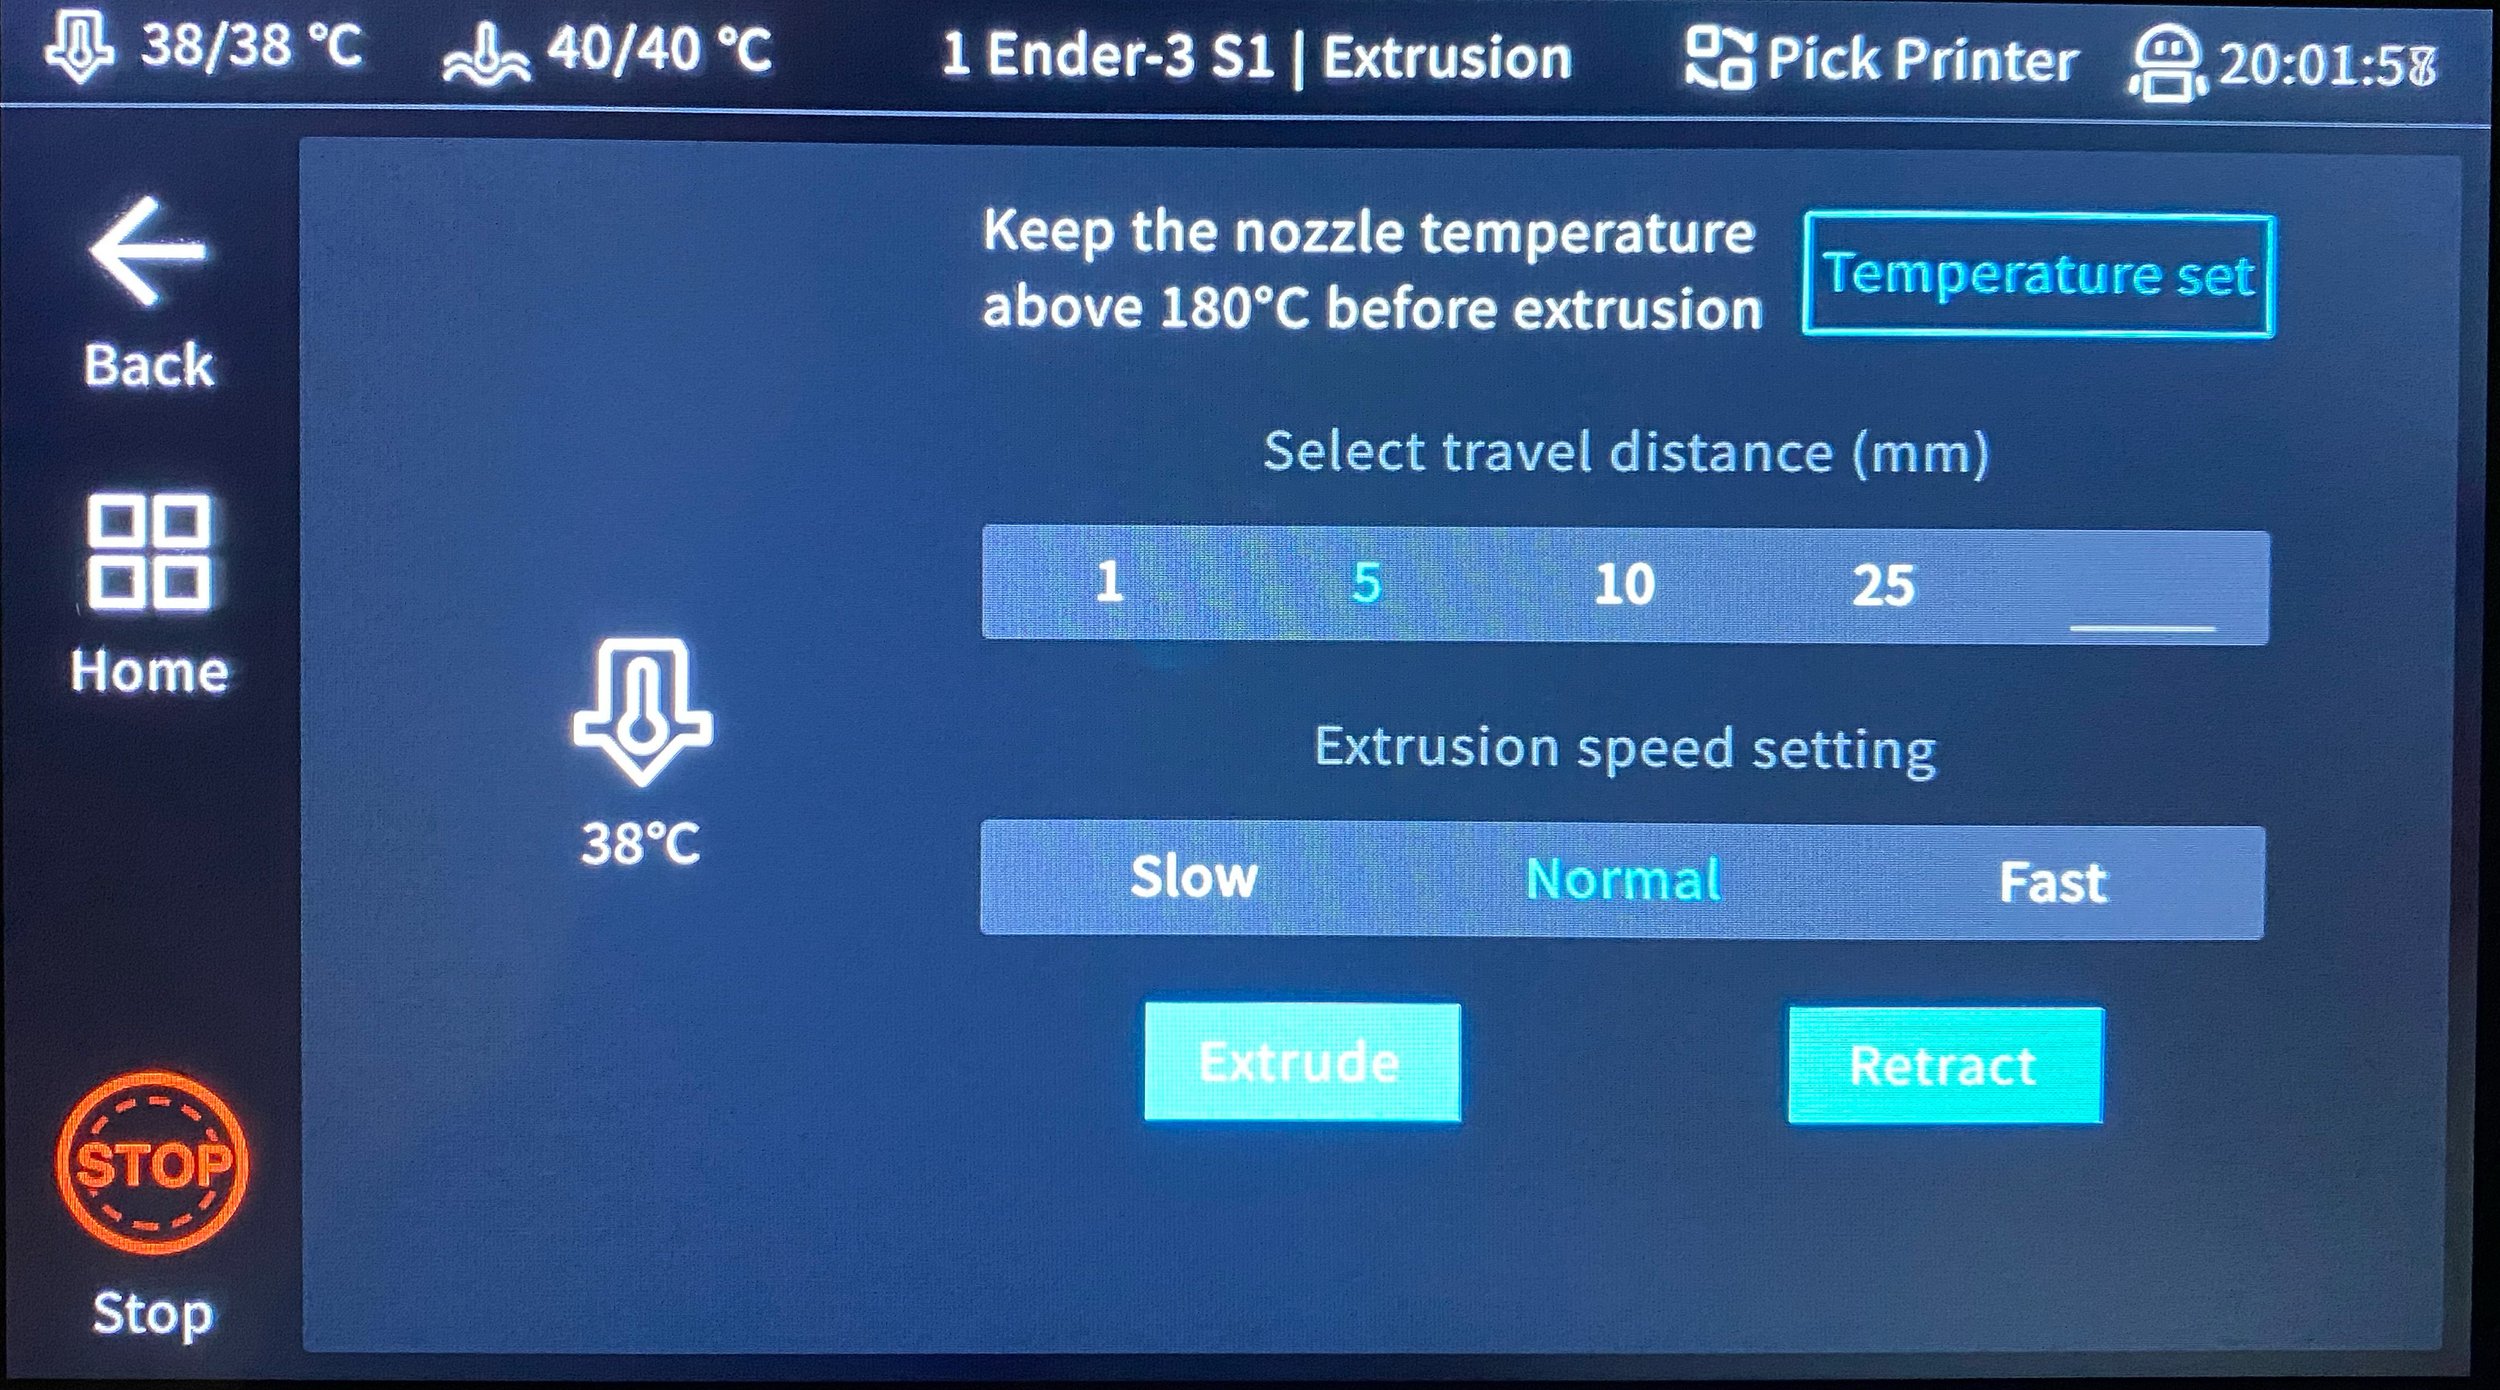
To extrude filament, such as if you are changing colors and wish to flush out the old color, you can go to Control -> Extrusion. This menu will allow you to extrude or retract the filament at a speed and distance of your choice.

Loading and Printing .gcode Files
You have multiple options for loading .gcode files to print with the Sonic Pad:
You can load .gcode files onto a USB flash drive and plug the drive into one of the available USB ports on the Sonic Pad.
You can load files onto the Sonic Pad's internal storage using the web interface from a computer (see below for instructions to access the Sonic Pad remotely).
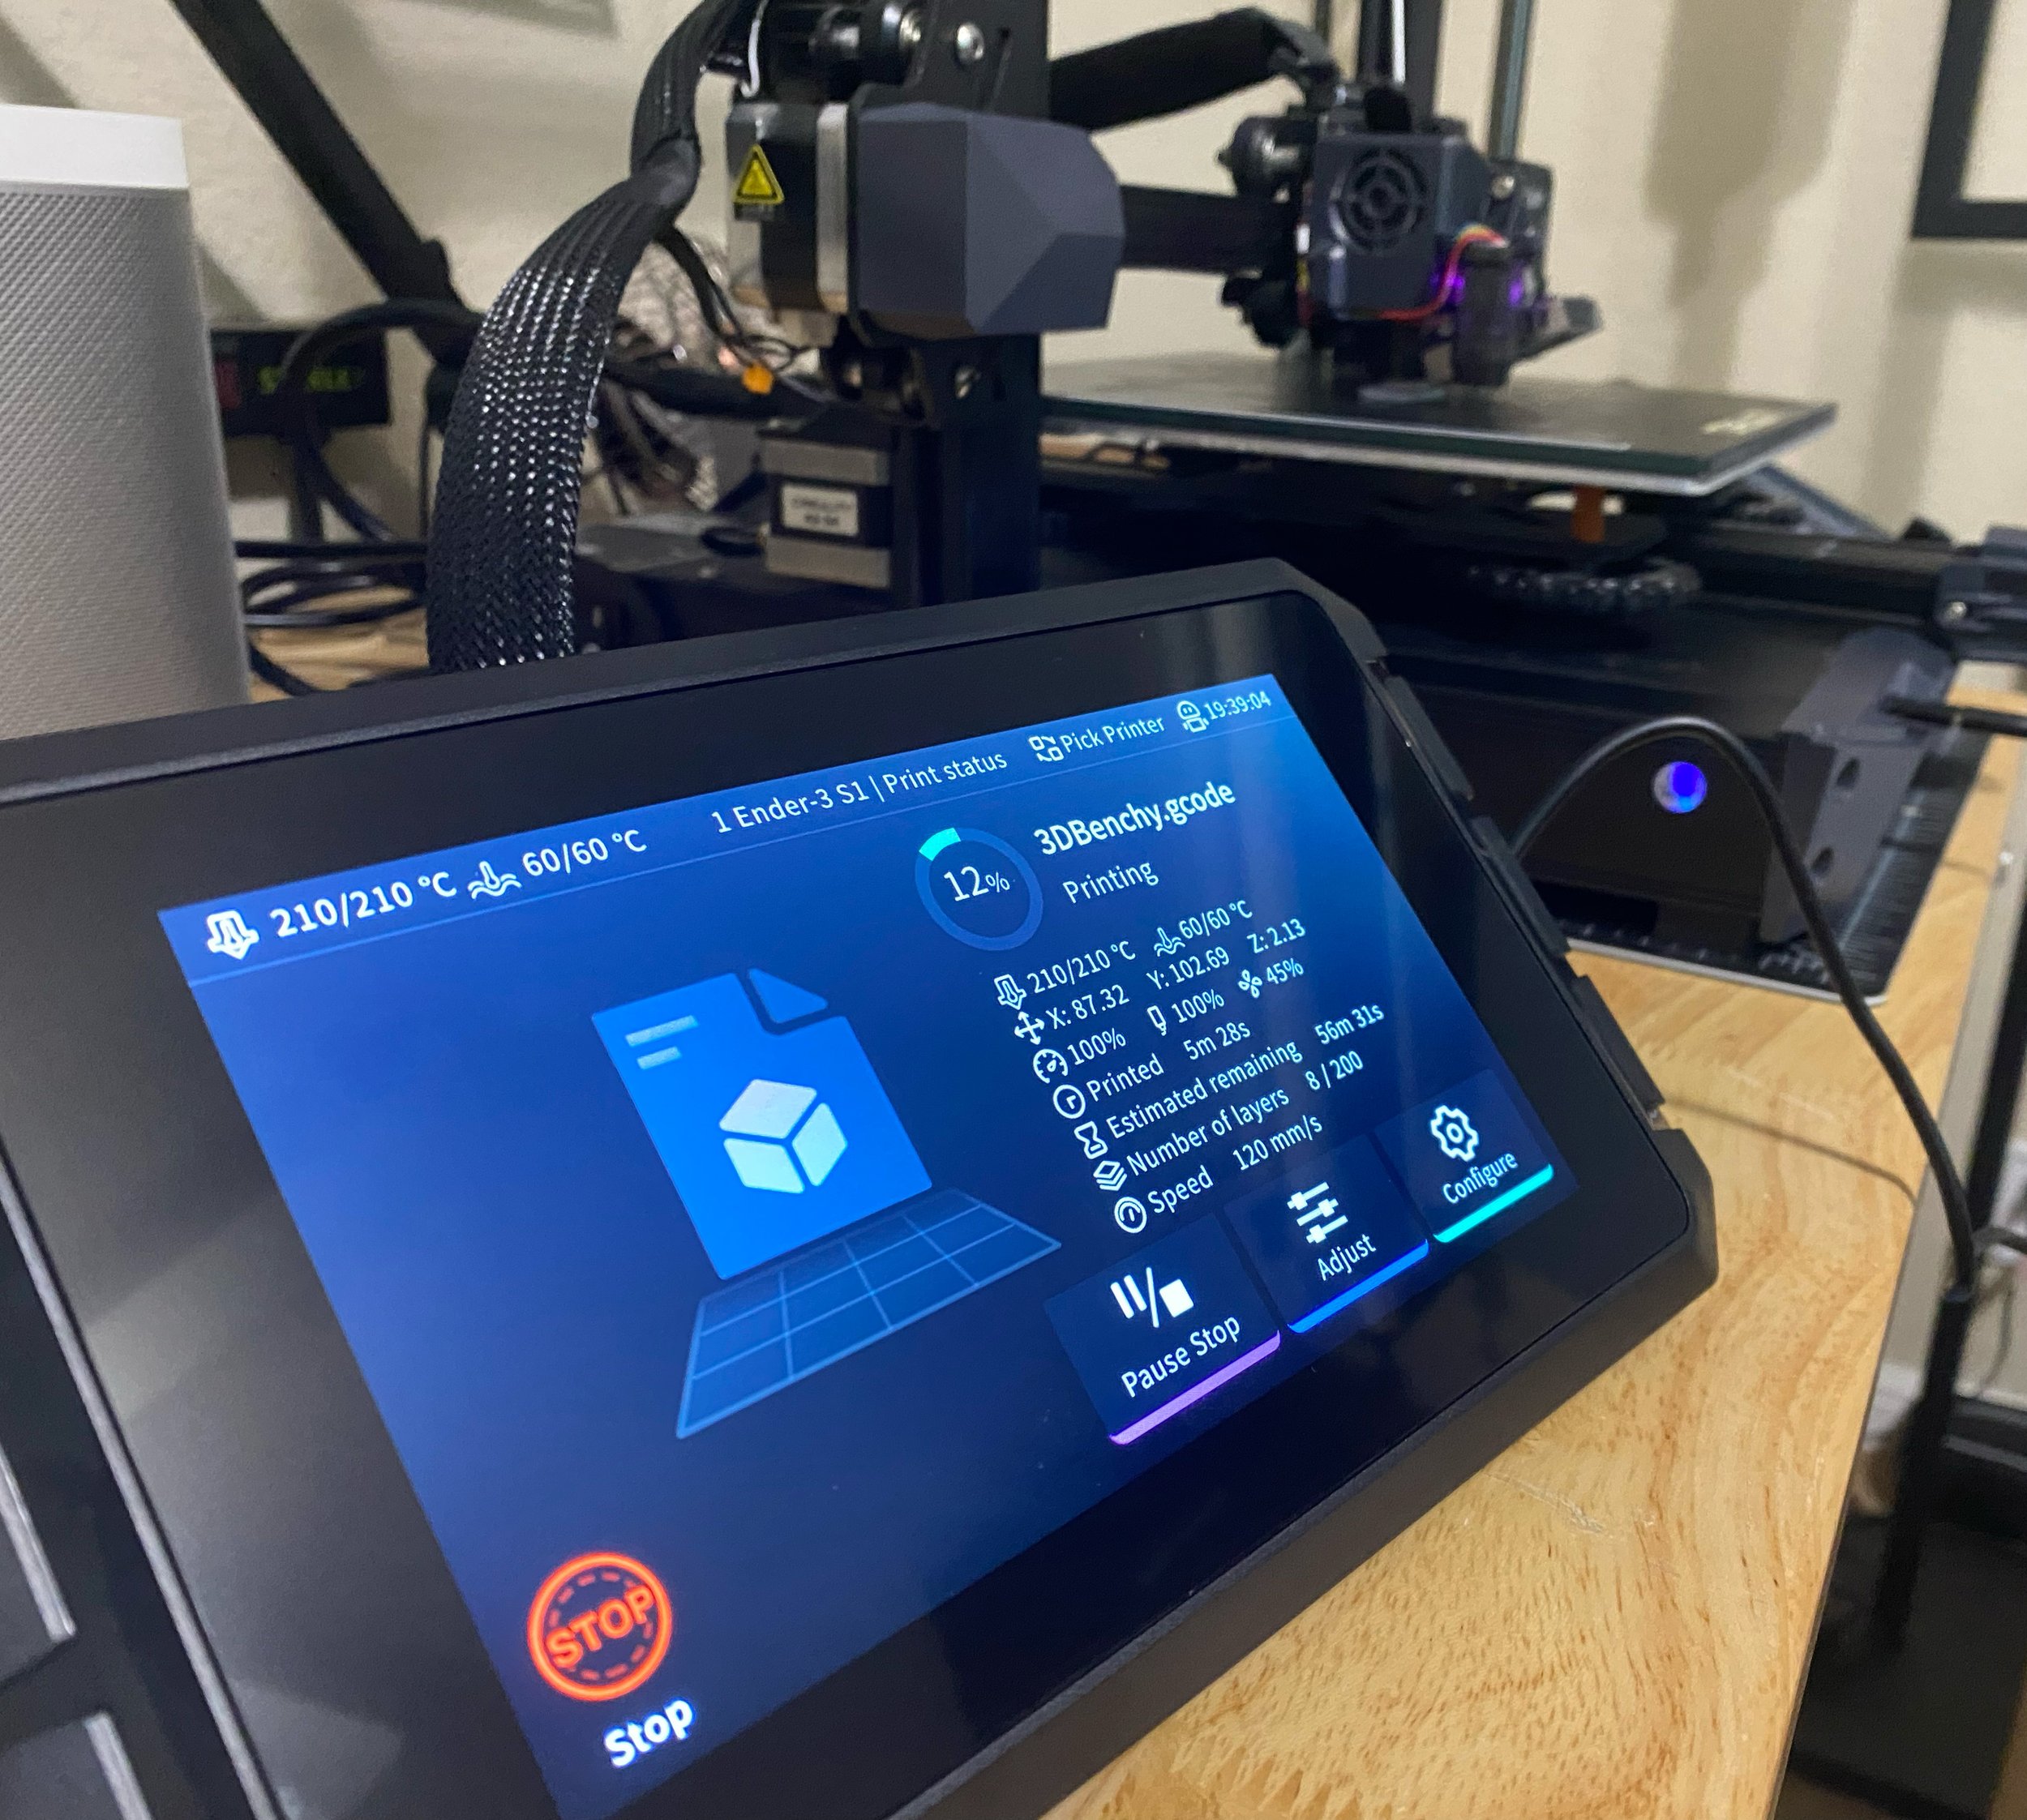
No matter which option you choose, you can access the list of available .gcode files by pressing the Print button on the main menu. This will bring up a screen with buttons at the top for various storage locations, including local storage, USB, and the Creality Cloud service. Select the option corresponding to where your files are stored, and you'll see a list of files to print. Simply tap one of the files to print it.
If you want to transfer files from an attached USB drive to the internal storage so you can print them without having the USB drive connected, you can also do that from this menu.
Unfortunately, the Sonic Pad does not include an SD card reader and cannot access .gcode files from the SD card inserted in the 3D printer itself. However, you could attach a USB card reader to the Sonic Pad and insert the SD card from your printer to print .gcode files from the card.
Controlling the Creality Sonic Pad Remotely
One of the most compelling features of the Sonic Pad is that you can connect to it from a computer or phone on your local network, allowing you to monitor and control your 3D printer remotely. You can also load .gcode files onto the Sonic Pad using the network connection, which saves you from having to walk back and forth with a SD card or USB drive to transfer files.
Follow these steps to connect to the Creality Sonic Pad from a computer or phone:
On the Sonic Pad, go to Configure -> Network Settings, and select either Wireless or Wired depending on how you have connected your Sonic Pad to your network.
On the next screen, note the IP address of the Sonic Pad. It will be a number of the form: 192.168.0.100, although the specific numbers in the IP address are likely to be different.
Using the web browser on your computer or phone, type the following into the address bar: http://<IP address of Sonic Pad>. For example, the address might be: http://192.168.0.100
Press Enter to navigate to the page. You should see a loading bar and then you will see the Sonic Pad web interface, where you can monitor and control the functions of the Sonic Pad and 3D printer.
Next Steps
This guide provides an overview of the Creality Sonic Pad setup process and core functions, but the Sonic Pad is capable of much more than what we have described here. The underlying firmware in the Sonic Pad is based on an open-source project known as Klipper, and provides advanced options for tuning the performance of your 3D printer for maximum print speed and quality. You can also enable additional monitoring capabilities, such as adding a USB webcam or monitoring prints from outside your home network using the Creality Cloud service. The Sonic Pad is even capable of controlling multiple 3D printers at once, allowing you to use it with a suite of printers rather than a single machine.
Although we haven't covered those advanced use cases in this guide, we intend to cover more of the Sonic Pad's features in future guides, so check back to our site soon for more information on how to use the Sonic Pad.