Tools for Post-Processing 3D Prints and Maintaining Creality 3D Printers
Creality 3D printers like the Ender 3 and CR-10 already include a set of useful tools, but we've found that there are a few other nice-to-have tools that we recommend for an even smoother 3D printing experience. These affordable tools will make it much easier to repair and upgrade your 3D printer, and we use them ourselves on a daily basis as part of our own 3D printing business--so we know you'll get a lot of use out of them.
The tools we recommend fit into two general broad categories: 3D print post-processing and printer maintenance/repair .
Note: Creality Experts receives a commission for items you purchase from this page, at no additional cost to you. For more information, please see our affiliate link policy.
Recommended Tools for 3D Print Post-Processing
Print Removal Tool

Most 3D printers include a putty knife as a tool to remove completed prints from the bed. While this does work, it can be difficult to get the dull blade under your prints to pry them up without marring the edge of the prints in the process. We have also found that it is too short to completely fit under larger prints, which is especially apparent if you own a larger 3D printer such as a Creality Ender 3 Max or CR-10 Max.

This specialized print removal tool available on Amazon addresses both of these problems with a long, sharp, and flexible blade that is much easier to get under your prints and detach them from the bed. There are other similar tools on the market, but this one is our favorite because of the sharper blade.
Note that we only have tried these tools with a glass print bed; these tools can damage other build surfaces such as the textured surface included on the stock Ender 3.
Deburring Tool
You'll often need to trim the edges of your 3D prints, either due to the use of a brim for improved bed adhesion or if your part is slightly wider on the base due to "elephant's foot" (where the base of the print is a bit thicker due to a slightly too flat first layer).
You can use any sharp blade to trim these, but we have found that deburring tools are much better at this job, and are much safer to use due to the curved shape of the blade. With this tool, you can simply move the blade along the edge to cleanly trim material from the print. The tool includes a set of replacement blades as well, so it will last you a long time. We've had ours for multiple years under heavy use and have replaced the blade only 3-4 times.


The deburring tool is a great way to clean off brims for prints that need extra help with bed adhesion.
Chisel Set
When printing parts that need support material, it can be difficult to remove the support with just the blue wire clippers included with your printer. We keep a set of chisels on hand which are helpful both for prying off large chunks of support material as well as scraping off what's left on the model. Used in tandem with the blue clippers, you can easily tackle any support removal.
These tools can also be used to remove your 3D prints from the bed if you are using a glass print bed: a light tap on the side of most prints will release it from the bed due to the substantial weight of the chisel. That said, the Print Removal Tool we mentioned earlier is better for prints that are more difficult to remove or have a large contact surface.
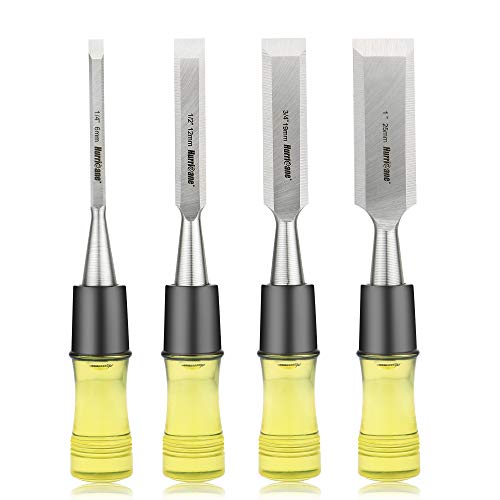

Chisels are a great tool for removing support material from your prints
Heat Gun
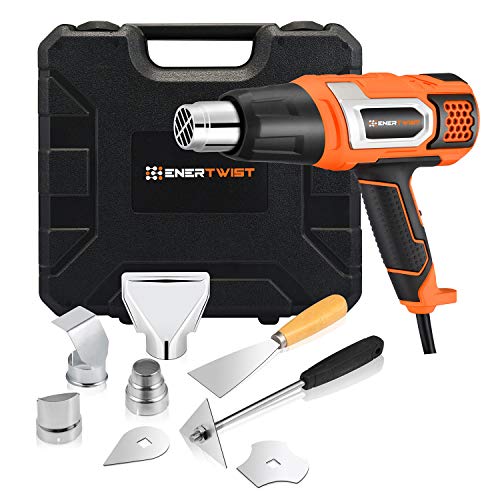
Even a well-dialed-in 3D printer can sometimes produce small, wispy strings on models, especially in cases where there are a lot of small details the printer must travel between. A heat gun is an easy way to quickly remove these strings for a very clean end result. Just be careful not to heat the model for too long or the material will start to deform, especially if you are printing with PLA. We have found that short bursts all around the print will quickly clean any strings without any warping.
We like the Enertwist heat gun because it offers fine control of the heat, so you can make sure the temperature is hot enough to remove strings but doesn’t start to warp the print itself. It also conveniently can be set on its back to hold pieces above it.

The heat gun is also handy for other uses, such as softening parts that need to press-fit together or for creating fun models such as this Lion with a mane.
Recommended Tools for 3D Printer Maintenance
We use these tools to maintain and repair our Creality 3D printers.
Nozzle Removal Tool

While your 3D printer includes a small wrench that is sized for removing the nozzle, we have found that using a dedicated nozzle removal tool makes the entire process much easier. The print nozzle will wear out over time and need to be replaced, and you may decide to try out other nozzle sizes to print very large or very high detail objects. This is a frequent maintenance task for our 3D printers, and this dedicated nozzle removal tool makes the process a lot simpler by allowing you to easily remove and replace the nozzle.
We prefer the '“L” tools since they allow you to get good leverage to loosen the nozzle, then can be reversed to quickly remove it. This nozzle wrench kit from Amazon includes both a 6mm and 7mm wrench which will work with any nozzle type.
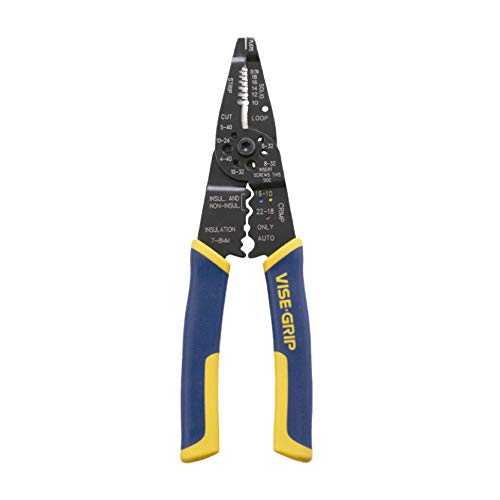
Wire Strippers & Screw Connectors
When repairing components on the hot end on your 3D printer, you will likely need to replace and rewire components such as the heater cartridge and thermistor which can stop working over time. While you can solder these components to the wires coming from the printer electronics box, we've found it much easier to simply strip the ends of the wires and use screw-on connectors to safely hold them together. You’ll want to have a good pair of wire strippers on hand if you don’t own them already, and you can pick up the screw connectors on Amazon as well.
If you are looking for more details on how to perform these repairs and when they are needed, you can find more information in the detailed Hot End Repair Guide.

having wire strippers and screw connectors on hand will make hot end maintenance and repairs much easier

PTFE Tube Cutter

Another common maintenance task is trimming the end of the PTFE tube that connects your 3D printer's extruder to the hot end. Over time, the end of the tube near the hot end can start to deform, so it is a good idea to trim the end of the tube any time you change the nozzle. We always perform a "PTFE push through" as well to clear out any filament residue in the hot end. This procedure is detailed in our Hot End repair guide.
When trimming the PTFE tube, it's important that you cut it as straight as possible to avoid creating a gap where it interfaces with the nozzle, which will eventually collect melted material and cause the 3D printer to jam. To be sure your cuts are straight every time, we always use a dedicated PTFE tube cutter tool which makes the process much easier and results in a very clean, straight cut as compared to using the blue clippers or scissors. The kit we’ve linked includes some other nice-to-haves: extra heat resistant PTFE tubing and couplers, which we always have on hand since they can fail over time.
Printed Allen Wrench Tops
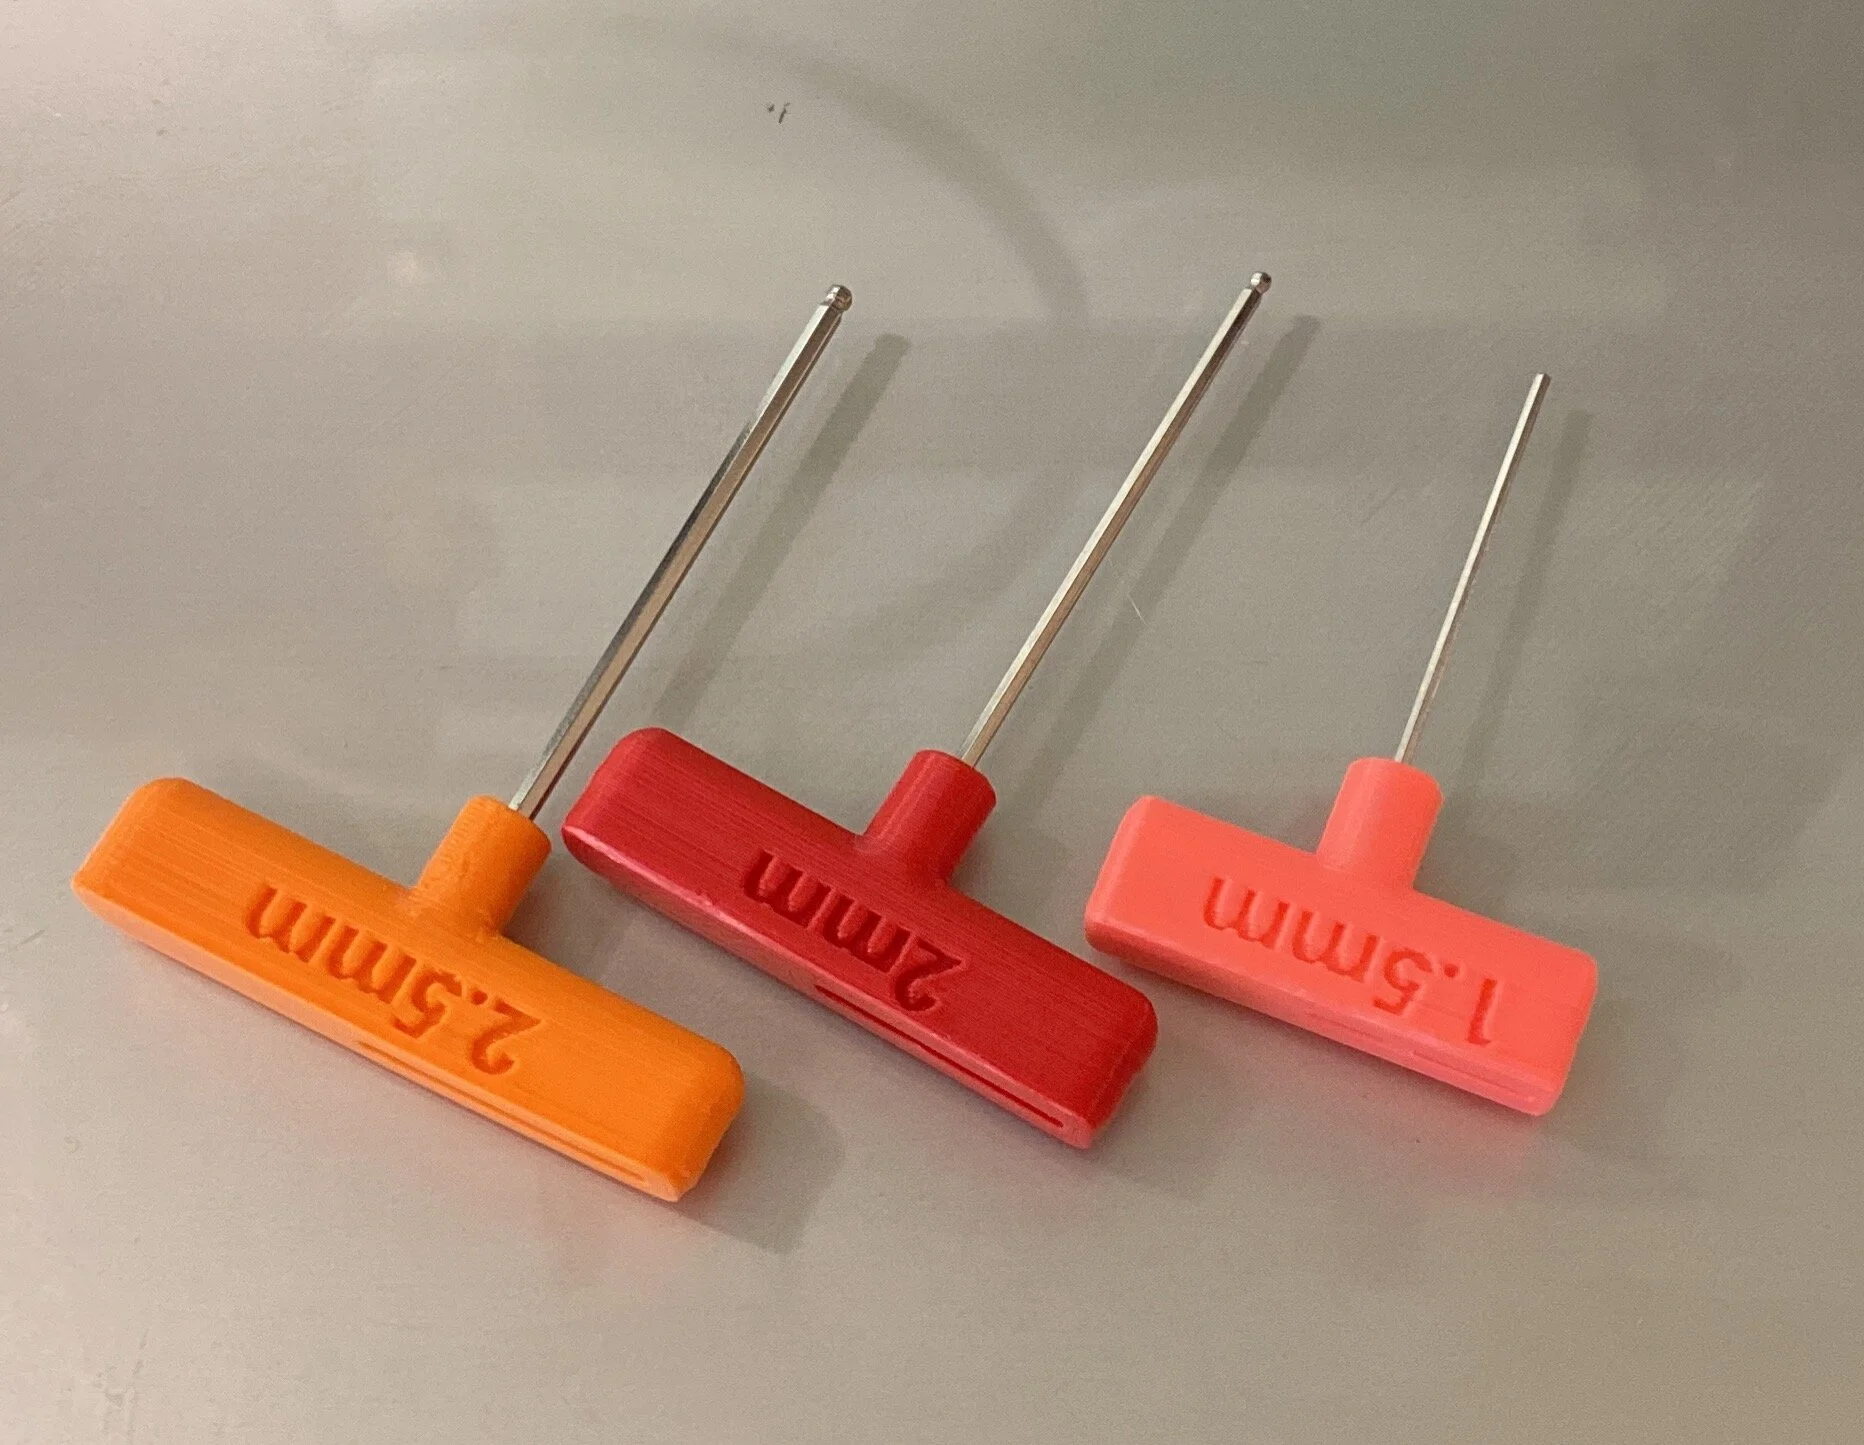
These are not a tool on their own, but they are a great upgrade to the Allen wrenches that are included with your printer. This upgrade is one that you can 3D print yourself, and makes your wrenches much easier to identify, easier to use, and harder to lose. We suggest printing each size in a different color to make it easy to tell which size is which, since it can be hard to tell just from looking at the Allen wrenches themselves.
Once you've printed these, you can just slide your wrenches into the prints and they are ready to use.. You can find the STLs on Thingiverse here:
https://www.thingiverse.com/thing:4912677
Looking for more?
You might also like our Gift Guide for Makers, which has other items for someone who is into 3D printing or is looking to get started with the hobby.