Creality Ender 3 V2 Review: The Perfect Entry-Level 3D Printer?
Note: Creality Experts receives a commission for items you purchase from this page, at no additional cost to you. For more information, please see our affiliate link policy.
We purchased this Ender 3 V2 ourselves and were not compensated in any way for this review. All opinions expressed on this page are our own and are based on our experiences using the printer.
Note: The Ender 3 V2 is superceded by the Ender 3 V2 Neo - you can read a review of the Ender 3 V2 Neo here: Ender 3 V2 Neo Review. Also, take a look at the Ender 3 V2 vs Ender 3 V2 Neo comparison for a closer look at what was updated in the new version.
The Creality Ender 3 V2 is an improved 2020 version of the extremely popular Creality Ender 3. The Ender 3 took the 3D printing world by storm and quickly became one of the most ubiquitous 3D printers. The active community of users soon started to modify the Ender 3 to improve its capabilities. With the Ender 3 V2, Creality integrated some of these community improvements to make a more premium version of the Ender 3.
With its 8” x 8” x 10” build volume and a price of less than $300, the Creality Ender 3 V2 competes directly with a number of other 3D printer options in the market. Its combination of features and price make it an ideal entry-level printer, assuming it delivers on its promises. If you’re looking to purchase a machine like the Ender 3, you also have to ask the question of whether the improvements in the Ender 3 V2 are worth the added cost over the original Ender 3.
To spoil the ending a bit, our opinion is that yes, the Creality Ender 3 V2 is worth the money and is an excellent entry-level 3D printer. In this review, we’ll give you a complete overview of the printer’s capabilities and point out everything we like and don’t like about the machine.
If you’d like to see a more detailed comparison of the Ender 3 V2 and the base Ender 3, take a look at our Ender 3 Comparison Guide.
Unboxing and Assembling the Ender 3 V2
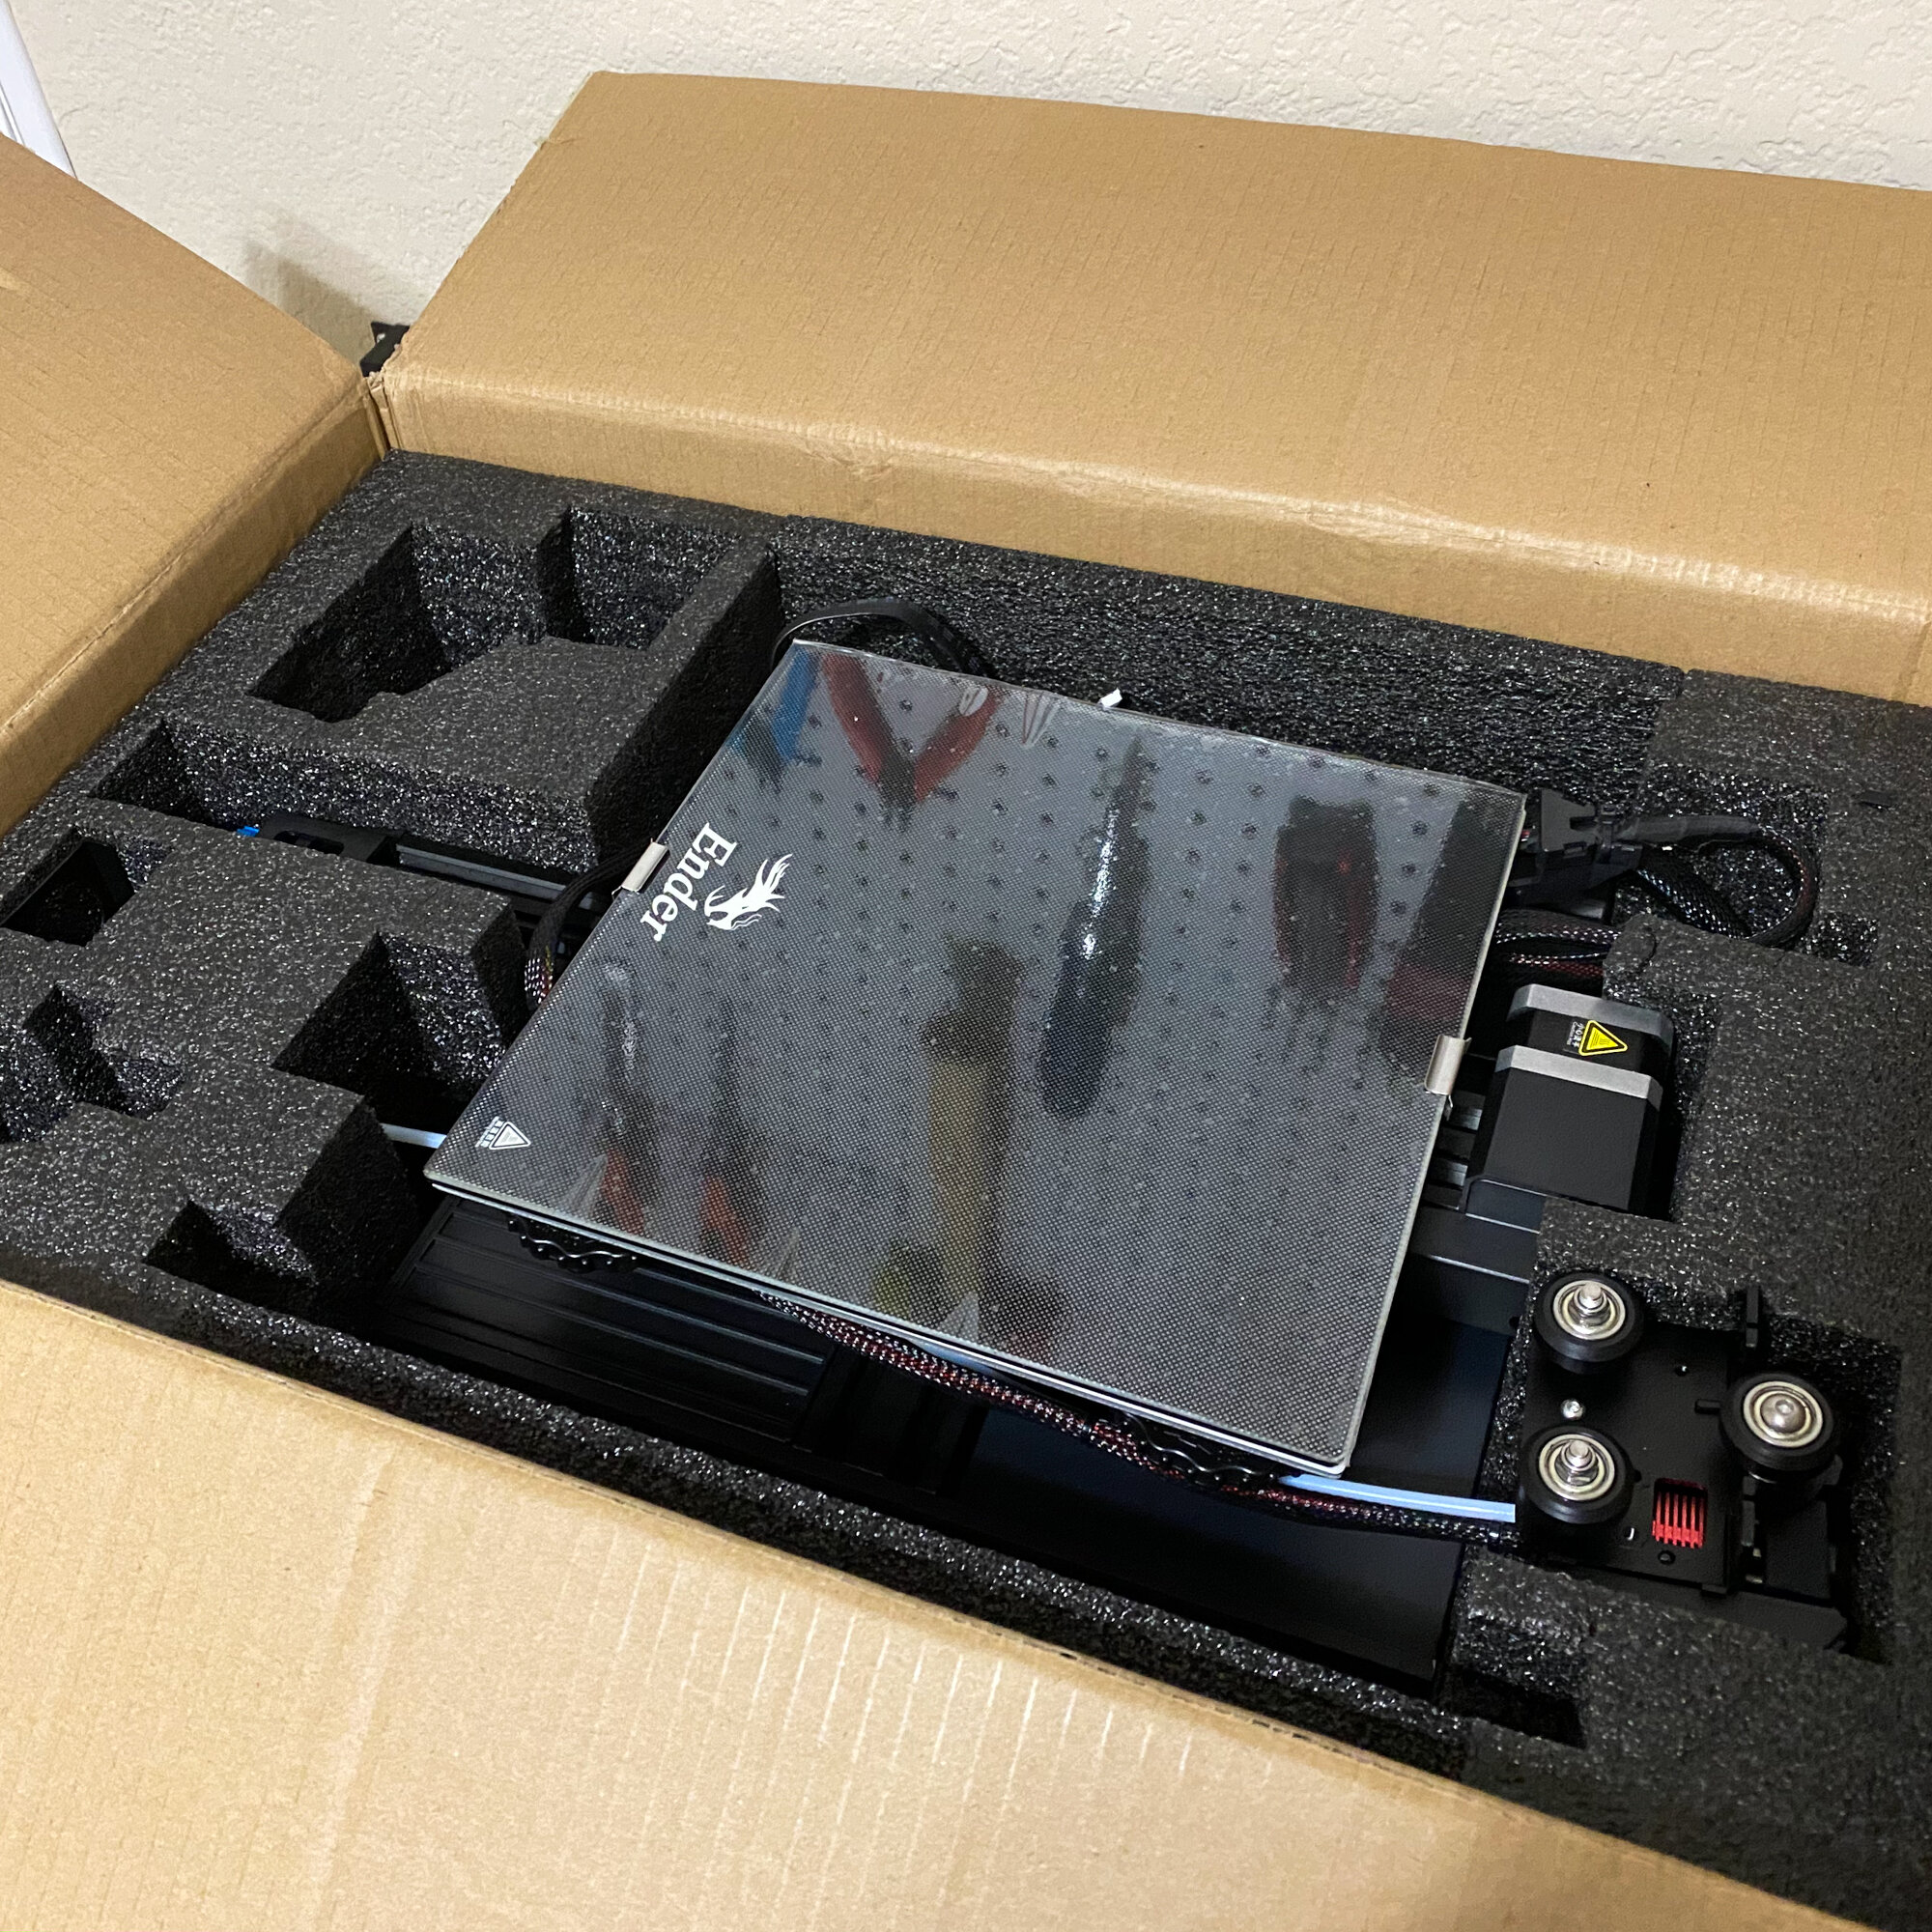
The Creality Ender 3 V2 comes packed in a box. Assembly is required.
The Ender 3 V2 comes packed similarly to other Creality printers, which means that it arrives in a cardboard box packed securely in foam padding. And like other Creality machines, the Ender 3 V2 doesn’t come fully assembled.
However, this model does require a fair bit more assembly effort than some of Creality’s other models. Whereas a CR-10 or CR-X may take 15 minutes or so to put together, the Ender 3 V2 might take closer to 1-2 hours to fully assemble. This isn’t a major issue, and it shouldn’t scare you off from the machine. In our opinion, it’s advantageous to assemble the machine so you can fully understand how it works in case you need to repair or replace a part in the future. However, you should be aware that the assembly will take some time, and it’s probably not something a child would be able to handle on their own. (And as a side note, if you run into trouble assembling the machine, send us a message and we’ll try to point you in the right direction.)
Once assembled, it’s clear that the design of the Ender 3 V2 is solid and does not present any apparent issues or concerns. This is a well-made printer that should be durable for thousands of hours of 3D printing.
The V2 model includes a number of hardware improvements over the original Ender 3. We noticed many of these during assembly. One clear improvement is that the power supply on the Ender 3 V2 is integrated into the bottom of the machine and is fully encased inside a housing. This is in contrast to the original Ender 3 where the power supply was much more exposed. This is a welcome improvement for both appearance and safety.
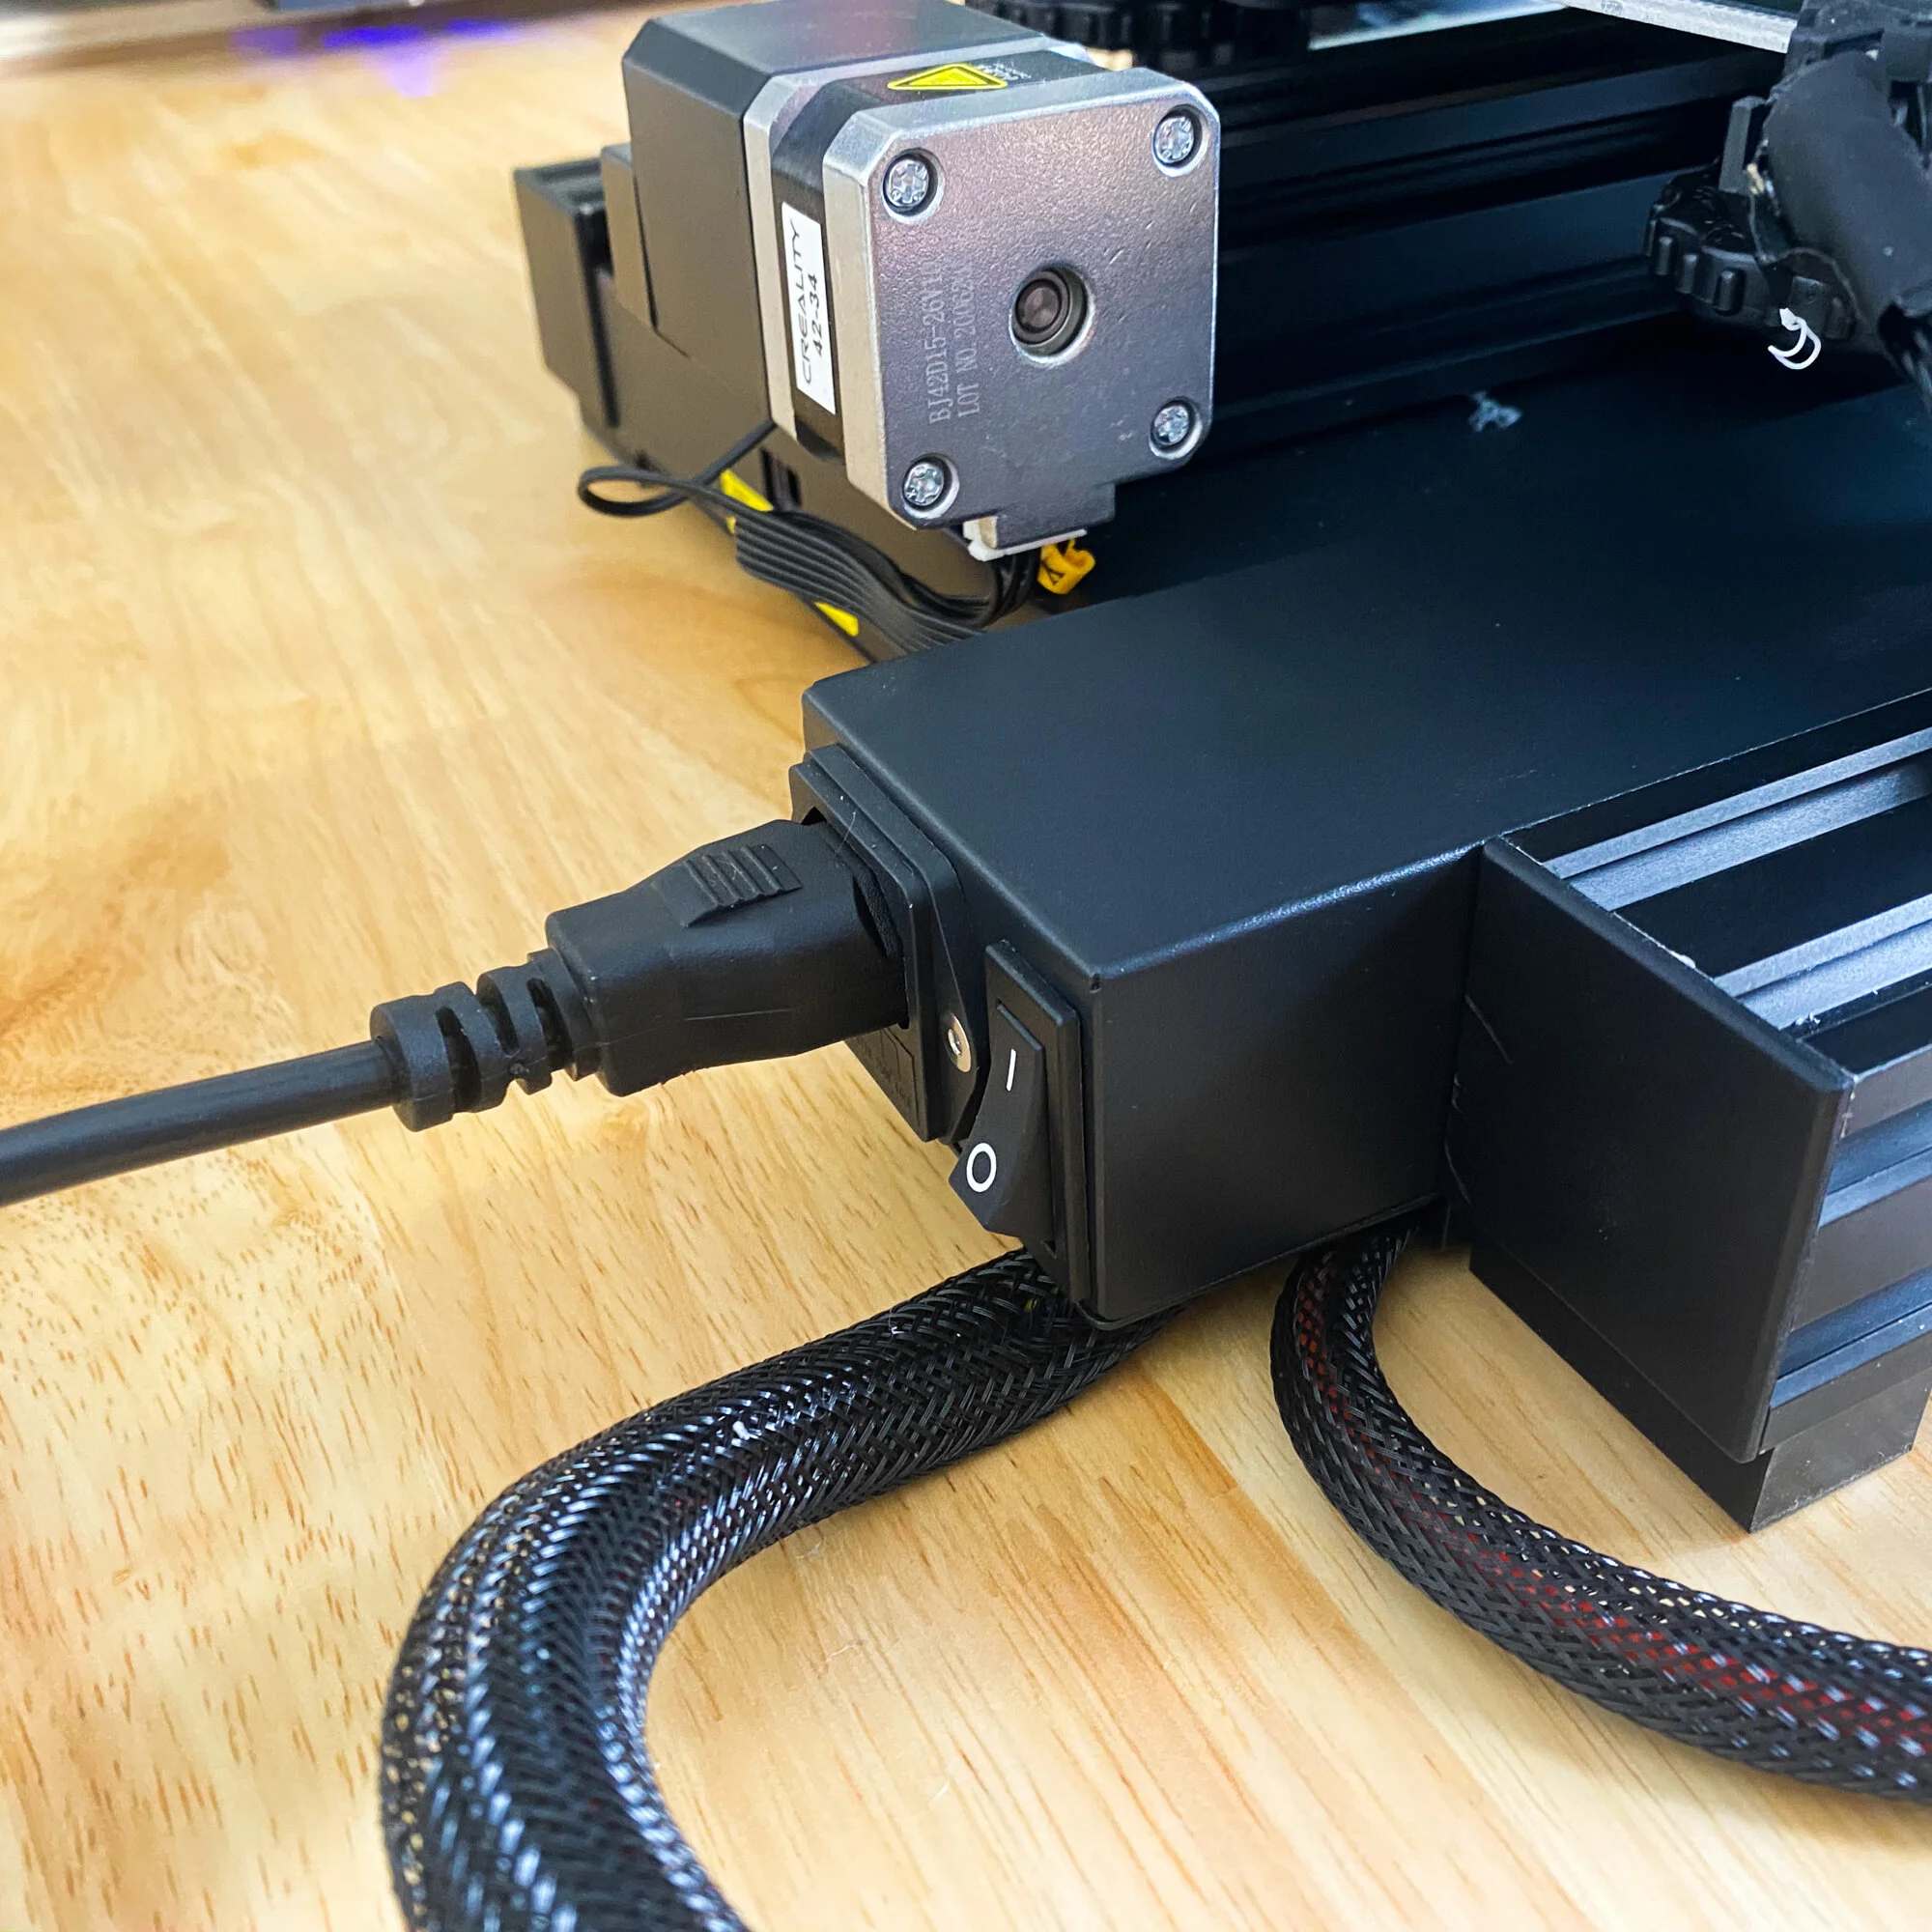
The power supply on the Ender 3 V2 is integrated into the design of the printer, a clear improvement over the original Ender 3.
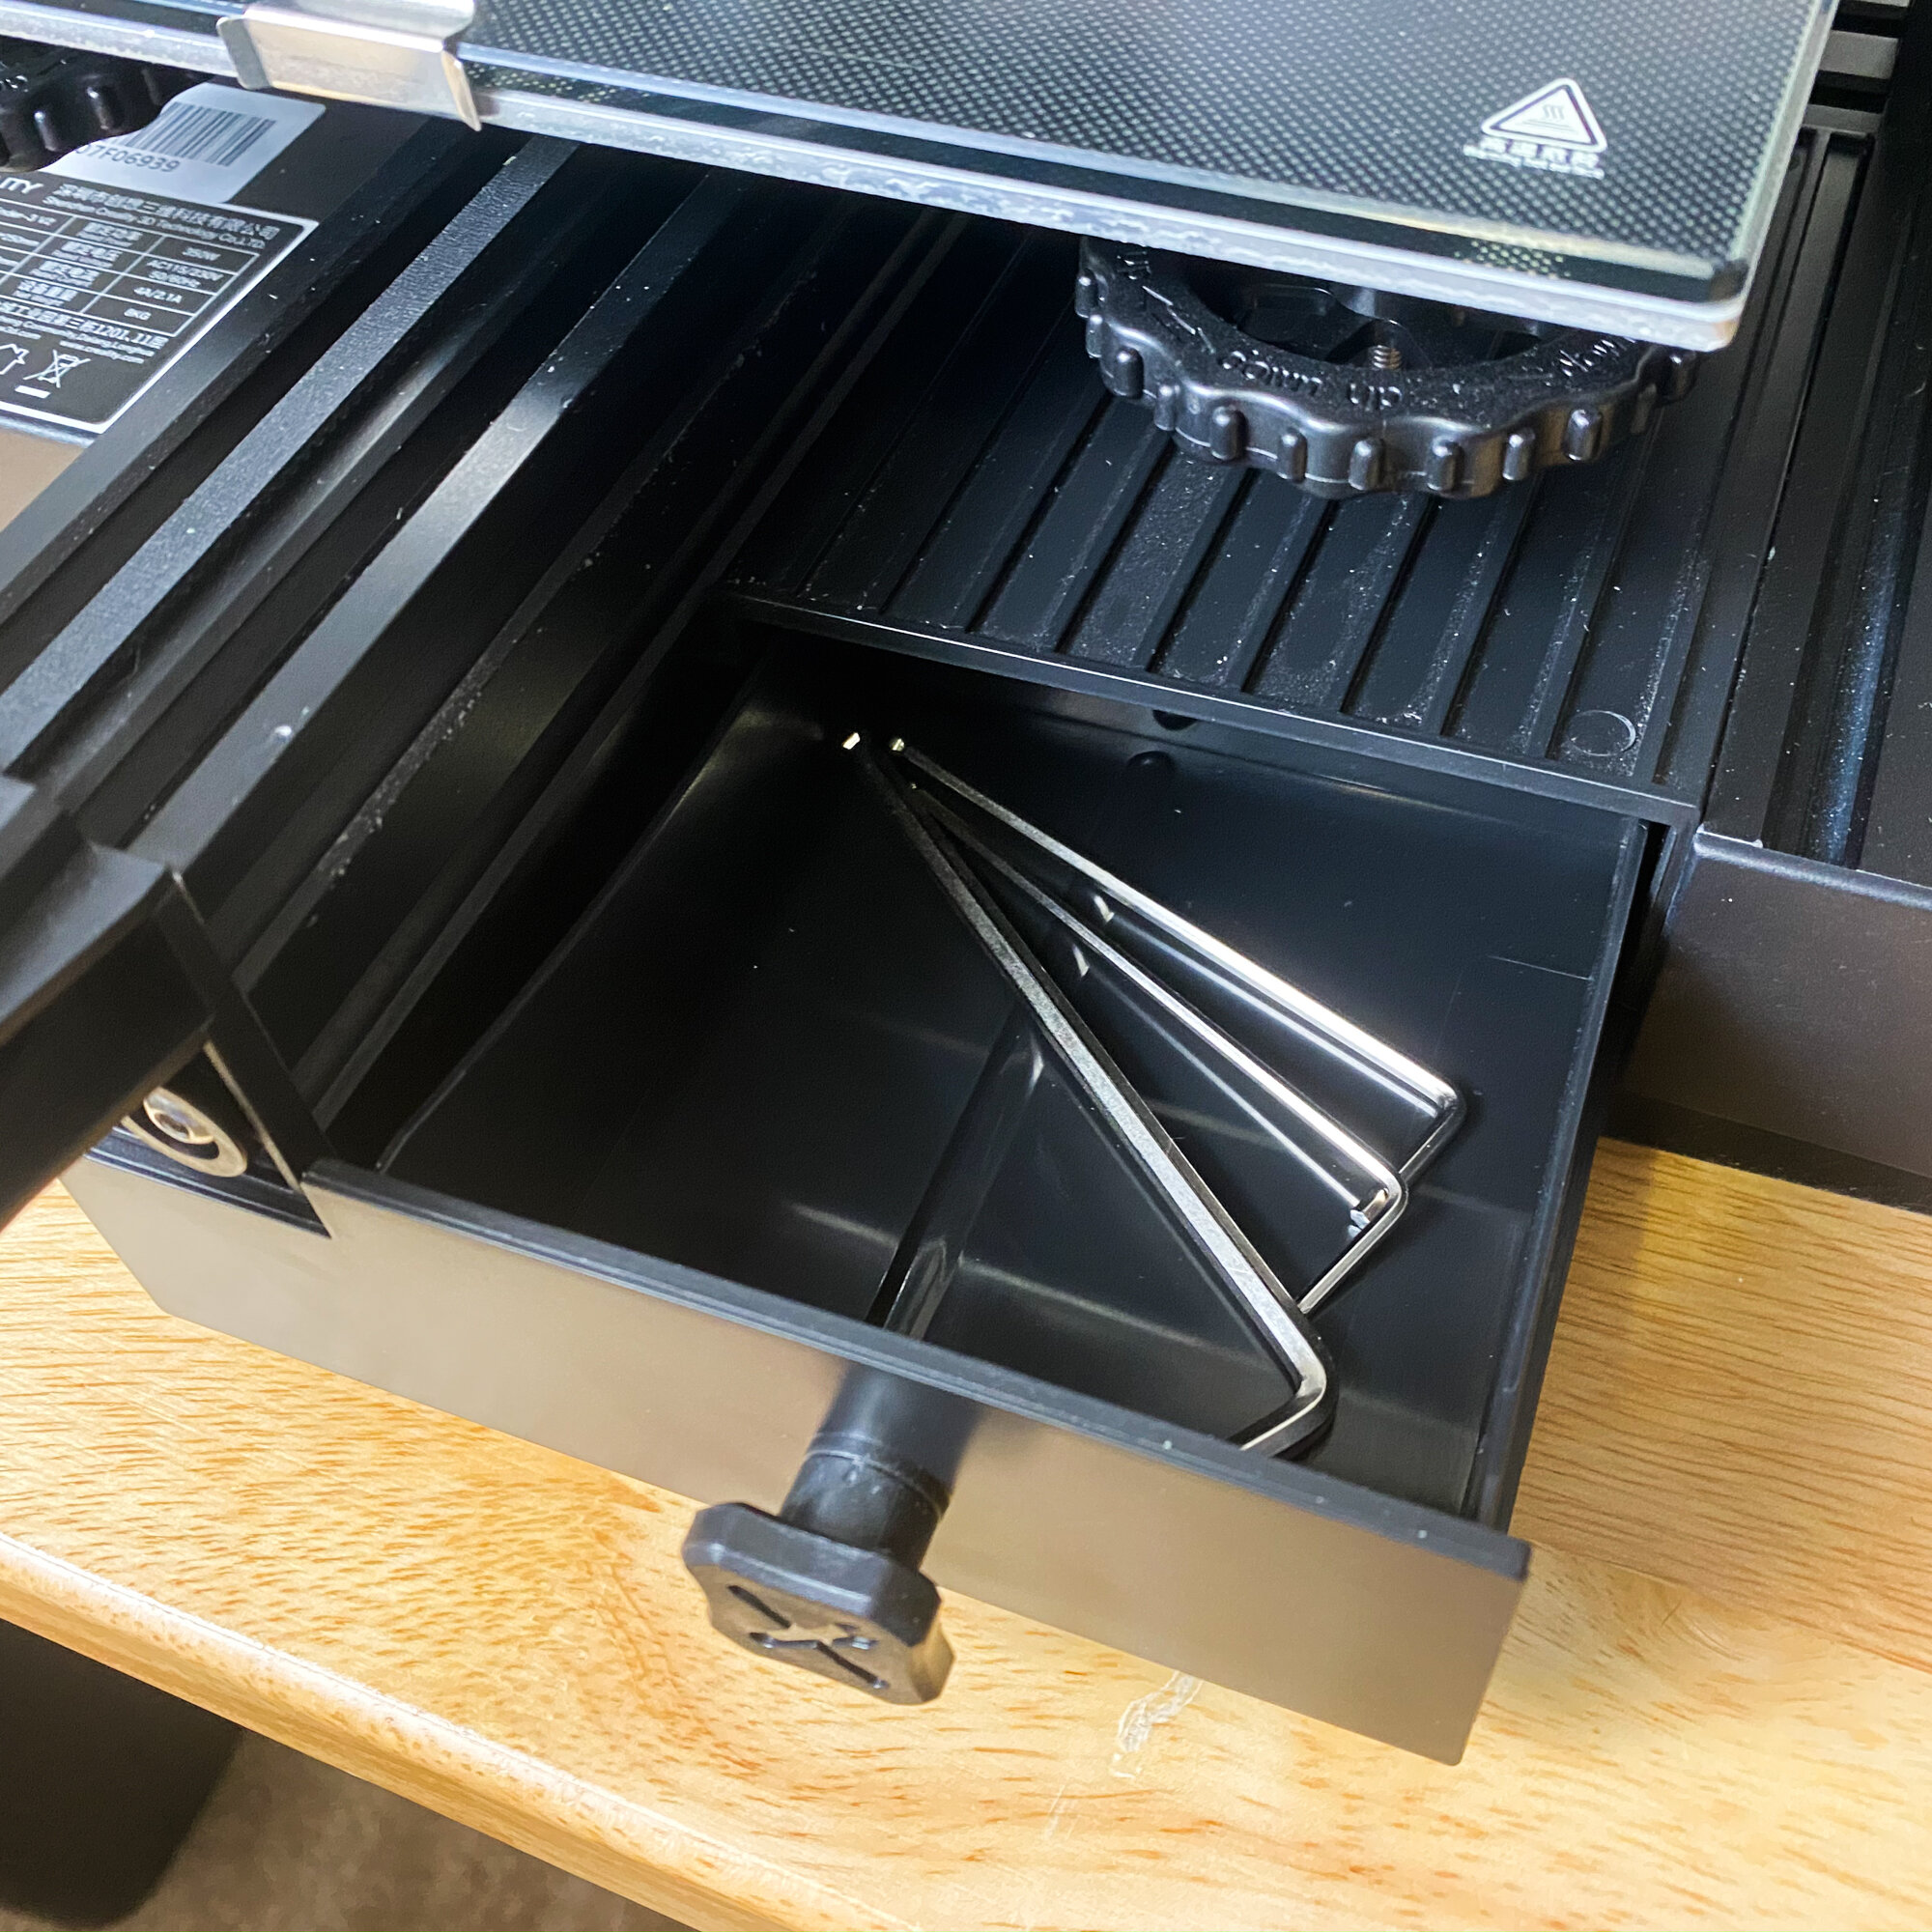
The Ender 3 V2 also includes belt tensioners on the X and Y axes, a large knob on top of the extruder to add visibility to whether the extruder is turning, and a small storage compartment on the bottom of the machine. These changes are less impactful to the functionality of the printer, but are nice added features that make you feel like you are using a more premium product.
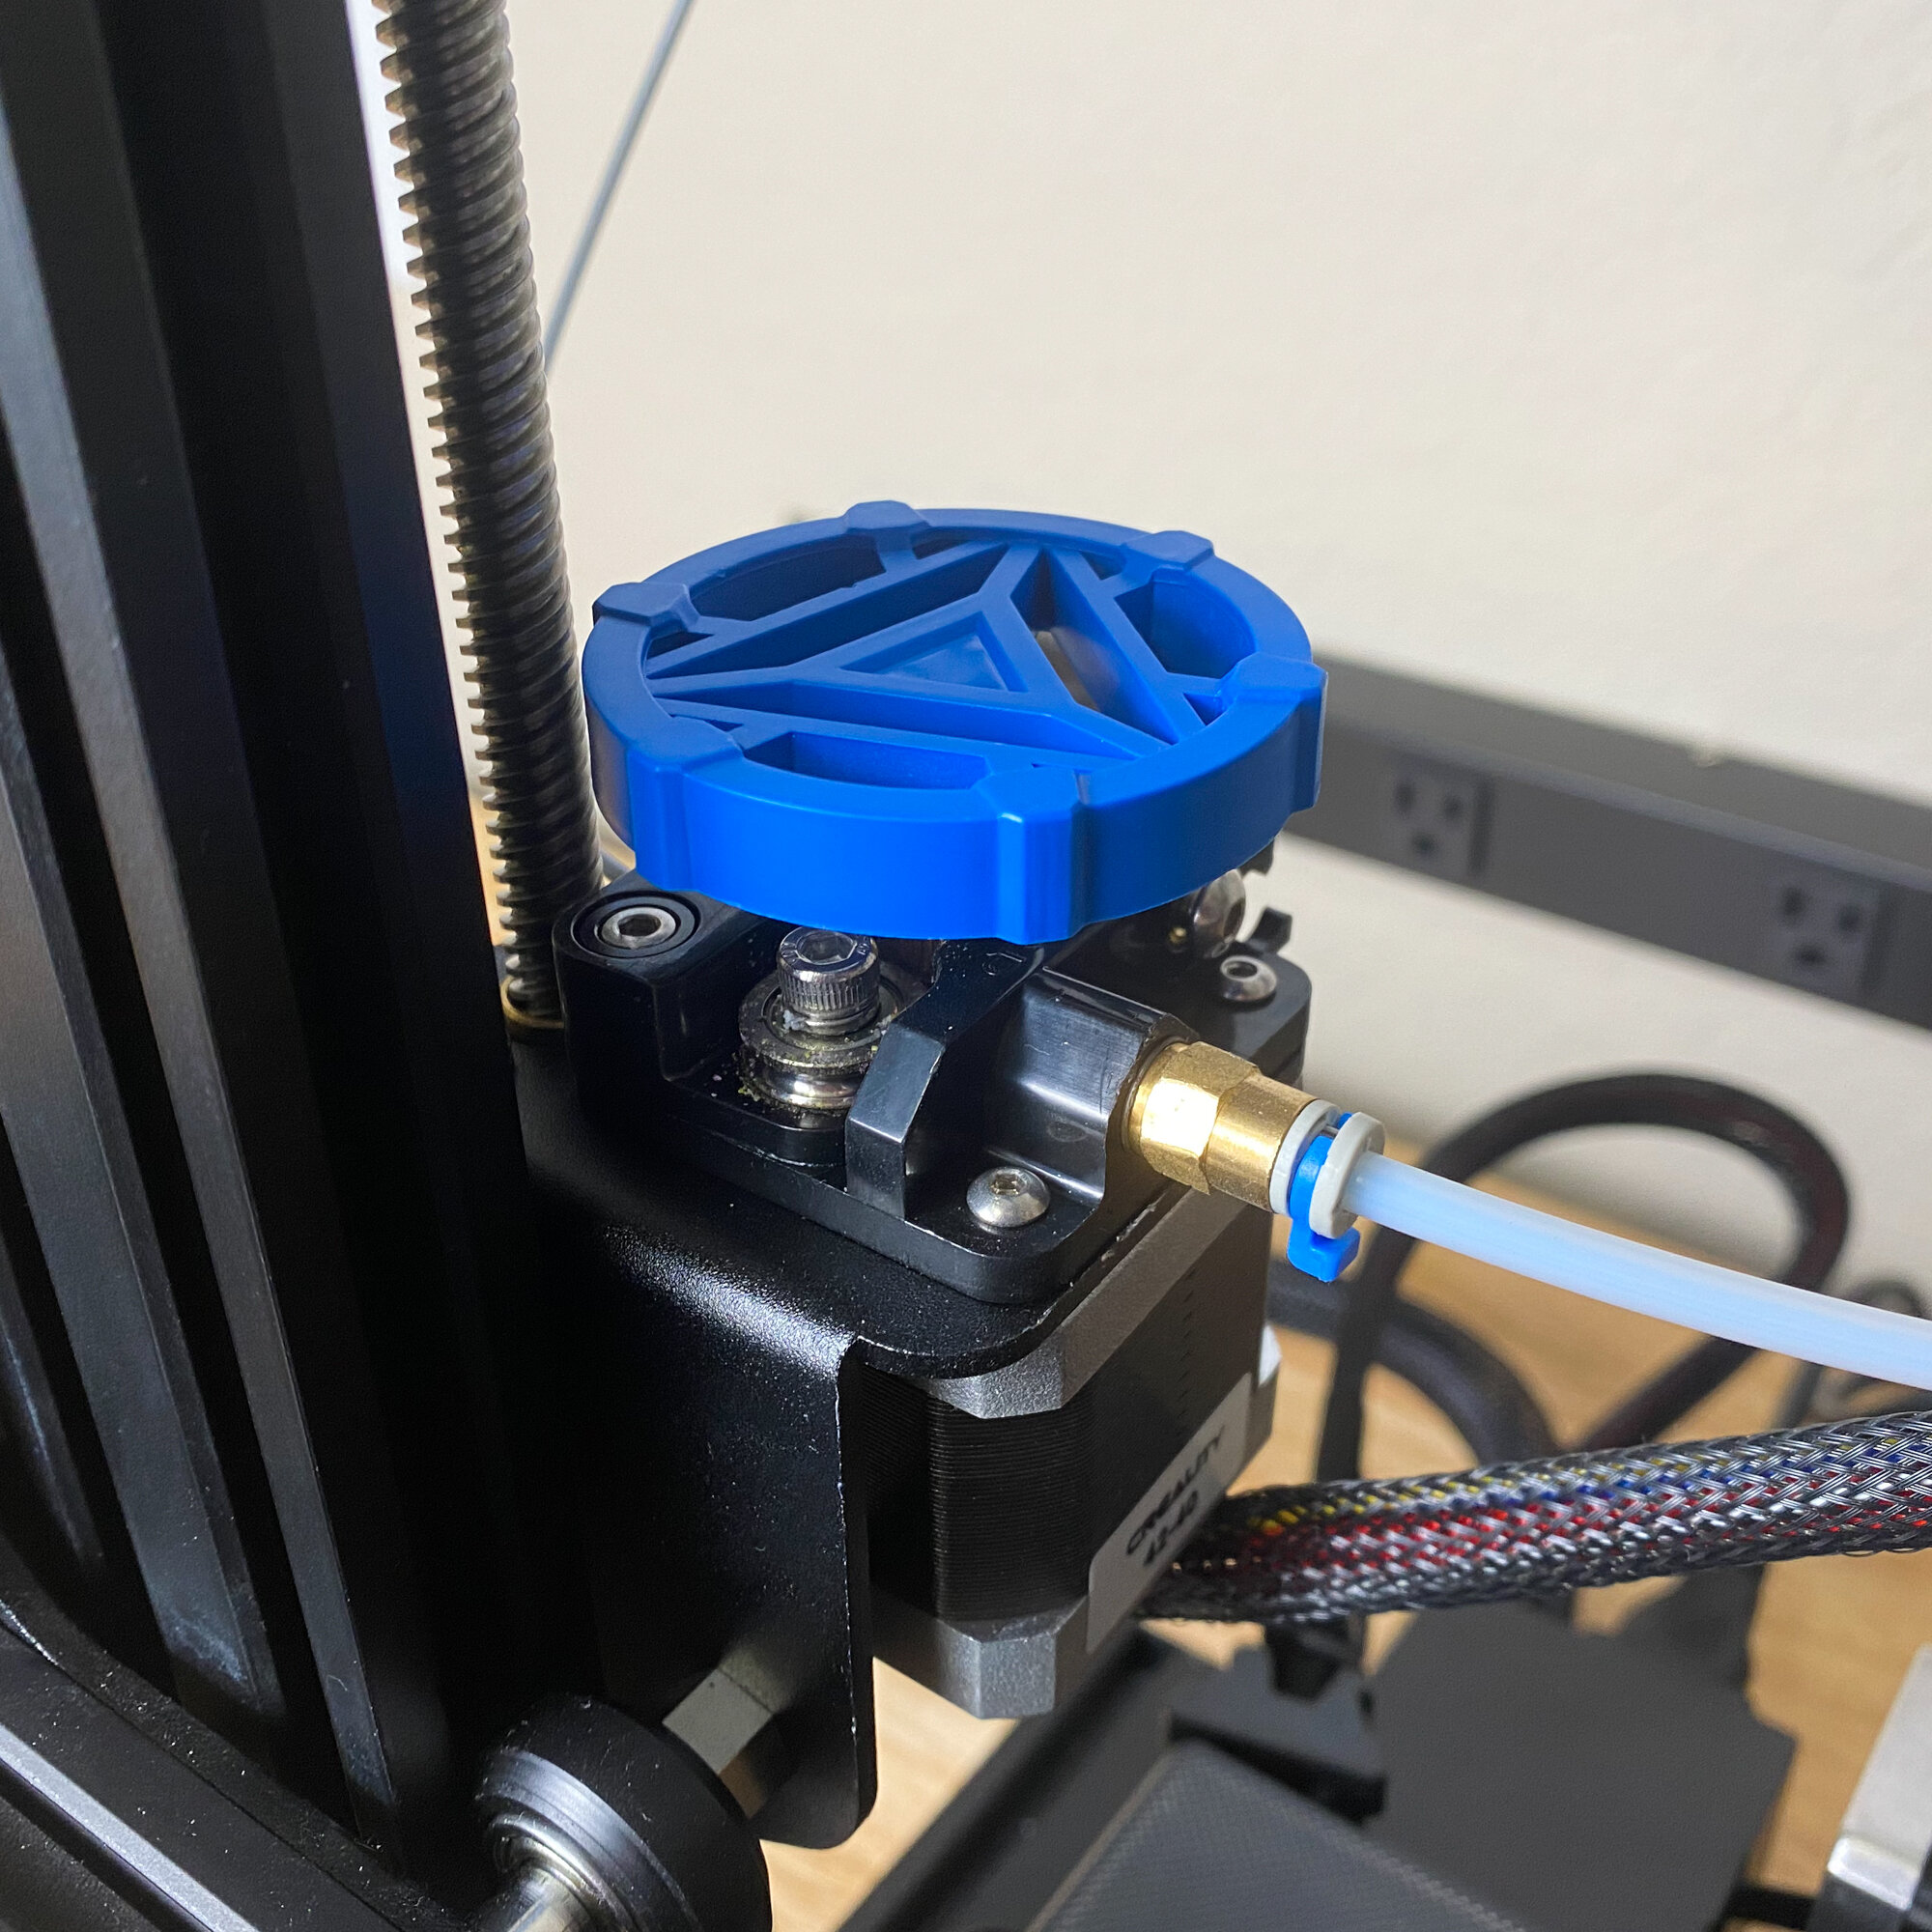
The extruder on the Ender 3 V2 is the same basic design used on many of Creality’s older machines, such as the CR-10 and original Ender 3. We would have liked to have seen one of the newer metal-bodied extruders or even one of the models that uses dual extruder gears to improve the extrusion force and allow for easier printing with flexible filament. That type of upgrade would have felt appropriate for a premium machine, so it was a bit disappointing to not see it on the V2.
The extruder doesn’t have any issues in practice, but we did note that filament can be a bit hard to feed since the filament path through the extruder has gaps. It is important for the end of the filament to be straightened before inserting it into the extruder. However, this isn’t a major concern and is quite similar to the other Creality printers we’ve used.
Printing with the Ender 3 V2
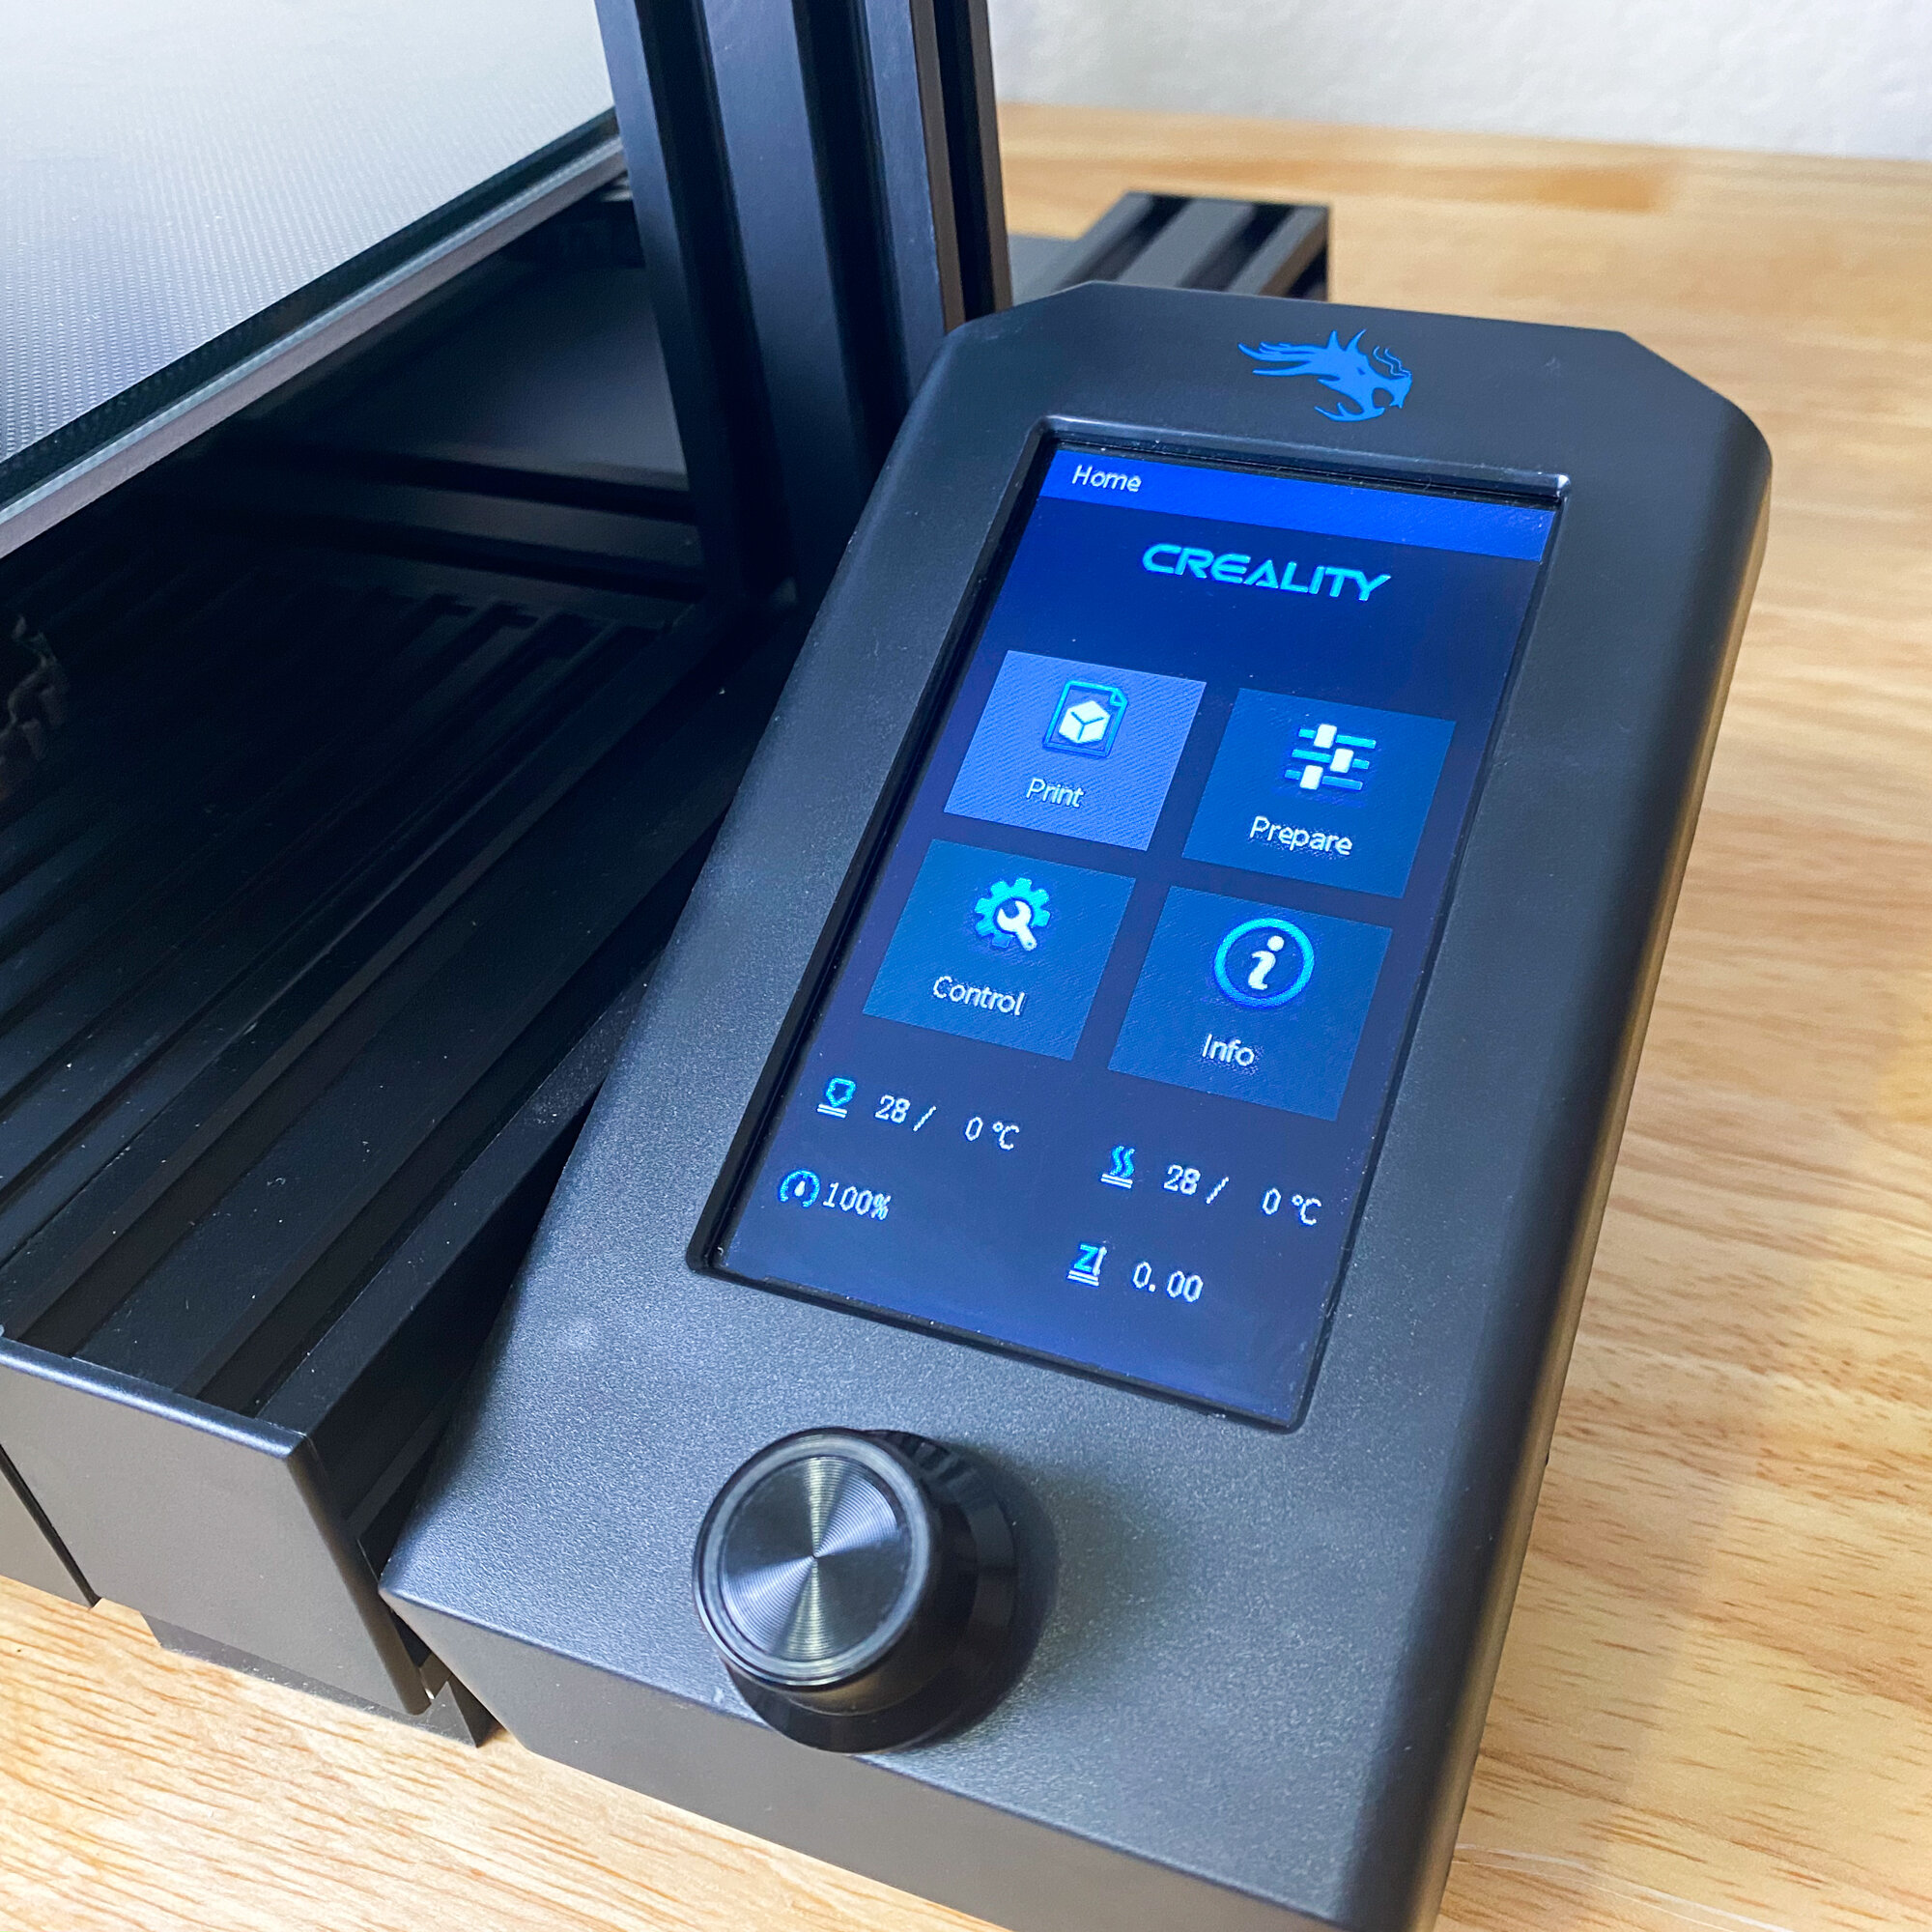
The screen on the Ender 3 V2 is a major improvement over the previous version. The only downside is that the viewing angle is rather narrow.
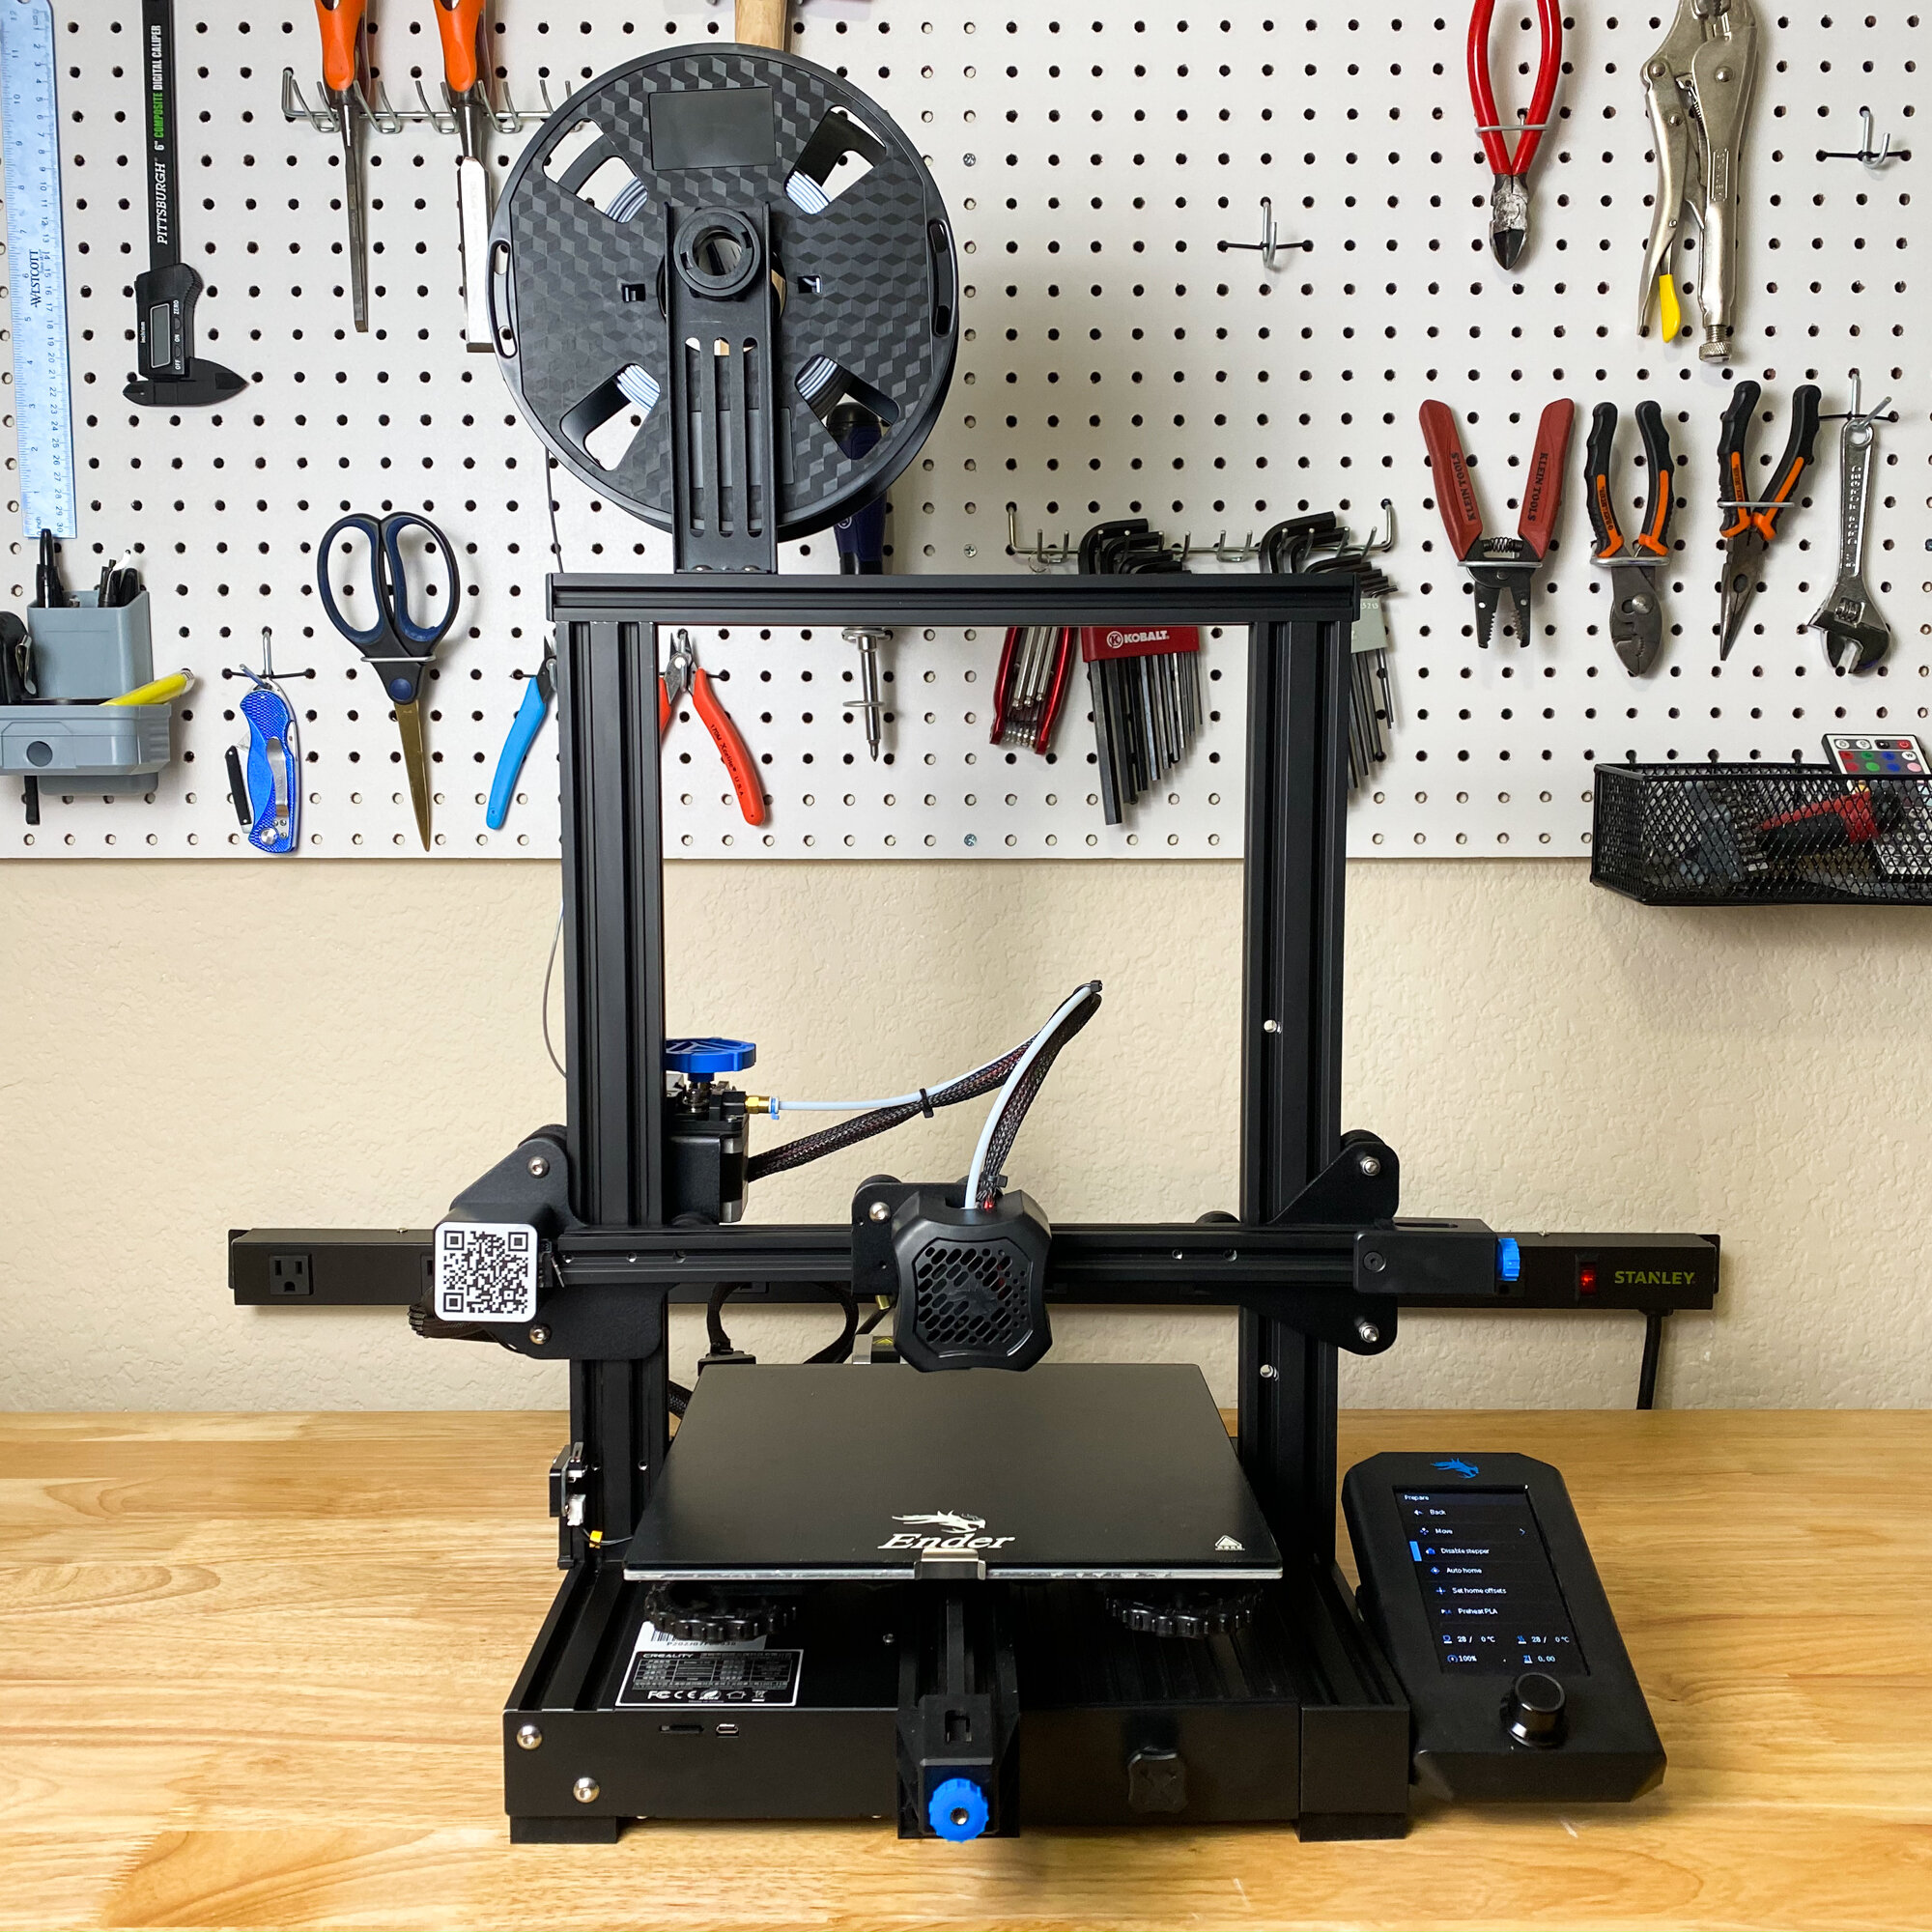
This is perhaps the most important part of the review—what is it actually like to print with the Creality Ender 3 V2? We’re glad to report that it’s a pleasant and enjoyable experience.
The first thing we noticed after turning the machine on is that it’s very quiet. It does still have a power supply fan and a hot end cooling fan, so you’ll hear a constant fan noise from the printer. But that’s the only noise you’ll hear from it. When moving or extruding, the motors of the printer make no additional noise. This is an extremely beneficial improvement over the original Ender 3 and many of Creality’s older printers. The quiet operation means that the Ender 3 V2 will be much less disruptive if you often spend time in the room while it’s running. We wish all of our printers were this quiet.
The user interface screen of the Ender 3 V2 is another notable upgrade. In stark contrast to the text-based display of the original Ender 3, the V2 uses a full graphical LCD screen which presents the information in a more readable way and has a much more polished look and feel. This LCD isn’t a touchscreen—while that would have been nice, Creality clearly needed to save money on some aspects of this machine. The UI is very intuitive and easy to use. If we have one complaint here, it’s that the viewing angle of the LCD isn’t great, and Creality sometimes uses a faint gray color to indicate which UI element is selected. If you aren’t looking at the LCD head-on, it can be hard to tell which option is selected.
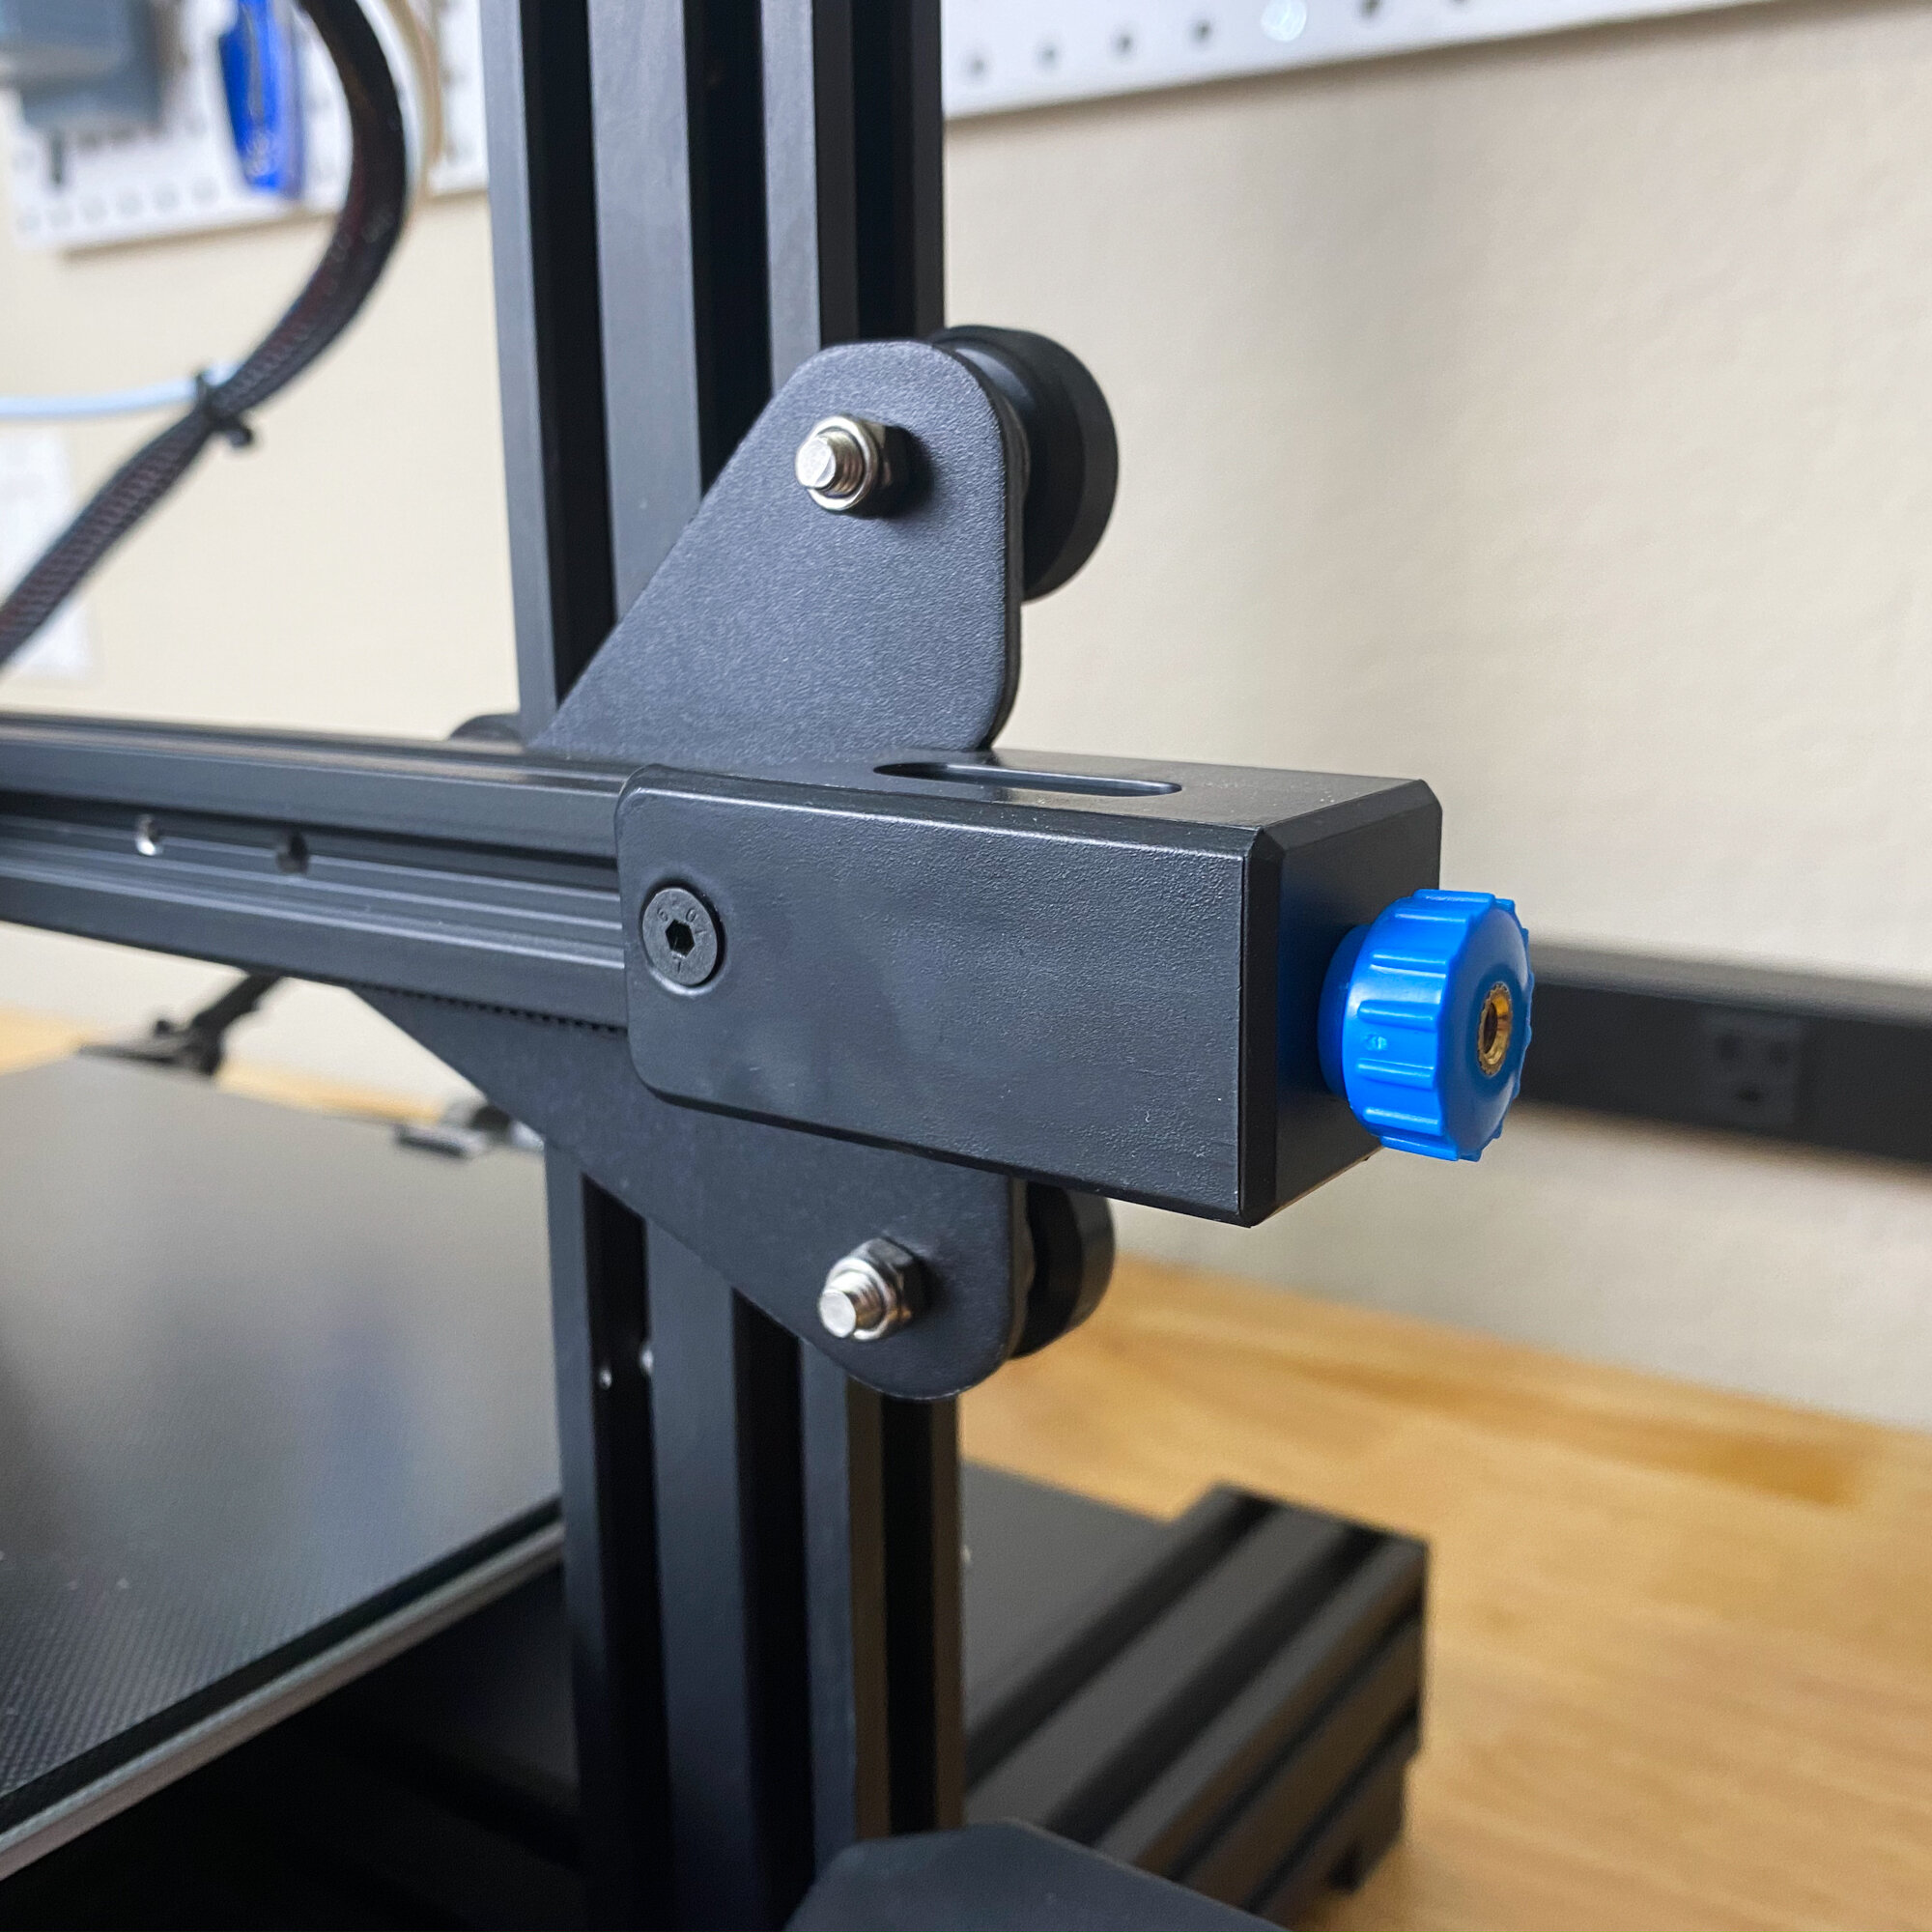
The Ender 3 V2 doesn’t require too much calibration out of the box. The main thing you will need to do is level the print bed—while some of Creality’s higher-end machines offer auto leveling, the Ender 3 V2 does not. You’ll need to manually adjust the bed-leveling knobs to achieve the proper height. This is a simple process, and—shameless plug—we actually have a bed leveling guide on our site if you need assistance with that process. Once leveled, we haven’t noticed any issues with the bed drifting out of level.
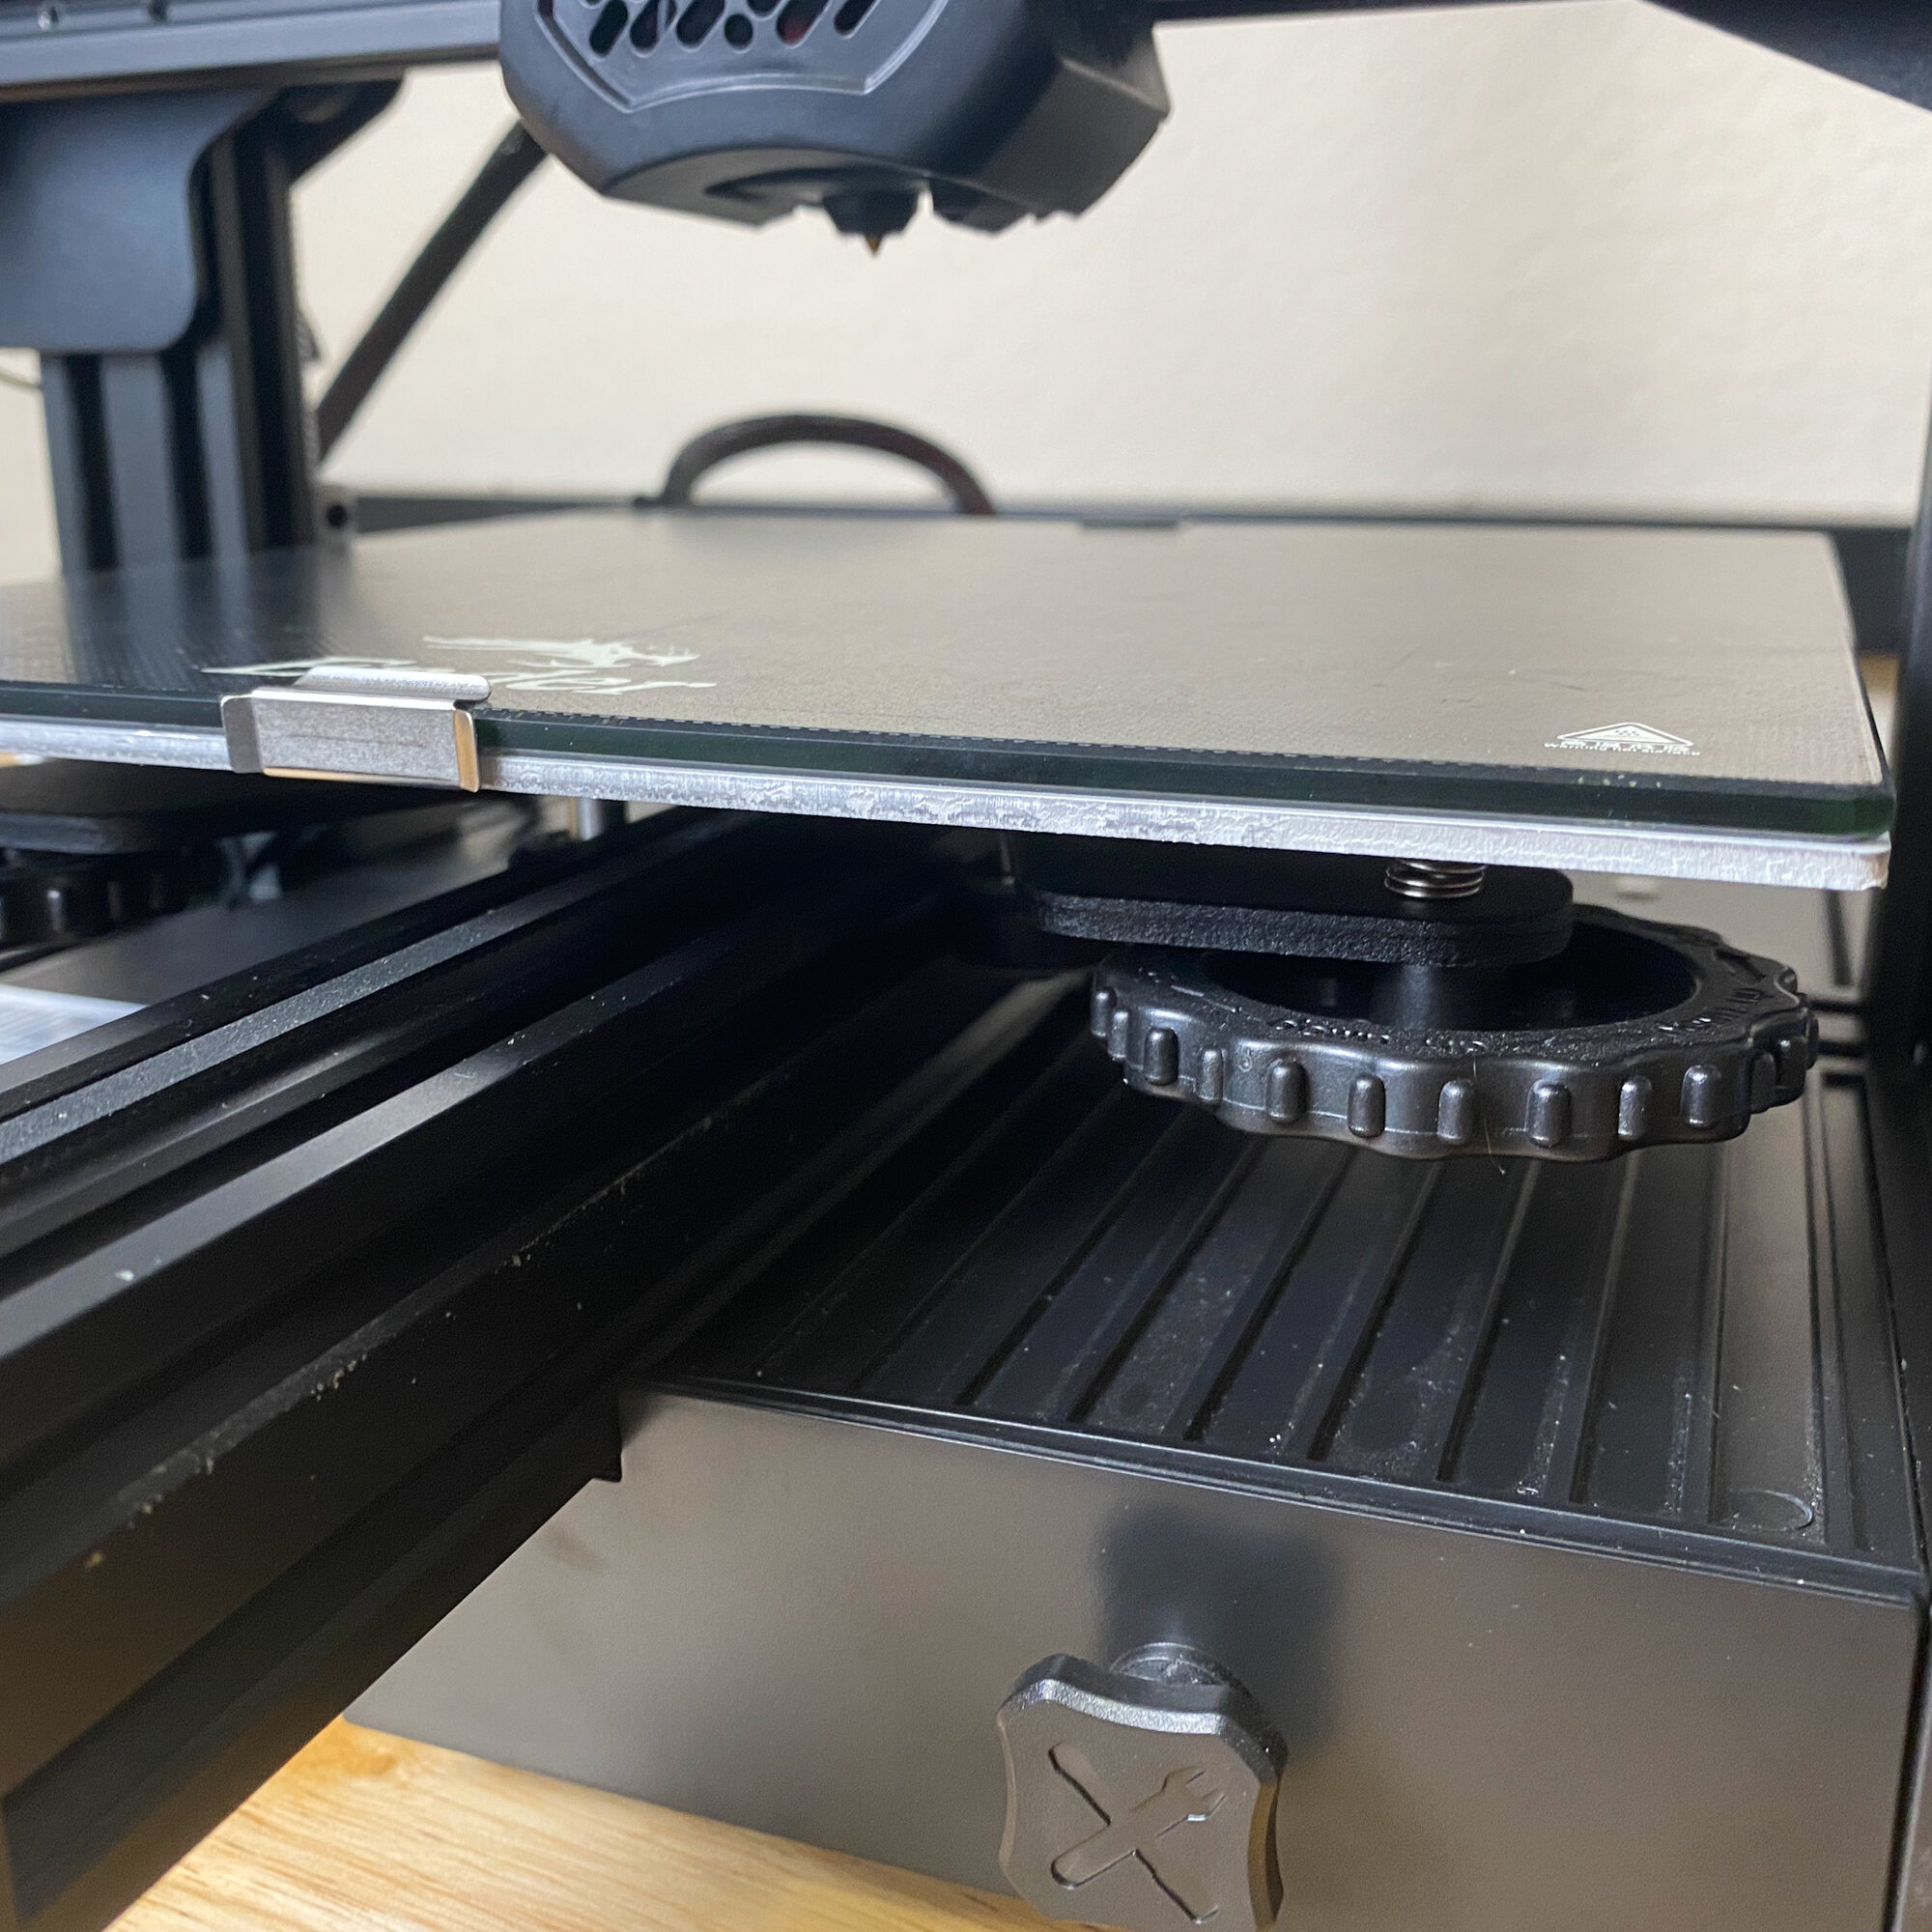
The Ender 3 V2 doesn’t have automatic bed leveling, but bed leveling is a simple process, especially with these large knobs.
Similar to other 3D printers, the Ender 3 V2 allows you to print models either from an SD card or via a USB cable. The second option allows you to connect to a computer or a raspberry Pi running OctoPrint, but we tested with the SD card and had no trouble loading and printing models.
In terms of the heaters and electronics, we were pleased with the capabilities of the Ender 3 V2. Both the print bed and hot end heated up quickly--in our test, the hot end and bed heated up to operating temperature (200 degrees C and 60 degrees C, respectively) in approximately 2 minutes and 15 seconds. This isn’t the fastest result we’ve seen from a Creality printer, but it’s near the front of the pack. The hot end on the Ender 3 V2 isn’t all-metal, so you can’t print high temperature materials such as nylon unless you’re willing to upgrade the hot end. However, PLA, ABS, PETG, and other standard materials work quite well.
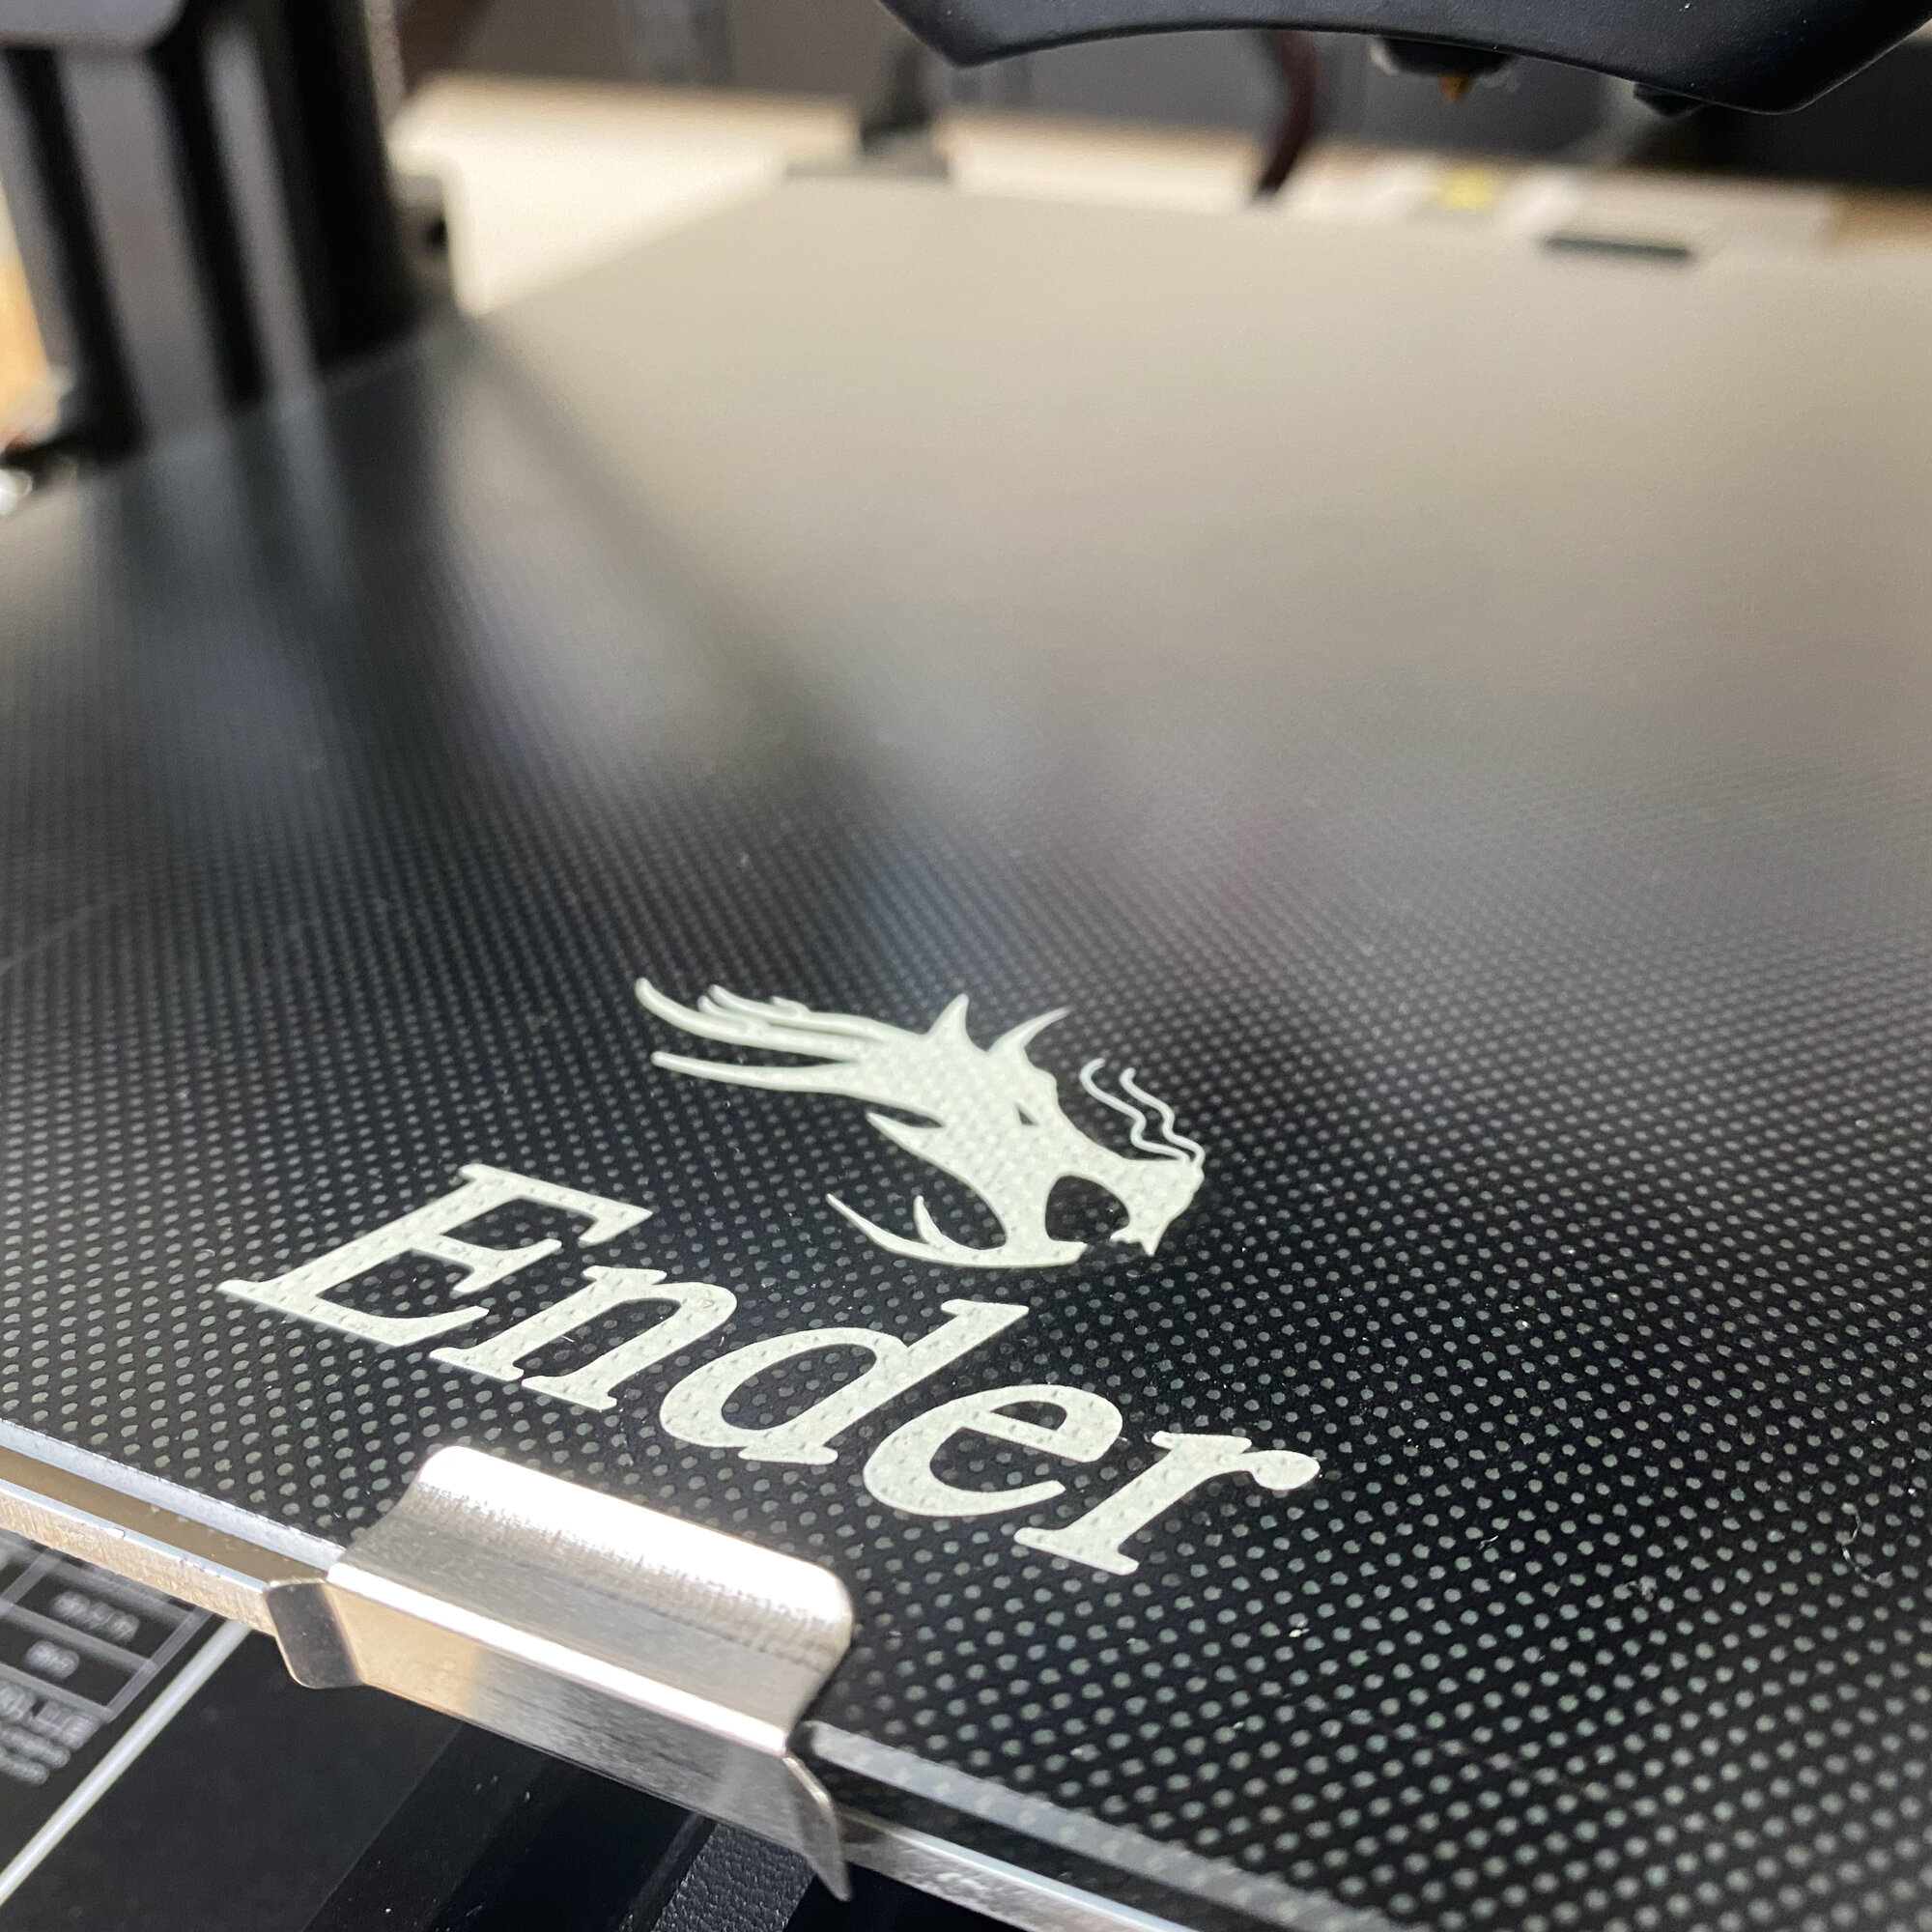
The print bed on the Ender 3 V2 is interesting. It’s made from a material that Creality refers to as Carborundum. We’re not sure where the name came from, but it’s essentially a textured glass surface. We are typically skeptical of anything other than a smooth glass bed, but this surface has worked great so far. Unlike the sandpaper-type finish of some of Creality’s other print bed materials, this Carborundum material easily releases the prints after cooling. We haven’t experienced any issues with prints peeling up, even without using hairspray, glue, or any other substance to help the prints adhere to the bed. We were surprised with this result, but feel that a glass bed is unnecessary unless a glass-smooth bottom surface is important for your prints.
Upgrade Potential of the Ender 3 V2

The hot end fan housing is new on this model. We like the appearance, as well as the fact that it is secured with only one screw.
We would be remiss to review any Ender 3 printer without discussing the upgrade possibilities. Although the Ender 3 V2 incorporates many of the most popular upgrades that users have been doing on their Ender 3s, there are still improvements that can be made if you are willing to tinker with the printer. We didn’t do any of these upgrades for this review, but we did an evaluation of what types of existing upgrades would be most likely to work on the new printer.
The Ender 3 V2 is still a standard Creality printer at heart, so it’s likely that many of the typical upgrades will work and be fairly easy to install. It’s good to be aware that the electronics in the V2 are 24V, similar to the original Ender 3. So if you buy a new hot end or heated bed, make sure to get a 24V model.
The fan assembly on the hot end is different from Creality’s older machines. It’s made of plastic and has a nicer, more organic shape. One thing we really like about this design is that you only have to remove one screw to remove the assembly, which makes it slightly faster to swap nozzles or hot ends. New parts like this do concern us from the perspective of obtaining a replacement, but we don’t have any reason to expect this part to break.
In terms of what upgrades we would be focused on for this machine, there are some promising improvements to be had with an extruder upgrade. A simple metal extruder would improve the extrusion force of the printer, which is likely to improve reliability with older or lower-quality filament. It would be possible to install a higher-end dual gear extruder with a fully supported filament path. This would make filament easier to load and would make the printer more reliable with flexible materials. However, the downside to this type of upgrade is that you would need to change the E-steps of the extruder motor in either your slicer software or in the printer firmware. We don’t know that it’s worth it to pursue that upgrade, but it’s an option on this printer.
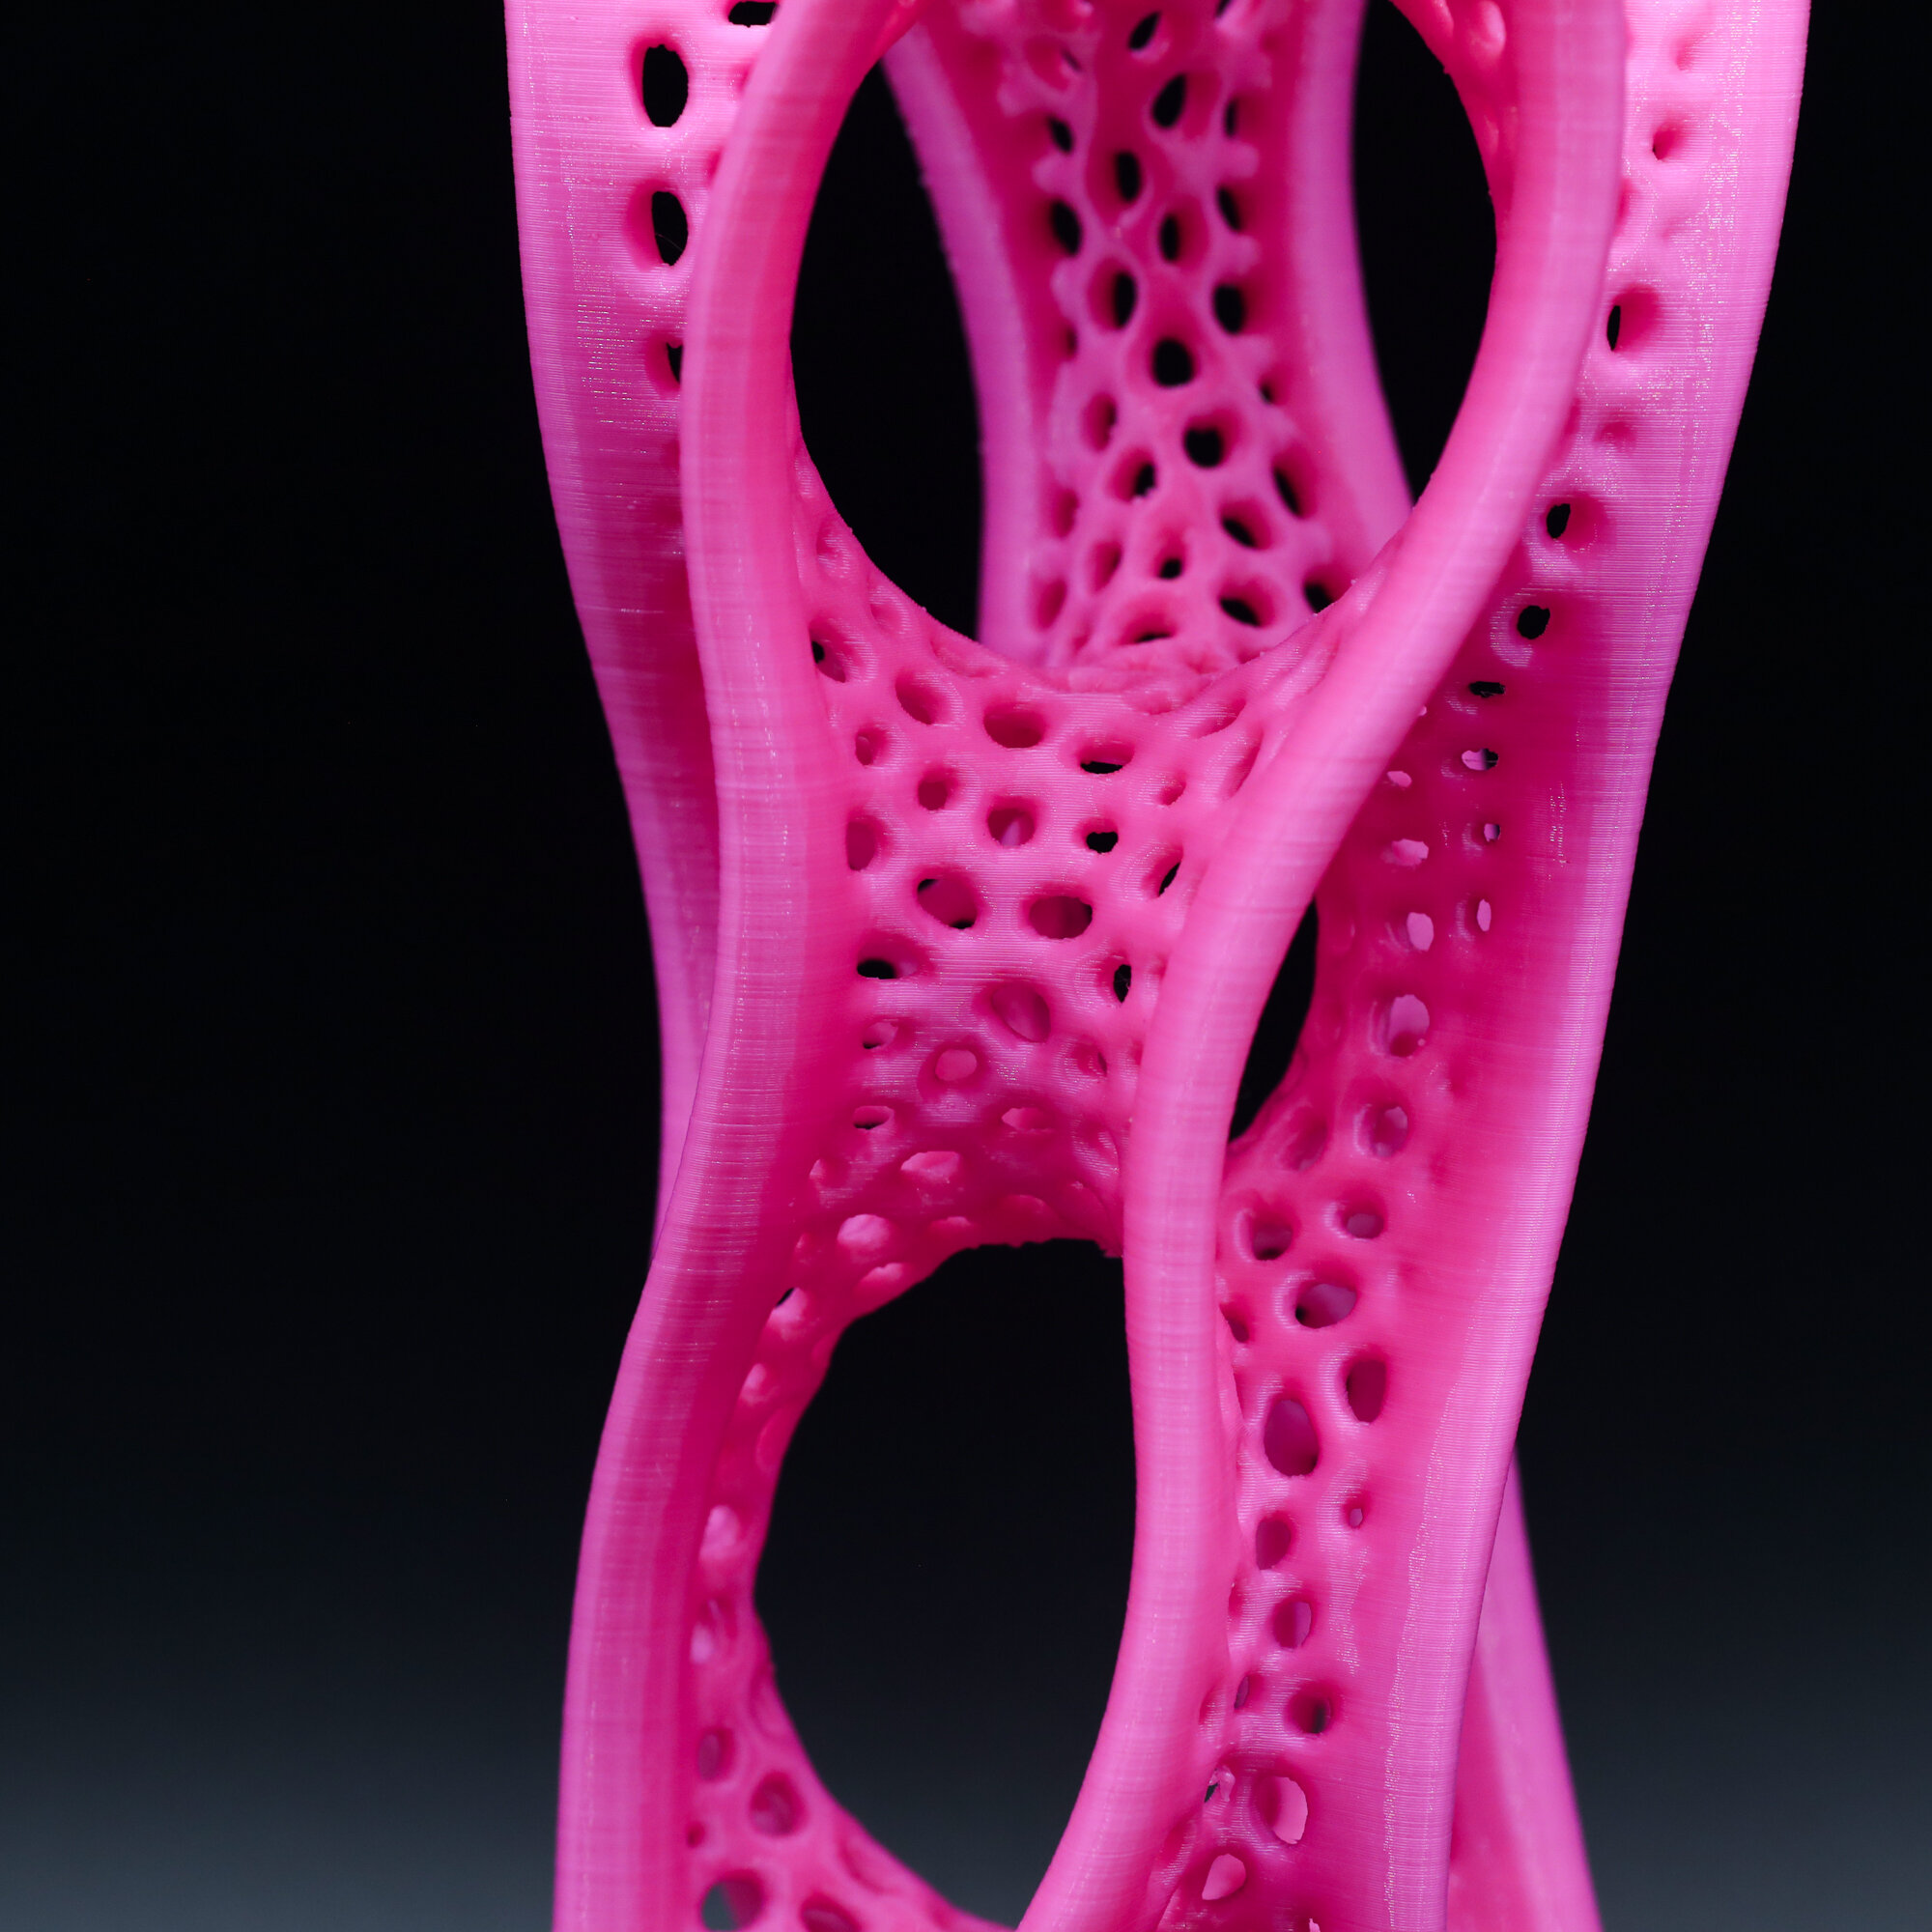
Sample Prints
To put the Ender 3 V2 through its paces, I printed a few test pieces. The printer appears to be doing extremely well with retraction, overhangs, and general print quality. These prints required minimal cleanup and were not printed with any support material.


Should You Buy The Creality Ender 3 V2?
In our opinion, the Creality Ender 3 V2 is a fantastic printer for the price. For less than $300, you get a machine that is well-built, quiet, and capable of producing high quality 3D prints. We would easily recommend this as a top pick for an entry-level 3D printer. Even advanced users will appreciate the capabilities of the Ender 3 V2 as long as the 8” x 8” x 10” (220 x 220 x 250mm) build volume is large enough.
The other question is whether the Ender 3 V2 is worth it over the original Creality Ender 3. Although the V2 model comes at a slightly higher price, it gives you a much quieter machine, improved user interface, better print bed, and a few small hardware improvements. We feel that these improvements are well worth the added cost of the machine and greatly improve its usability. While the original Ender 3 is an excellent machine and still the best choice if your budget won’t allow you to go higher, we’ll be recommending the V2 as a worthy upgrade pick.