Creality 3D Printer Bed Overview & Upgrade Guide
One of the most important parts of any 3D printer is the print bed, since the effectiveness of the bed can mean the difference between consistently successful printing and frequent failures. In this article, we will examine and compare each of the print bed materials that you’ll find on Creality 3D printers. We will cover the effectiveness of each bed material and give you tips for getting the best performance out of your print bed.
The main job of the print bed is to provide good adhesion for the first layer of your 3D print, which will make sure that the piece stays in place as each new layer is added to the print. However, it is also important that parts can be removed effectively from the bed once the print completes without damaging the part or the print bed. You also want the bed surface to be durable so that it will remain intact even after many prints. Different bed materials behave differently, so it’s important to understand what to expect from the print bed material on your Creality printer.
There are a number of different bed materials on the market today, and Creality uses a variety of them on their 3D printers. While this article will focus on Creality 3D printers such as the the Ender 3 and CR-10 series, these bed materials are used across the market, and it is a good idea to become familiar with these before choosing a 3D printer, whether you go with a Creality 3D printer or a different manufacturer.
Note: Creality Experts receives a commission for items you purchase from this page, at no additional cost to you. For more information, please see our affiliate link policy.
Creality’s Bed Materials
Rigid Textured Film
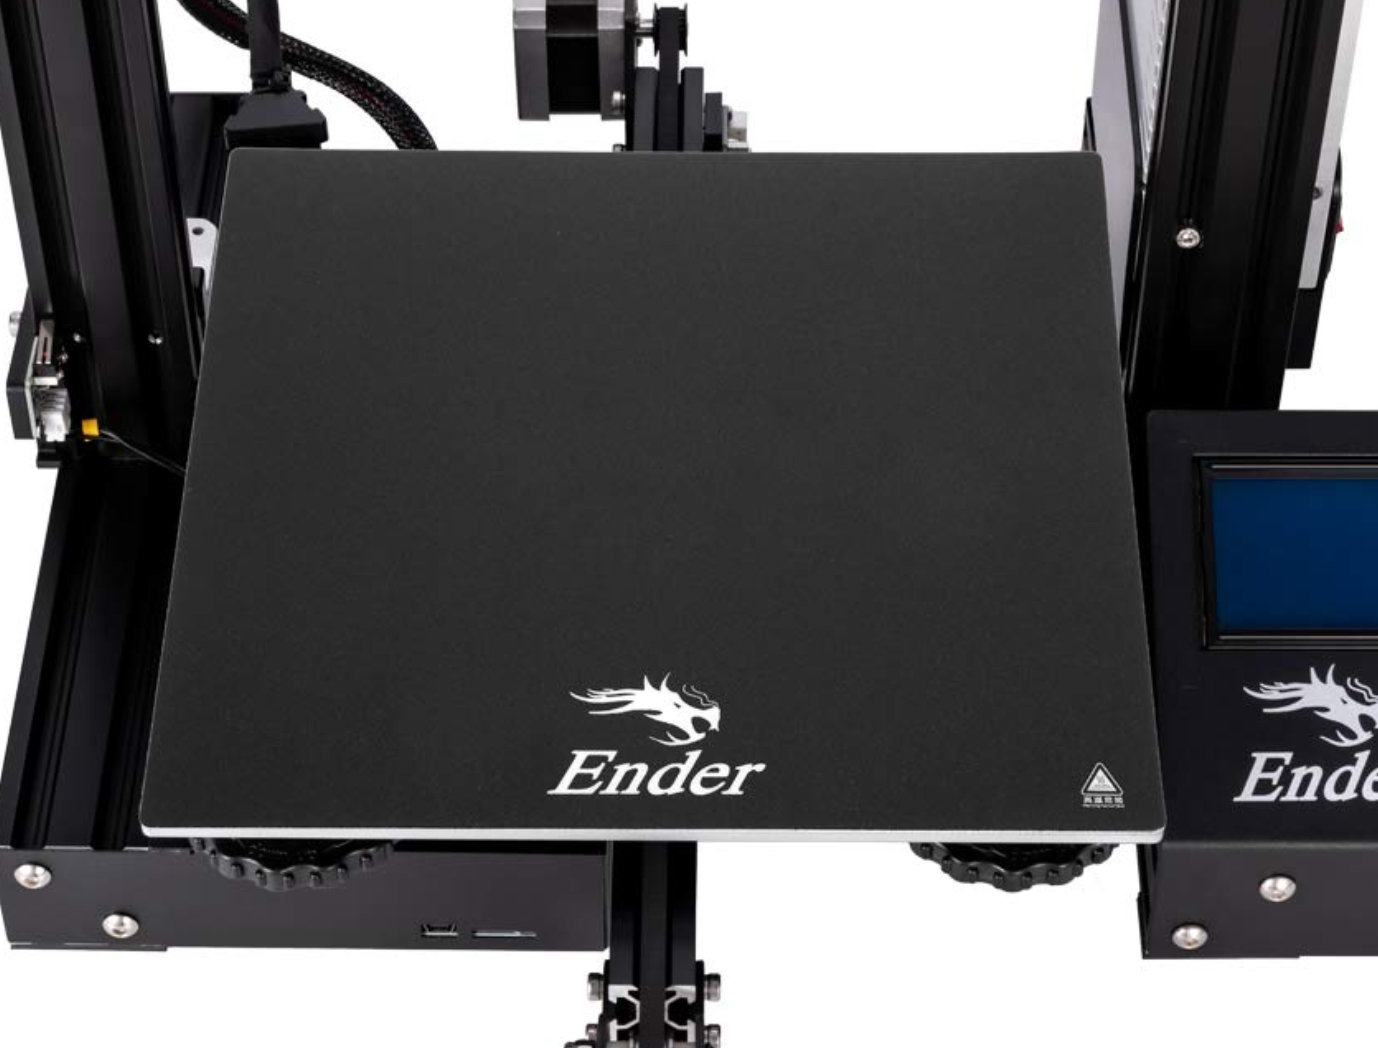
The textured film bed type has a black appearance, with a rough texture to improve the overall adhesion. This material is similar to BuildTak, and is found mostly on budget 3D printers such as the original Creality Ender 3. While it does provide good adhesion, the main shortcomings are that it can be difficult to remove parts once they are completed, and it is difficult to replace if it is damaged. Since the surface is a coating attached to the metal base with adhesive, it is fairly easy to damage, and you should not use metal tools such as a putty knife to remove parts.
Since the main challenge with these beds is print removal, be sure not to start your first layer too close. This will cause the print to stick too much to the bed and increase risk of damage to the bed when you remove the part. On the other hand, if prints aren’t sticking as well, you can clean these beds with isopropyl alcohol to improve the bed adhesion.
Overall, we have found that these beds are difficult to work with and easy to damage. We recommend upgrading the bed to a more premium material.
Creality 3D printers which use this bed material:
Ender 3
CR-10 Max
Flexible Magnetic Textured Film
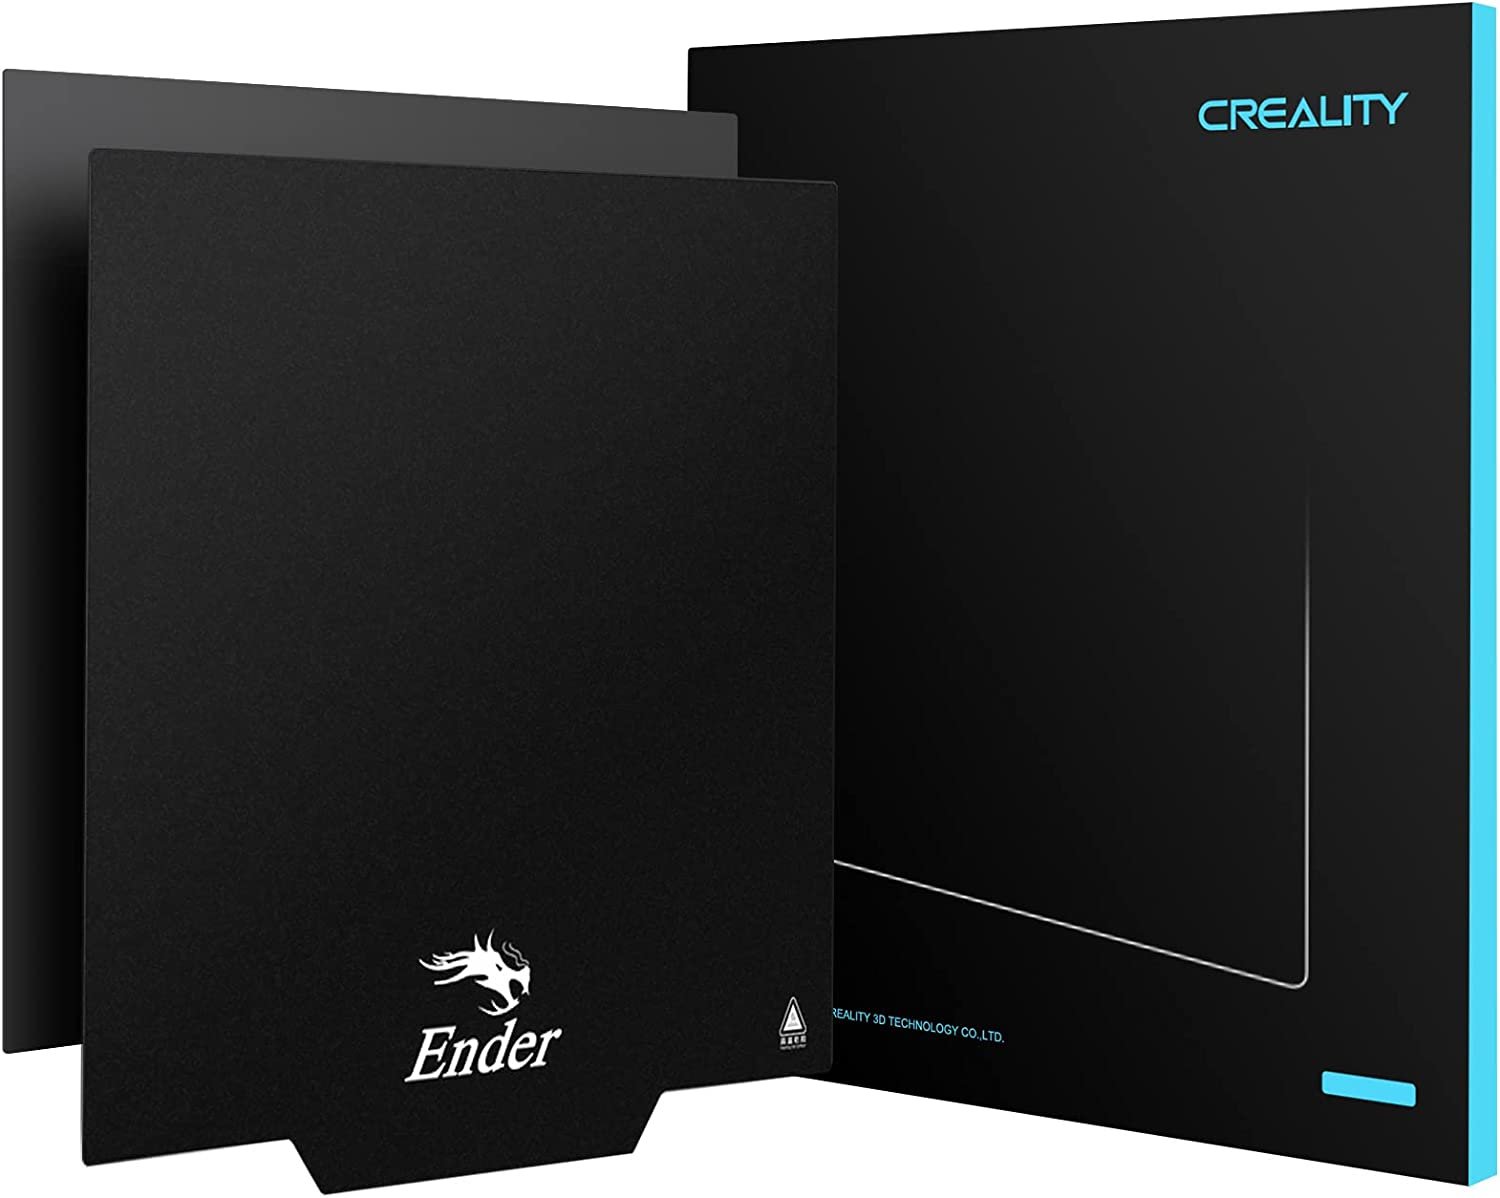
This bed material is basically the same as the textured film, but the bed surface can be removed once the print is complete to help with part removal. This bed is mostly found on the lower cost printers such as the Creality Ender 3 Pro.
This is a slight improvement over textured film, but it can still be difficult to remove parts since the bed will easily fold. It’s also still fairly easy to damage the bed surface when parts stick too well. Additionally, thin extrusions such as skirts or priming lines just bend with the bed rather than popping off of it, making them difficult to remove.
Because of these shortcomings, we don’t feel like this type of bed offers much over the rigid textured bed, and we still recommend upgrading to a different material.
Creality 3D printers which use this bed material:
Ender 2 Pro
Ender 3 Pro

The flexible magnetic bed is much more flexible than more premium steel beds (Ender 2 Pro shown here).
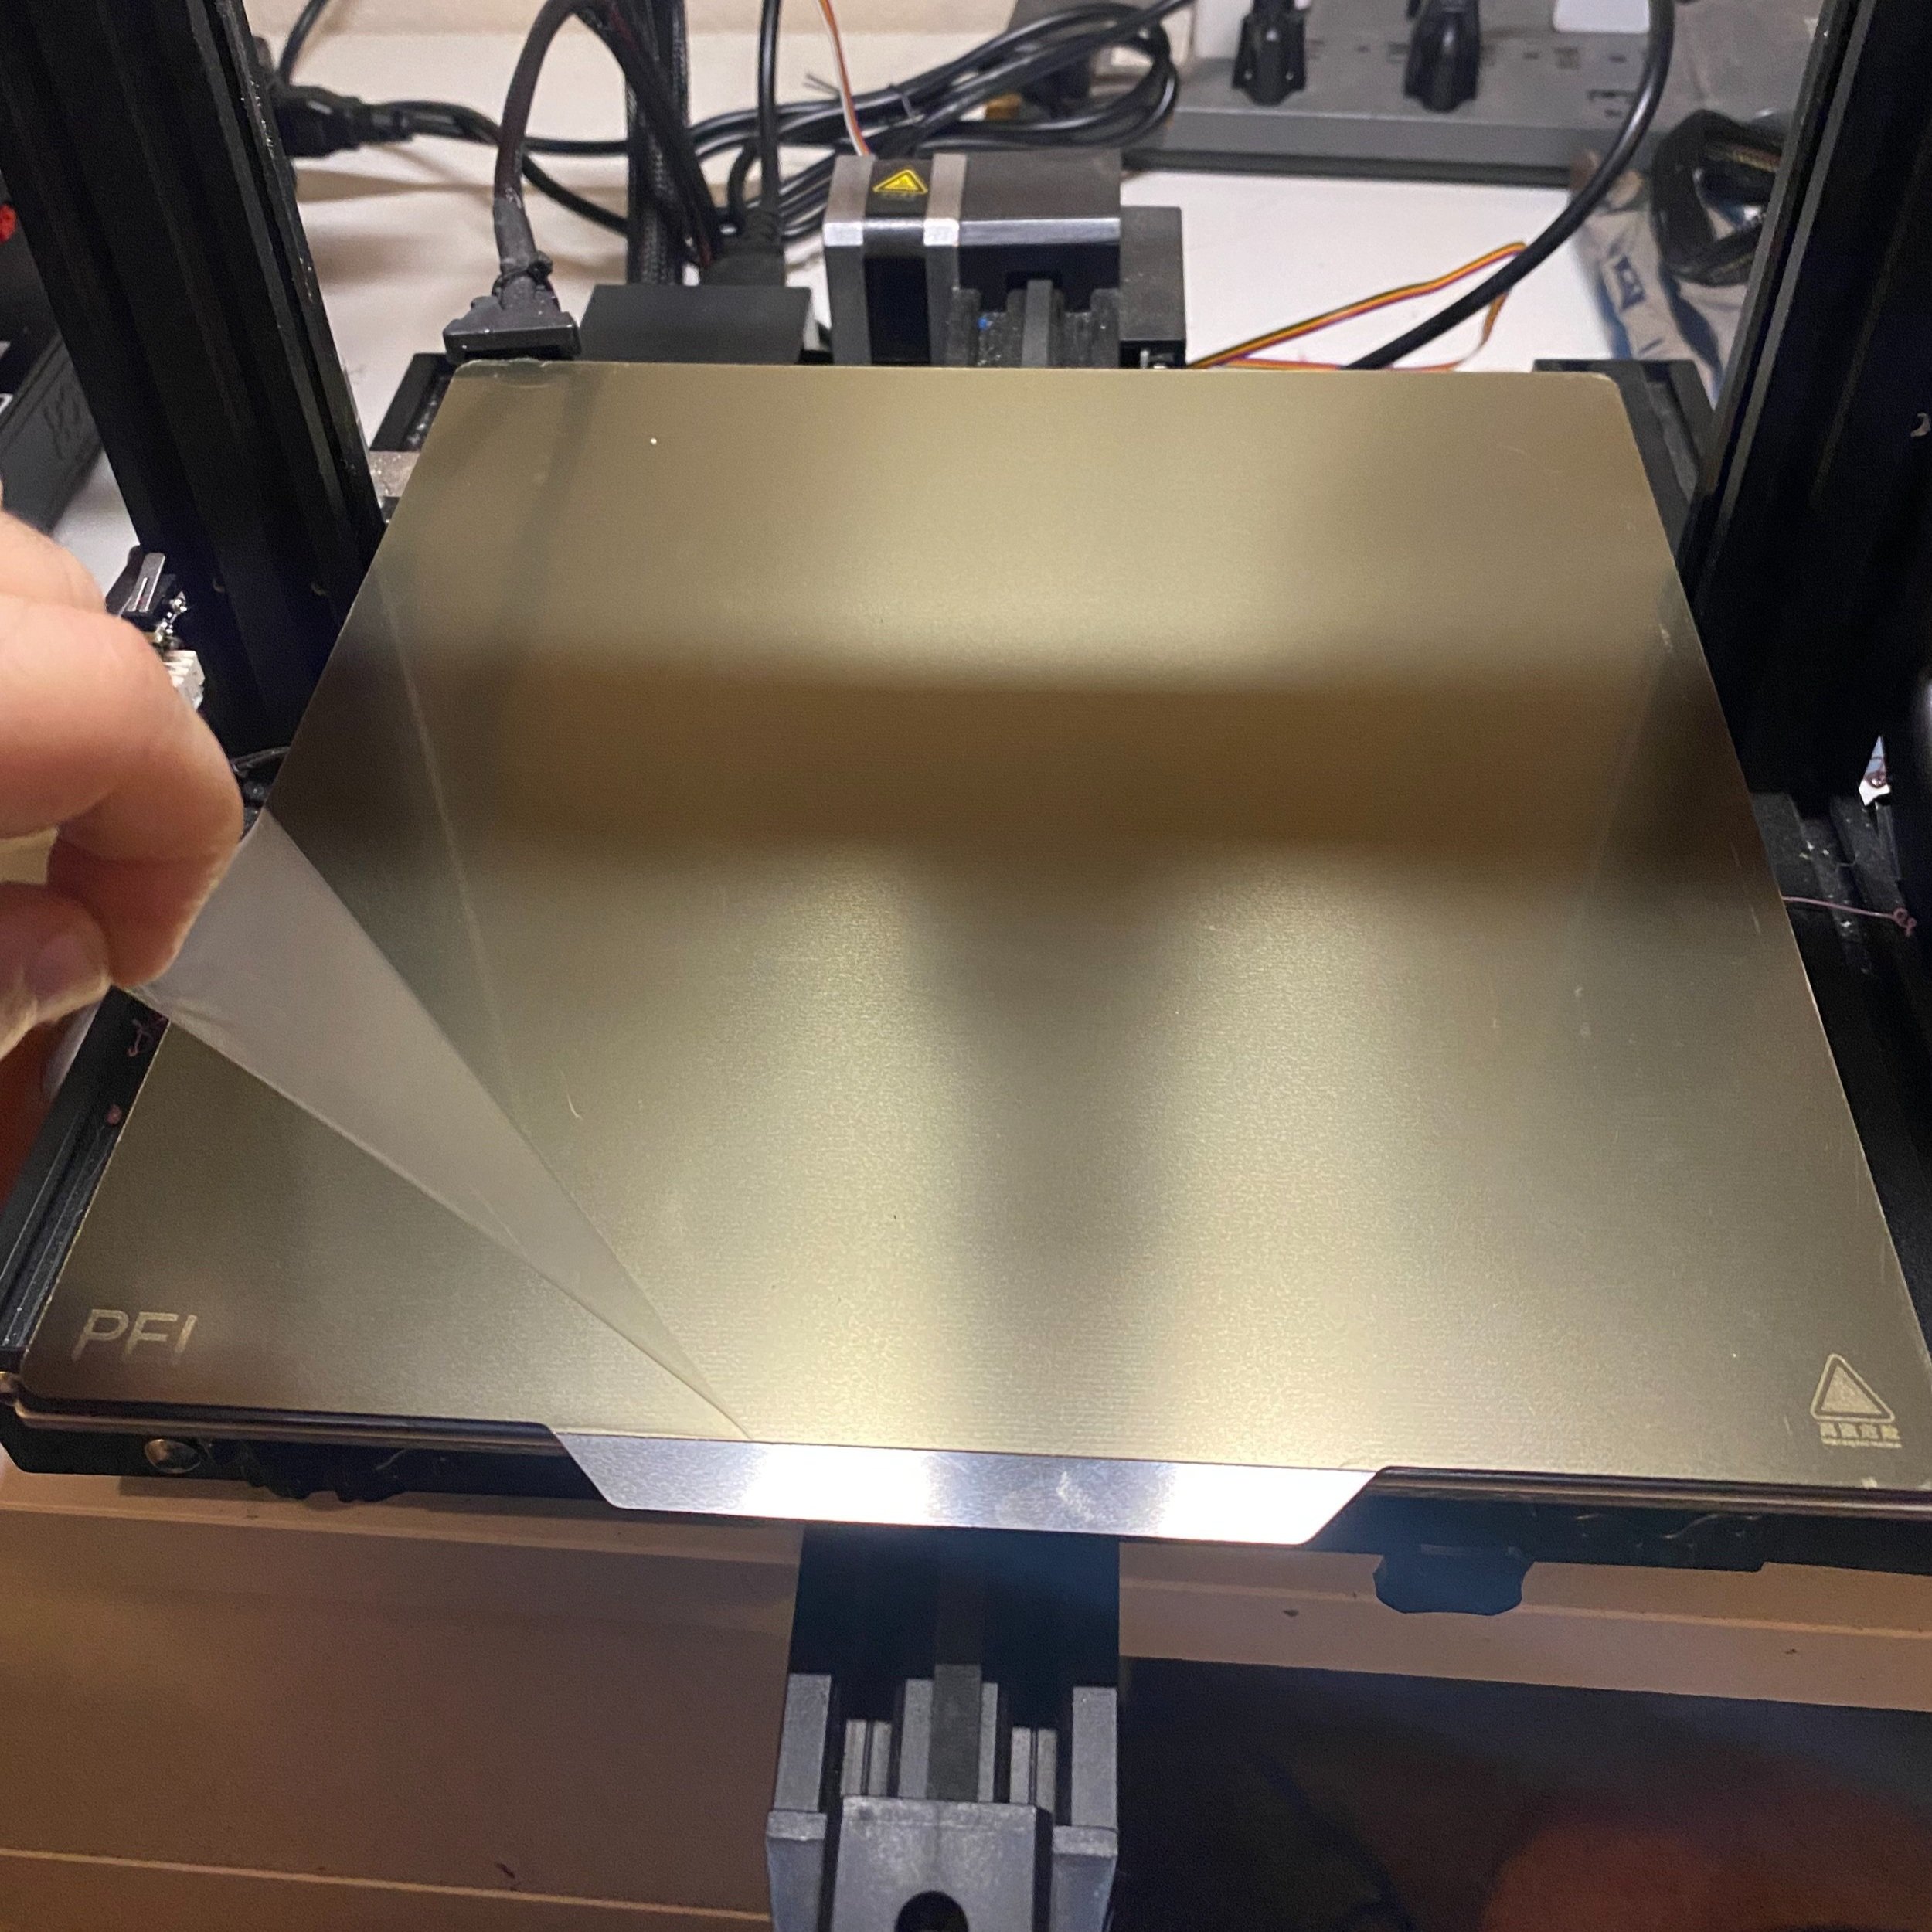
Borosilicate Glass

Borosilicate glass is one of the simplest bed materials, but it has a lot of benefits that make it a great print surface. The “borosilicate” refers to its use of the additive boron trioxide, which makes the glass more tolerant of temperature changes. Unlike the Textured Film surfaces, the adhesion of glass is reduced significantly when the bed cools, making it much easier to remove parts. Additionally, glass is very resistant to damage, and you can use metal part removal tools or even chisels to remove parts. Another benefit to glass is that the bases of your 3D prints will have a smooth, glossy appearance.

A standard borosilicate glass bed is fully transparent and reveals the aluminum plate underneath.
Glass can be a bit more challenging to get good adhesion, and you will need to use a coating such as hairspray or a glue stick to get the best results. We have had consistently good results using AquaNet Hairspray (this is an Amazon link, but you can also find this at your local store), which we apply every 10-20 prints or when we notice adhesion starting to become a problem.
You may also need to clean the bed periodically—the hairspray will cause dust to stick to the bed, which will eventually reduce adhesion. You can easily clean the bed using normal glass cleaner and a paper towel.
Overall, glass is a great option, and you can find precut glass beds for a fairly low price online. Its important to make sure you use borosilicate glass since it can more easily handle the temperature changes from heating and cooling without cracking. You can also use tempered glass, but borosilicate provides superior temperature resistance.
Creality 3D printers which use this bed material:
CR-6 Max
CR-10
CR-10s
Carborundum Glass

The name is a bit of a mouthful, but these beds work very well if you know how to care for them. “Carborundum” is a trade name for silicon carbide, which is used as a coating on these beds to improve adhesion. With a carborundum bed, you wont need to use any additional adhesives like hairspray, but it is critical that you clean the bed with a damp cloth after every 5-10 prints to maintain the adhesion. We did not know about this for a long time, and always ended up flipping these beds over to use the raw glass with hairspray. However, just wiping the bed down with a wet cloth, then wiping it dry will restore the great adhesion of these beds.

Printing parts on a CR-10S Pro with a Carborundum bed.
Carborundum is even better than standard glass when it comes to part removal. Typically, parts can be removed with only a light tap once the bed is cooled. After learning how to properly clean these beds, we now prefer them over borosilicate glass. The surface finish is not quite as smooth as borosilicate, but the superior adhesion without any hairspray more than compensates.
These beds are a bit more expensive, but we feel that they are worth the additional cost over other options.
Creality 3D printers which use this bed material:
Ender 3 Max
Ender 3 Neo
Ender 5 Pro
Ender 5 Plus
Ender 6
CR-10s Pro V2
CR-10 V2
PC Spring Steel


Removing a part from the PC steel bed on an Ender 3 S1.
This is a flexible steel bed with a PC coating on the bed surface. The PC coating has a very good grip, and is similar to the textured film of the Ender 3 Pro and a few other Creality printers. It also is magnetic, and can be removed and flexed to remove completed prints. The big difference with spring steel is that the bed maintains some rigidity when removed, which makes removing the parts much easier. The more premium Ender 3 S1 uses this bed material, and we had a good experience with it.
Combined with the extremely good adhesion, this bed is very effective, especially when printing parts that have intricate first layers. We have been printing parts on our Ender 3 S1 for a couple weeks as of this writing and have not noticed any degradation in adhesion of the bed. We have not used any adhesives such as hairspray, and we haven’t cleaned the bed so far. While the earlier Ender 3 Pro also had a removable magnetic bed, it did not have the metal backing, so it was much harder to remove parts by simply flexing the bed.

We damaged our PC bed removing a part that was printed with the nozzle too low.
Like the textured film beds, this material is easier to damage. If you are not careful and allow the nozzle to get below the bed due to an incorrect Z-offset setting, or if your print starts too close to the bed, it is possible to damage a PC bed.
Overall, we think that this is a good bed material. However, we wouldn’t recommend it as an upgrade if your printer doesn’t already have it due to the durability concerns.
Creality 3D printers which use this bed material:
Ender 3 S1 Pro
Ender 3 V2 Neo
Ender 3 Max Neo
PEI Spring Steel

Similar to a PC steel bed, PEI steel is a removable magnetic bed that maintains some rigidity. The difference lies in the surface material, which is a thinner, smooth coating, and has a few advantages over PC:
The PEI surface is much less susceptible to damage, since it is a very thin coating rather than a separate surface attached to the steel like PC.
The PEI surface is smooth like glass, and leaves a nice surface finish on prints similar to a glass bed.
Like PC, the PEI bed does not need any hairspray or other additional adhesive to be effective. It will lose adhesion over time, but you can easily restore the bed by wiping it down with acetone or isopropyl alcohol, which we typically do once we notice any adhesion issues.

An Ender 3 V2 upgraded with a PEI bed.
Overall, we are really happy with the performance of PEI beds, especially on parts with small, intricate first layer details. These beds are on the more expensive side, which is why you’ll find them on more premium 3D printers like the Ender 3 S1 Pro, or the Prusa MK3S+.
We think a PEI bed is worth considering as an upgrade, especially if you are planning to print smaller, more intricate parts.
Creality printers which use this bed material:
Ender 3 S1 Pro
Upgrading your Creality 3D Printer Bed
Upgrading the print bed is one of the easier 3D printer upgrades you can perform, and we definitely recommend it if your machine includes one of the lower end print bed materials.
Which beds should you upgrade?
We highly recommend upgrading if your printer has one of these beds:
Textured film
Magnetic textured film
We think an upgrade is worth considering, but not as important, if your printer has one of these bed types:
Borosilicate glass
PC spring steel
If you do decide to upgrade, we recommend choosing either a Carborundum glass bed or PEI spring steel, since these have been the most effective beds in our experience. We think the choice between these is based on personal preference:
If being able to remove parts fast and start a new print quickly is important to you, Carborundum is the better choice since parts are very easy to remove without needing to remove the bed. Additionally, Carborundum beds are a bit less expensive than PEI.
If adhesion on small details will be critical, a PEI bed will be the superior choice.
When purchasing the upgrade, be sure to consider the bed size of your 3D printer. The beds we have used for each bed size are listed below. Note that the bed sizes are a bit larger than the nominal bed size.
165 x 165mm Models
Ender 2 Pro
(Carborundum not available for this size)
220mm x 220mm Models
Ender 3 V2 Neo, Ender 3 S1, Ender 5, Ender 3, Ender 3 Pro
300mm x 300mm Models
Ender 3 Max Neo, Ender 3 Max, CR-10S Pro V2, CR-10 V2, CR-10S, CR-10
Note: The CR-10 Max uses a 450mm rigid textured film bed, but upgrading it is quite expensive, and only borosilicate glass is available on Amazon. You may be able to get a better price for a custom cut piece of borosilicate at a local hardware store.
Removing the existing bed
Once you have an upgraded bed, you’ll first need to remove the existing bed. The process for removing the existing bed will differ based on which bed material you currently have.
Removing a Textured Film Bed
This is the most difficult type of bed to replace, since you will need to scrape off the existing surface using a sharp tool like a putty knife or a chisel. This process is a bit easier if the bed is warmed up to 60C, which will soften the adhesive. You can typically peel off the black surface fairly easily, but there is a second adhesive layer that is more tricky to remove.
Once the surface and adhesive layer are removed from the aluminum surface, you will need to thoroughly clean any residue using isopropyl alcohol or pure acetone to get the best contact for the new bed and ensure it is level.

Removing the top black surface.

Removing the adhesive layer.

Cleaning remaining residue using acetone and a putty knife.
Ender 3 Bed surface removal images credit William Wolfe
Removing a Magnetic Bed (Textured film or PC)
For any magnetic bed, you can simply remove the build surface bed and leave the magnetic surface. You can either reuse it if upgrading to PEI, or the glass can be placed directly on top in the case of a glass bed.
Removing a Glass Bed
For most printers with glass beds, you’ll need to just remove the bed clips and remove the existing glass surface. You can reuse the clips if you are upgrading to a Carborundum bed, otherwise they can be discarded. Some printers, like the Ender 3 V2 use built in bed clips, which you can remove using an allen wrench to unscrew each clip if you are upgrading to a non-glass bed surface.

If you need to remove the built-in bed clips, locate the screws holding the bed clips at the corners of the bed.

You’ll need pliers to hold the small nut in place when removing the screws.
How to install the New Bed
Once you have removed the old print bed, you’ll need to install the new one and make sure if is leveled (unless your 3D printer has automatic bed leveling). The process is a bit different depending on which bed you are installing:
Installing a Carborundum Glass Bed (or any glass bed)
To install the bed, just place it on top of the aluminum base (or the magnetic base if you have a magnetic bed previously). To secure it, you’ll need to use either binder clips, or specialized 3d printer bed clips. If you had a magnetic bed, binder clips are the best choice since the glass and magnet surface may be too thick for the specialized clips. If you had a glass bed previously, you can use the same clips that held the old bed.
Installing a PEI Steel Bed
If you don’t already have a magnetic surface on the bed, you’ll need to attach the one included with the bed kit. The magnetic sheet has an adhesive side that you’ll attach to the aluminum base. Be careful that you line up the magnetic sheet as well as possible, especially on the left and right of the bed since this can cause it to interfere with the two gantry rods.
On the other hand, if you ready have a magnetic surface, simply place the new bed on it.

Remove the backing of the magnetic surface to reveal the adhesive.

Carefully attach the magnetic surface to the aluminum print bed.
Before printing, be sure to remove the protective film from the PEI sheet.
Leveling The Print Bed
If your printer is equipped with automatic bed leveling (ABL), you can skip this step since the leveling probe measures the bed position and will automatically compensate for the new bed. You will need to regenerate the leveling mesh information, which you can do through the 3D printer’s interface (usually in the Control section).
For printers without ABL, you will likely need to adjust the position of your printer’s Z end stop, especially if you switched from a magnetic surface to glass (or vice versa) since the thickness of the bed will have changed quite a bit. Alternatively, you can adjust the Z offset in the printer’s configuration to compensate for the new height. To do this, home the printer, then adjust the Z offset setting until the nozzle is leveled to the new bed height. If you aren’t familiar with how to level the bed, check out our bed leveling guide for a detailed walkthrough of this process.
While you are upgrading the bed, we also recommend upgrading the bed leveling springs if your printer currently has the less effective thinner springs. You can grab the upgraded springs from Amazon for a fairly low price. The images below will help you determine if this applies to your printer:

The cheaper thin metal springs should be upgraded, since they do not have as much tension and do not keep the bed leveled as effectively.
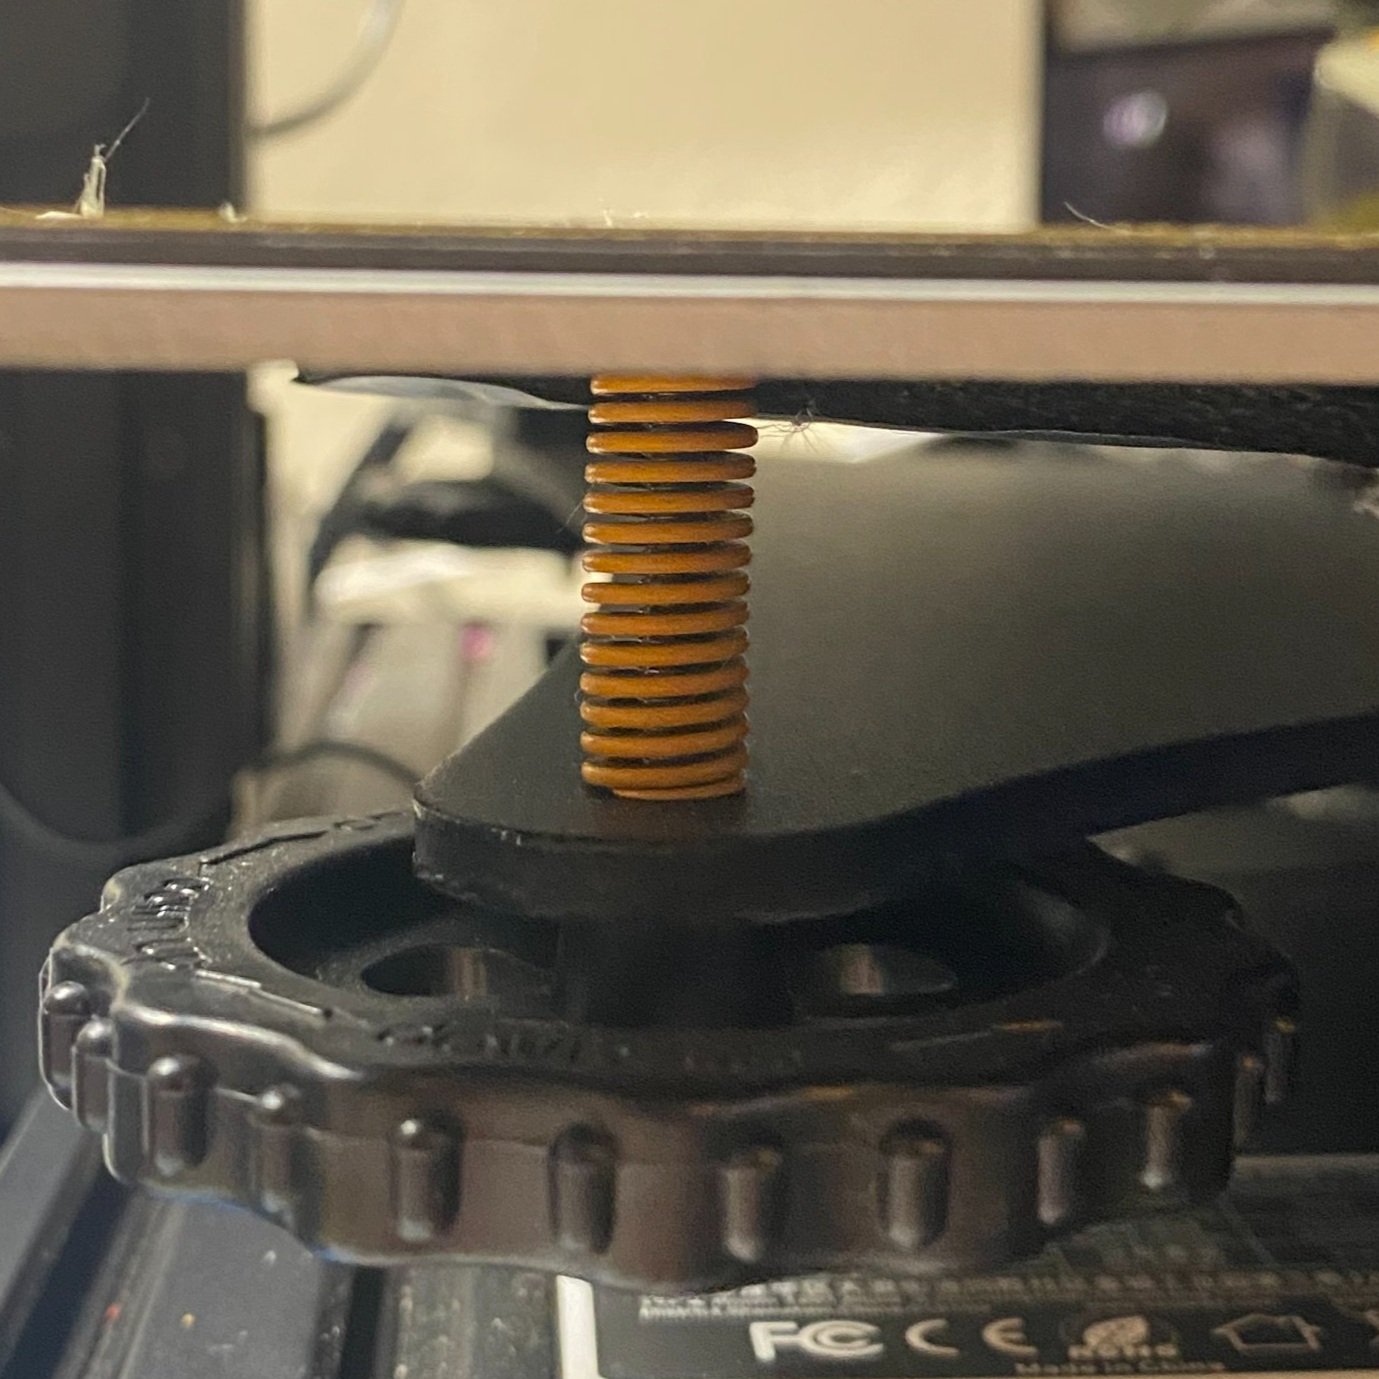
Upgraded springs are more rigid, and have a flattened profile that prevents them from bending, which keeps the print bed from losing level over time.
With the new bed installed, you are ready to try out a test print! Both upgraded bed options should work great out of the box, but you will need to clean them from time to time to make sure they keep their adhesion.
Carborundum bed: wash with a wet cloth (just water), then dry the bed.
PEI bed: when cooled, wipe with pure acetone or isopropyl alcohol, then let dry.
For both beds, avoid touching the bed directly, since the oils of your fingers will reduce the adhesion. However, the cleaning process will reverse any of these effects.
Learn More
If you are interested in learning more about the other components of your 3D printer, take a look at one of these articles: