Installing a Bimetallic Heat Break on a Creality Hot End
Note: Creality Experts receives a commission for items you purchase from this page, at no additional cost to you. For more information, please see our affiliate link policy.
In this article, we’re going to introduce you to an upgrade you may want to add to your Creality hot end to improve performance and reduce maintenance. This bimetallic heat break is a simple upgrade that we’ve found to be very effective at both of these goals. We’ll explain why you might want it and how to install it on your Creality 3D printer.
Why Use a Bimetallic Heat Break?
Creality 3D printers such as the Ender 3, CR-10, Ender 5, or Ender 6 all use a very similar hot end design. All of these hot ends use a section of PTFE tube which runs from the extruder all the way to the base of the nozzle. PTFE has very poor thermal conductivity, which is a great property for a hot end in order to keep the heat as close to the nozzle as possible and ensure the filament remains rigid until it reaches the nozzle.
Unfortunately, PTFE will wear over time as it is exposed to heat, which will eventually lead to issues like frequent jamming and under-extrusion. To address this, you can install a bimetallic heat break into the hot end. This ensures that the PTFE does not extend into the hot portion of the hot end, and does not get hot enough to wear down.
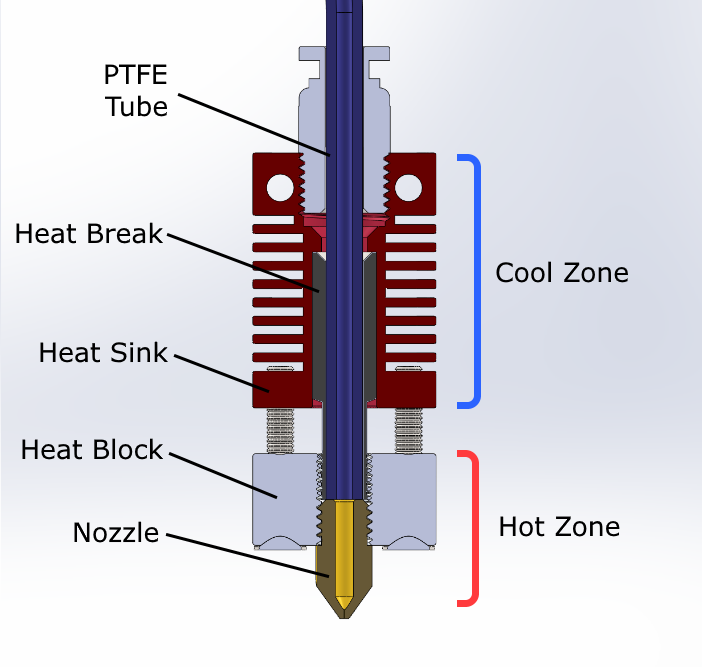
On the standard hot end, the PTFE tube extends into the hot zone of the hot end, which causes the tube to wear over time.

With a bimetallic heat break, the PTFE does not enter the hot side at all, and is never exposed to the high temperatures required to melt filament.
Additionally, the back and forth retraction movements of printing can cause a gap to form between the PTFE tube and the top of the nozzle. When this happens, melted filament will fill the gap and will stick to the new filament as it is extruded, which can also cause jamming and under-extrusion. The bimetallic heat break prevents this issue as well.
There are two cases where we especially recommend upgrading the standard PTFE-based Creality hot end to use the bimetallic heat break:
You want to print high temperature materials like ABS or Nylon: The standard Creality hot end can reach 260 C and can print materials like ABS and some Nylon blends, however any temperature above 250 C will cause the PTFE tube in the hot end to degrade faster.
You are printing a lot, and want to perform less maintenance on the hot end: Even if you print only low-temperature materials such as PLA, the PTFE in the hot end will degrade over time.
A bimetallic heat break is an easy upgrade that will improve the reliability of your printer and allow you to print at higher temperatures (though this will require a firmware update). We primarily print PLA, but we are running our machines so often that this upgrade is worth it to us just to reduce the hot end maintenance and failed prints that result from hot end wear.
How Does a Bimetallic Heat Break Prevent Wear?
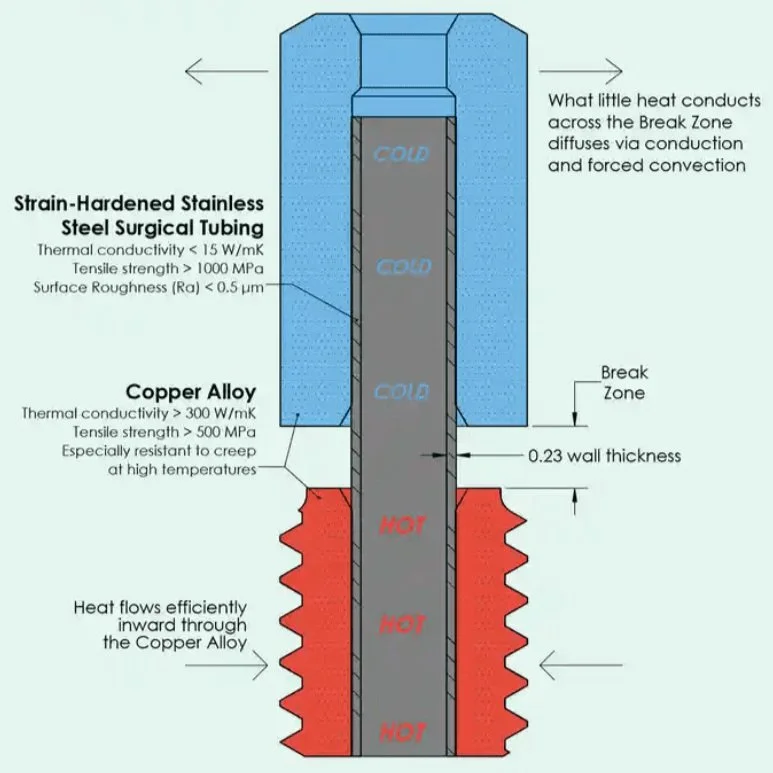
The Slice Engineering bimetallic hot end cross section. The use of two metals ensures that heat transfers freely within the hot side, but cannot move quickly to the cold side (picture credit Slice Engineering).
The heat break is the piece that connects the hot and cold sides of the 3D printer. The goal of the heat break is to allow as much heat transfer as possible within the hot side to melt the filament, while preventing as much heat as possible from reaching the cold side.
Unlike the standard heat break, the bimetal heat break does not allow the PTFE tube to fully pass through the hot end to the nozzle. Instead, the hot side is a solid copper alloy or other conductive metal with a thin steel tube containing the filament (hence the bimetal name).
Only the thin steel passes between the hot side and the cold side, and the thin cross section reduces how much heat can move from the hot and cold end. Though steel is a better conductor than PTFE, the steel tube can be made much thinner due to the strength of the material.
Because the PTFE tube is not exposed to the hot side, it is never exposed to high temperatures and doesnt wear. In addition, if a gap forms between the bimetal heat break and the PTFE, it is not an issue since the filament is still fully rigid and cold.
Choosing a Bimetallic Heat Break
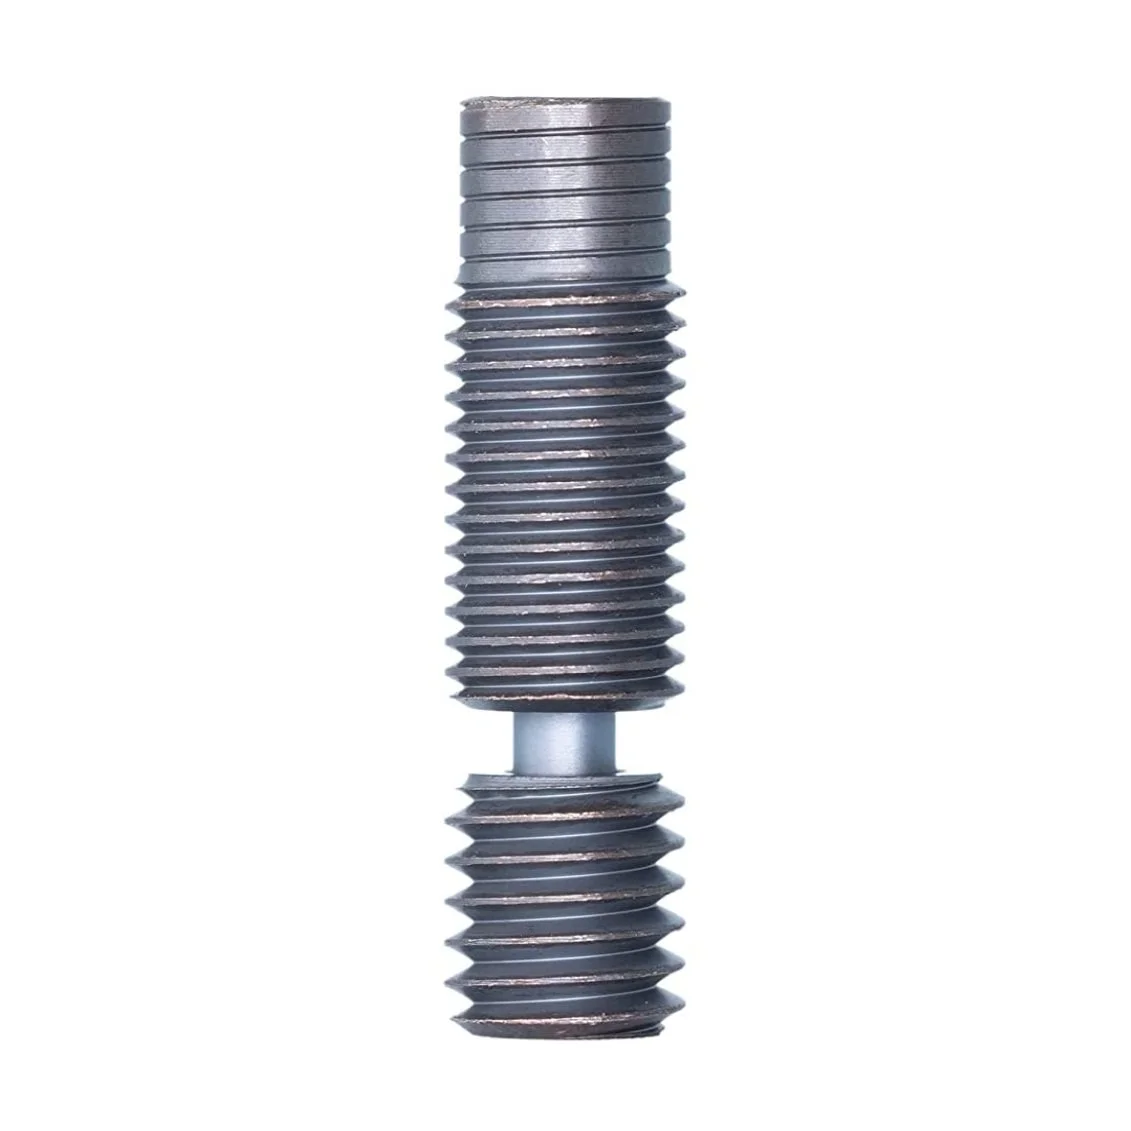
There are a number of bimetal hot ends on the market to choose from, and this is very much a situation where “you get what you pay for”. Since these are precision machined parts, our recommendation is the Slice Engineering Copperhead heat break. While this heat break does cost substantially more than other options, we have been very happy with the quality of the product. Use the guide below to choose a compatible part:

The Slice Engineering Copperhead heat break (view on Amazon) C-E variant is compatible with most Creality 3D printers
The C-Pro Max variation (View on Amazon) is required for the CR-10s Pro and CR-10 Max since they use a different heat sink.
C-E (view on Amazon).
Ender 3 | Ender 3 V2 | Ender 3 Pro | Ender 5 series | Ender 6 CR-10S/S4/S5
C-Pro Max (view on Amazon)
CR-10s Pro | CR-10 Max
Note: you will also need to replace the heat break with one that uses the standard M6 threading, such as this copper heat block from Amazon. This will also allow you to use standard nozzles with these 3D printers.
CR-6 Bimetal Heatbreak (not from Slice Engineering) (View on Amazon)
CR-6 SE | Ender 3 Neo | Ender 3 V2 Neo | Ender 3 Neo Max
Slice engineering does not make a heat break for these printers, however we have seen this one recommended from CHEP, though we have not tested it ourselves.
Not compatible
Ender 3 S1
We have seen that upgraded heat breaks from other brands are often fully stainless steel on the hot end side instead of using a copper alloy sheath. Using a full steel design will reduce heat transfer in the hot side, which is not desirable and will reduce how fast the filament will melt. The Copperhead heat break is a better design that provides better performance.
There are also all-metal hot ends such as the Micro Swiss all-metal hot end (view on Amazon), which we do not recommend. While Micro Swiss is a quality brand, the all-metal hot end pre-dates bimetal. It uses a similar idea of a very thin tube between the hot and cold sides, but the entire hot end is made from the same material. Similar to the lower-cost bimetallic heat breaks, this reduces the heat transfer in the hot side, which is undesirable.
How to Install the Bimetallic Heat Break
Installing a new heat break is a fairly straightforward process that does not require removing any sensors or wires from the hot end, and can be completed in 10-15 minutes. Note that the steps may vary a bit between different Creality 3D printers, but are overall very similar. We are using an Ender 3 Max for this walkthrough.
1. Remove the enclosure for the hot end. This will differ based on the 3D printer model you have, but will involve removing 1-2 screws to access the hot end.
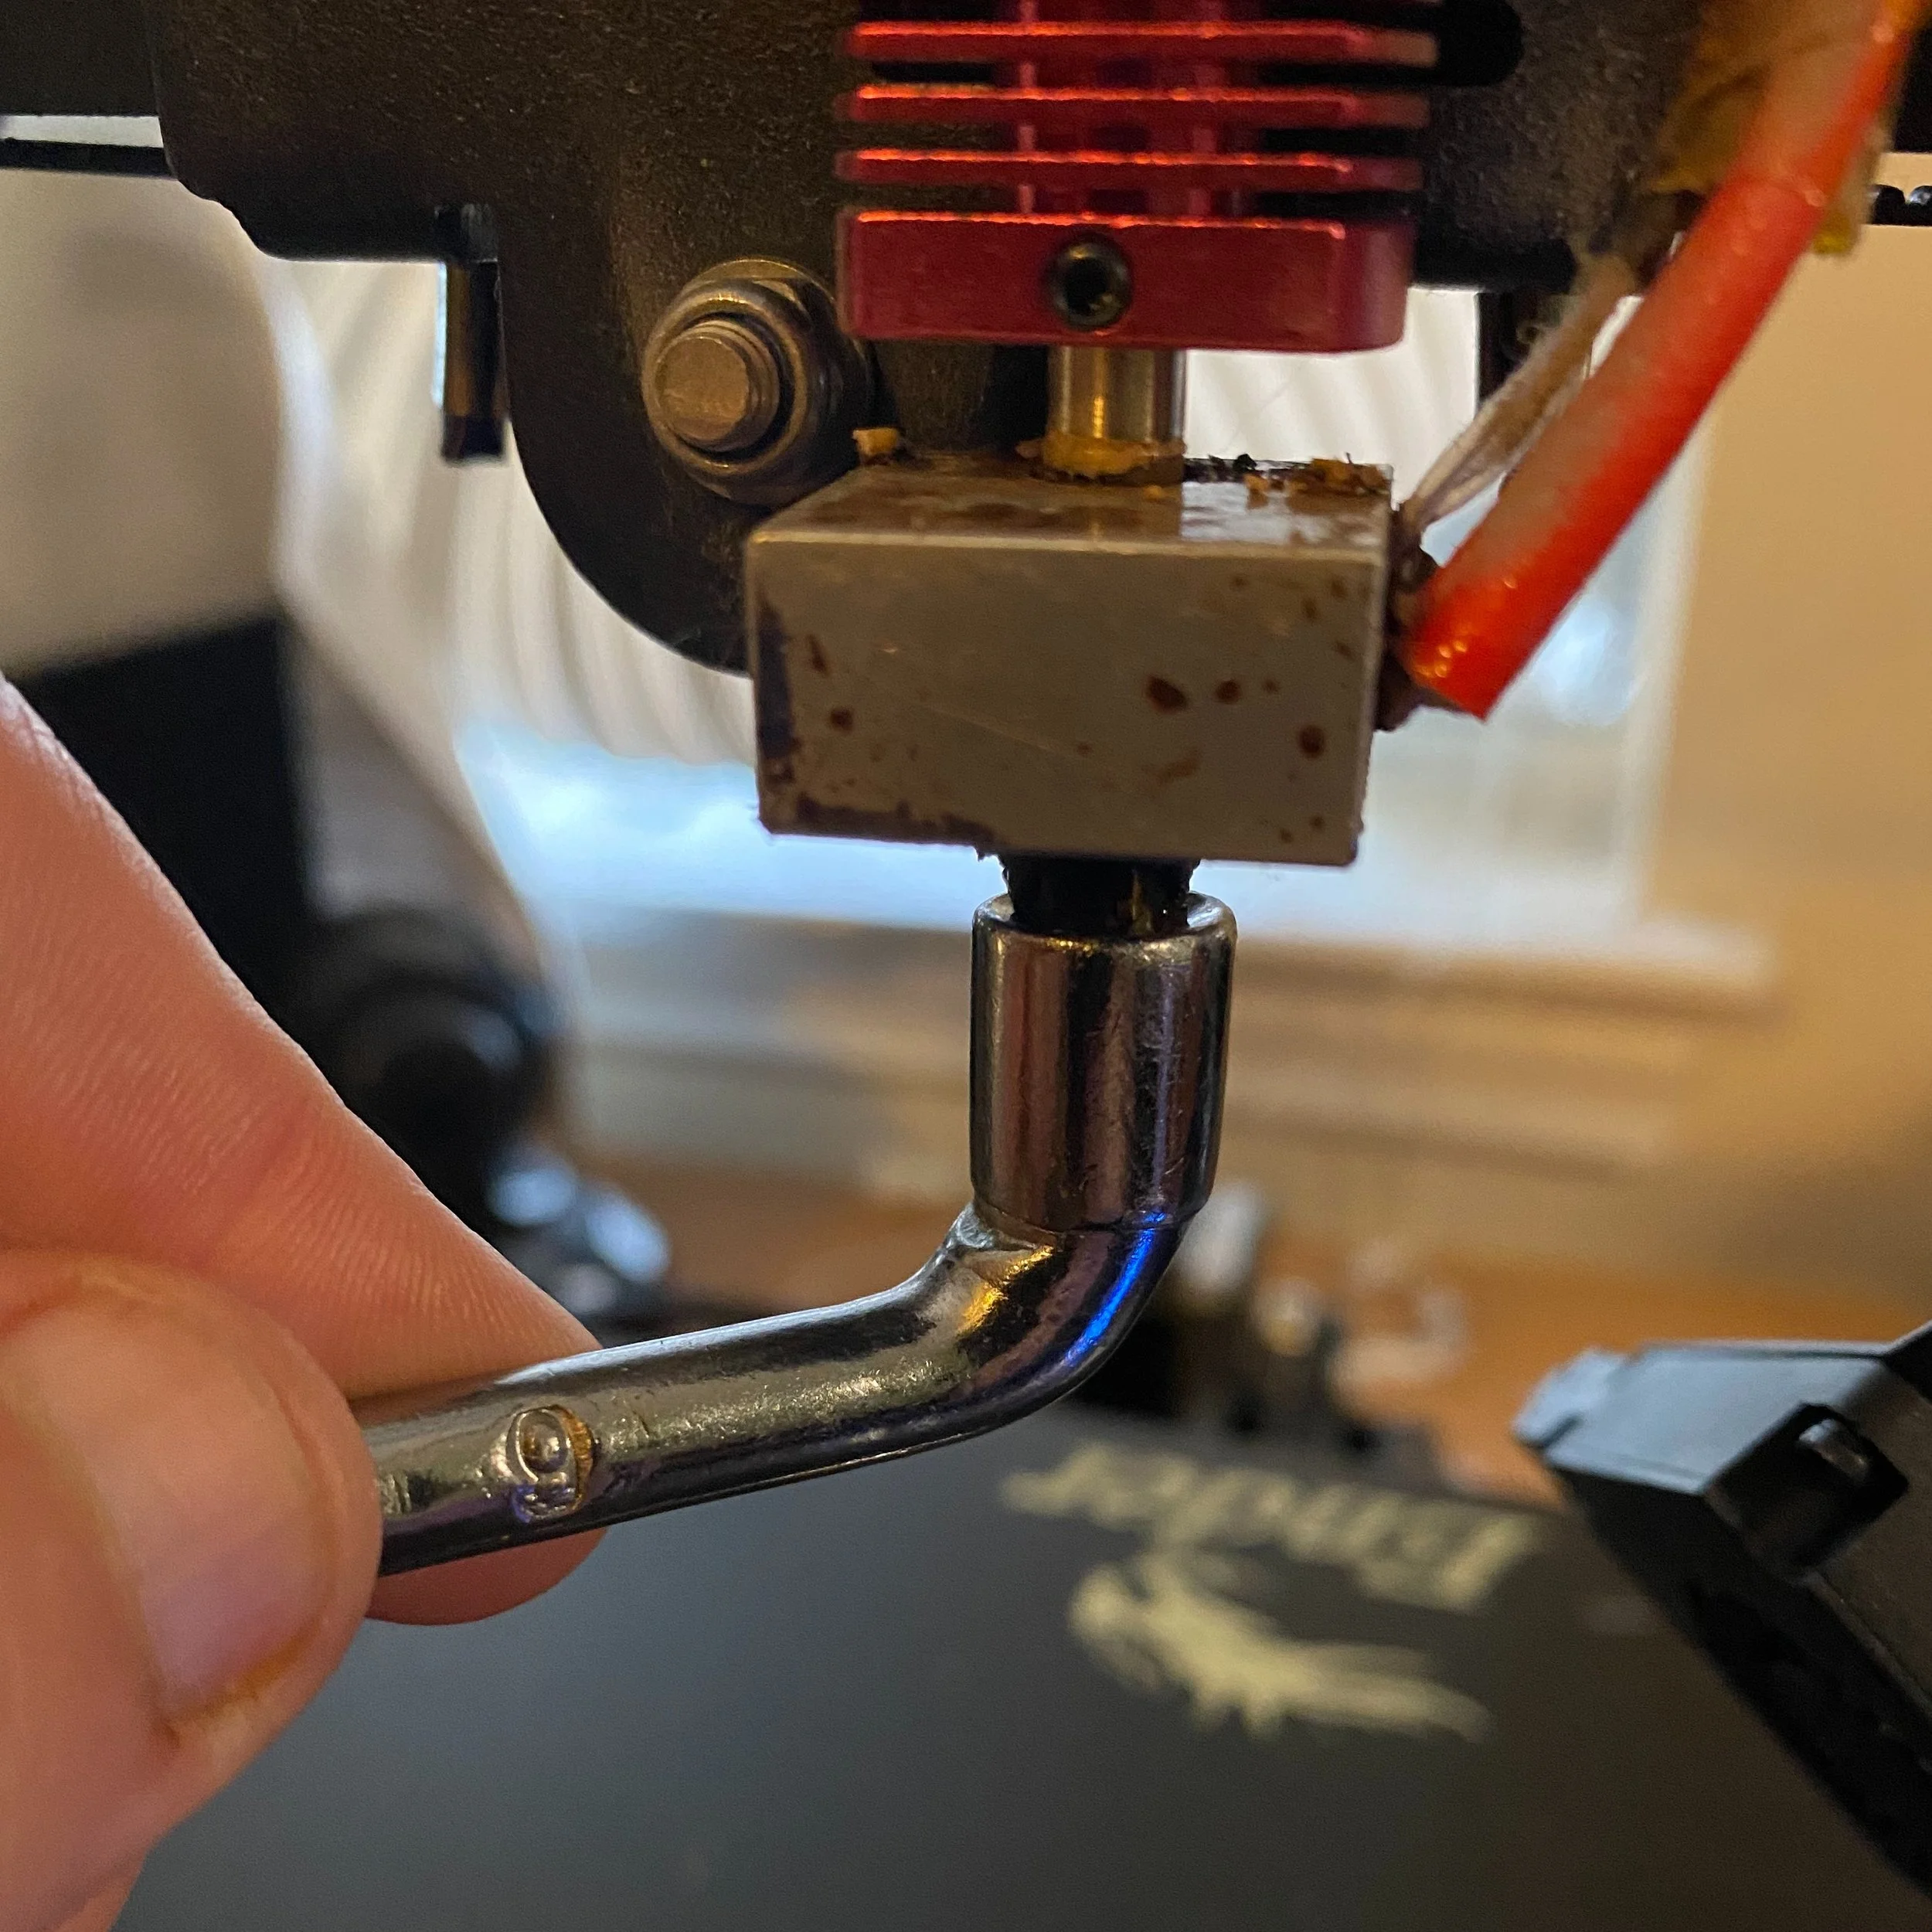
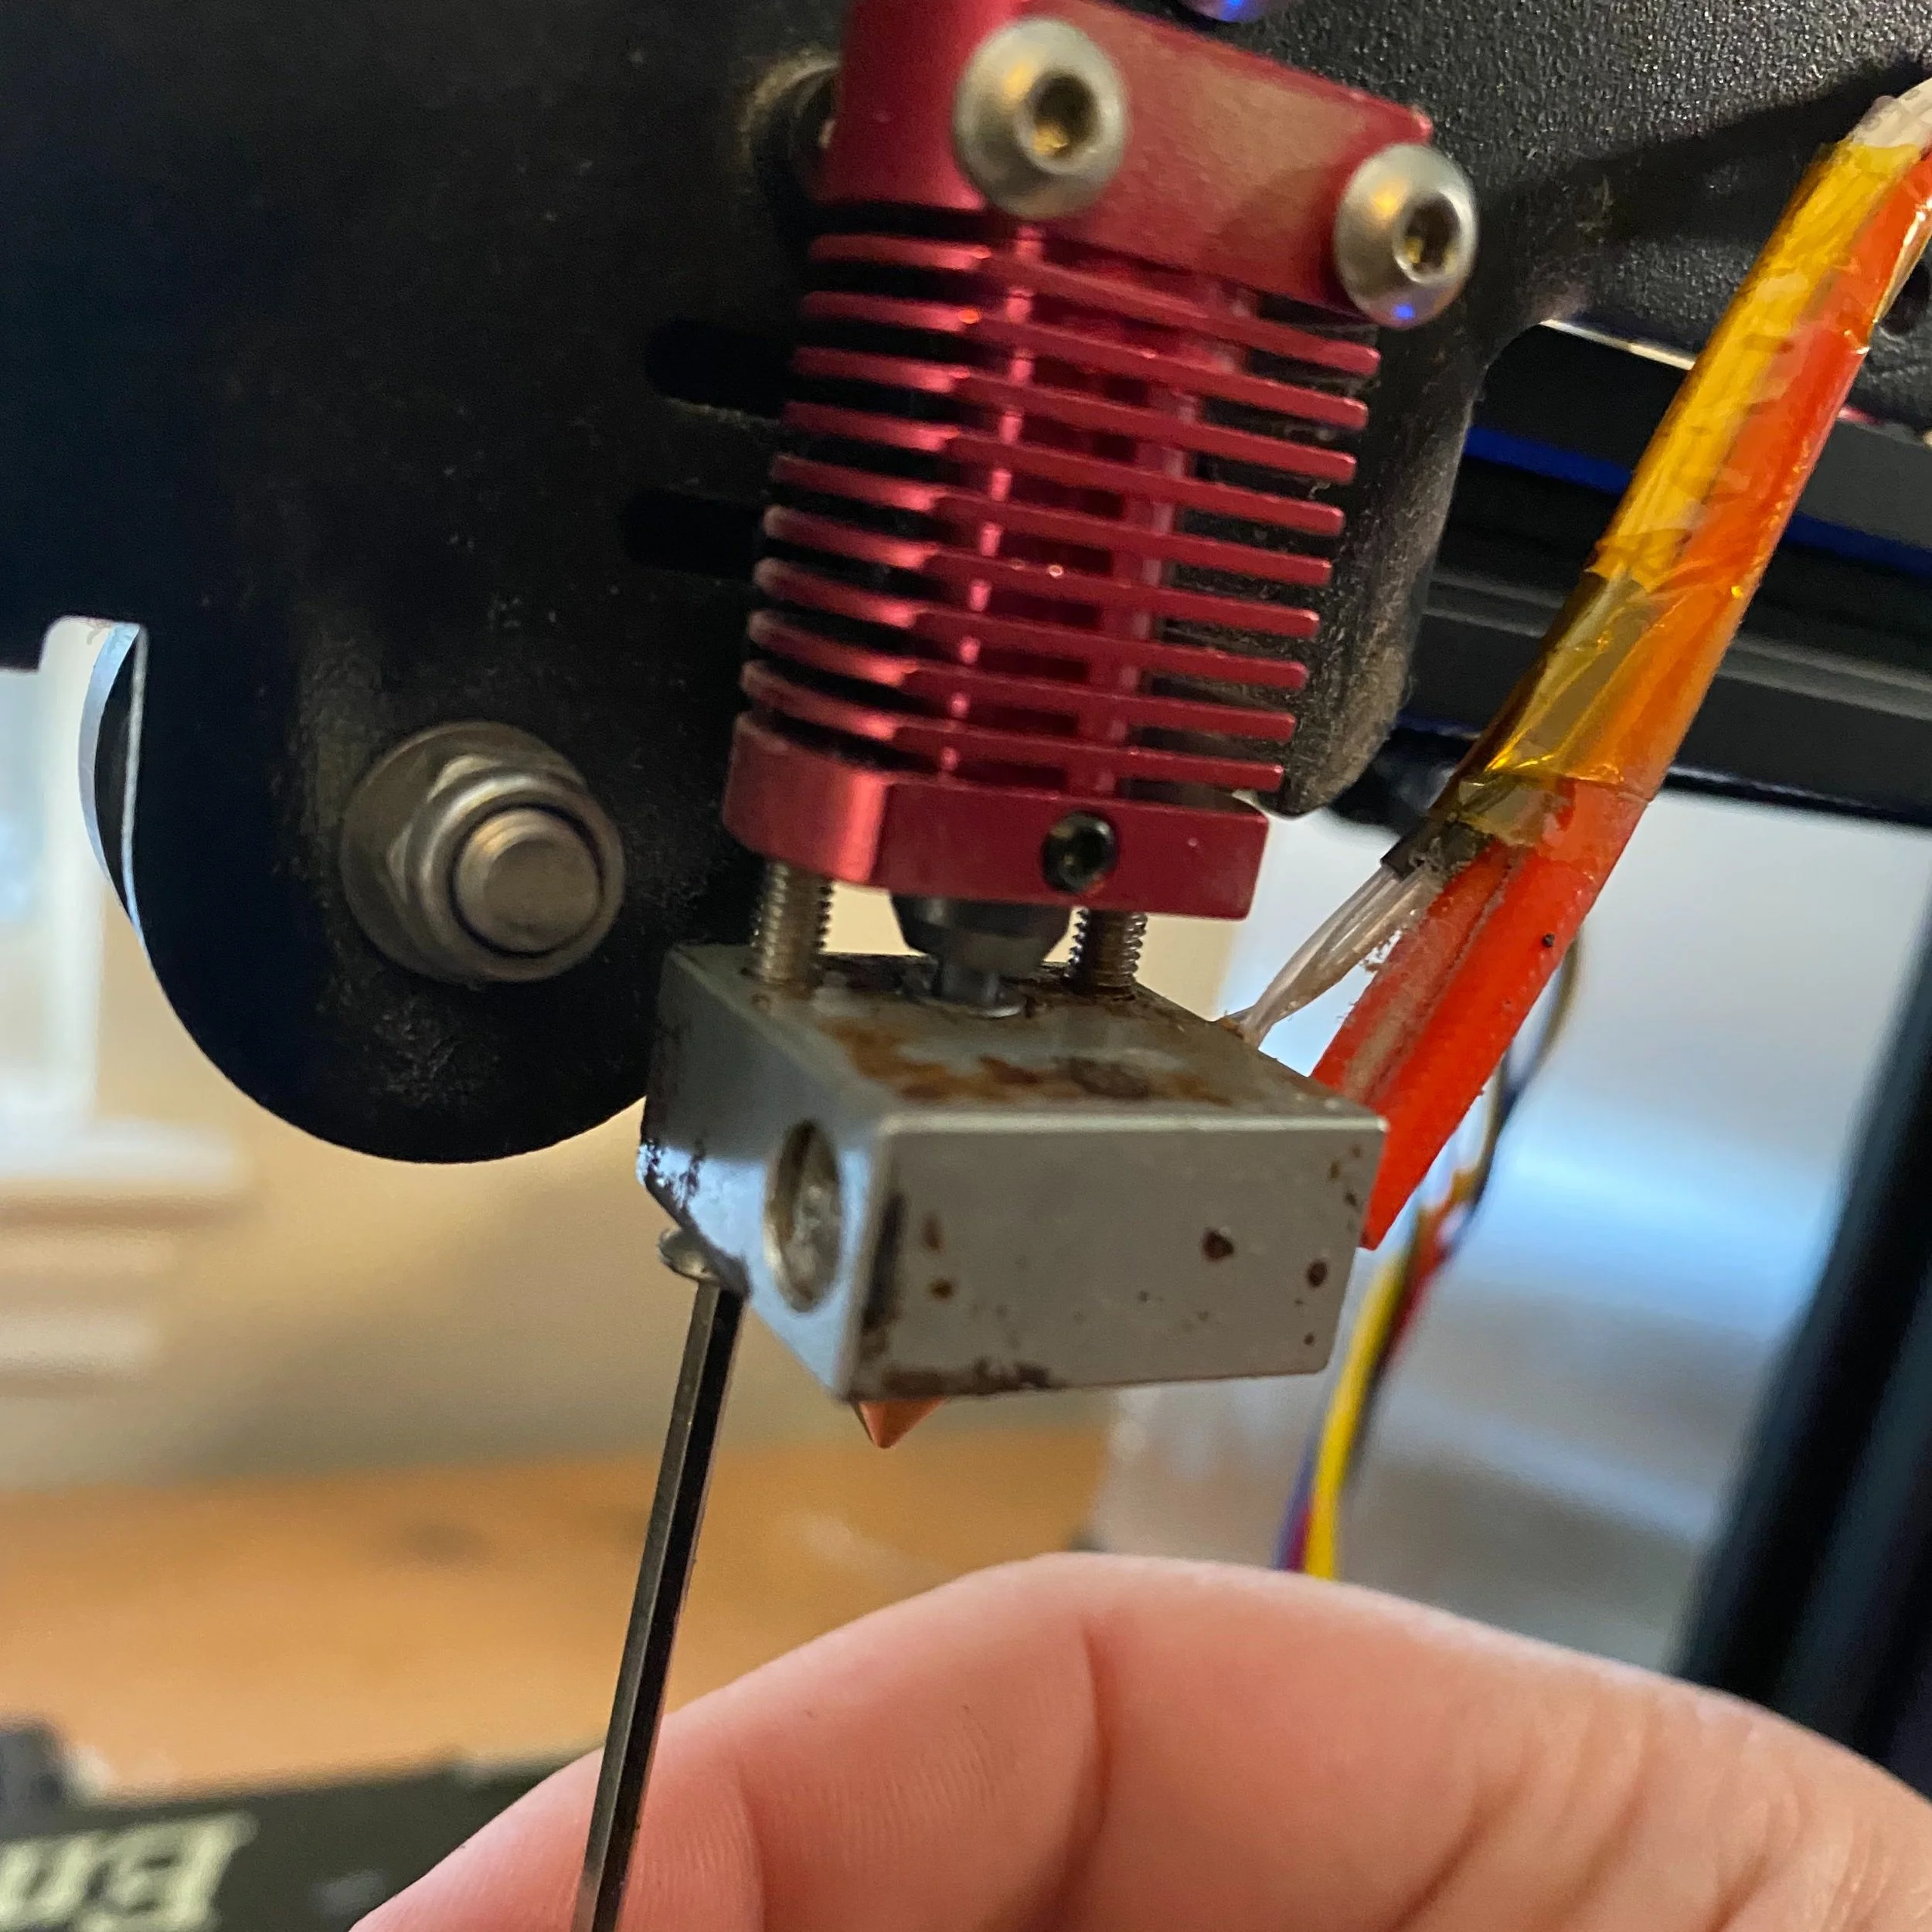
2. Remove the nozzle. You can use the included metal wrench or a socket (we use a nozzle wrench).

3. Loosen the two screws on the left and right sides of the heat block which reinforce the heat block. (Some 3D printers do not have these)
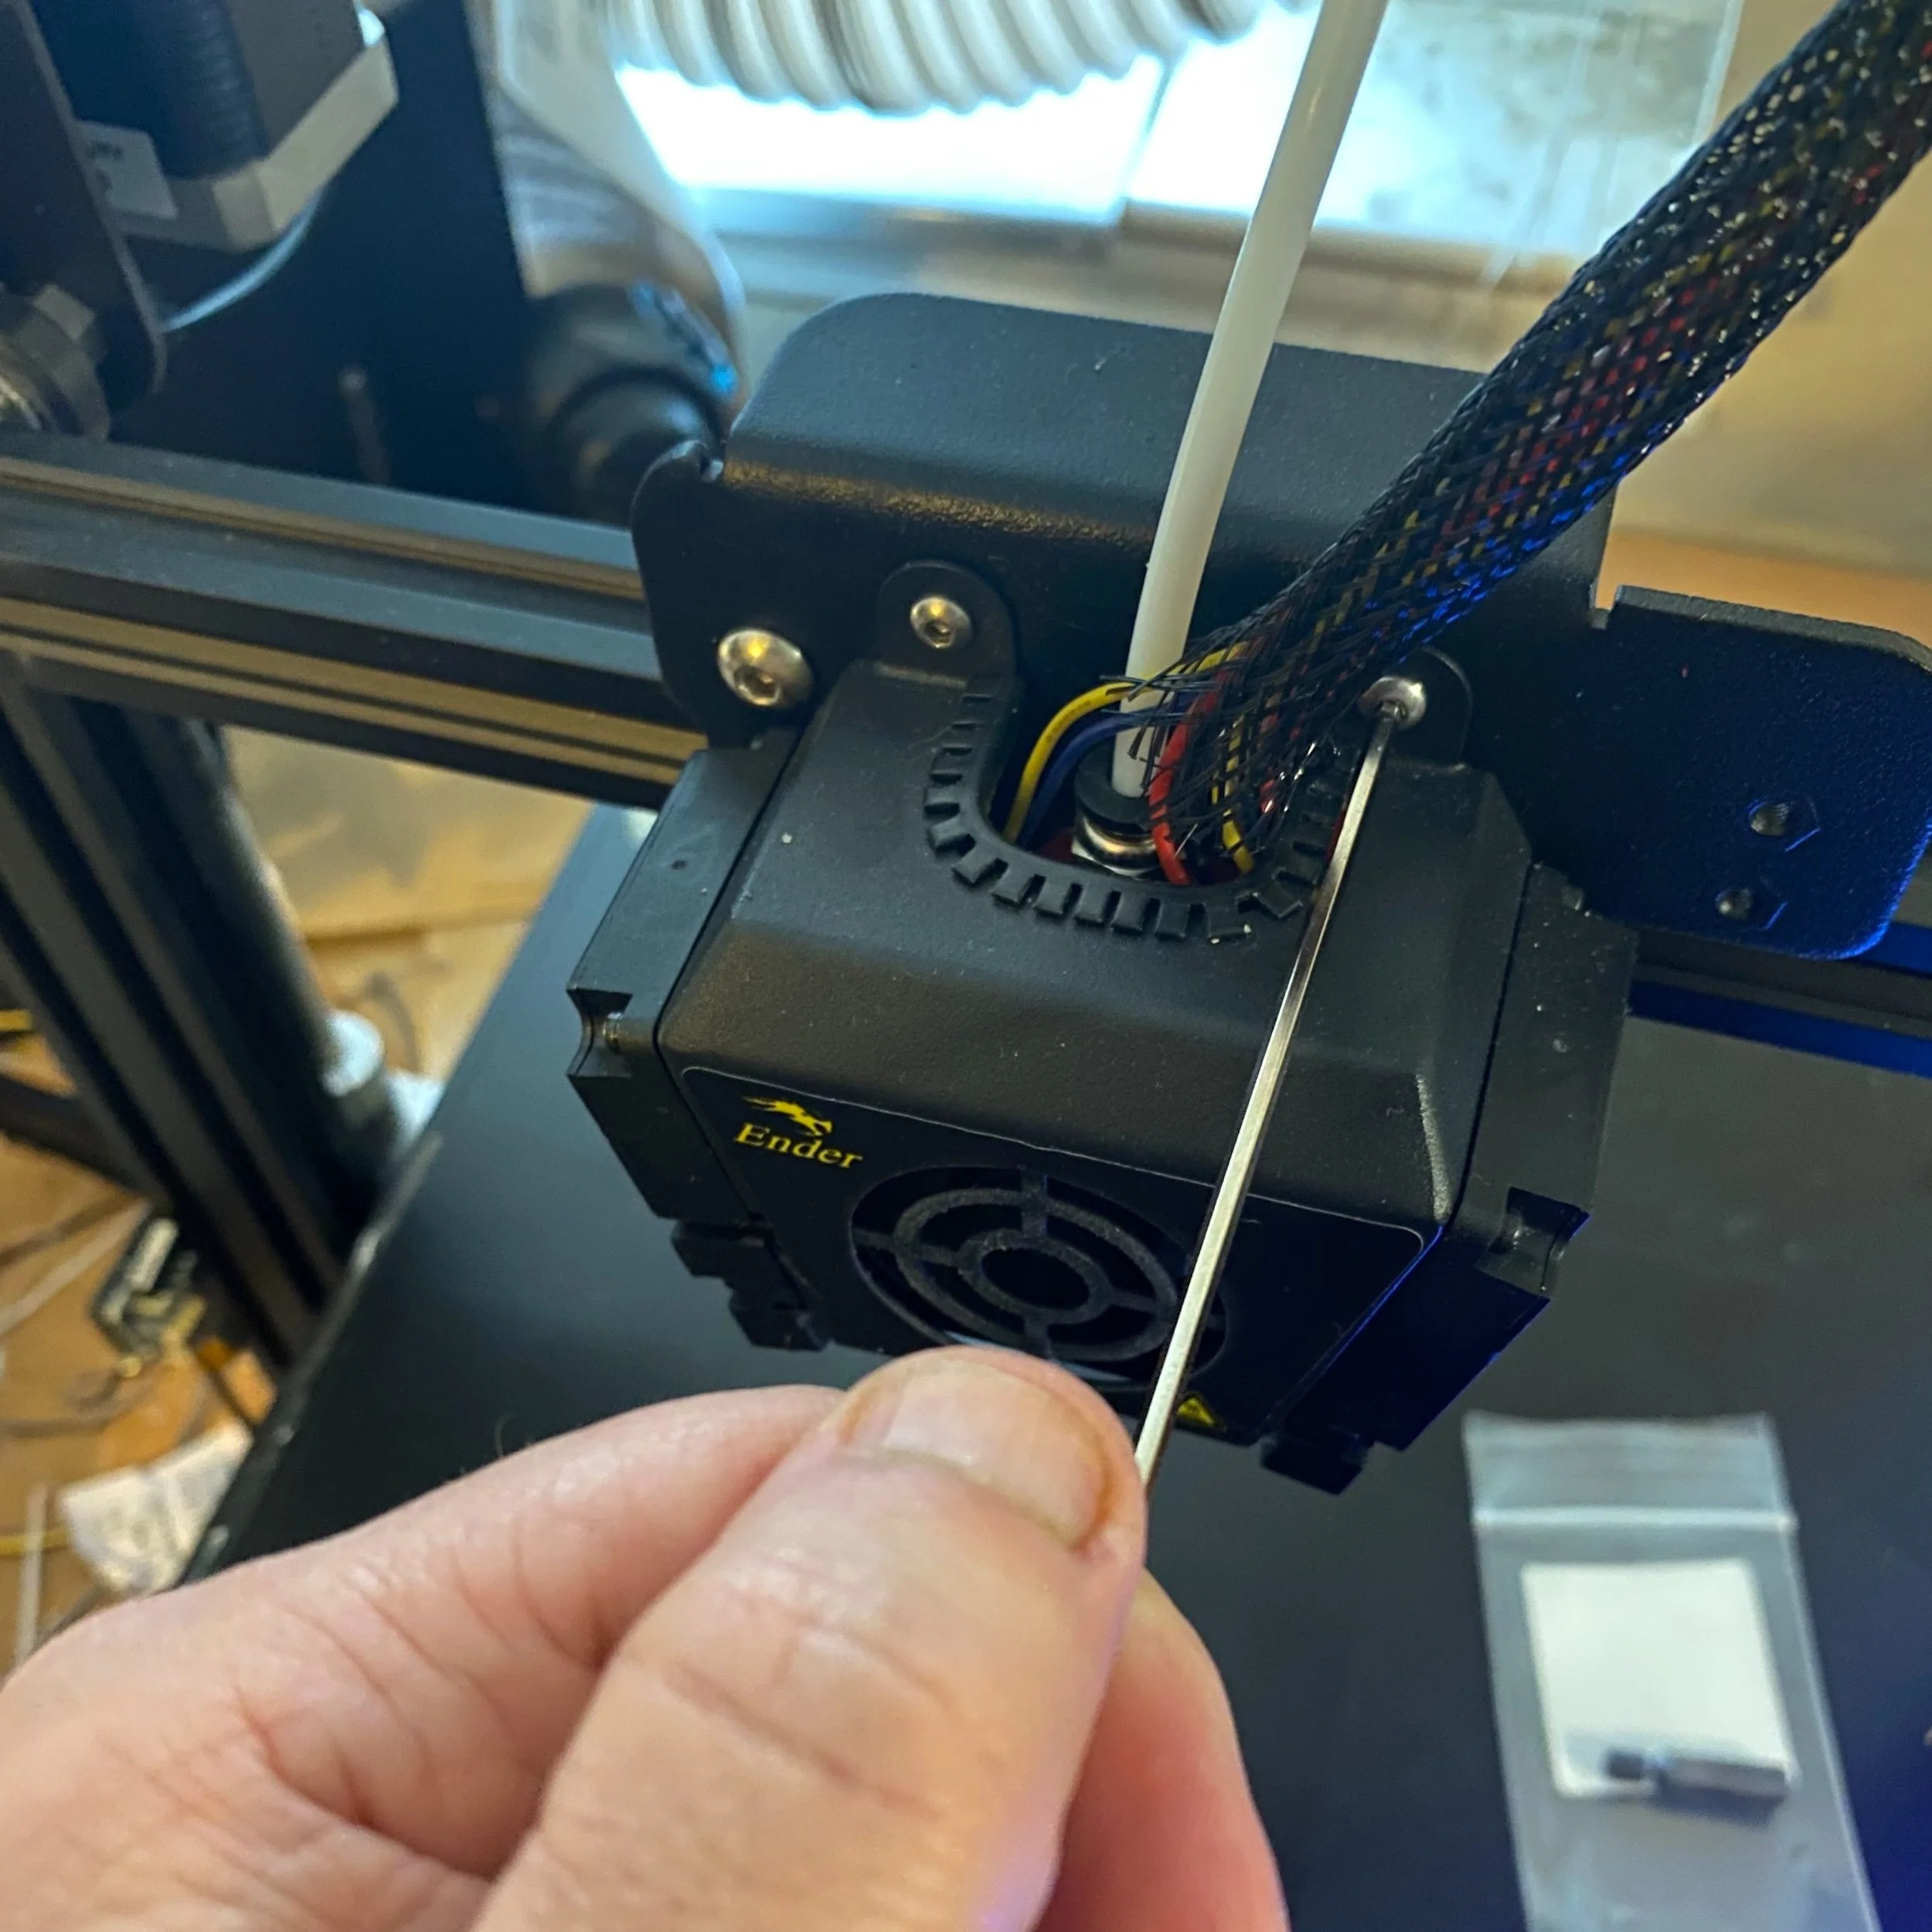
4. Remove the grub screw on the bottom of the heat sink which holds the top of the heat break in place.
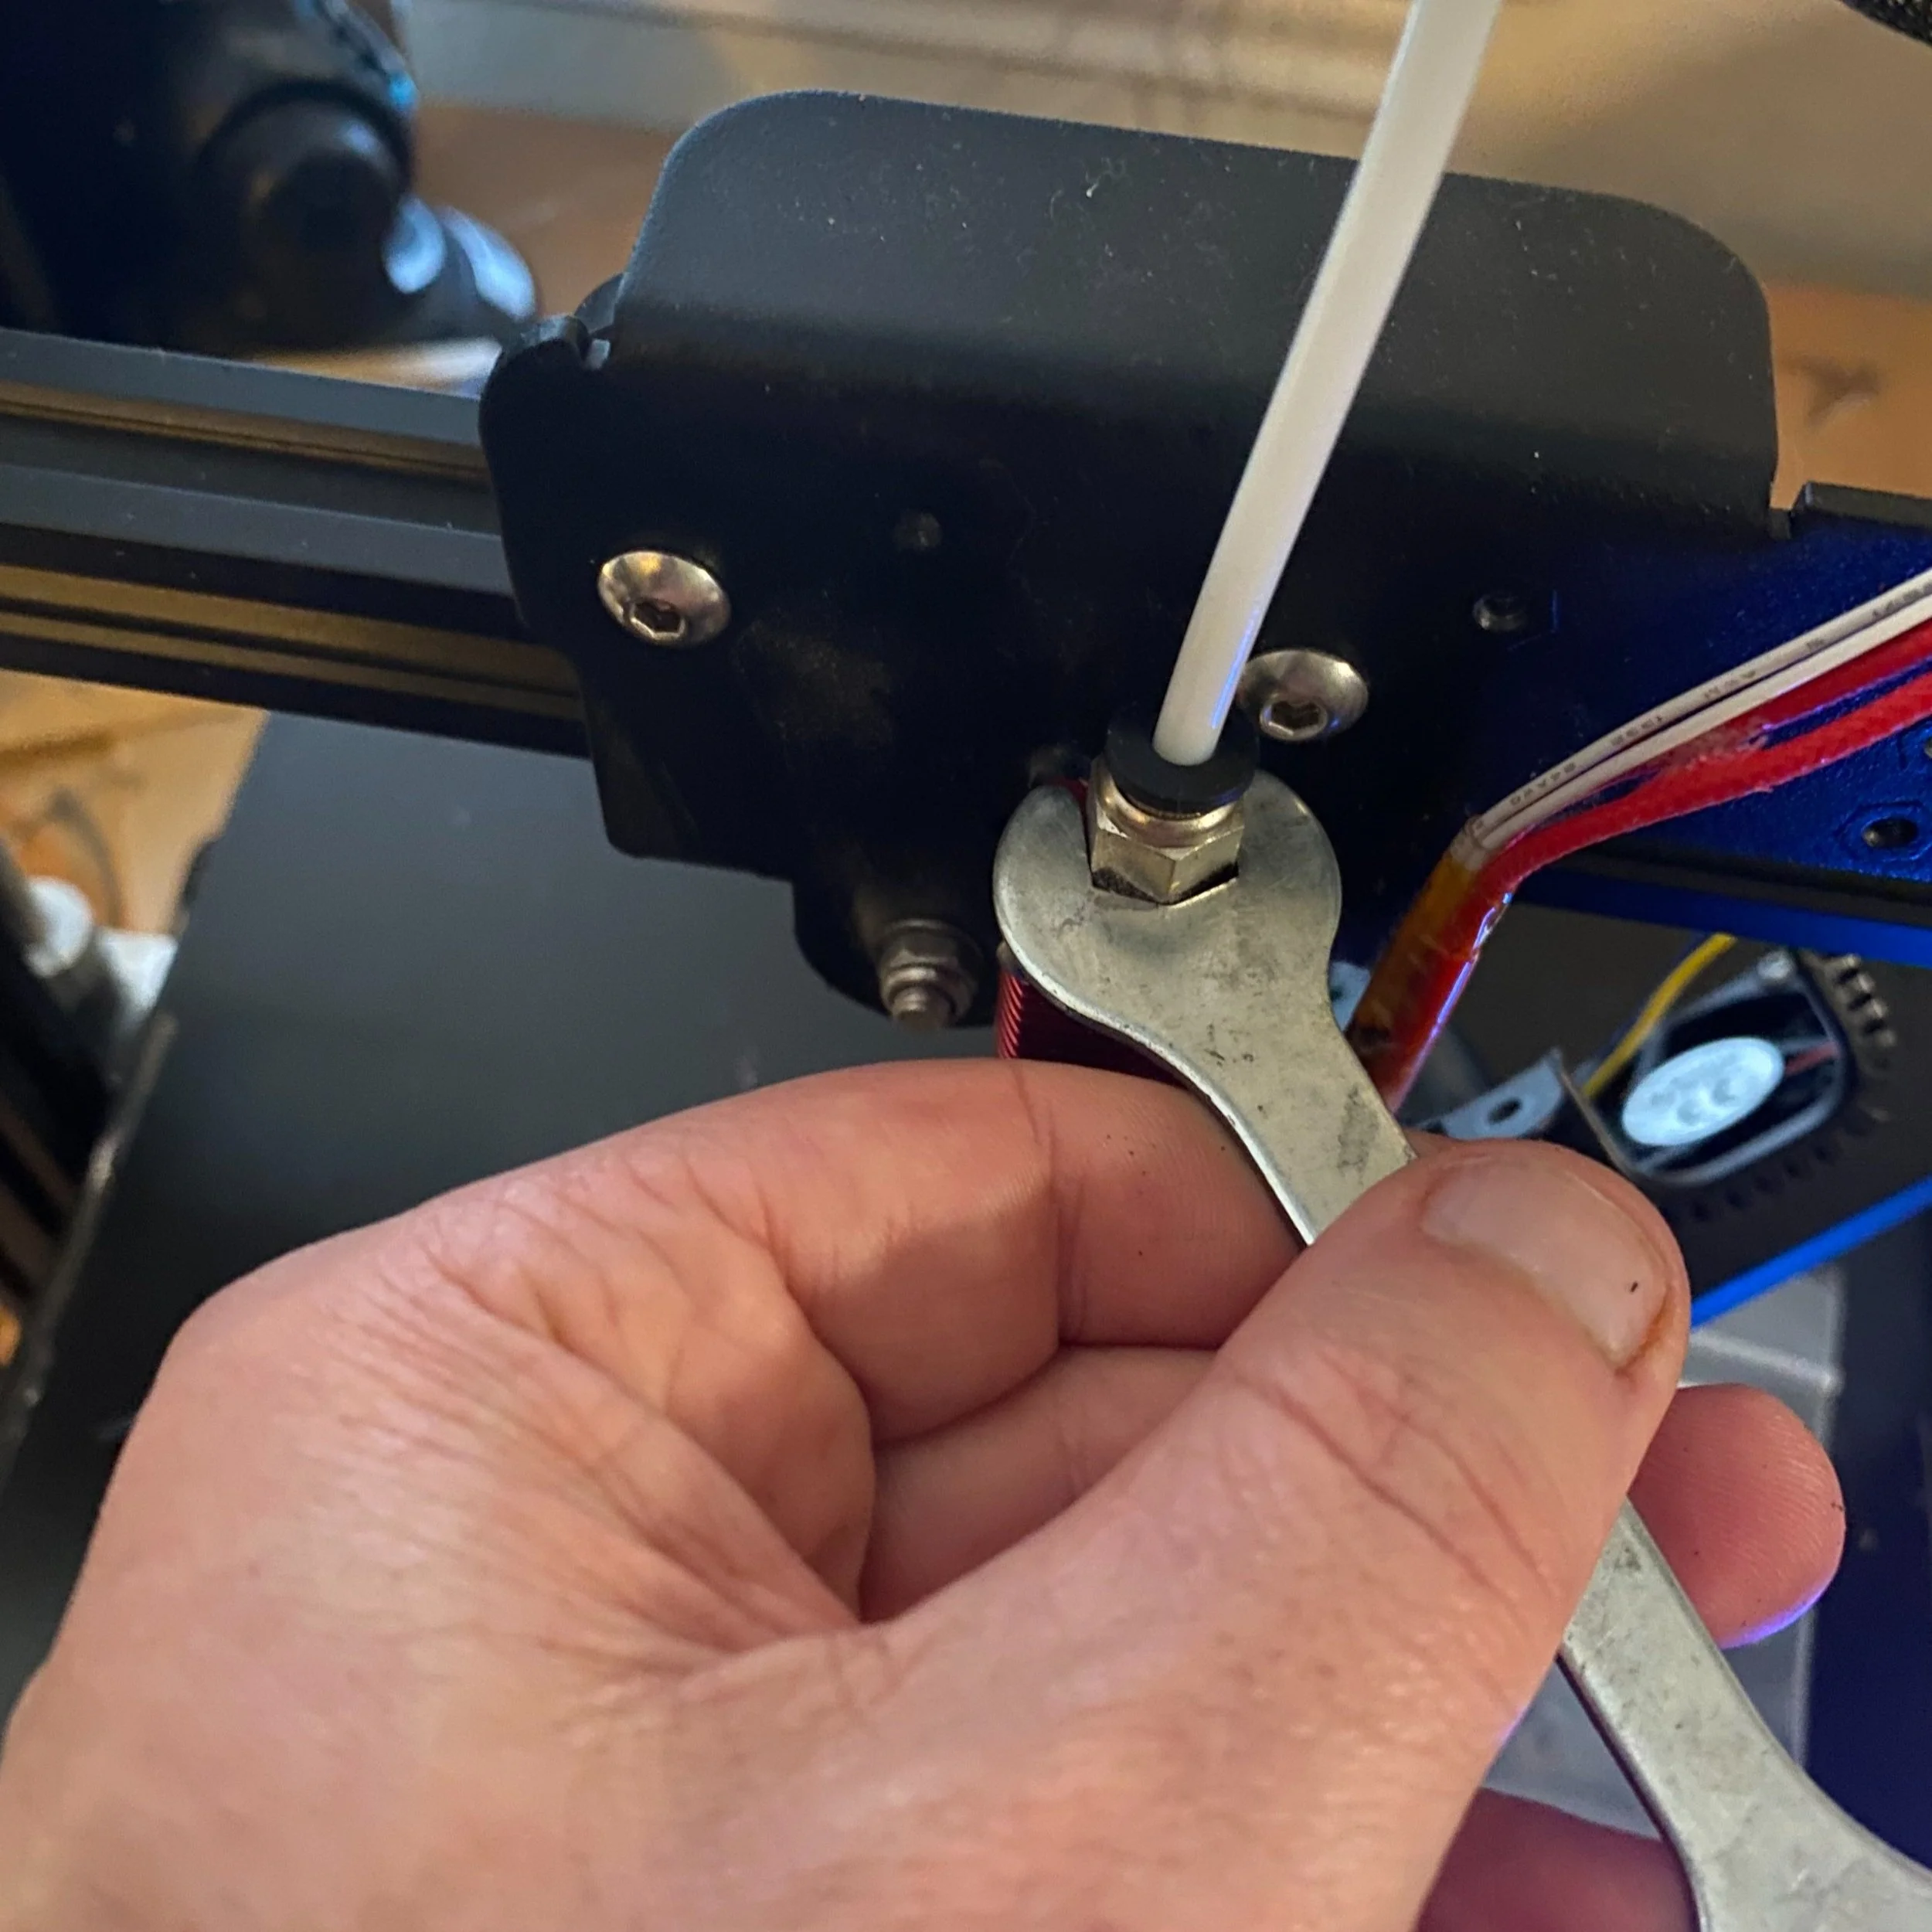
5. Remove the coupler from the top of the heat sink which holds the PTFE tube in place.
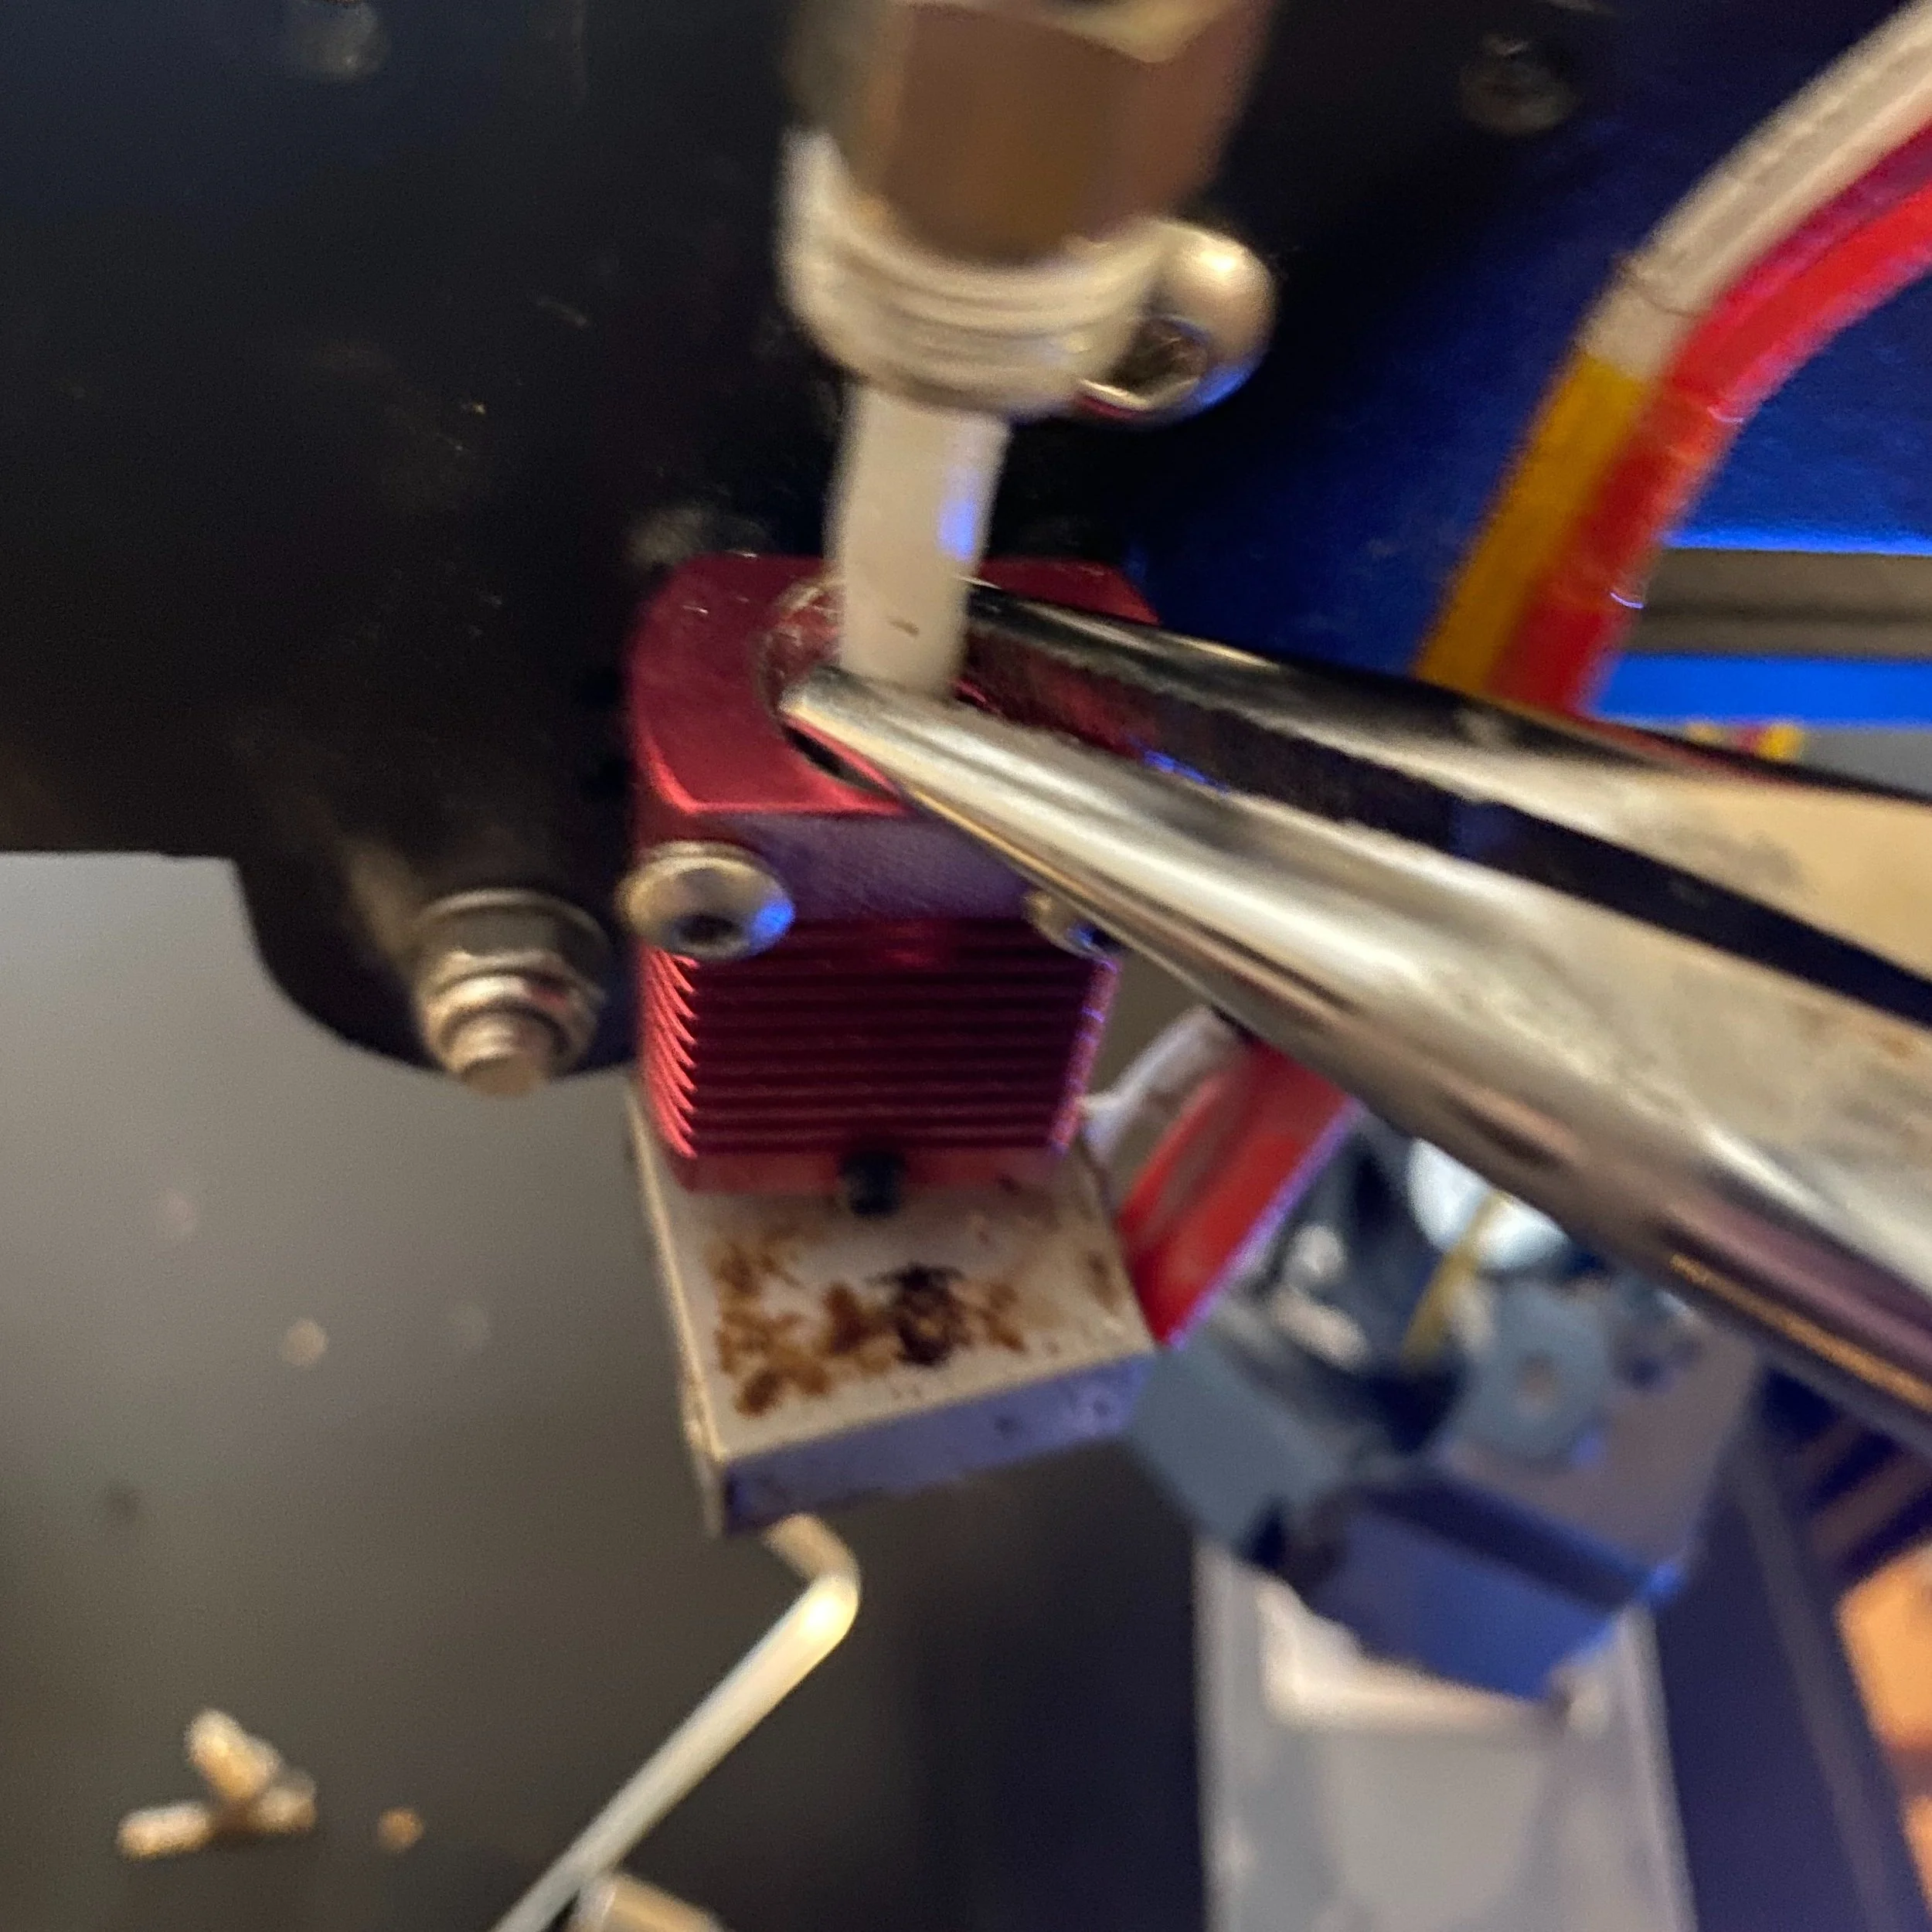
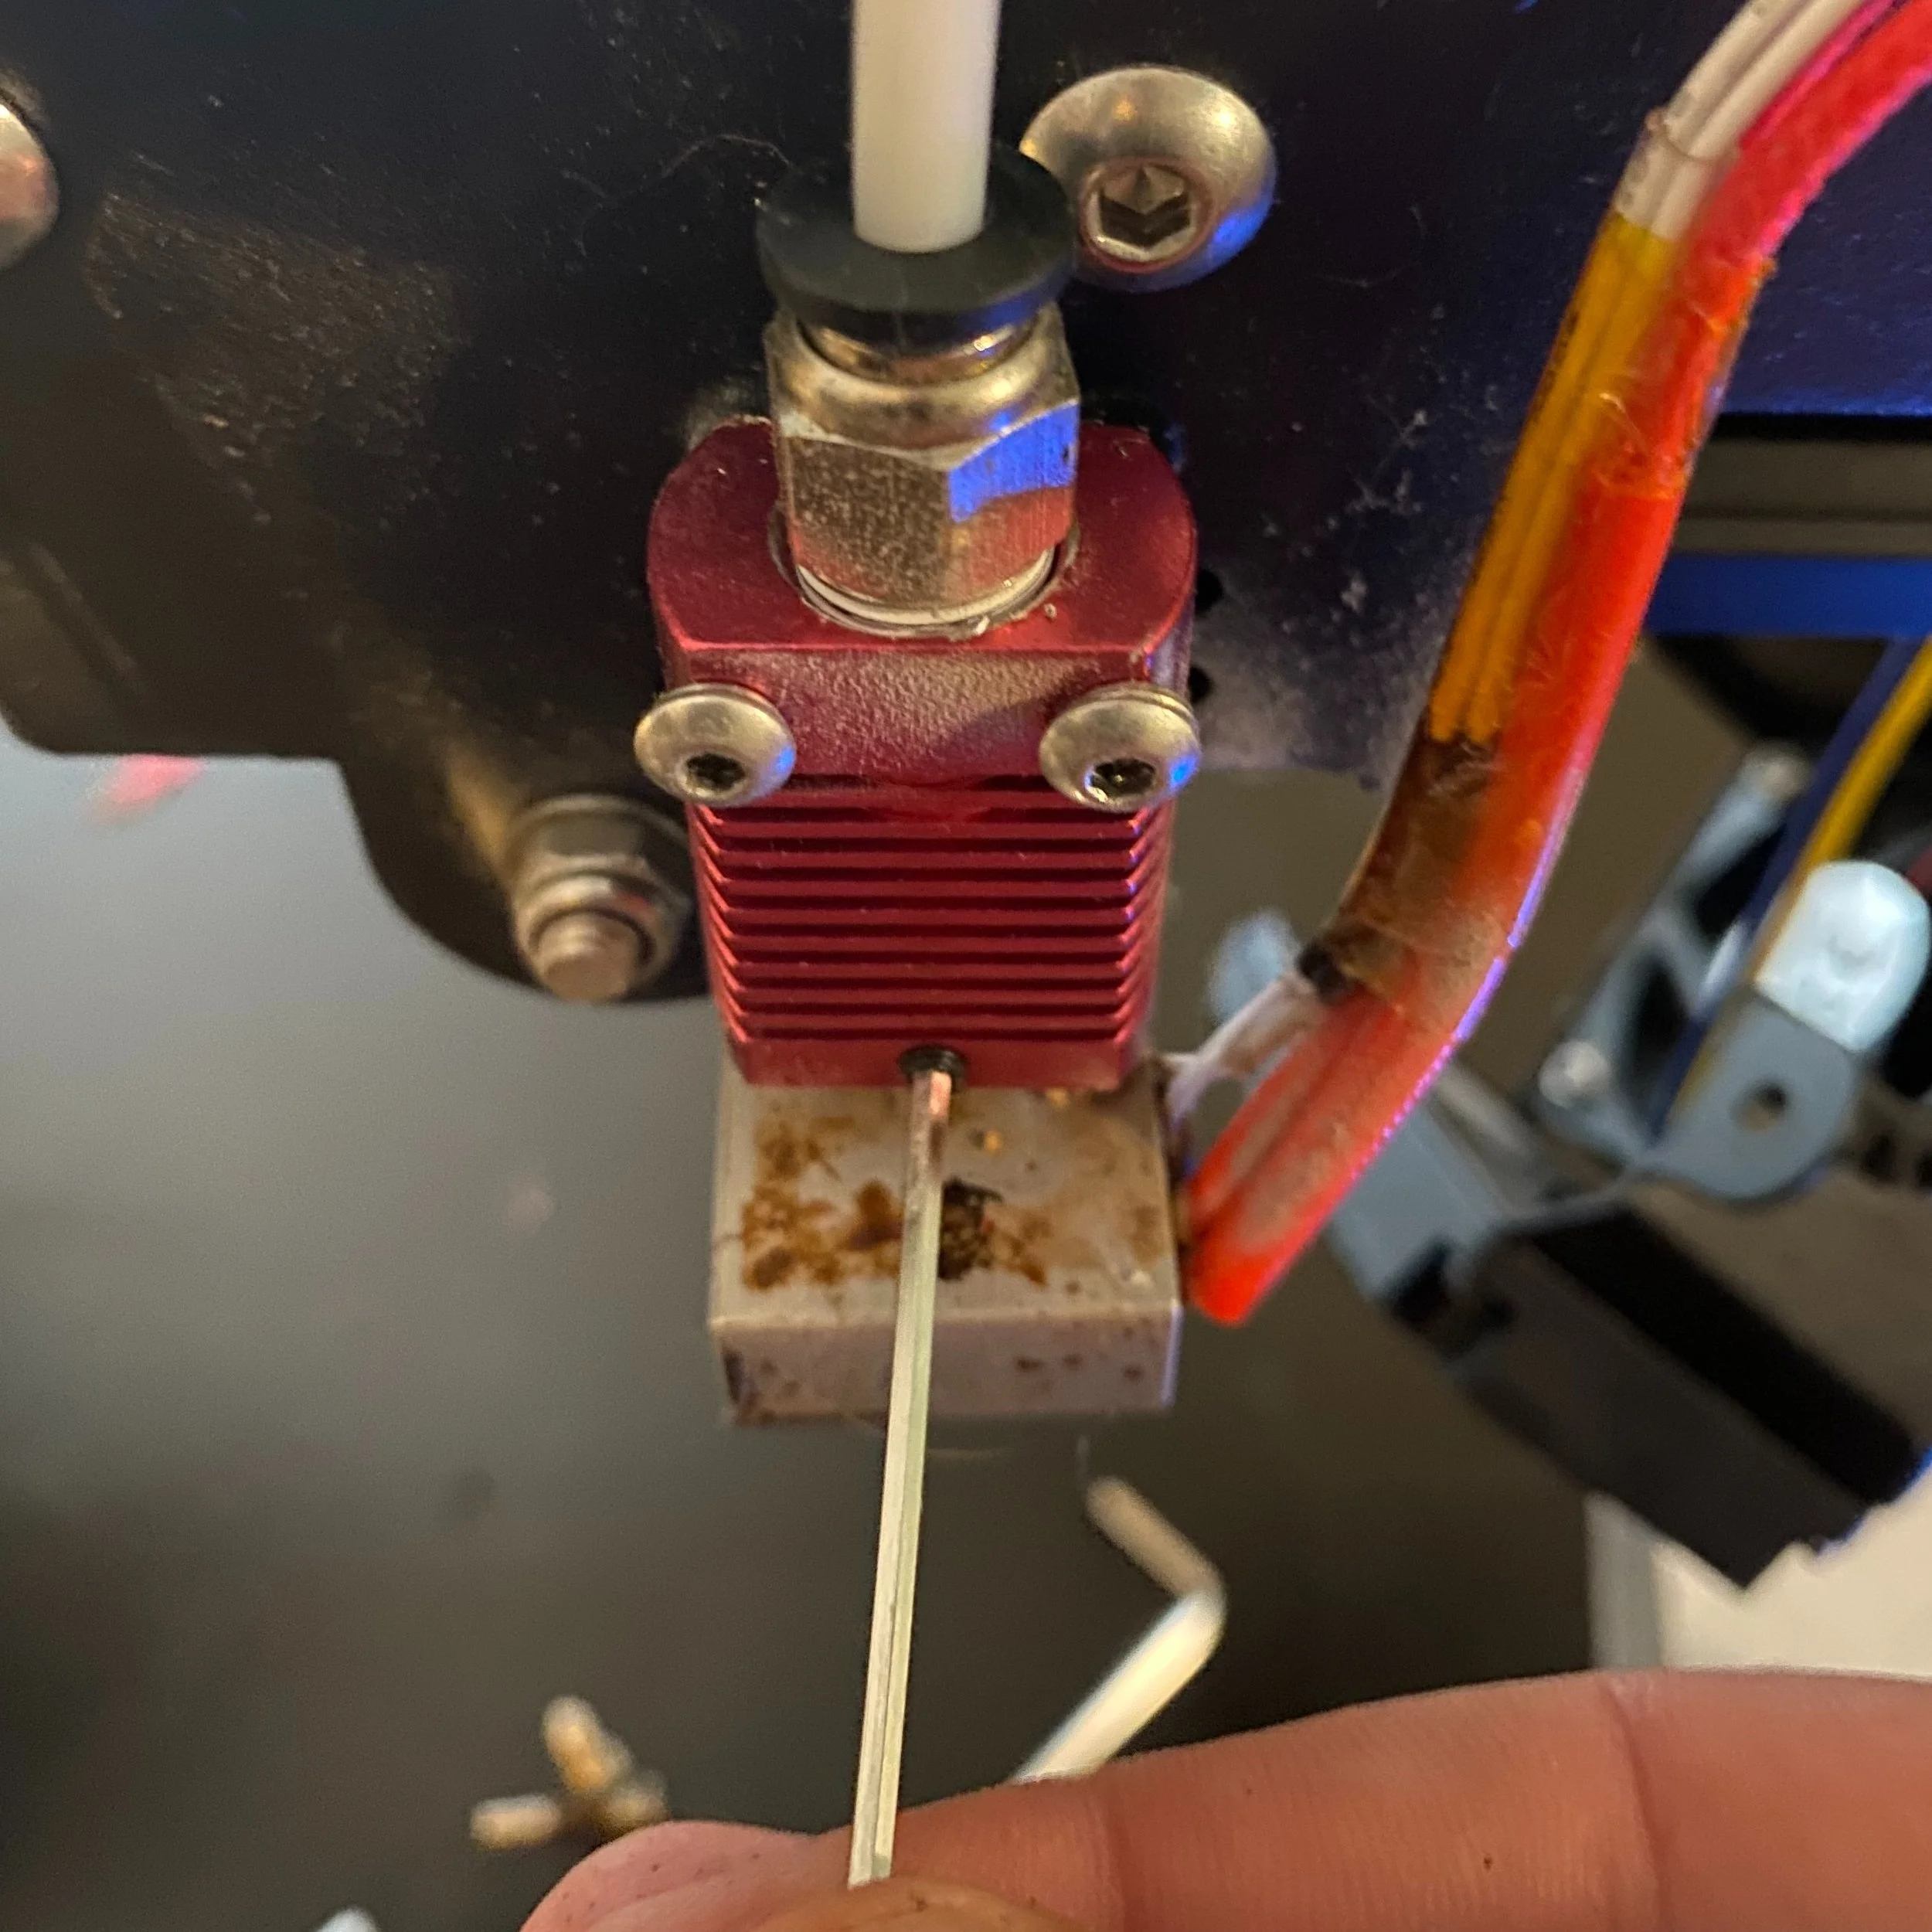
6. Remove the PTFE tube. You may need to use pliers if the tube is stuck (which can occur as it wears down).
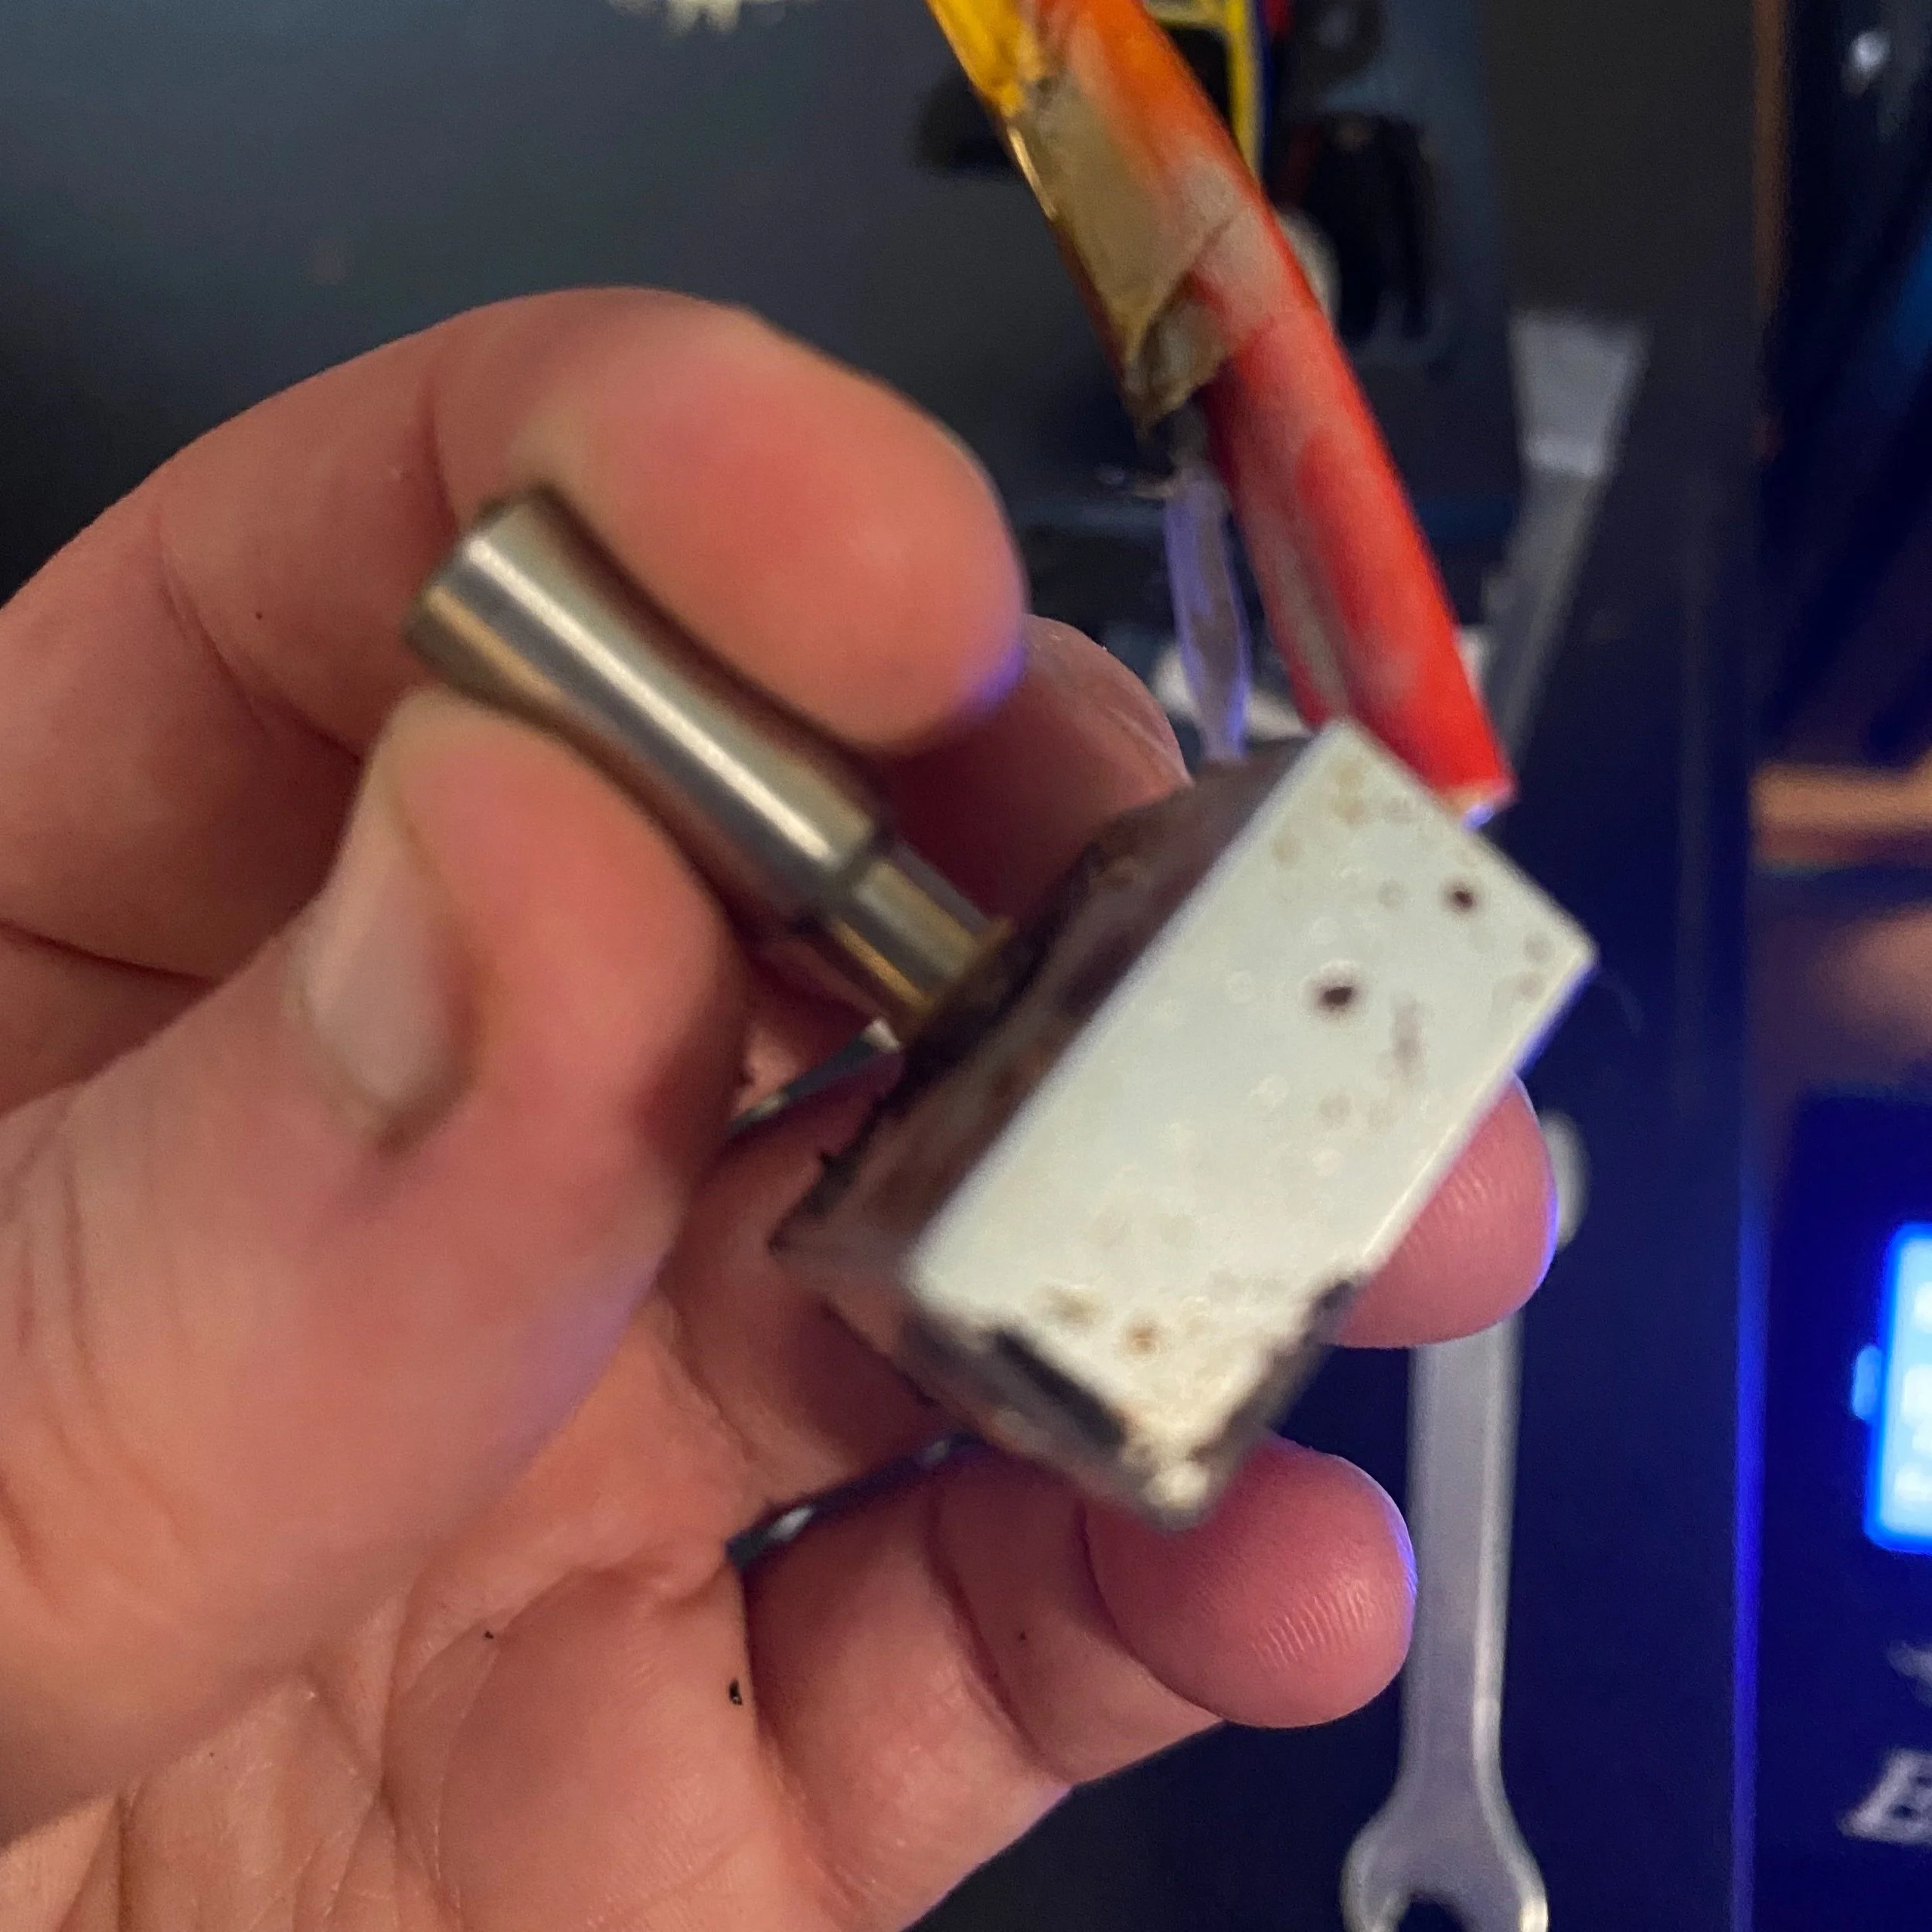
7. Remove the heat break from the heat sink by pulling the heat block downward, being careful not to pull on the connected wires. Unscrew the heat break to remove it. Usually, this can be done by hand, but use pliers if necessary. If it is particularly hard, it can help to heat the hot end to 180C.

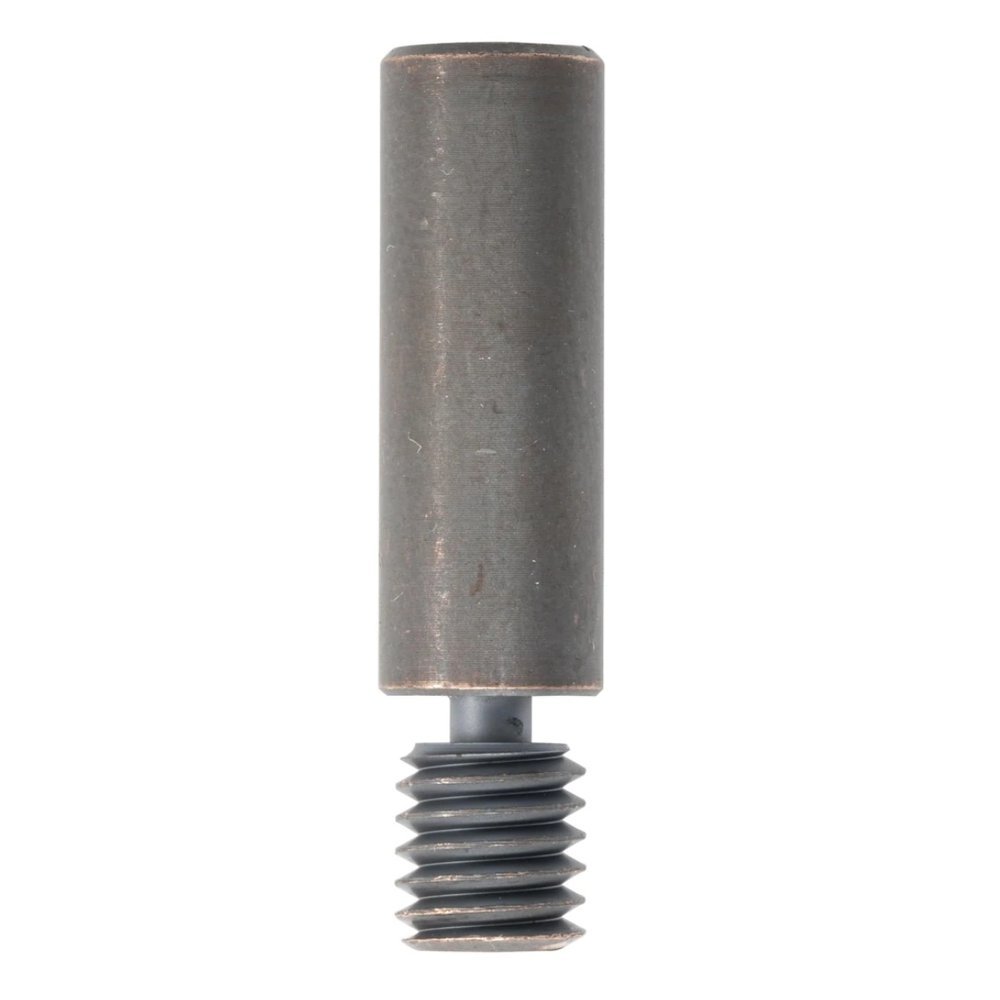
8. Screw in the new bimetallic heat break so that the top of the lower portion is parallel with the top of the heat block. Reattach the nozzle and tighten it as far as you can (we recommend just replacing the nozzle at this point since nozzles are so cheap).
9. Install the two side screws. These screws should not be tight, so stop once you feel resistance.

10. Screw in the PTFE coupler fully, then push the PTFE tube into the heat sink as far as possible (Remove the tube from the PTFE coupler first by pressing the plastic button on the top, then pulling it off of the PTFE).
The process is now complete! Note that you will need to re-level the print bed after making this change, since it will significantly change the height of the nozzle.
Next Steps
You can use the same printing settings as before with the new heat break, but it is a good idea to do some testing for temperature and retraction settings to make sure you have everything dialed in as much as possible. If you want to learn more about how the hot end works, check out our hot end repair guide, which takes an in-depth look at how it works and how to troubleshoot issues.
Click here to view the Slice Engineering Copperhead Heat Break on Amazon.