Creality Ender 3 V3 SE Assembly Guide
Note: Creality Experts receives a commission for items you purchase from this page, at no additional cost to you. For more information, please see our affiliate link policy.
In this article, we will walk you through the process of assembling the Creality Ender 3 V3 SE and help you get started with your first 3D prints. If you have the printer already, or just want to get a sense for how hard it is to assemble, keep reading!
If you aren’t familiar with the Ender 3 V3 SE, it’s a new addition to Creality’s Ender 3 series with a number of significant upgrades over the previous versions of the Ender 3. We have a full review of the printer here.
The Ender 3 V3 SE is much easier to assemble than older machine such as the Ender 3 V2 since many of the components come pre-assembled and pre-wired. The full process typically takes about 15-30 minutes depending on your experience level, and only requires the Allen wrenches that are included with the printer. There are a couple things to be aware of that will help make the process go smoothly, which we’ll go through in this step by step guide.
Unboxing the Ender 3 V3 SE
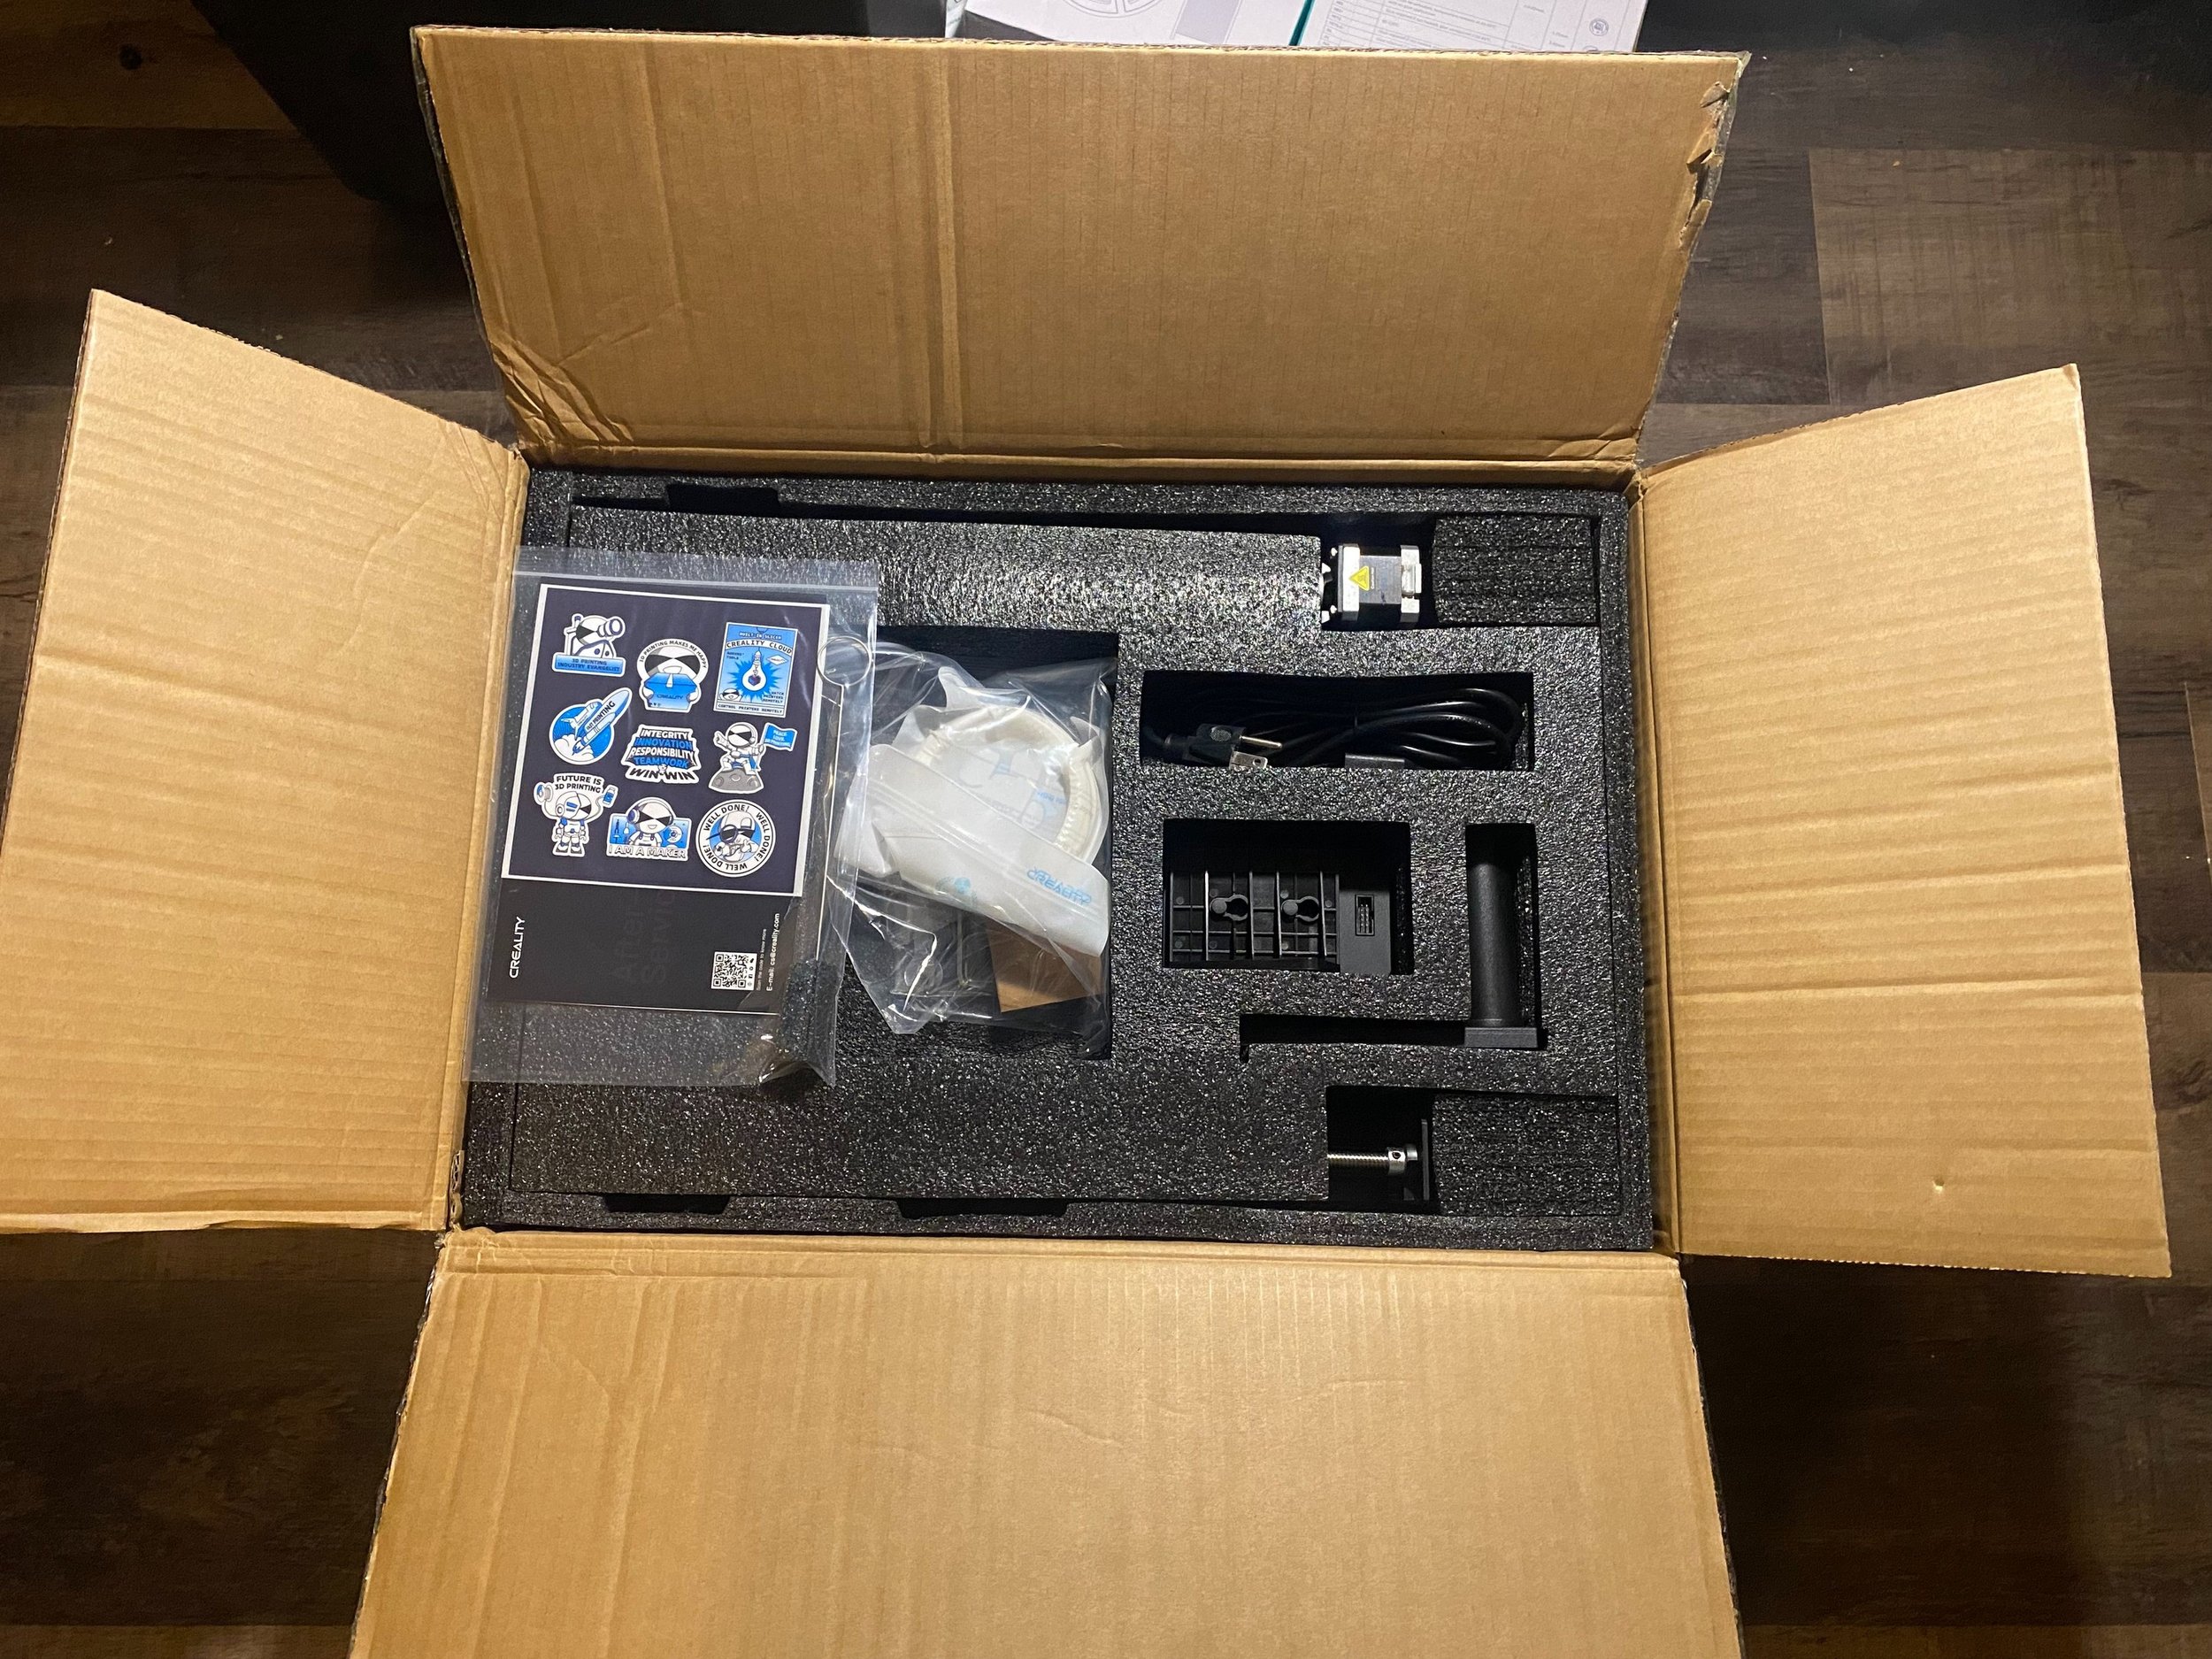
The top insert protects the printer and contains the smaller components.
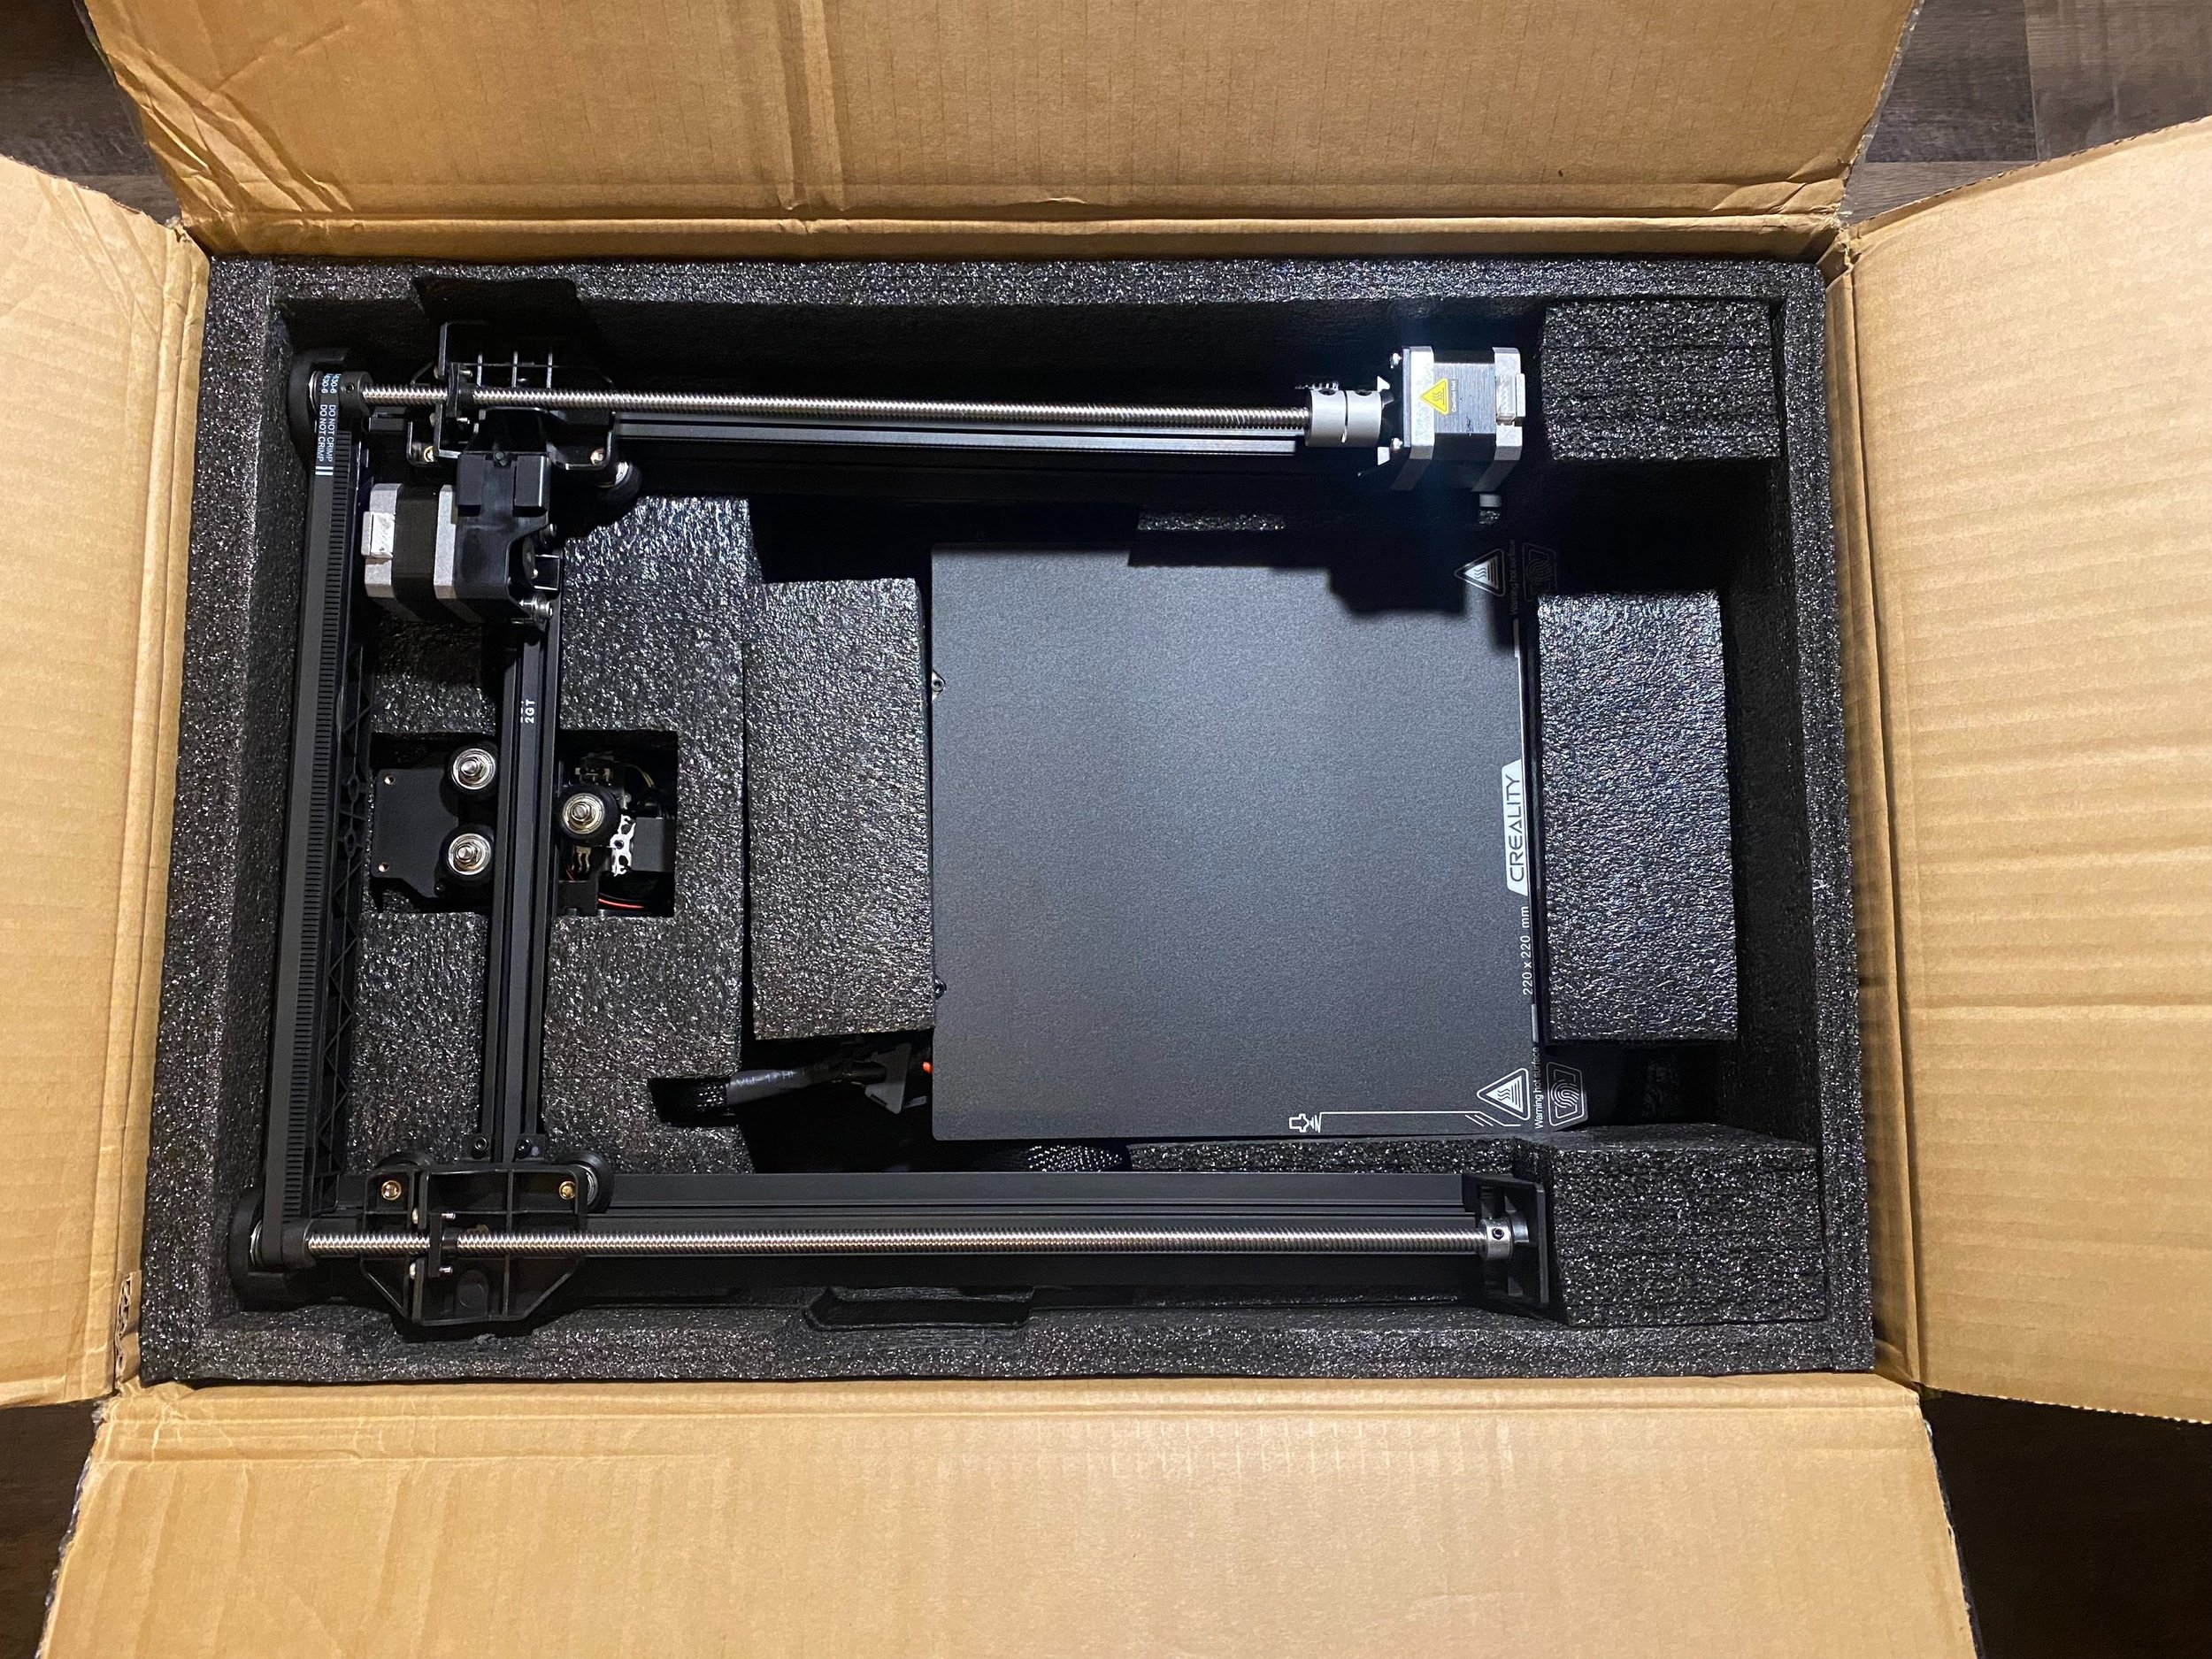
The main components of the printer are packaged under the top insert.
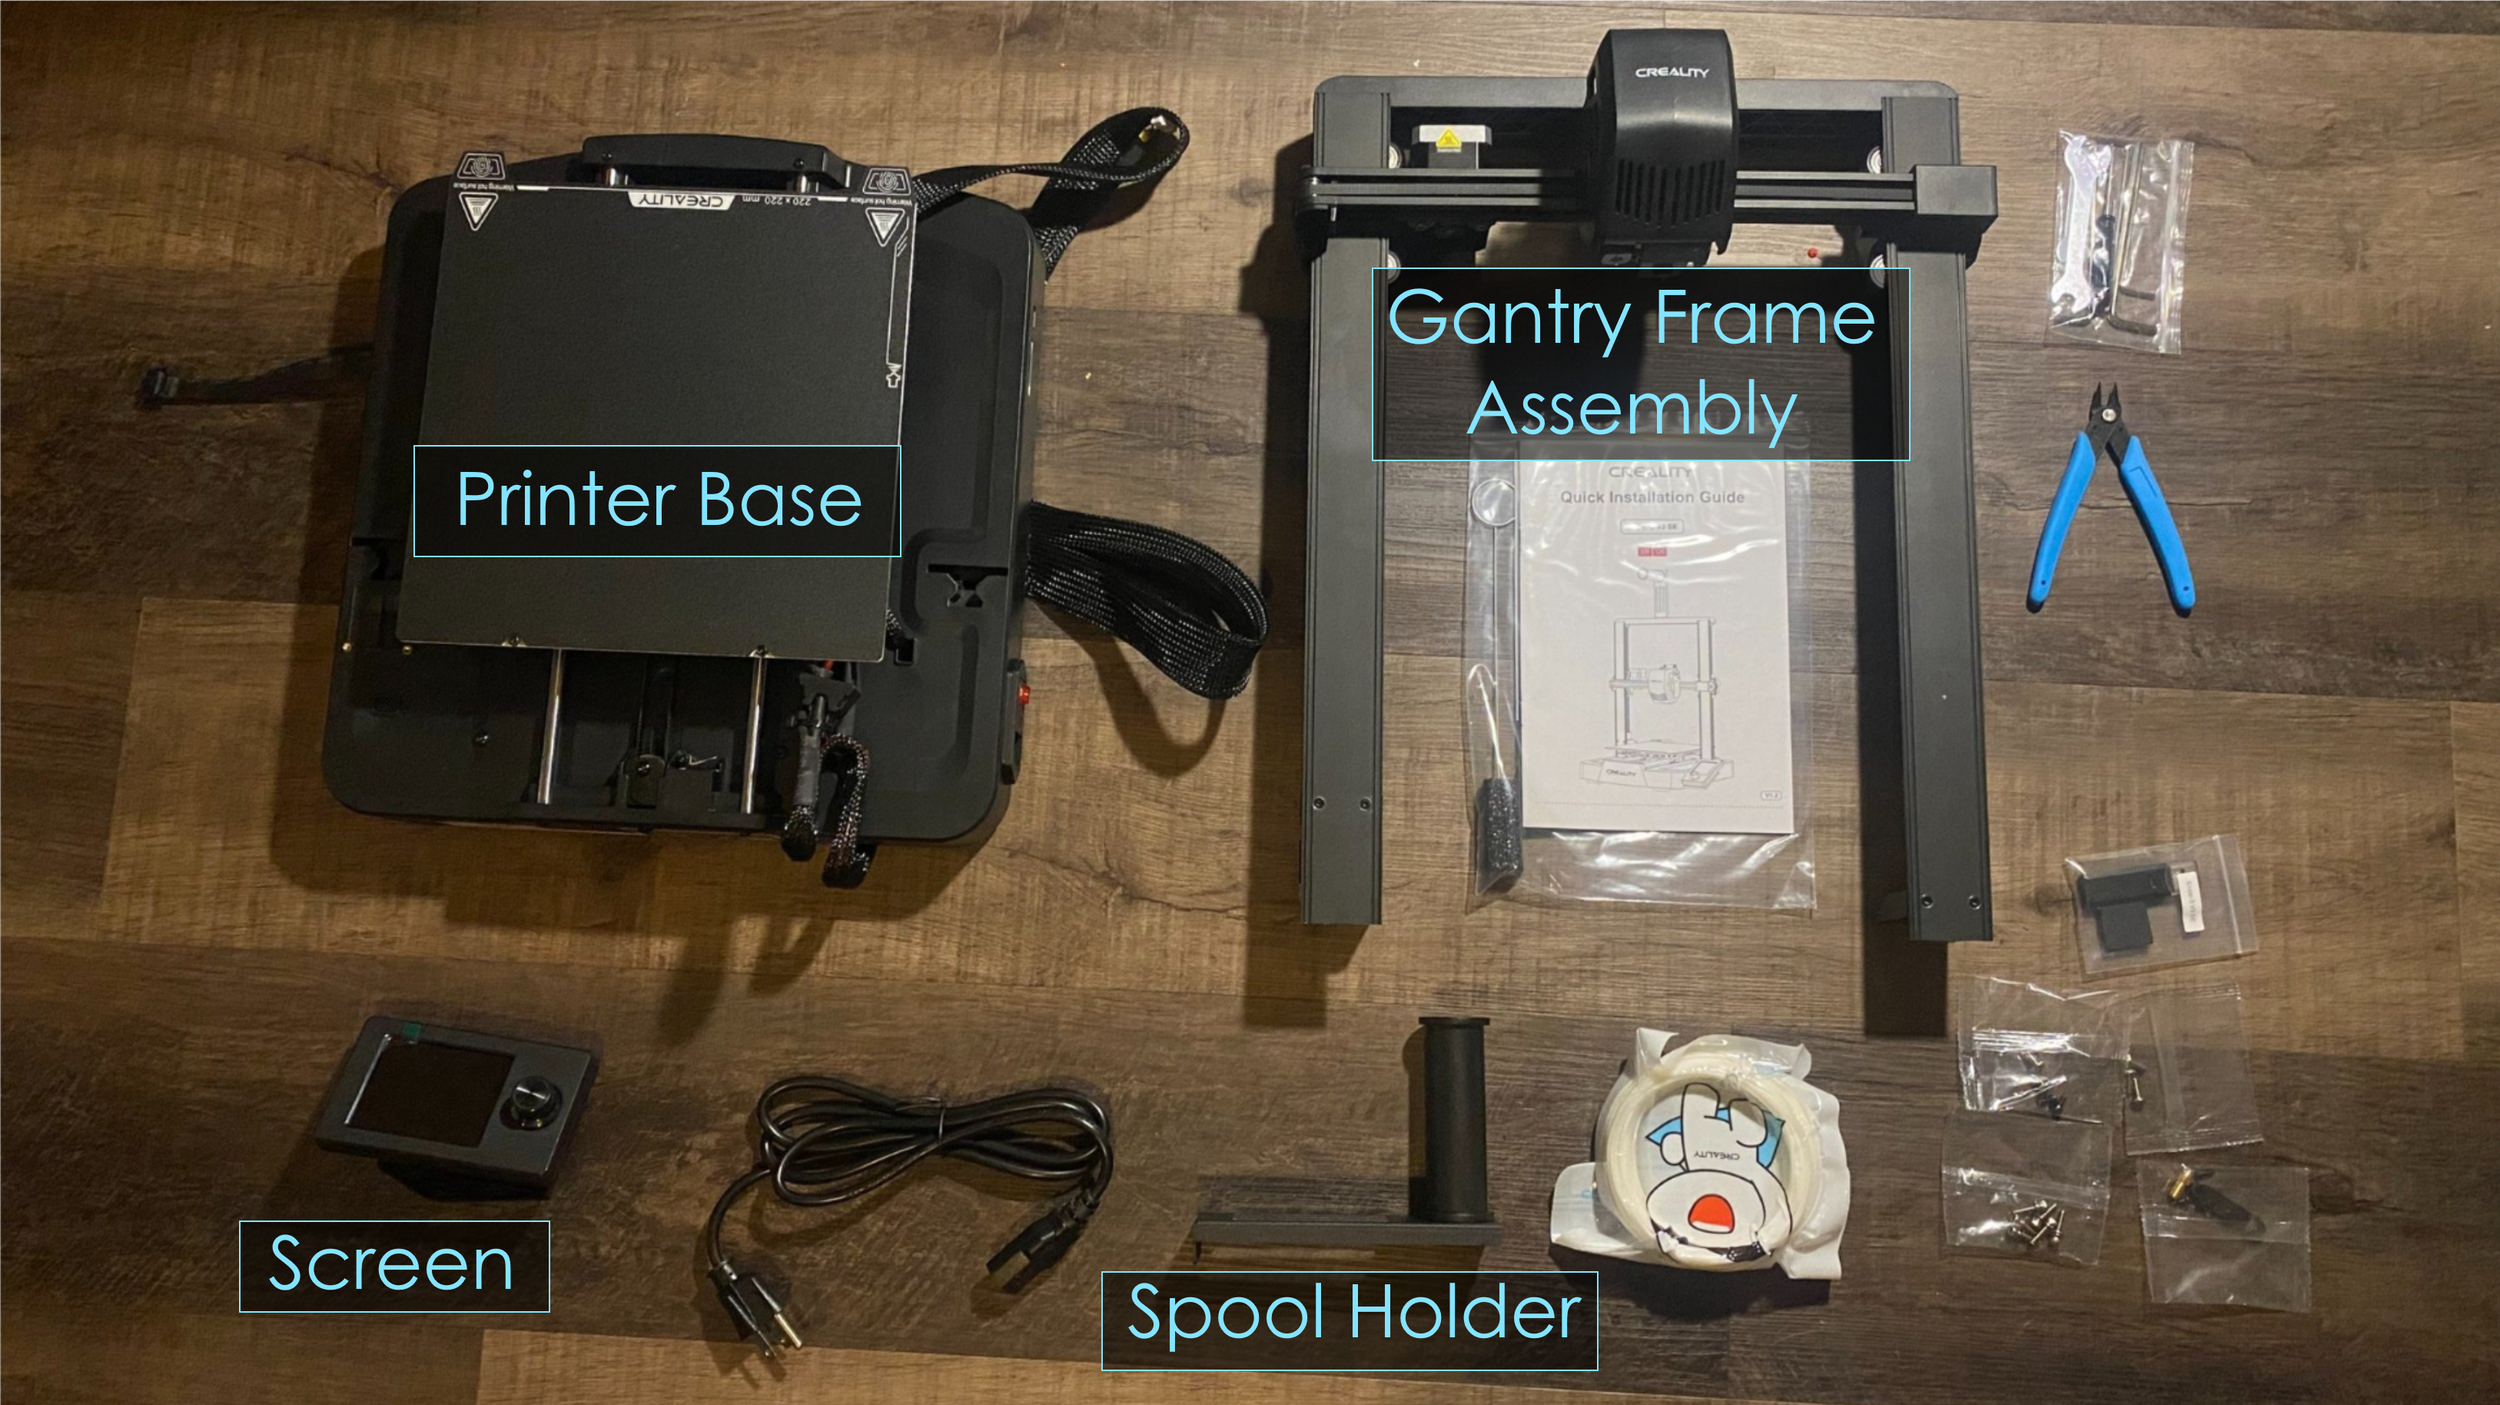
Like all of Creality’s 3D printers, the Ender 3 V3 SE is securely packaged in foam box inserts. Remove the pieces from the top insert, then remove the insert itself to reveal the main pieces of the 3D printer. Remove the gantry frame assembly from the box, and then you’ll be able to remove the printer base assembly from the box. The printer also includes a set of tools and hardware you’ll need to assemble the printer, an SD card with some ready-to-print files, and some sample PLA filament.
We’ll use these terms when referring to the various parts in the assembly process.
Assembly
1. Mount the Gantry Frame Assembly to the Printer Base
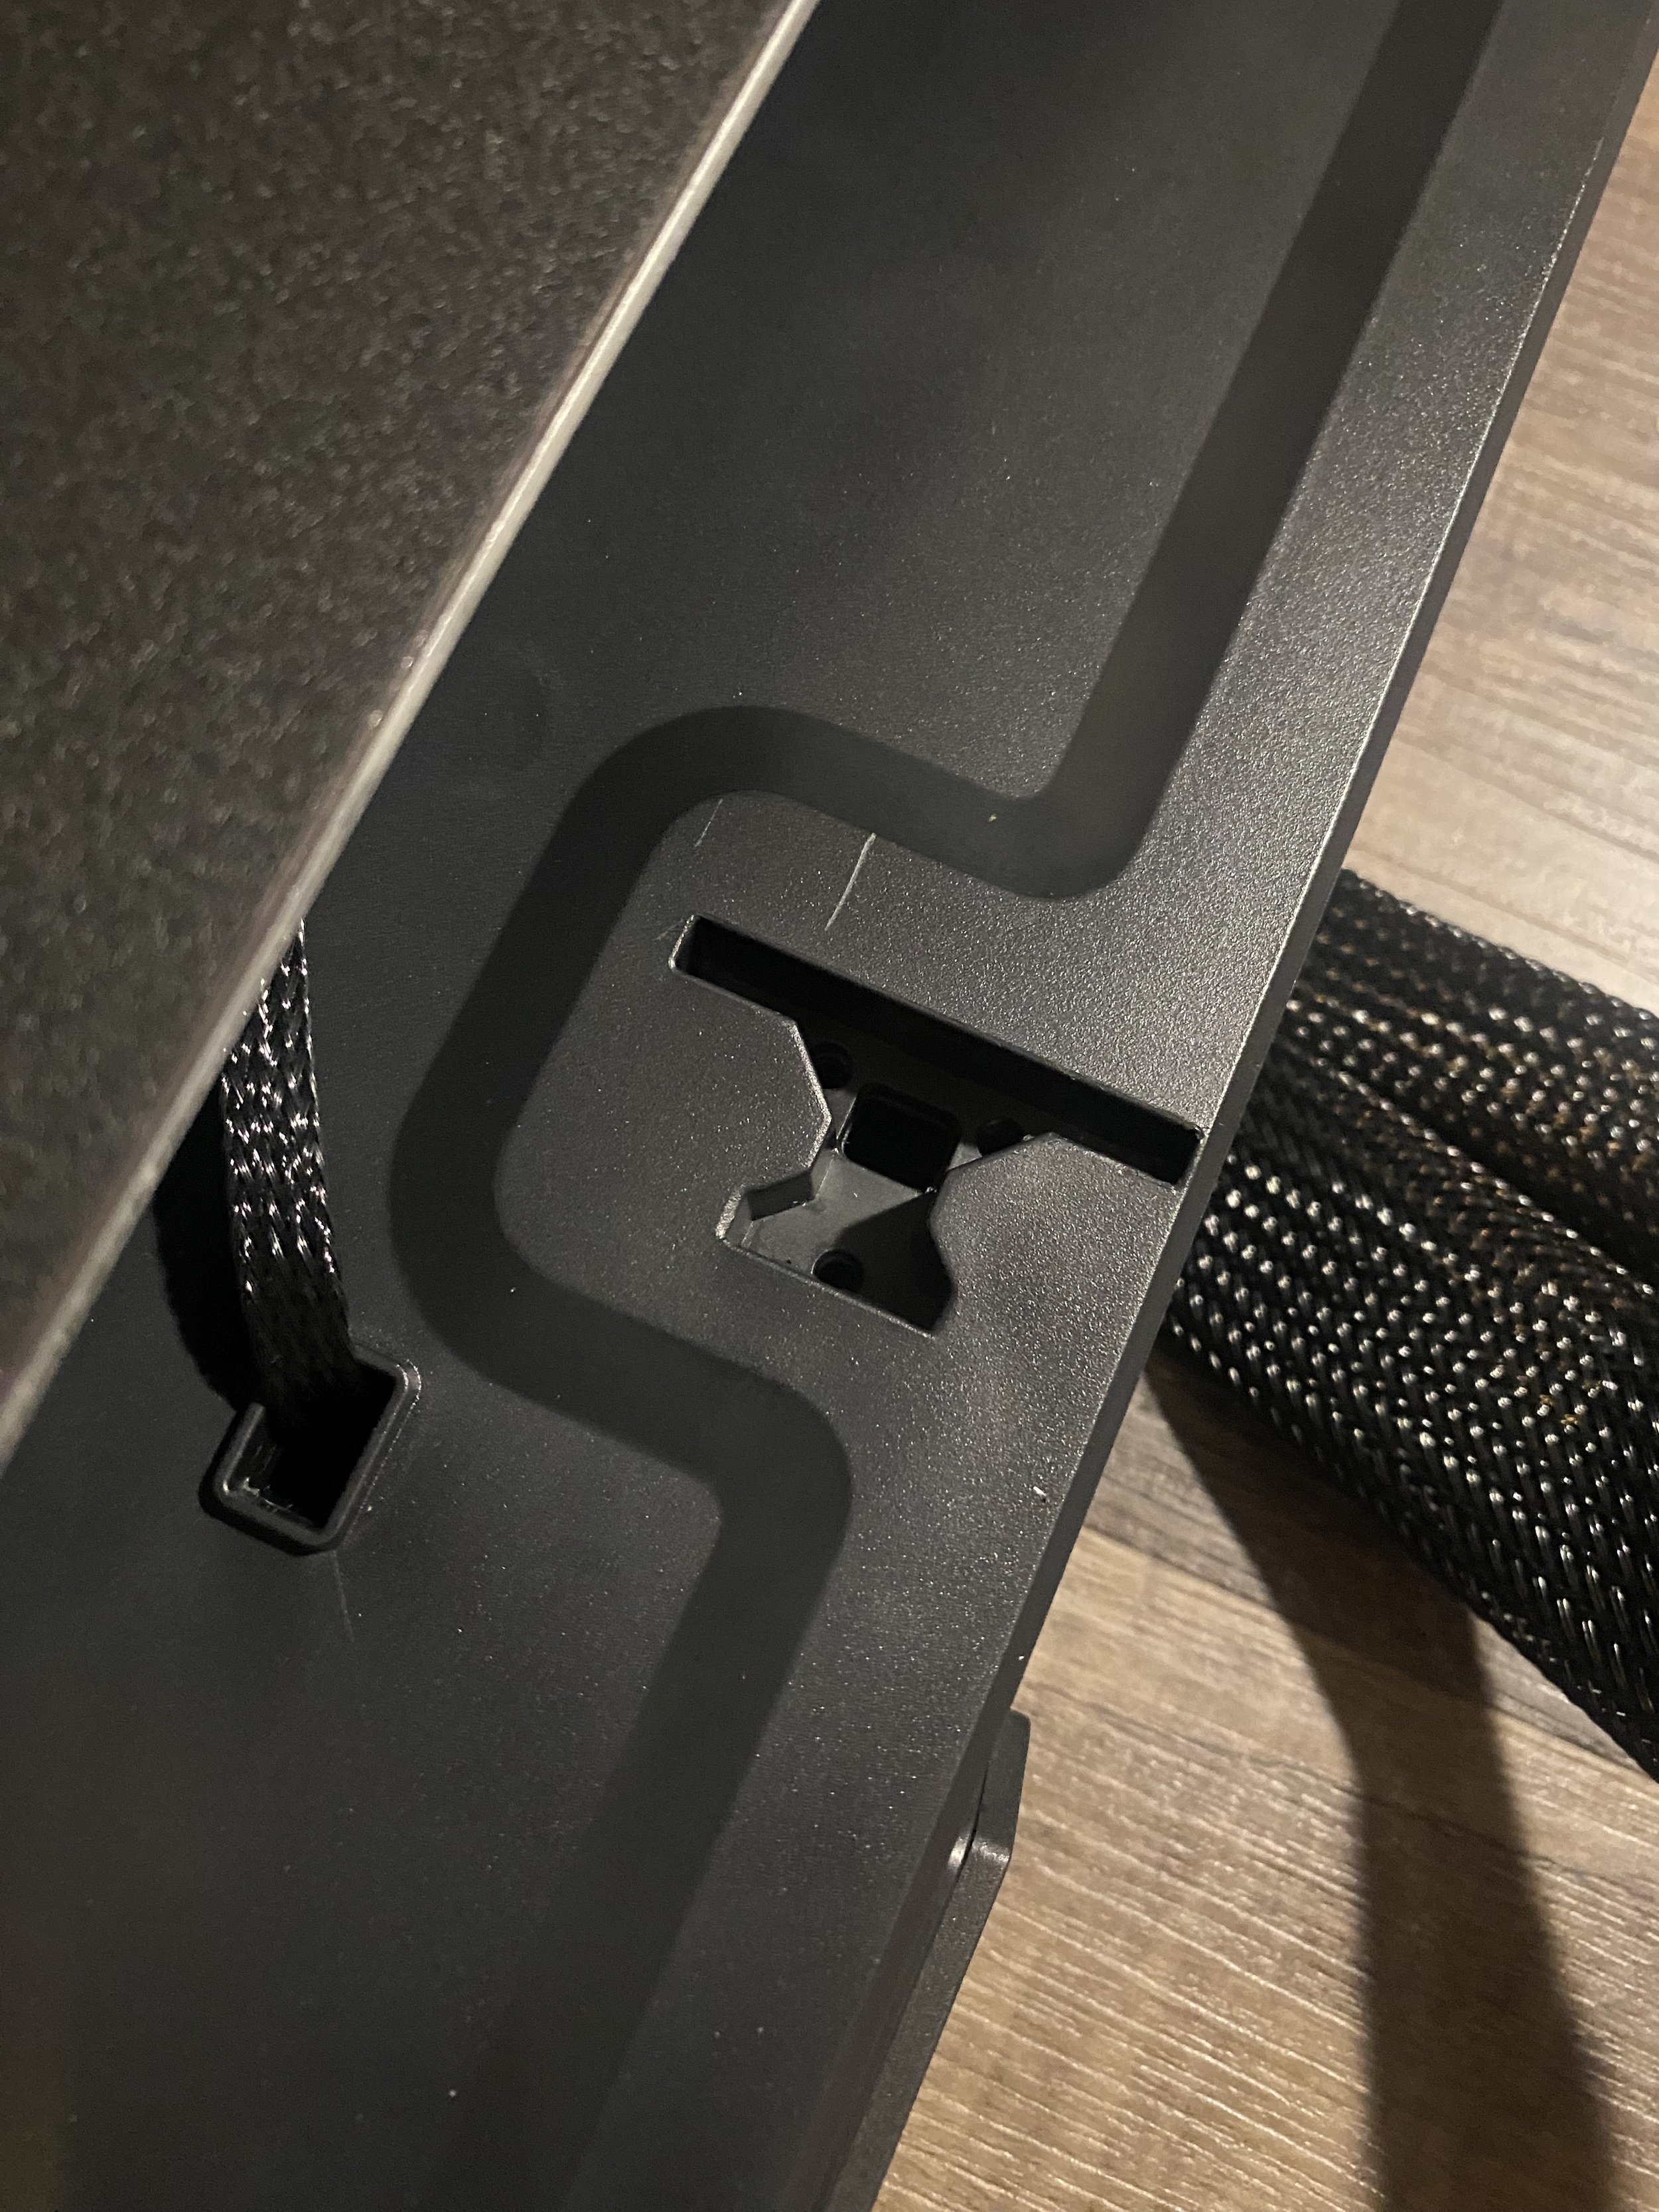
The Gantry Frame is mounted using the 4 largest screws, two on each side of the Printer Base. The screws are inserted underneath the base, so we recommend installing it by resting the printer base on its side, allowing both pieces to rest on a flat surface while you insert the screws. The profile of the gantry frame ensures that there is only one way to insert it.
There are an additional 2 screws to secure the top on one side.
The Z inserts are non-symmetrical, ensuring the gantry can only be installed in the correct direction.
With the printer on its side, screw in the two screws to mount the gantry using the screws shown, tightening as much as possible.
Repeat for the other two screws on the other side of the base.
On top of the printer, attach the two screws on the side without a motor.
3. Mount the Screen
Mount the screen bracket to the front right side of the 3D printer using the three M4 x 18 screws. Plug in the LCD ribbon cable to the port at the back of the screen.
The LCD mounting bracket mounts to the front left of the printer. Attach the bracket with the three M4 screws.
Plug in the ribbon cable to the LCD. It can only be inserted in one direction.
4. Mount the Spool Holder
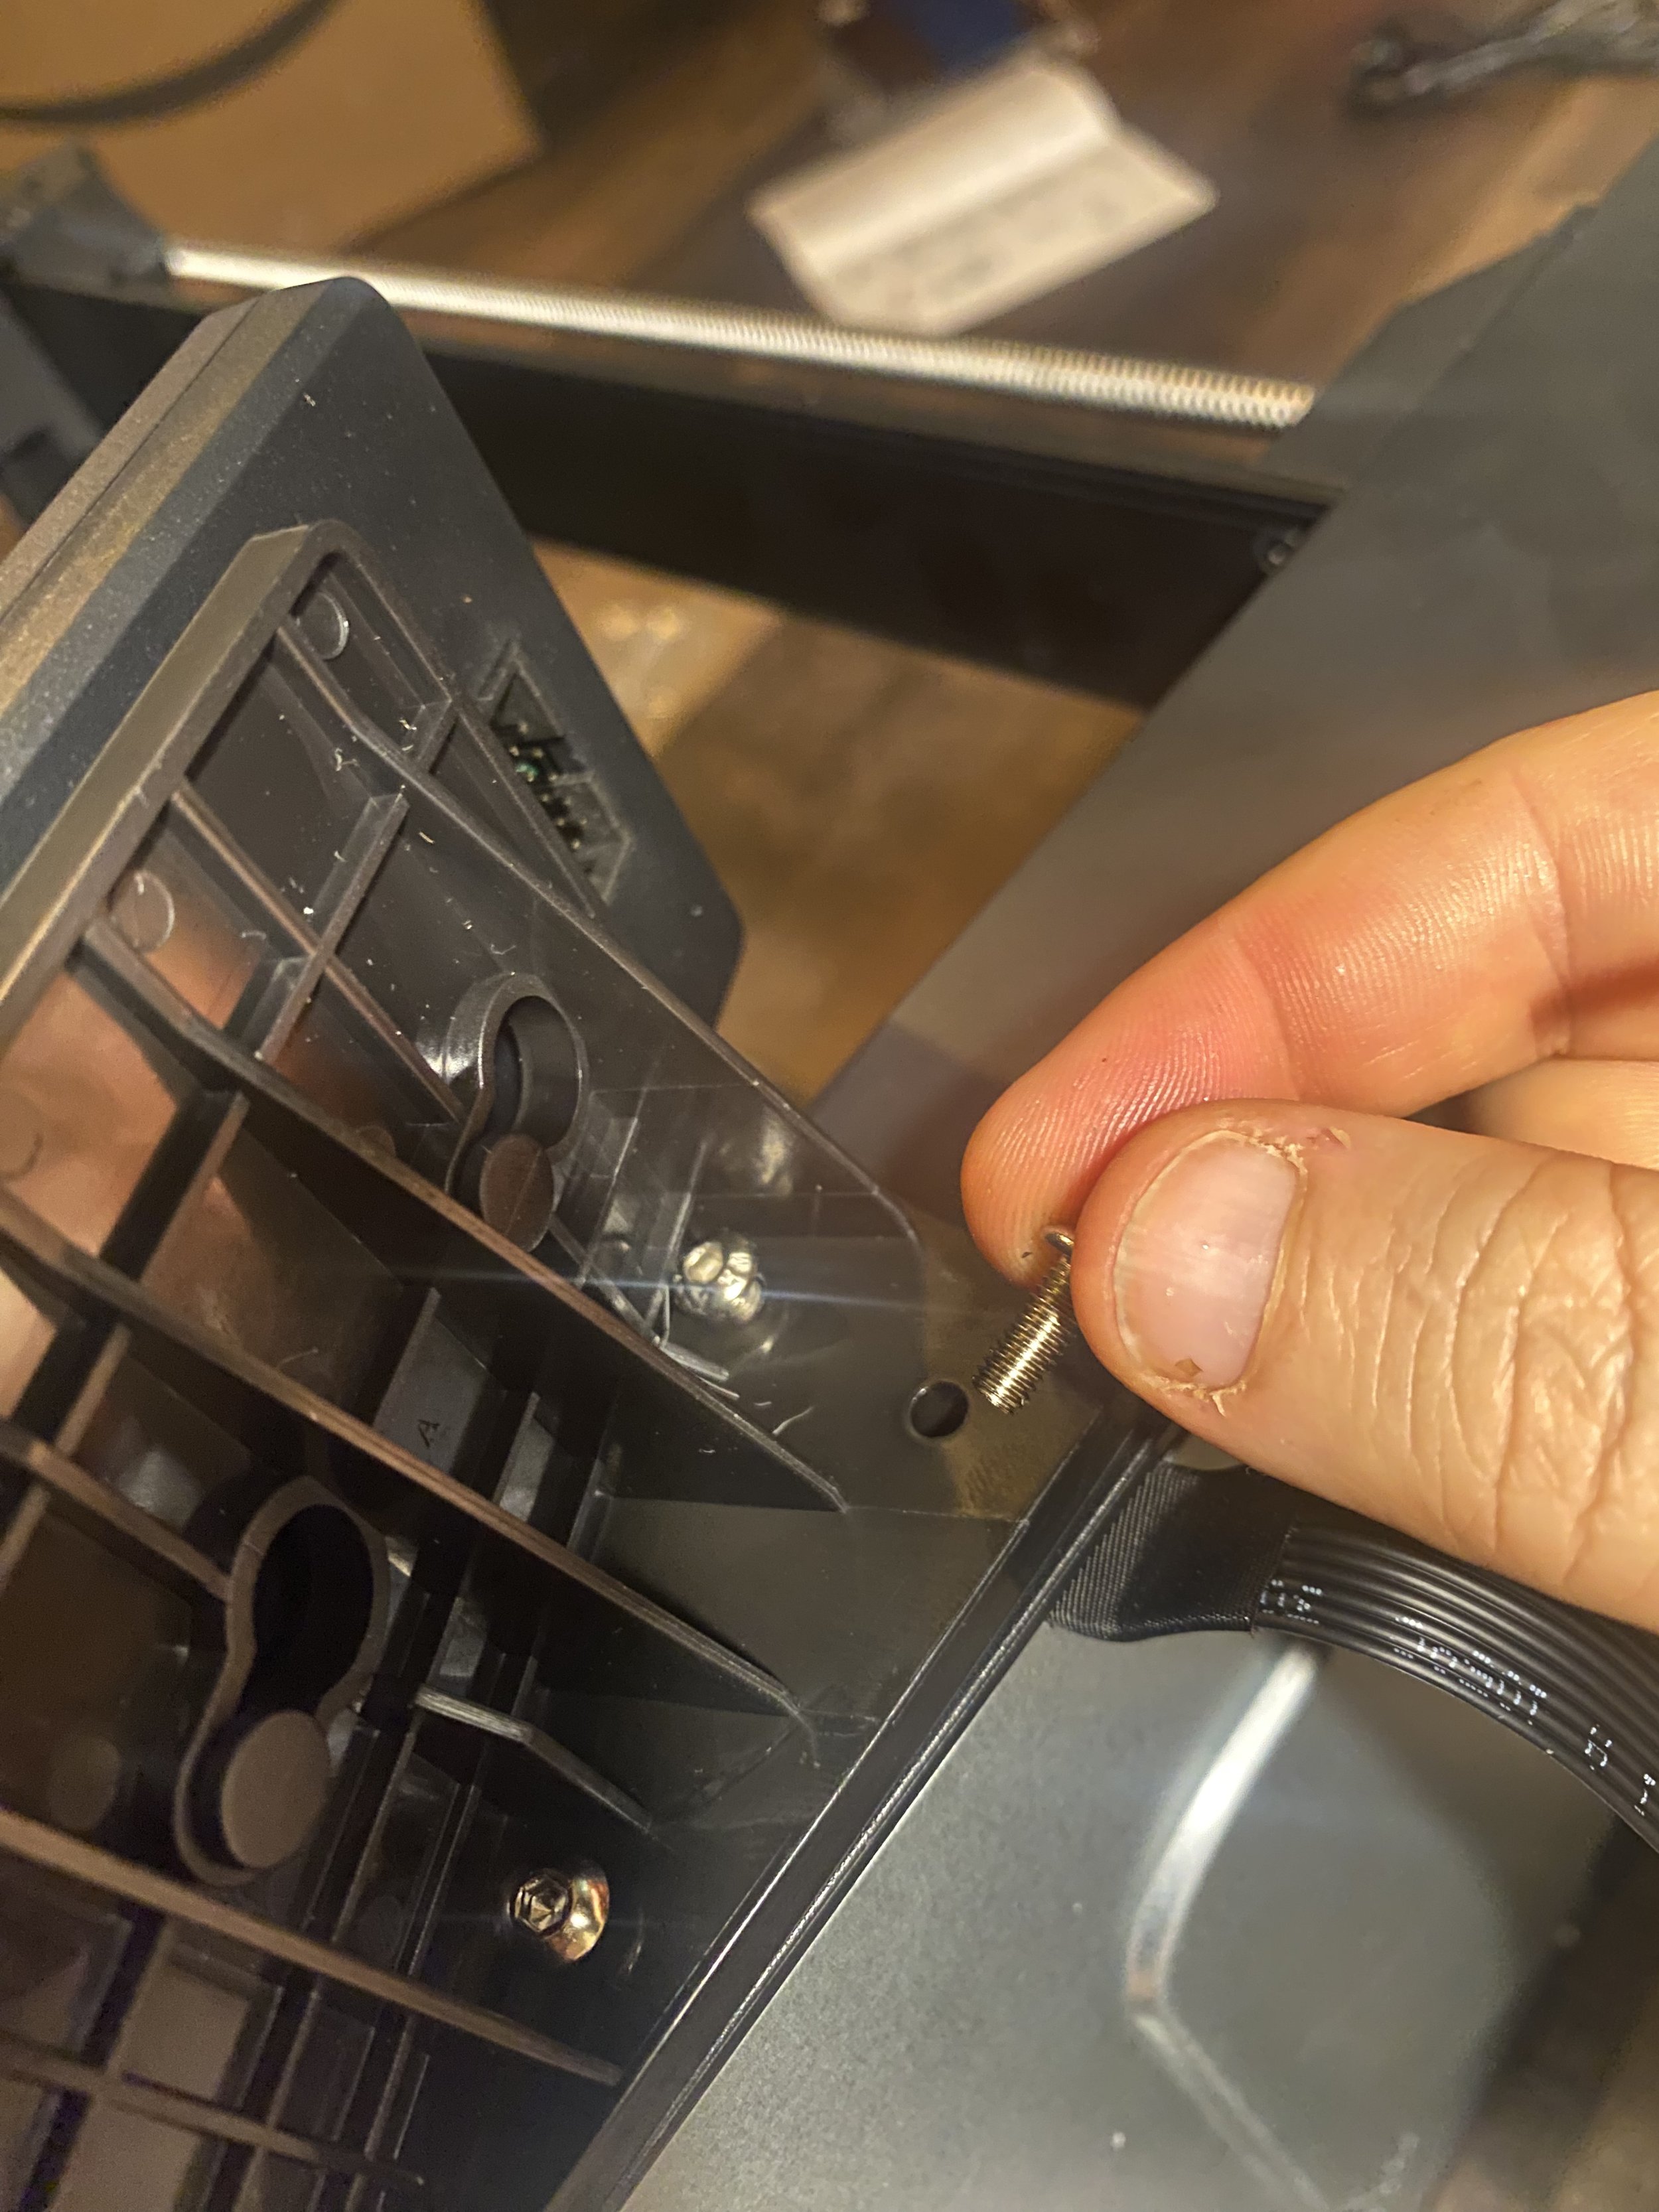
Use the thicker screws to attach the filament holder to the top of the printer. The spool holder should face toward the front of the 3D printer.
Install the filament holder as shown.
5. Connect the Extruder Ribbon Cable
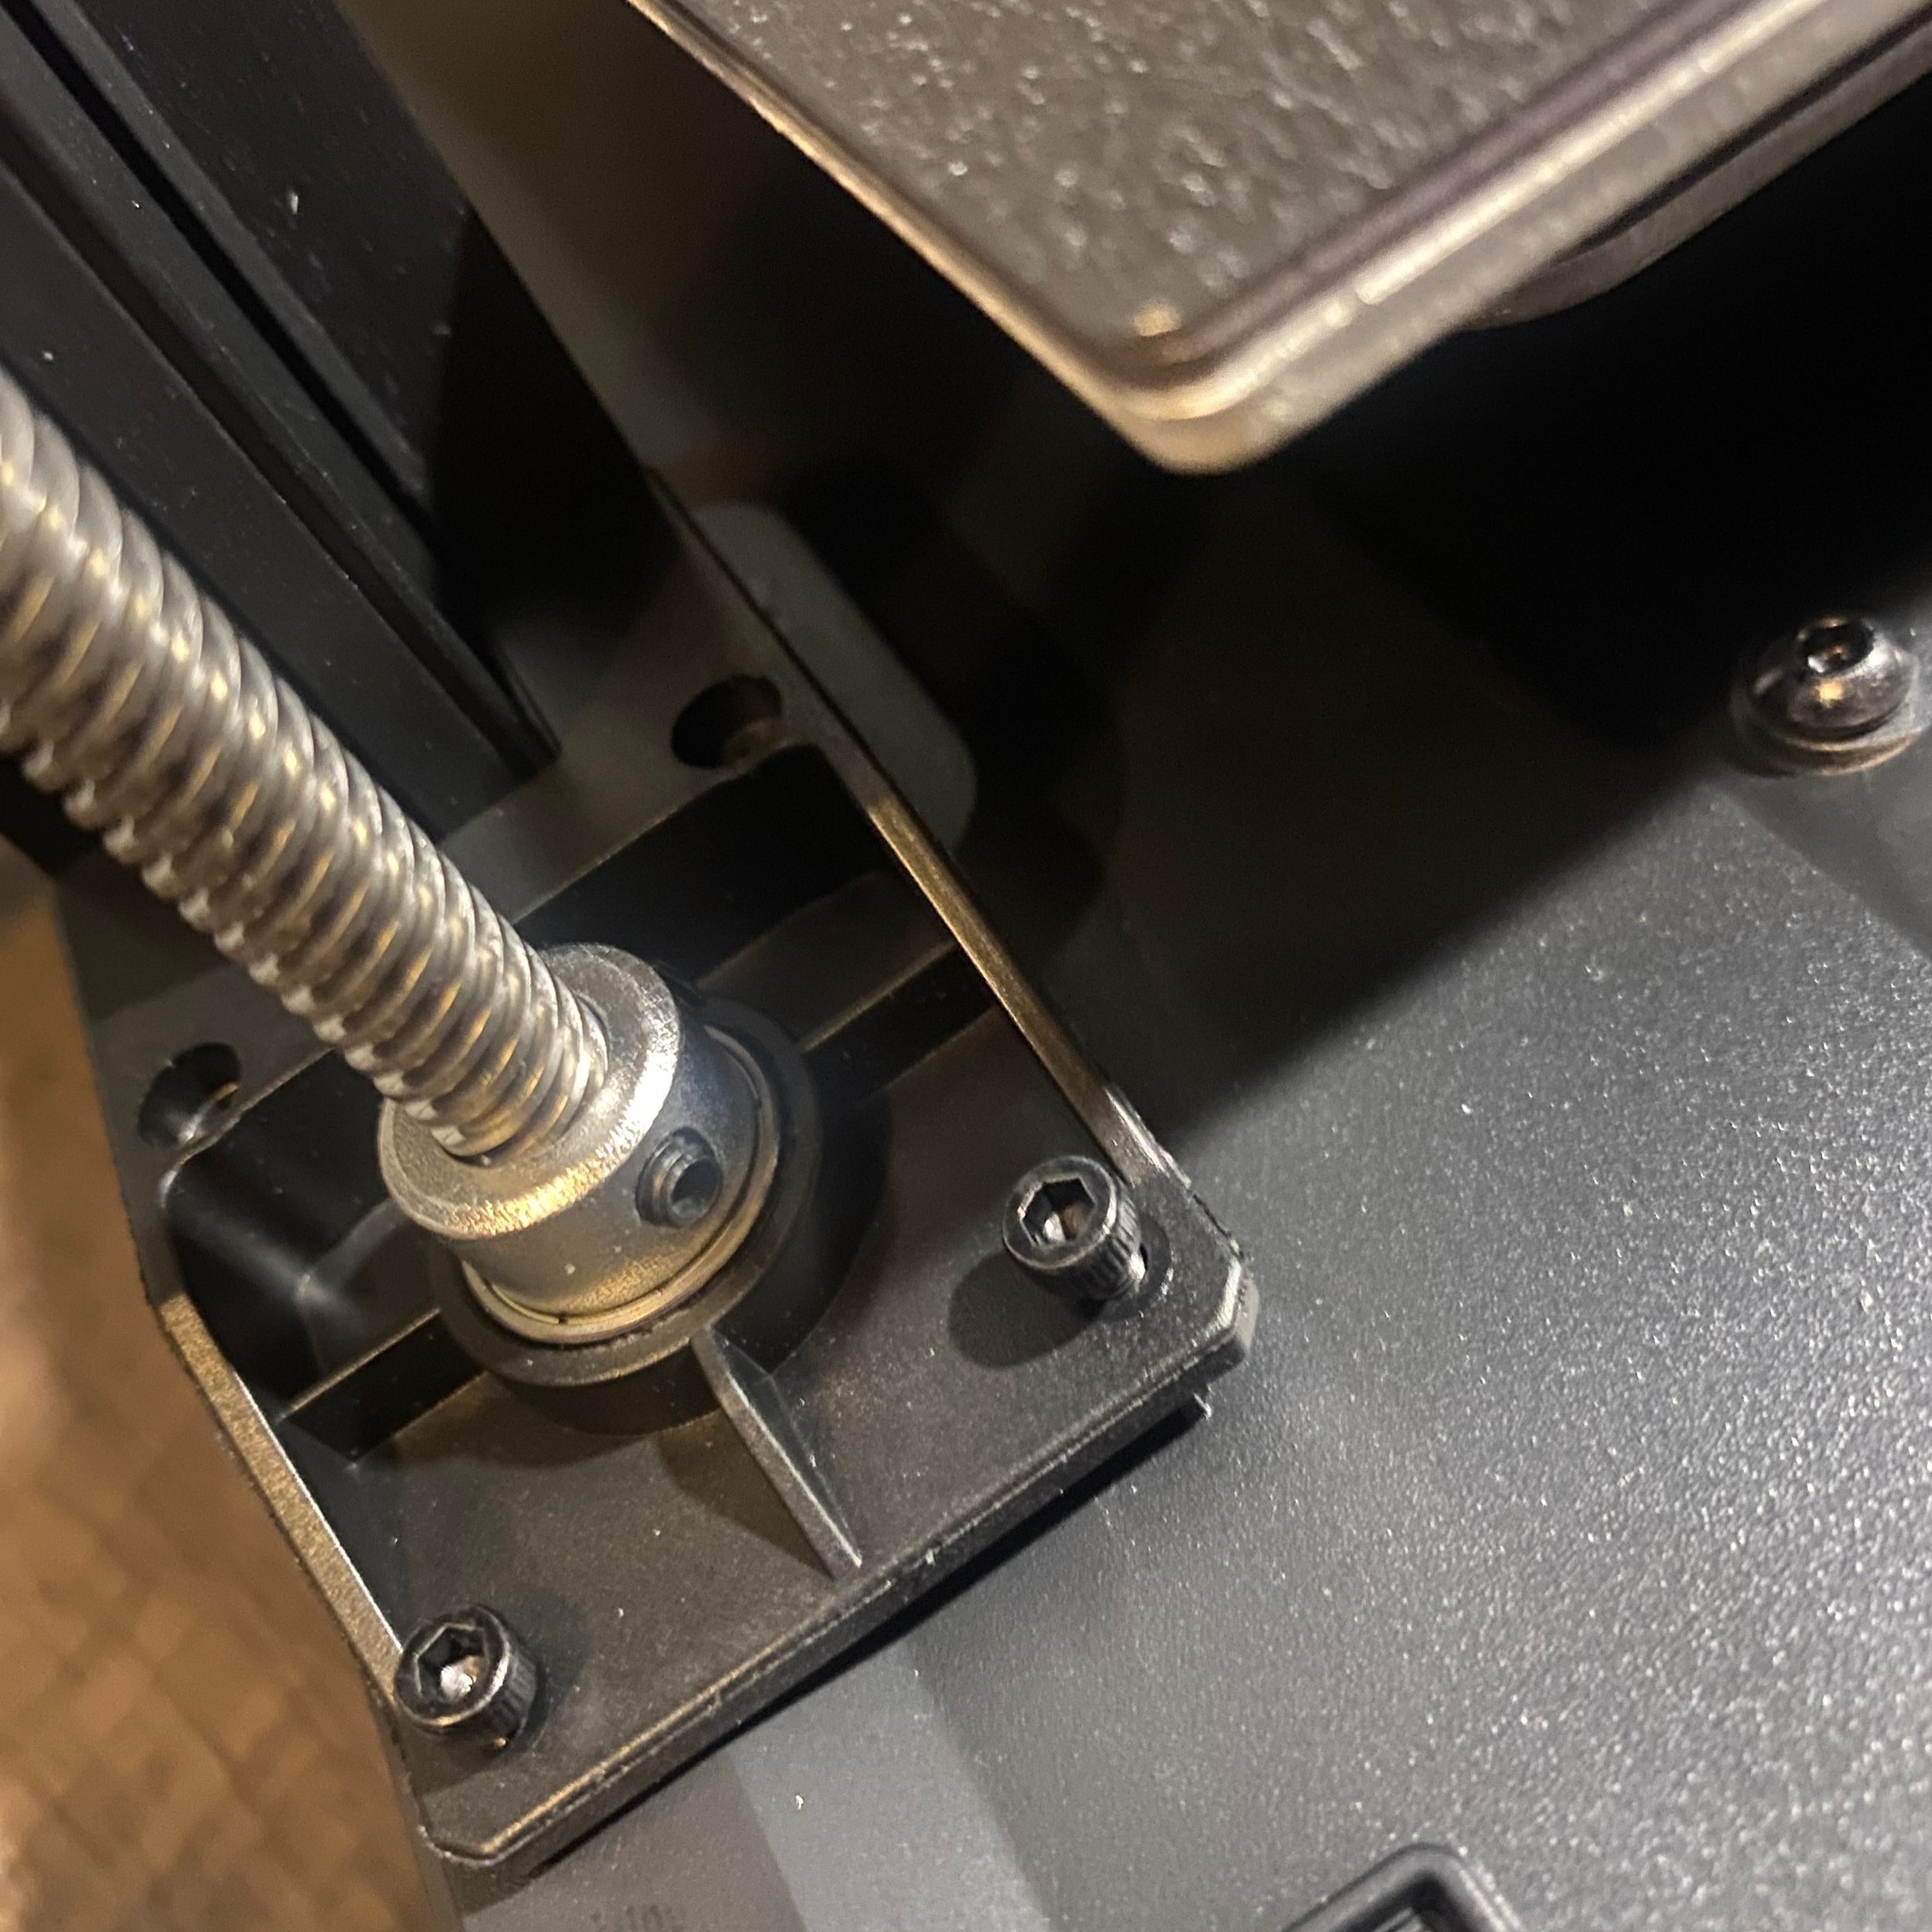
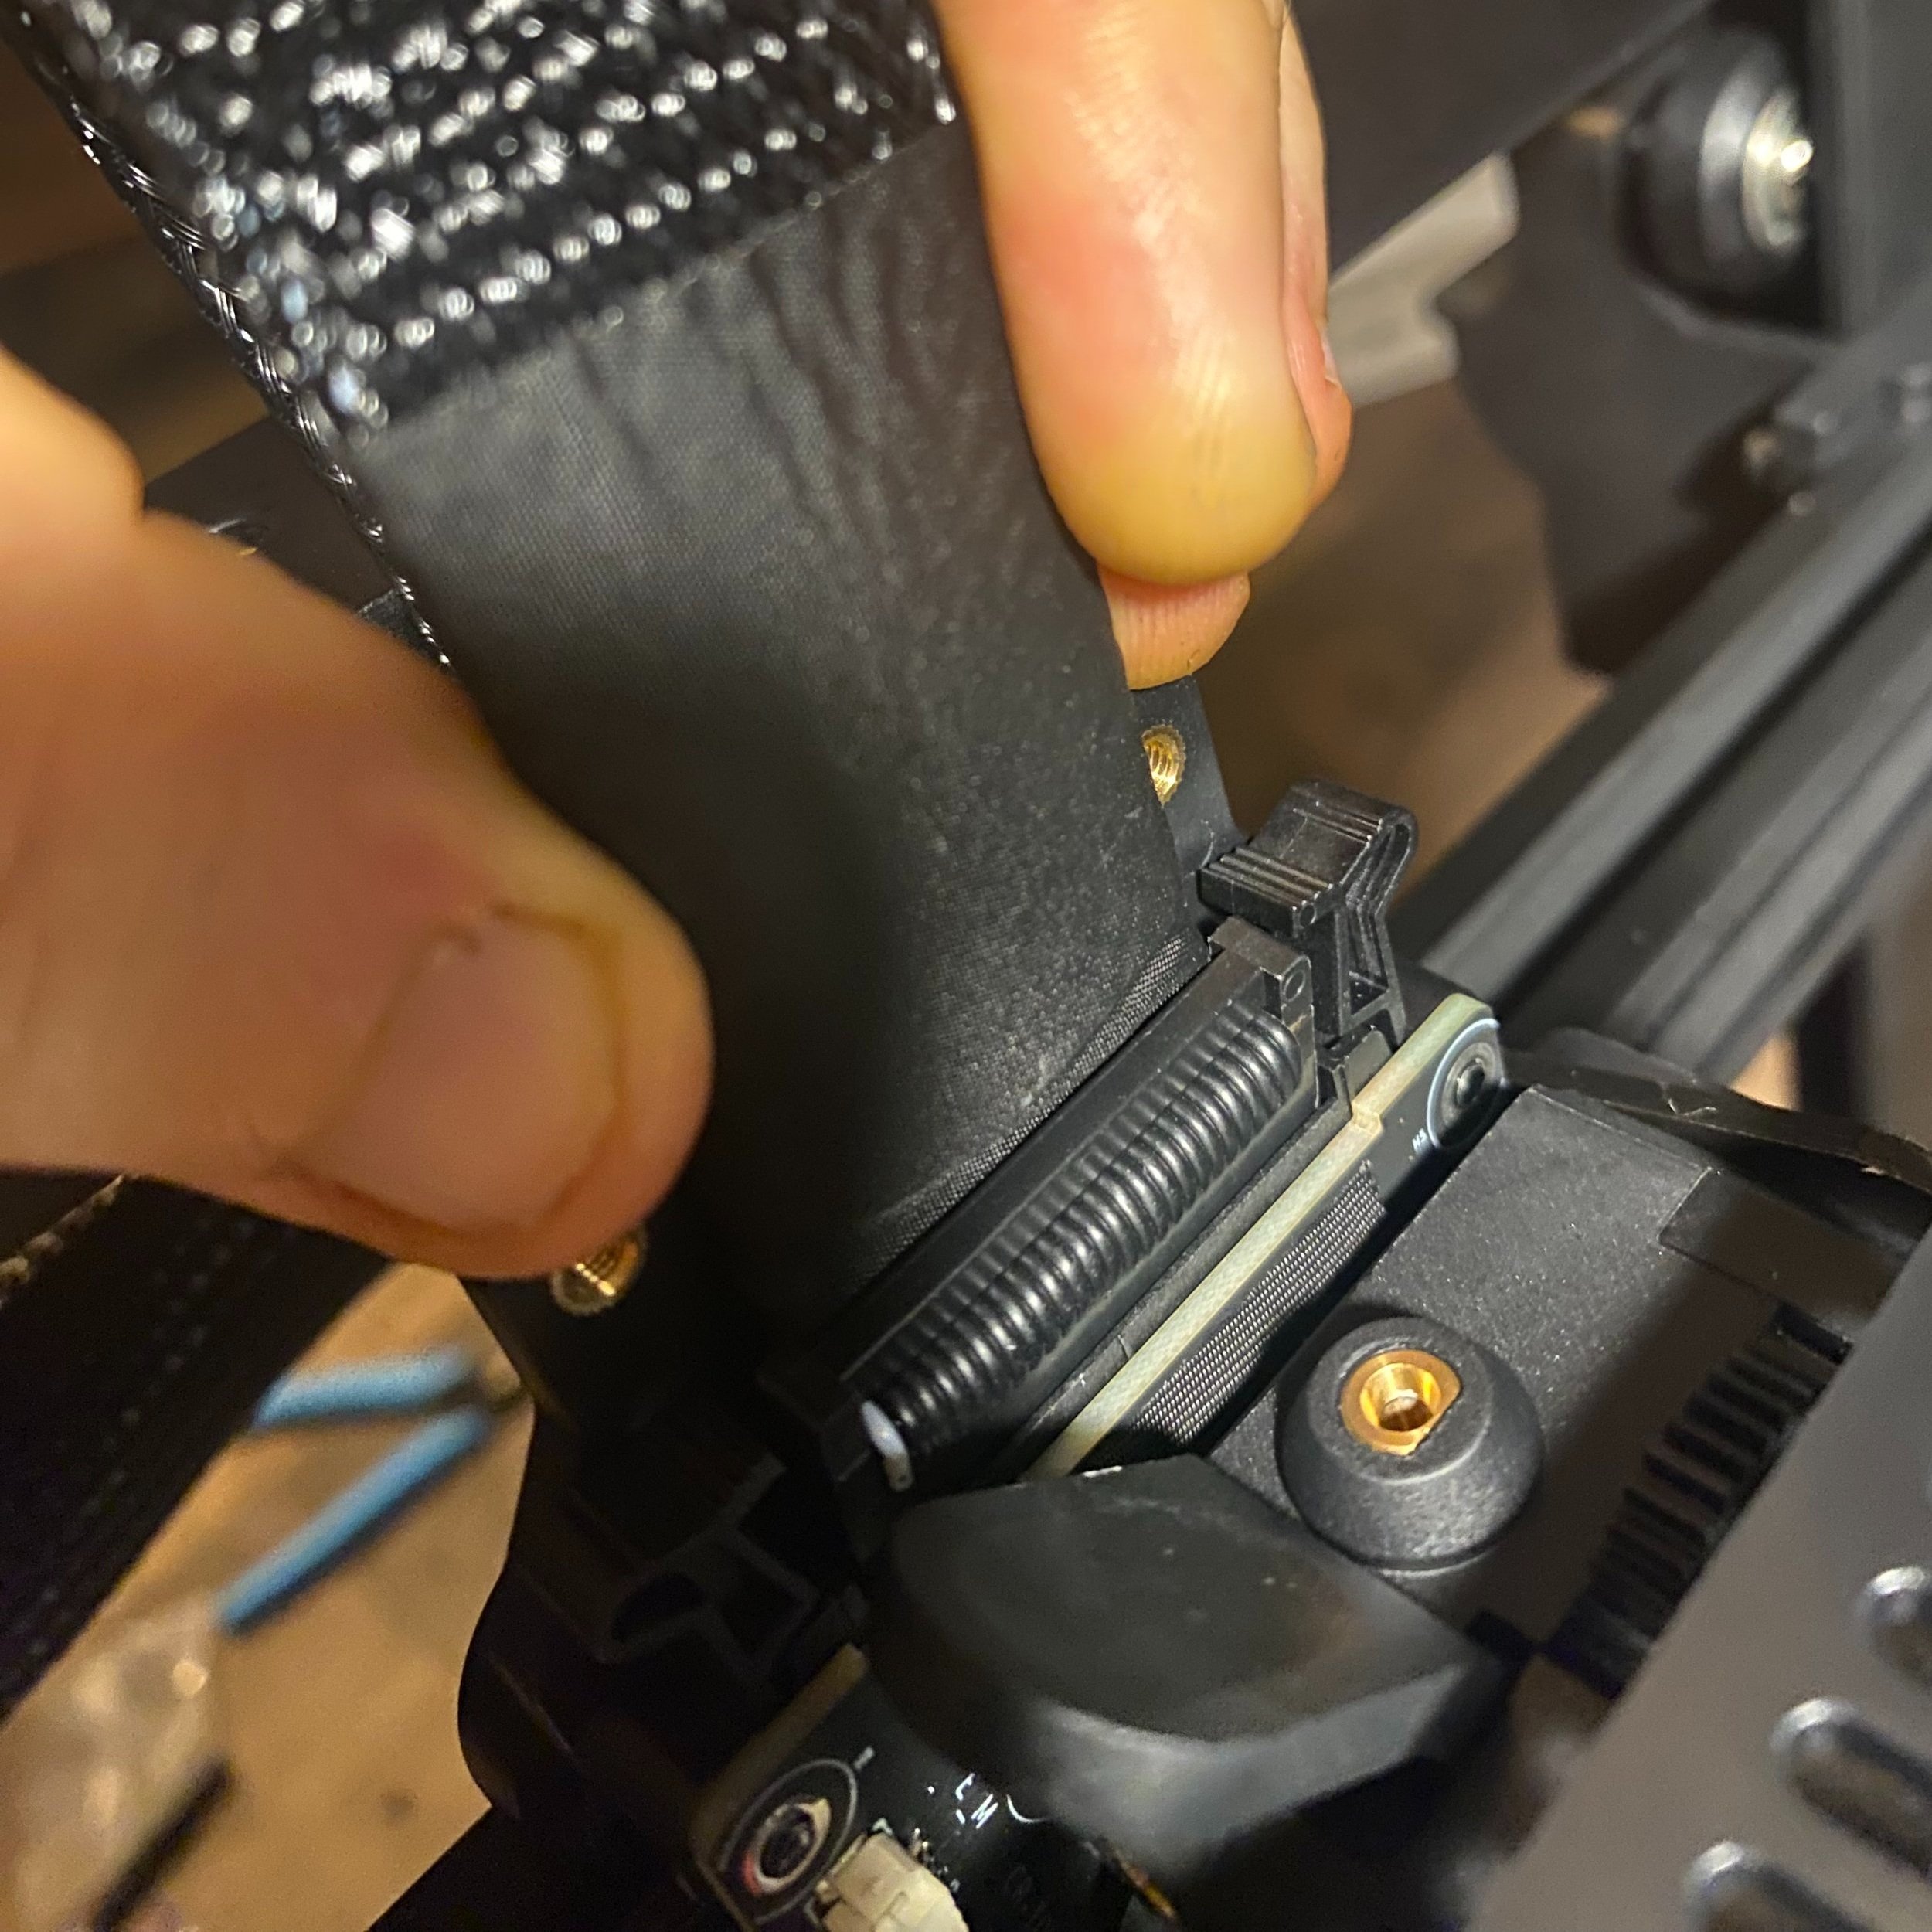
Before connecting the extruder cable, you may need to hand-twist the Z motor counter-clockwise to lower the extruder about 1-2 inches, which will make the cabling easier to install. Once lowered, slide the cable into the small cable bracket piece using the included tag as a guide. Once the cable is secured to the bracket, slide the cable bracket onto the rear left side of the gantry.
Twist the Z motor coupler counter-clockwise to lower the extruder 1-2 inches to make the extruder cable easier to install.
Insert the cable bracket onto the rear of the left side of the gantry.
Slide the cable into the bracket using the label image as a guide.
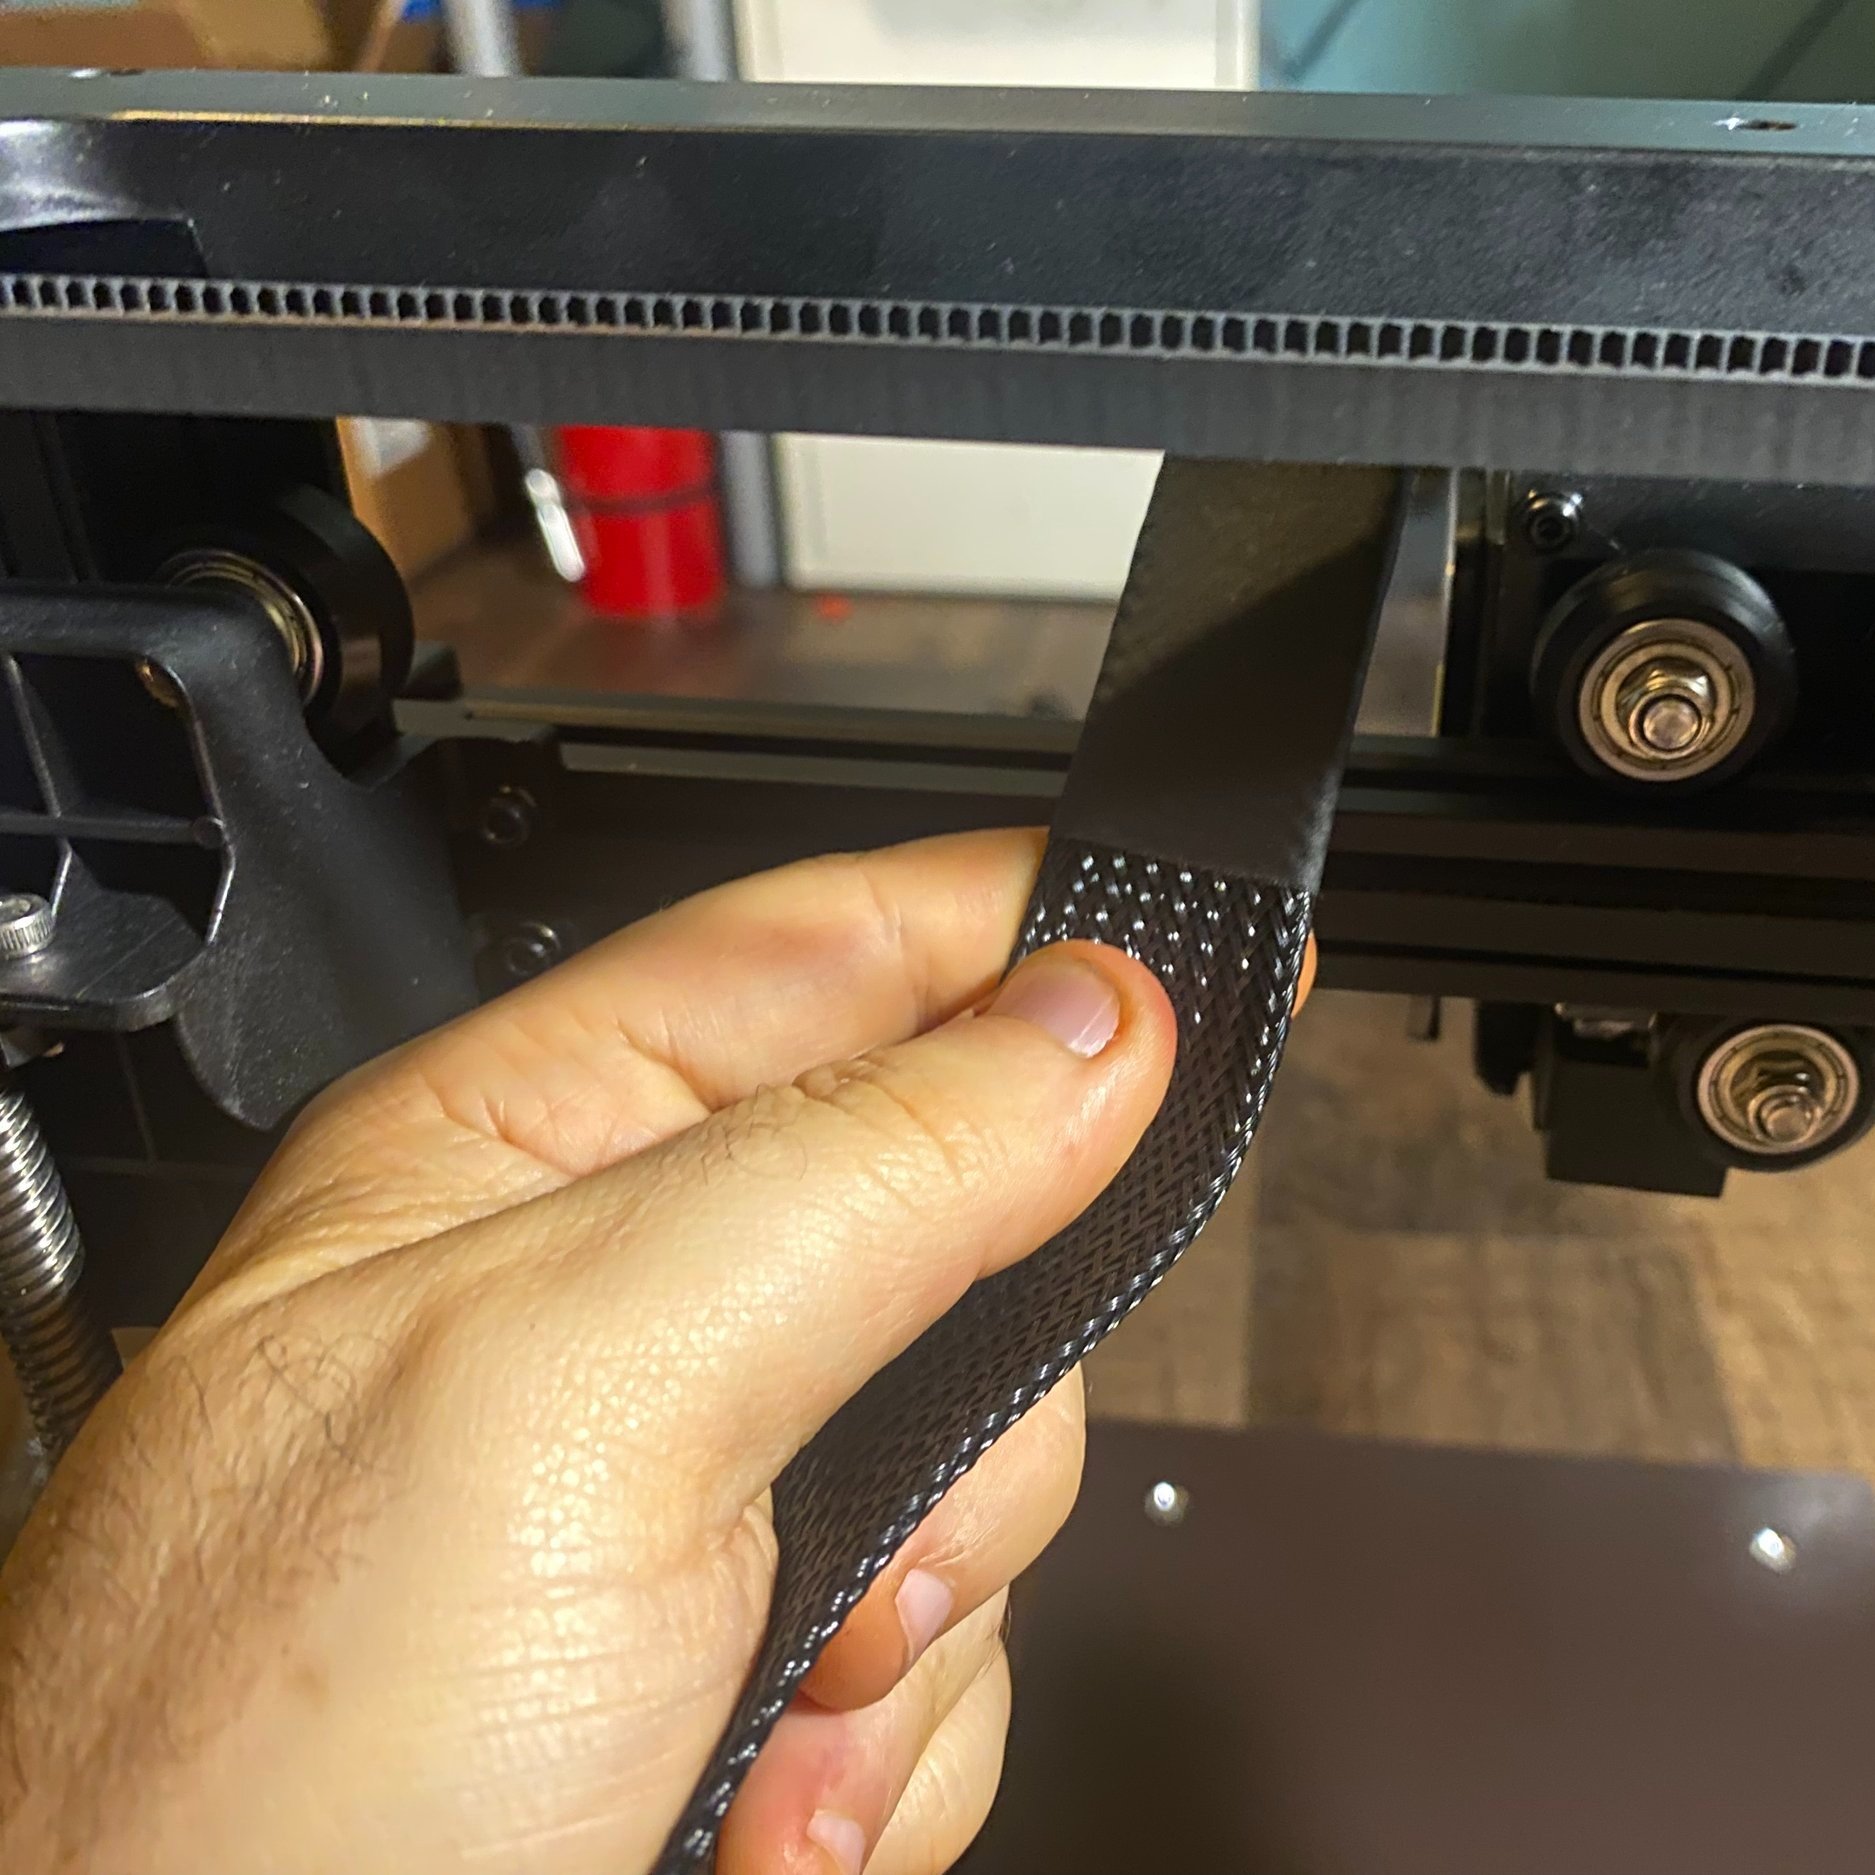
To connect the extruder cable, open the two locking levers and push the connector into the extruder port. Be sure that the extruder cable is running under the top beam of the gantry. Close the levers to secure the cable.
Run the cable between the extruder and top frame of the gantry. The cable must be below the top of the gantry frame.
With the side locking levers open, plug in the extruder cable. The locking levers should automatically swing closed to secure the cable in place.
6. Connect the Remaining Electronics Cables
Most of the remaining electronics are already wired, but there are a couple more cables you’ll need to connect:
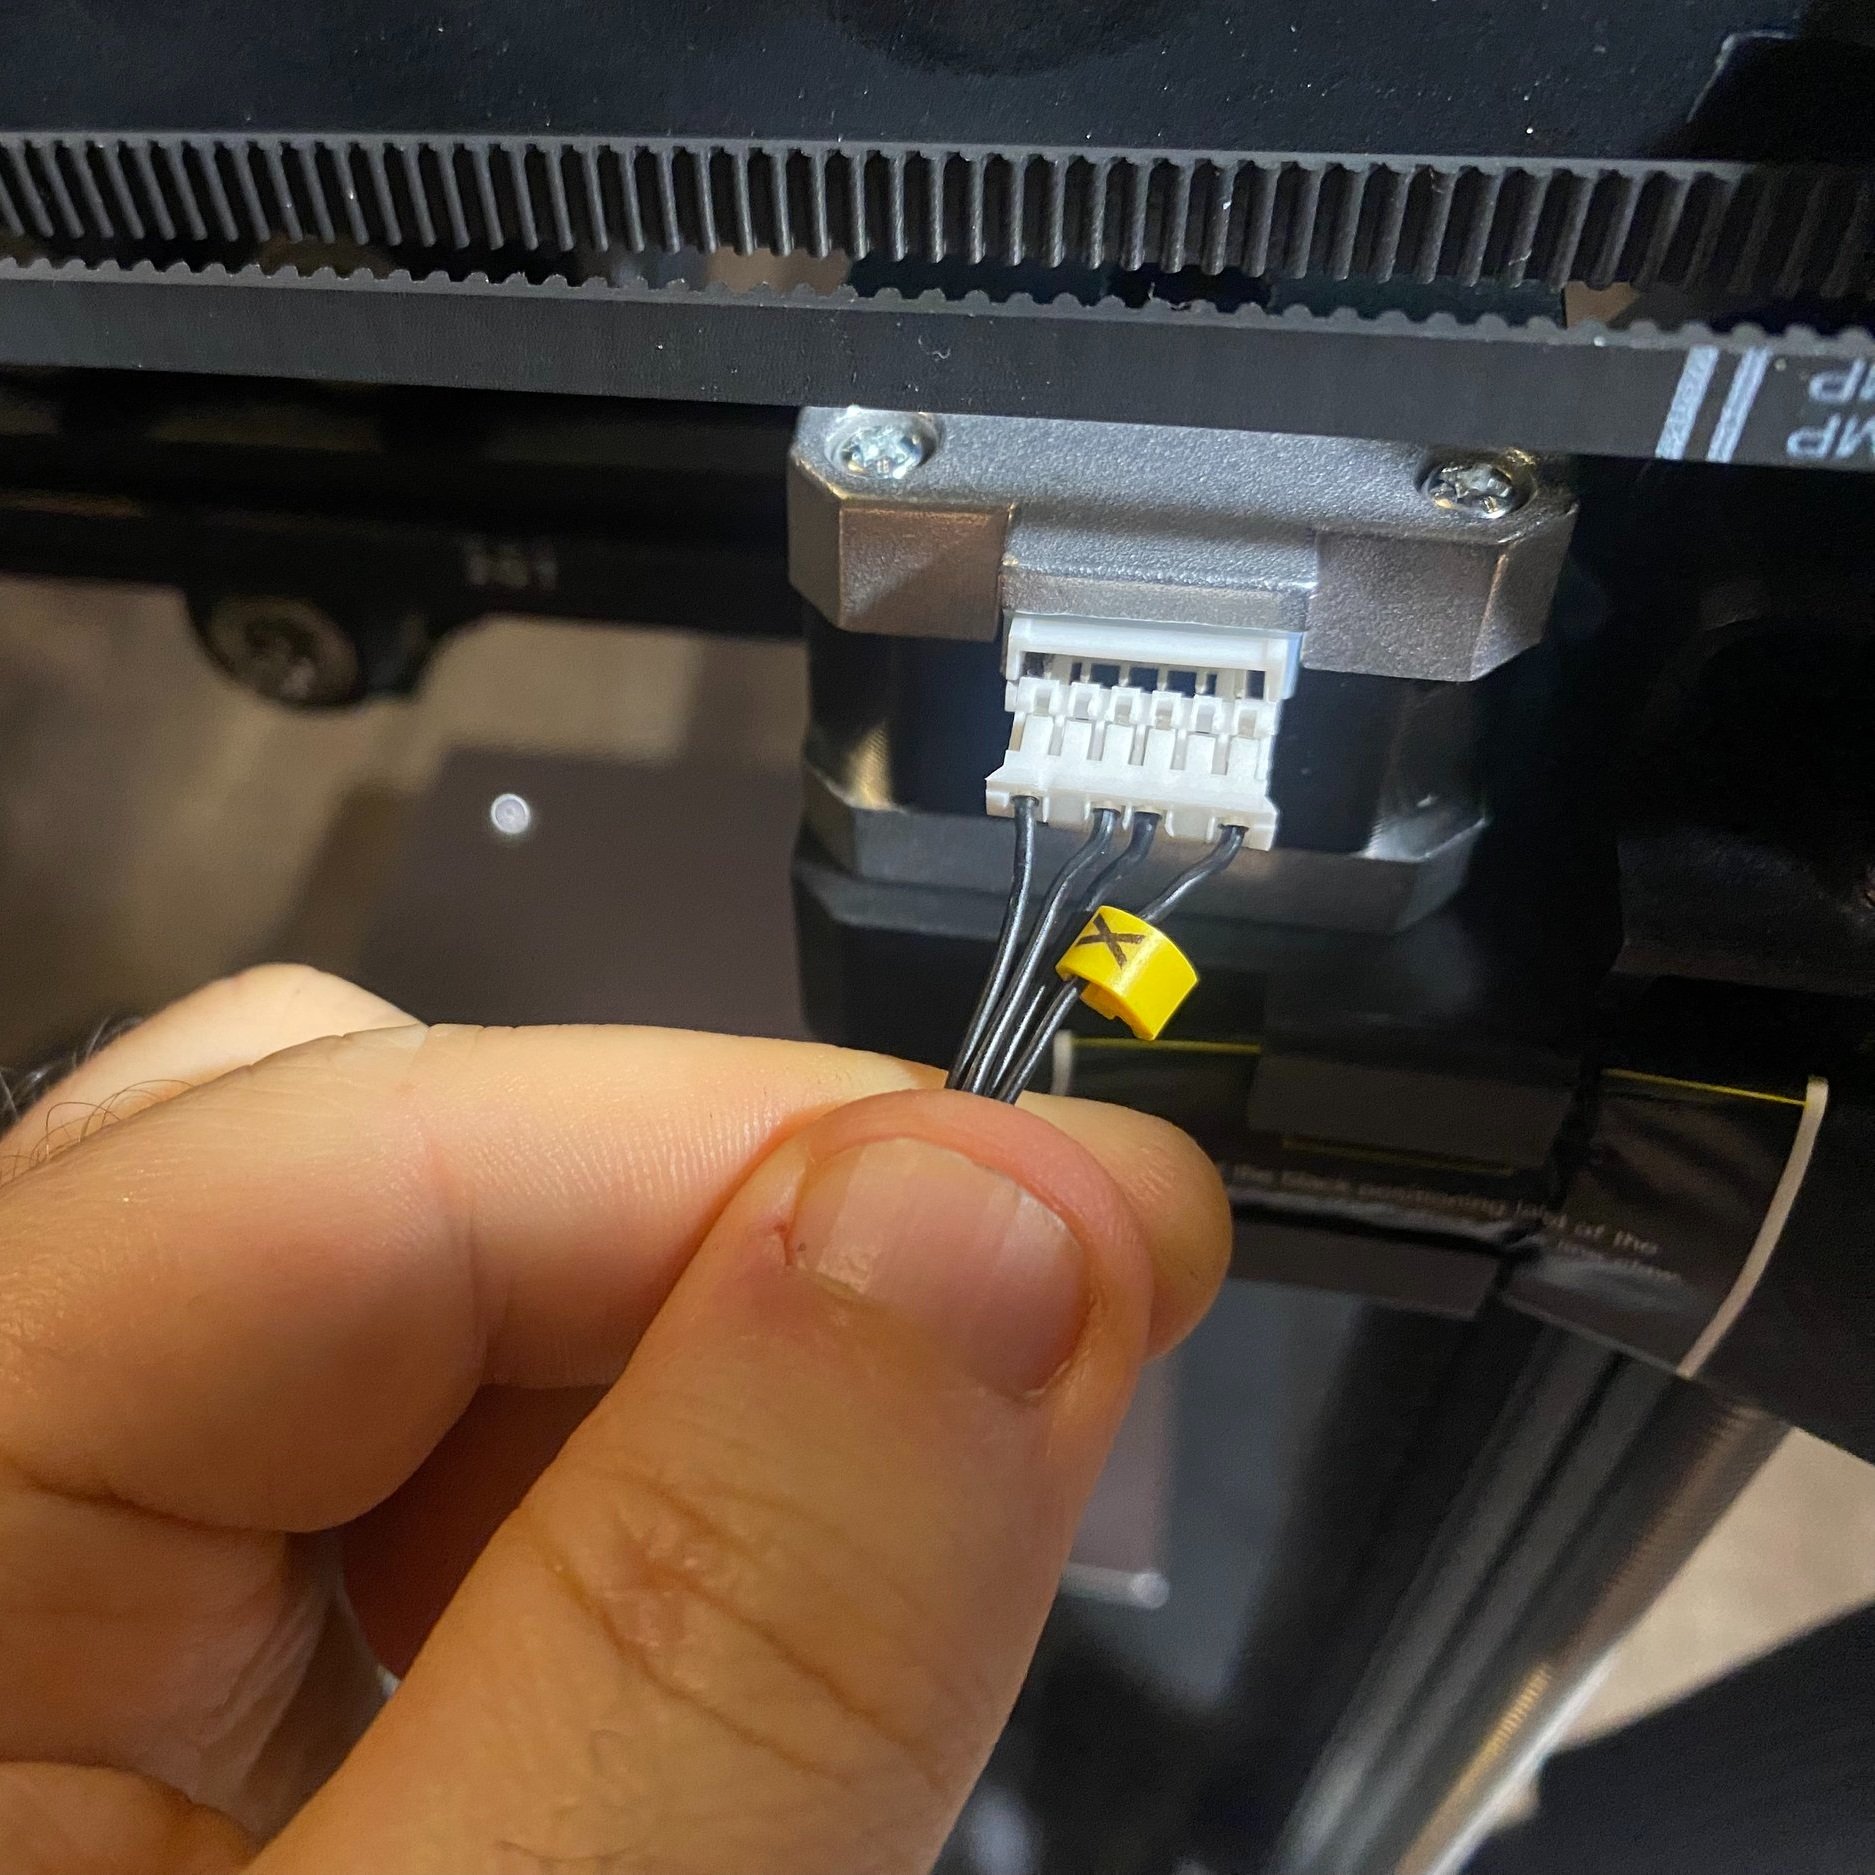
X motor cable
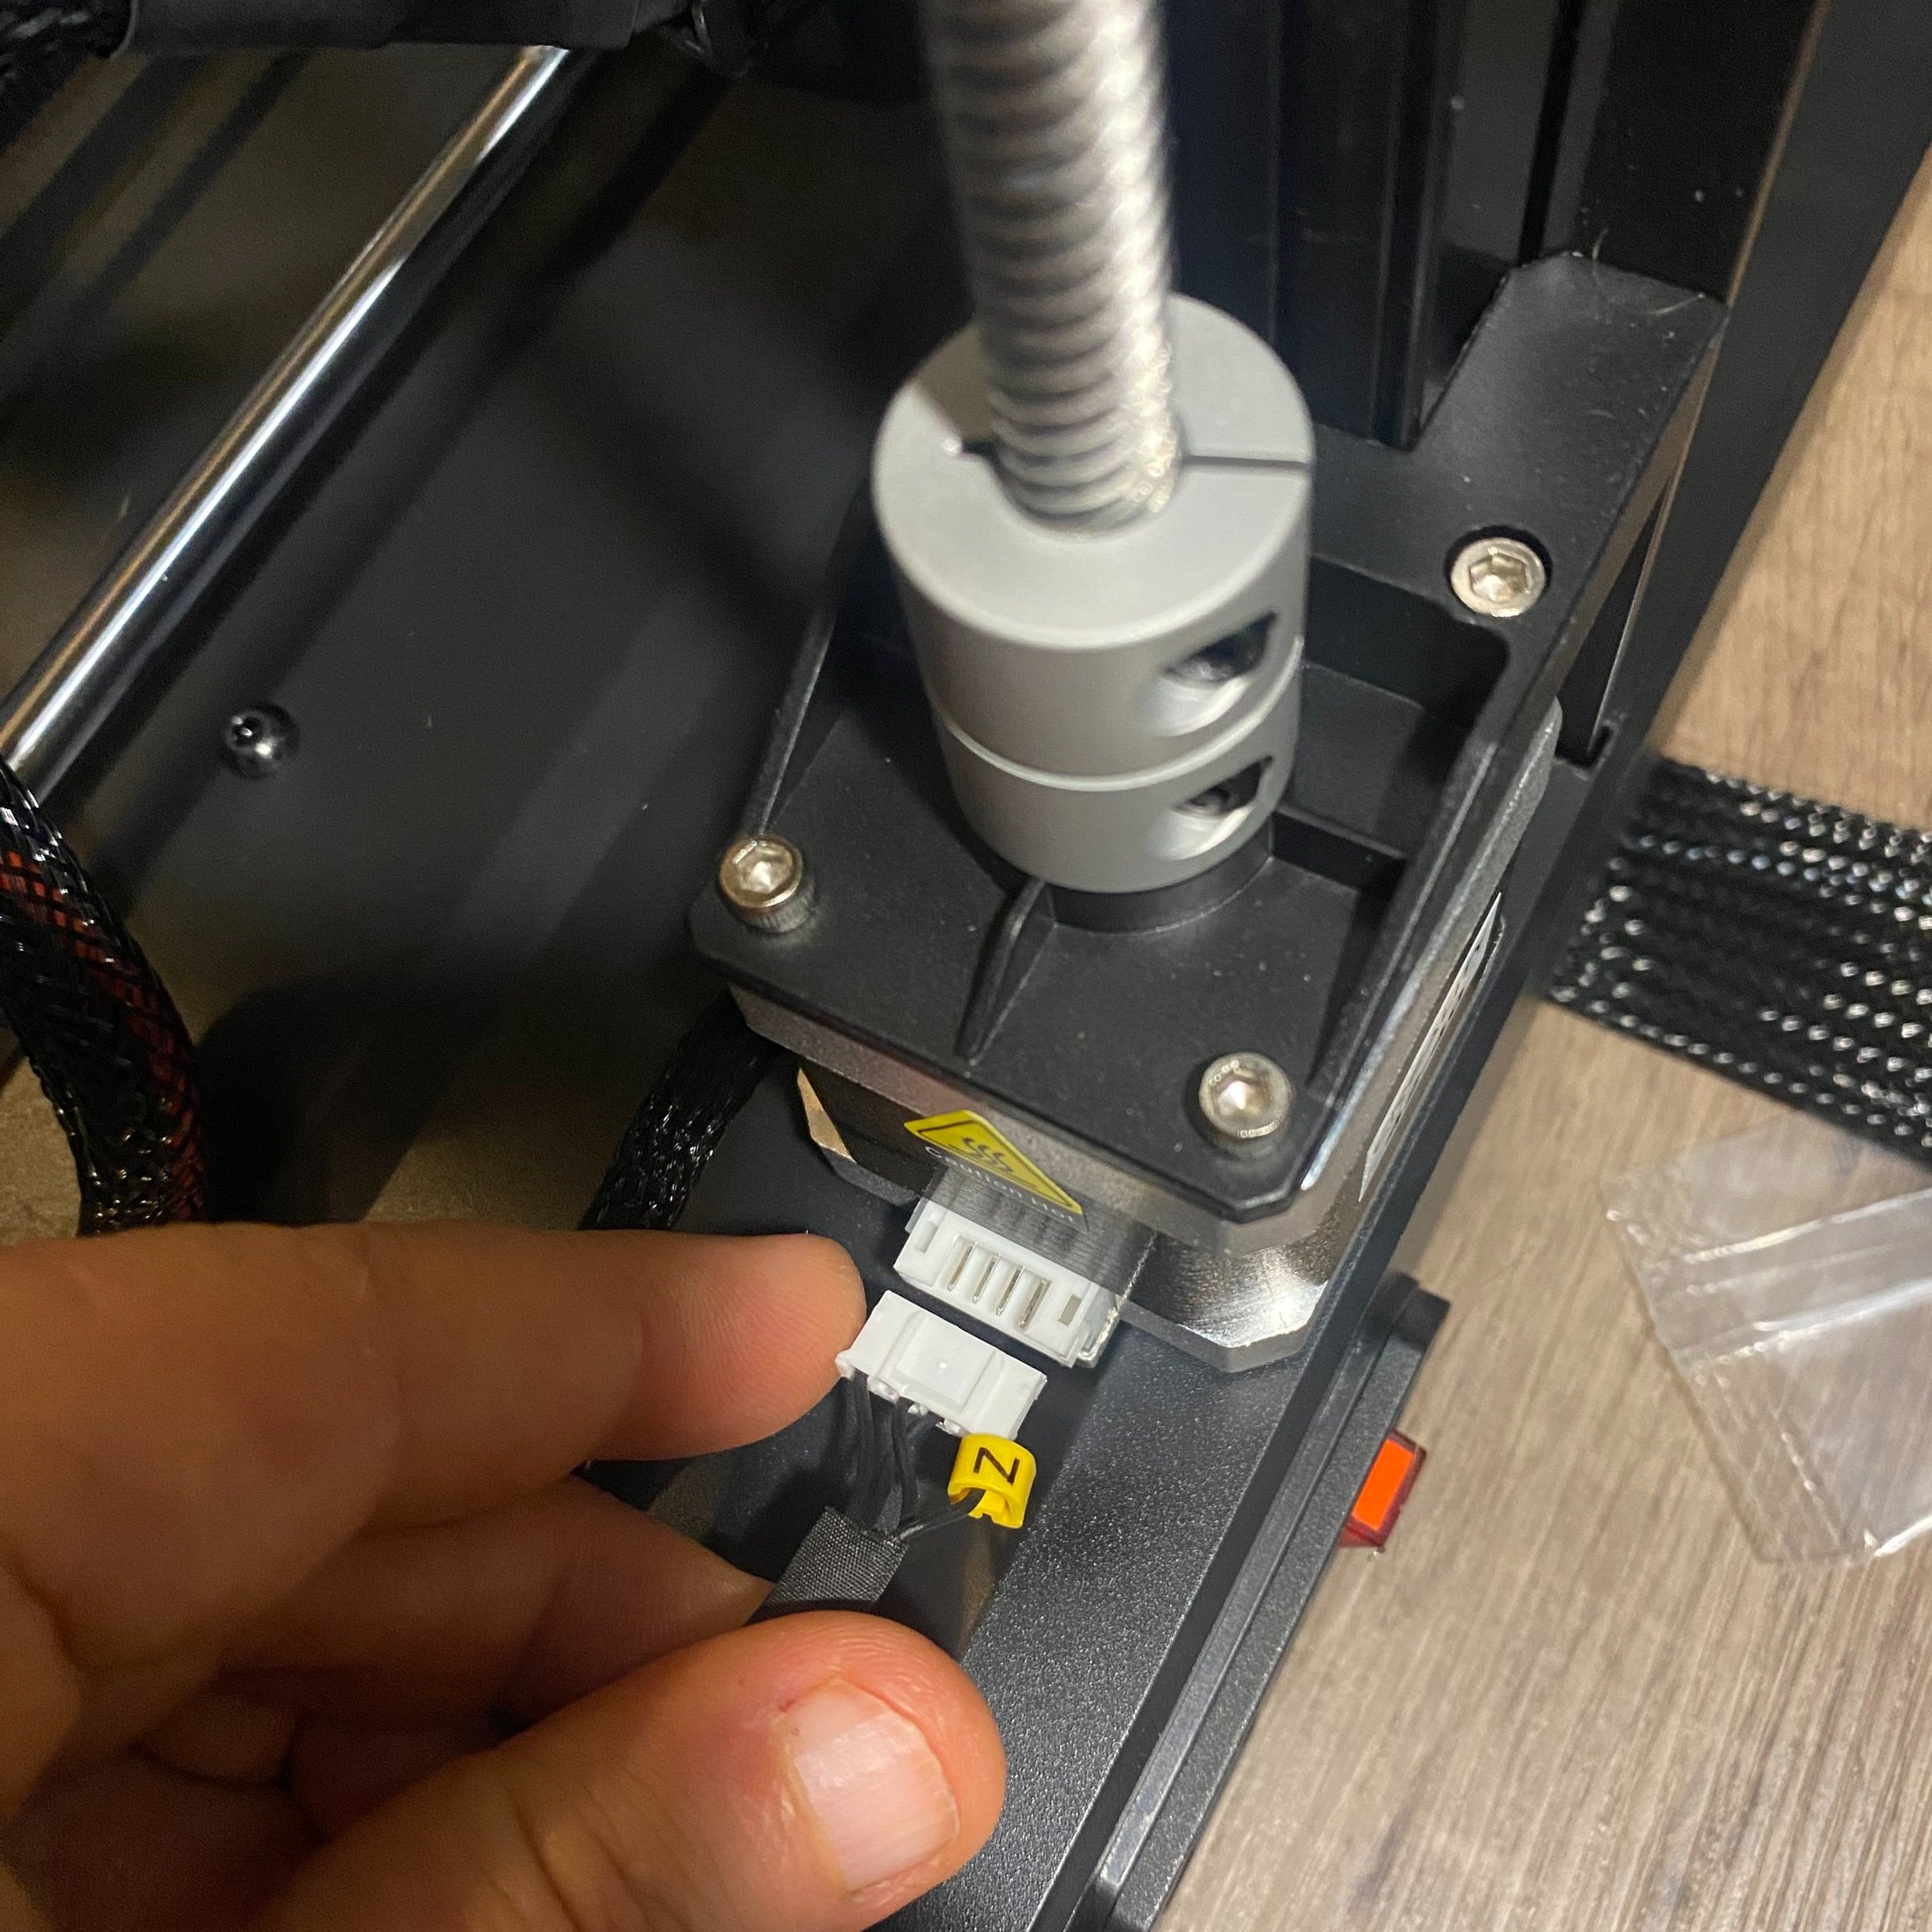
Z motor cable
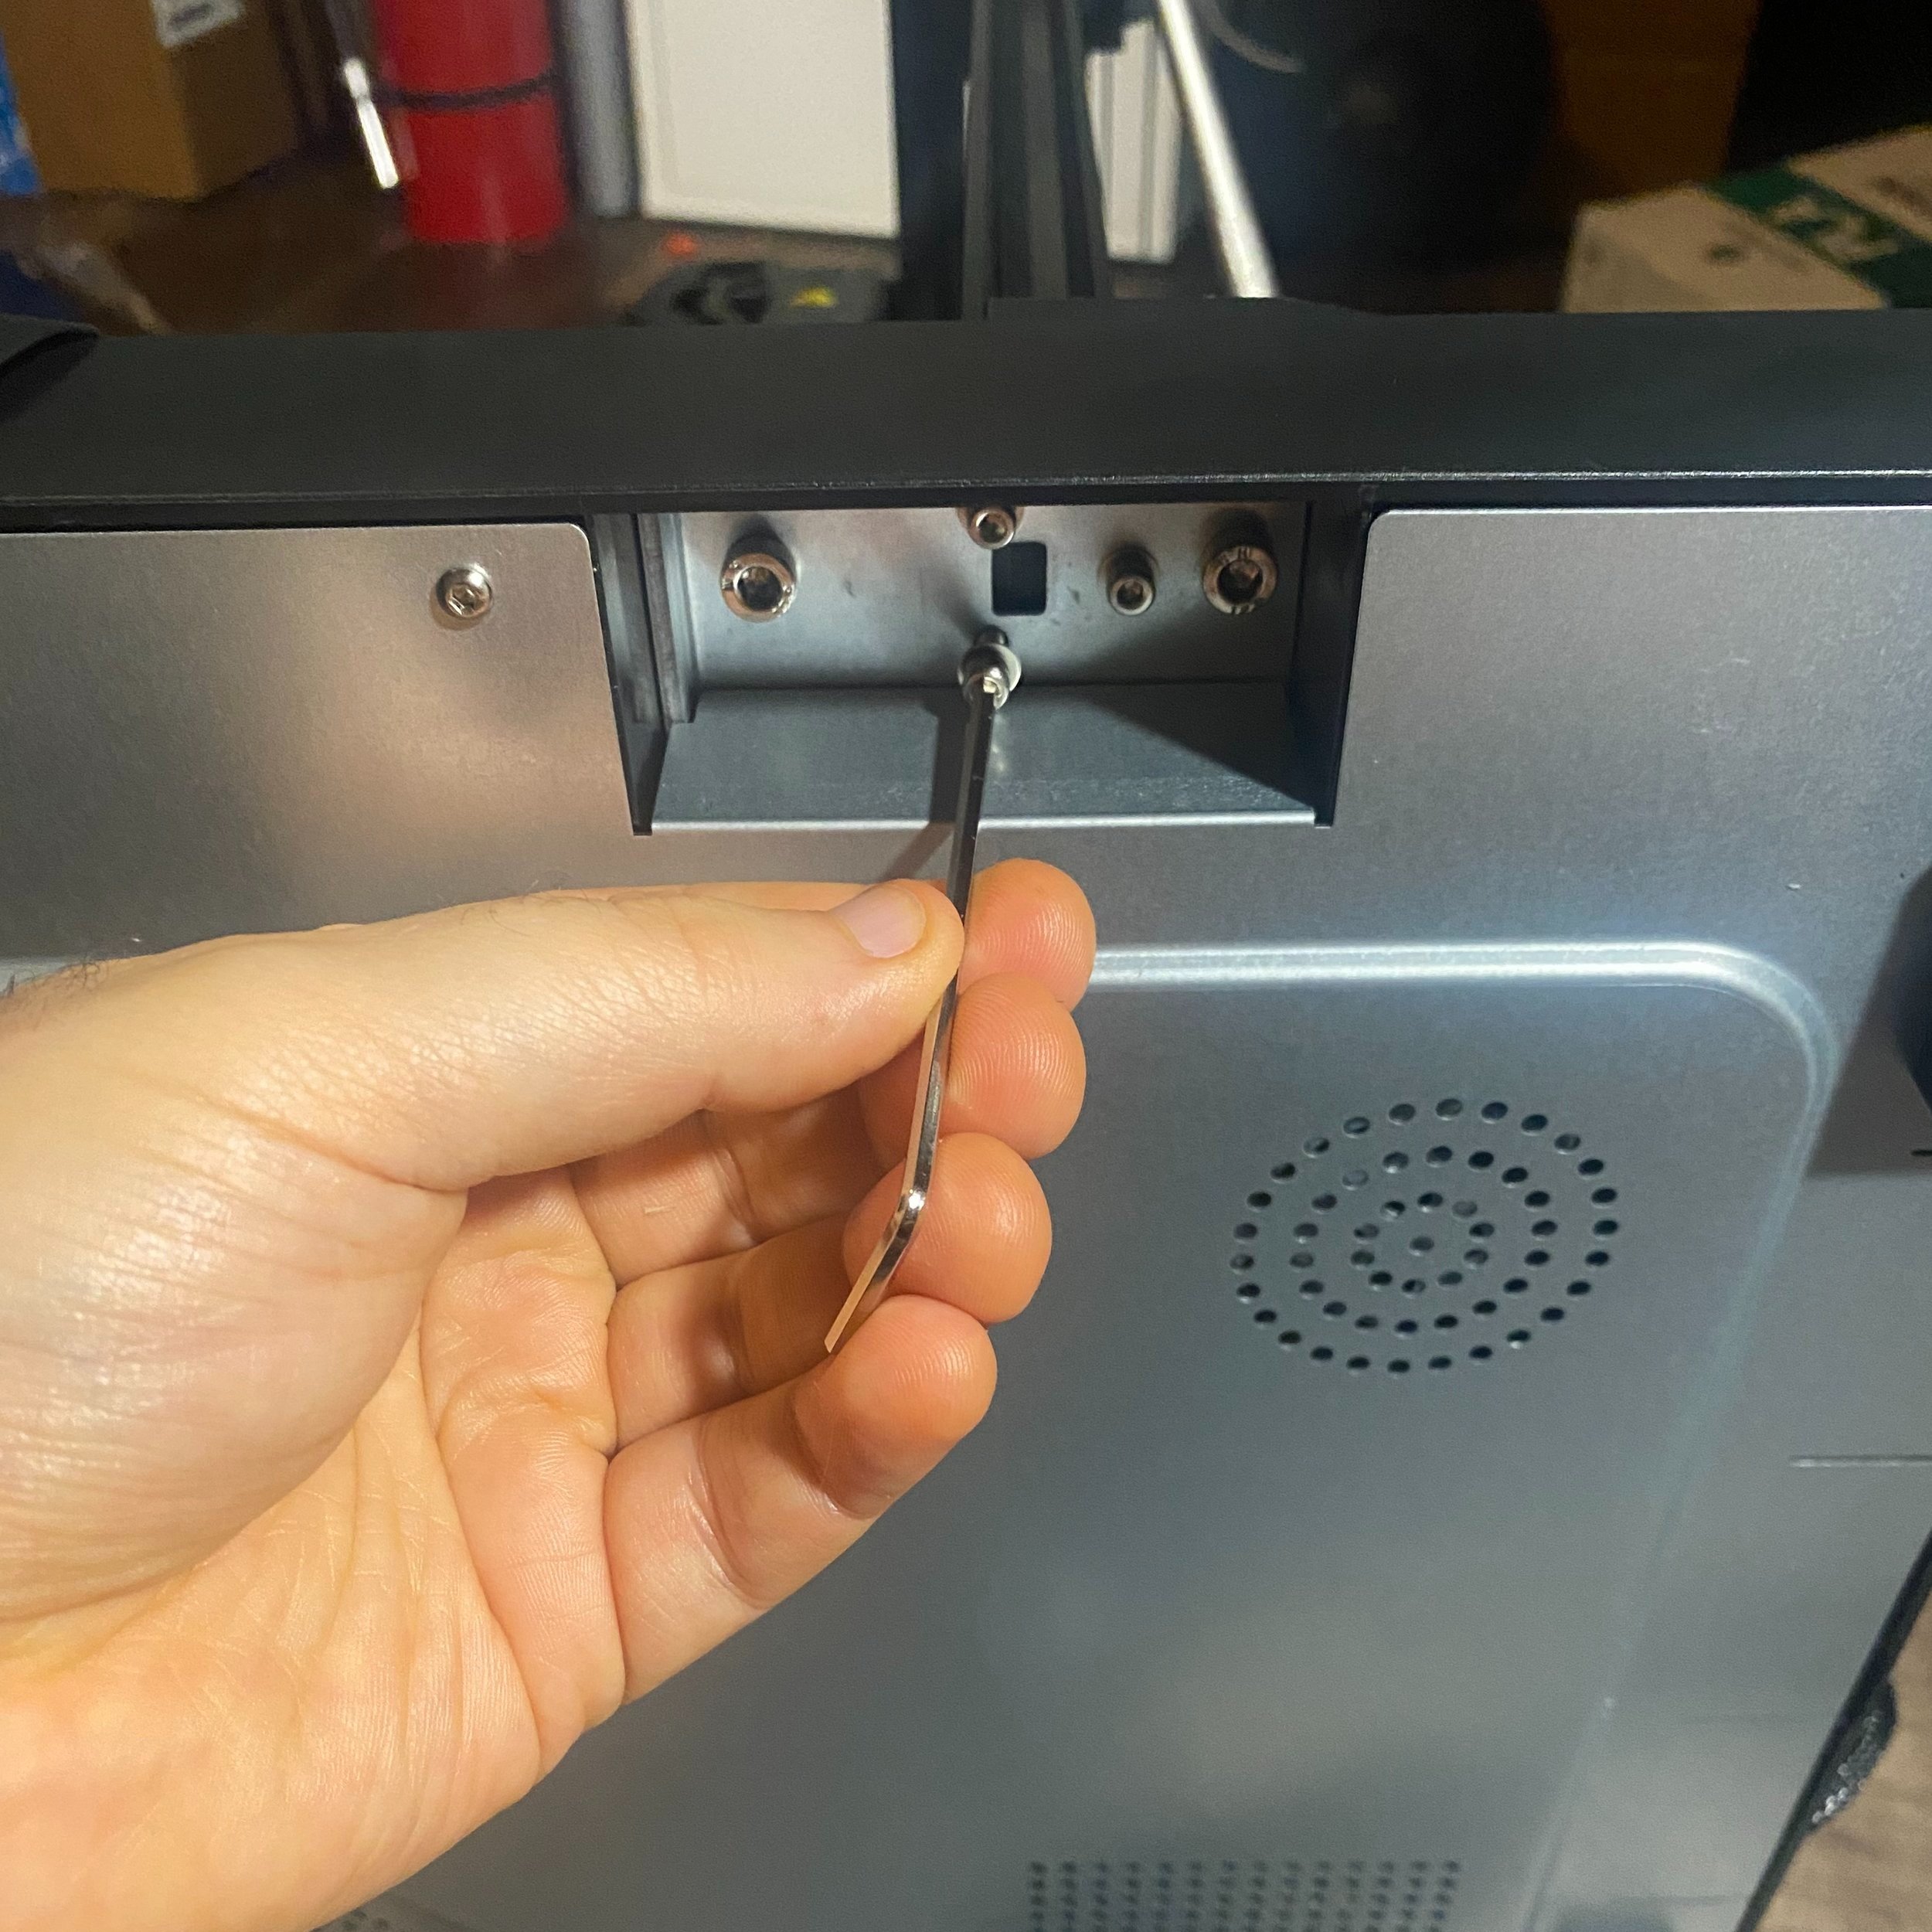
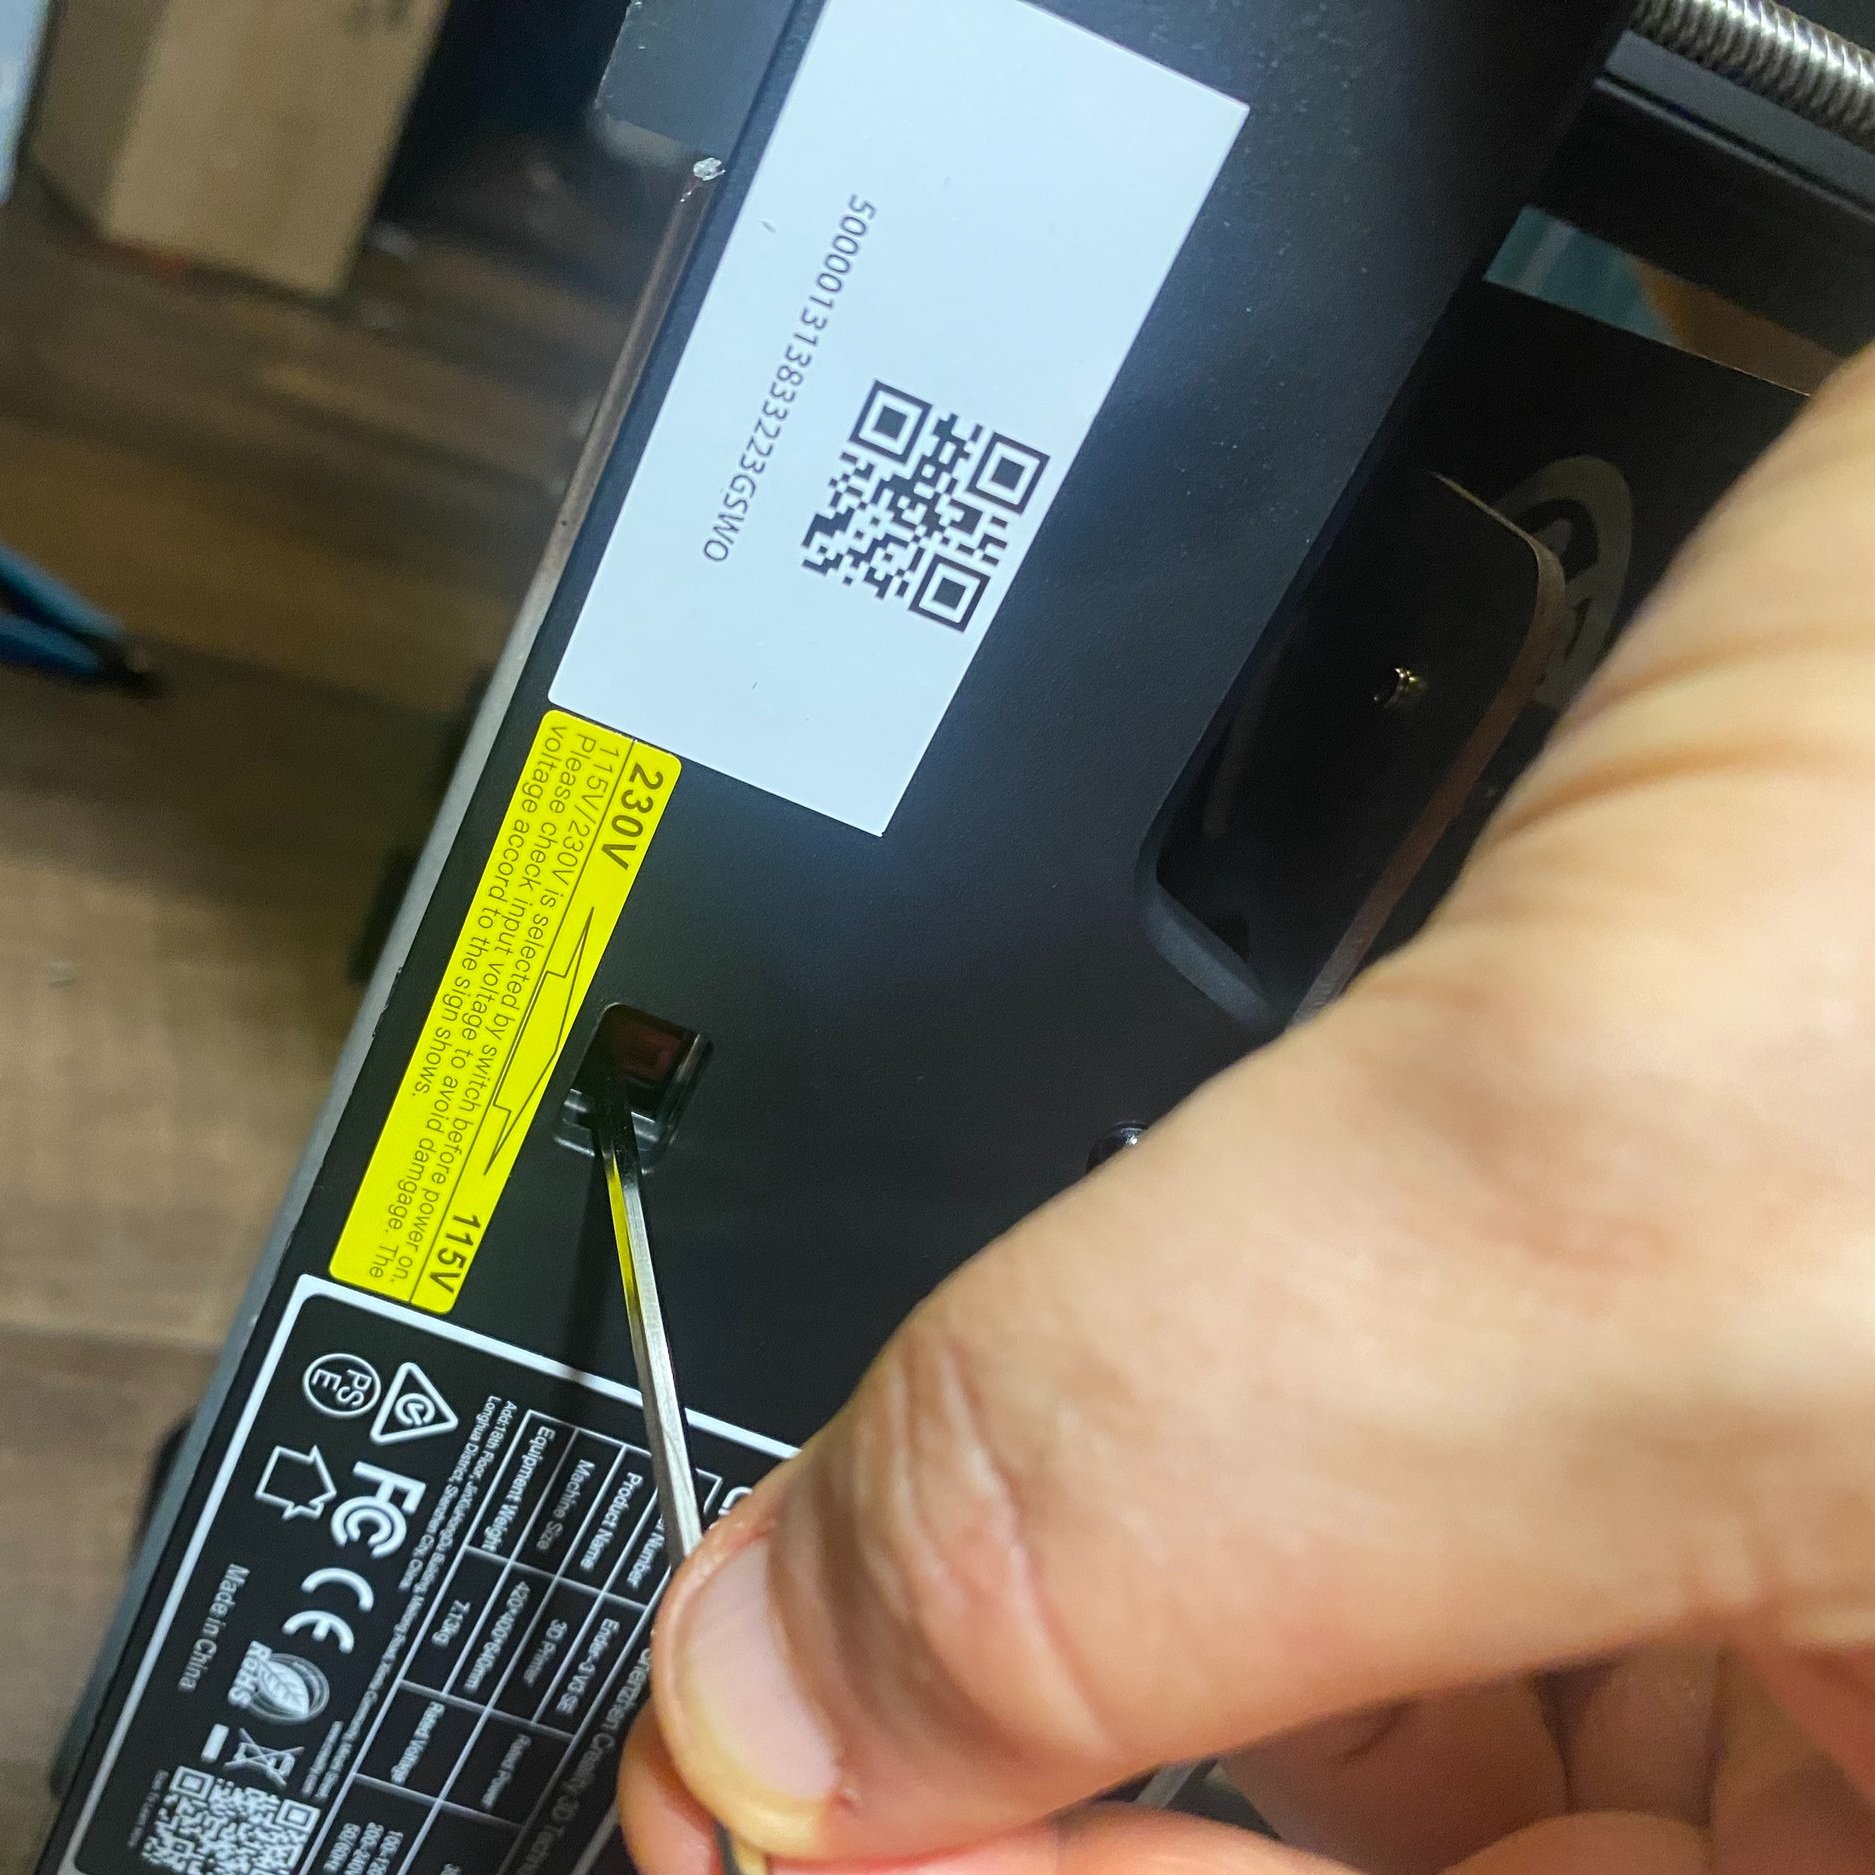
Before plugging in the printer to wall power, ensure that the mains voltage is set correctly for your region (for USA, 115V). This is set using a switch on the rear of the printer, but you’ll need to remove a sticker to access it. Since the switch is recessed, use an Allen wrench to toggle it if needed.
Connect the X motor cable. The endstop is on the extruder carriage and is already plugged in.
For the Z motor cable, remove the tape holding the cable and plug it into the single Z motor on the left side.
Before plugging in the printer, ensure that the mains voltage is set correctly for your region (for USA, 115V). You’ll need to remove a sticker to access this switch.
The Ender 3 V3 SE is now fully assembled! Next, it’s time to adjust and test the 3D printer, and start a print.
Tighten Bolts and Belts
We found that our printer shipped with a few loose components, including the bed frame, the extruder carriage, and the belts. Fortunately, all of these can be adjusted fairly easily.
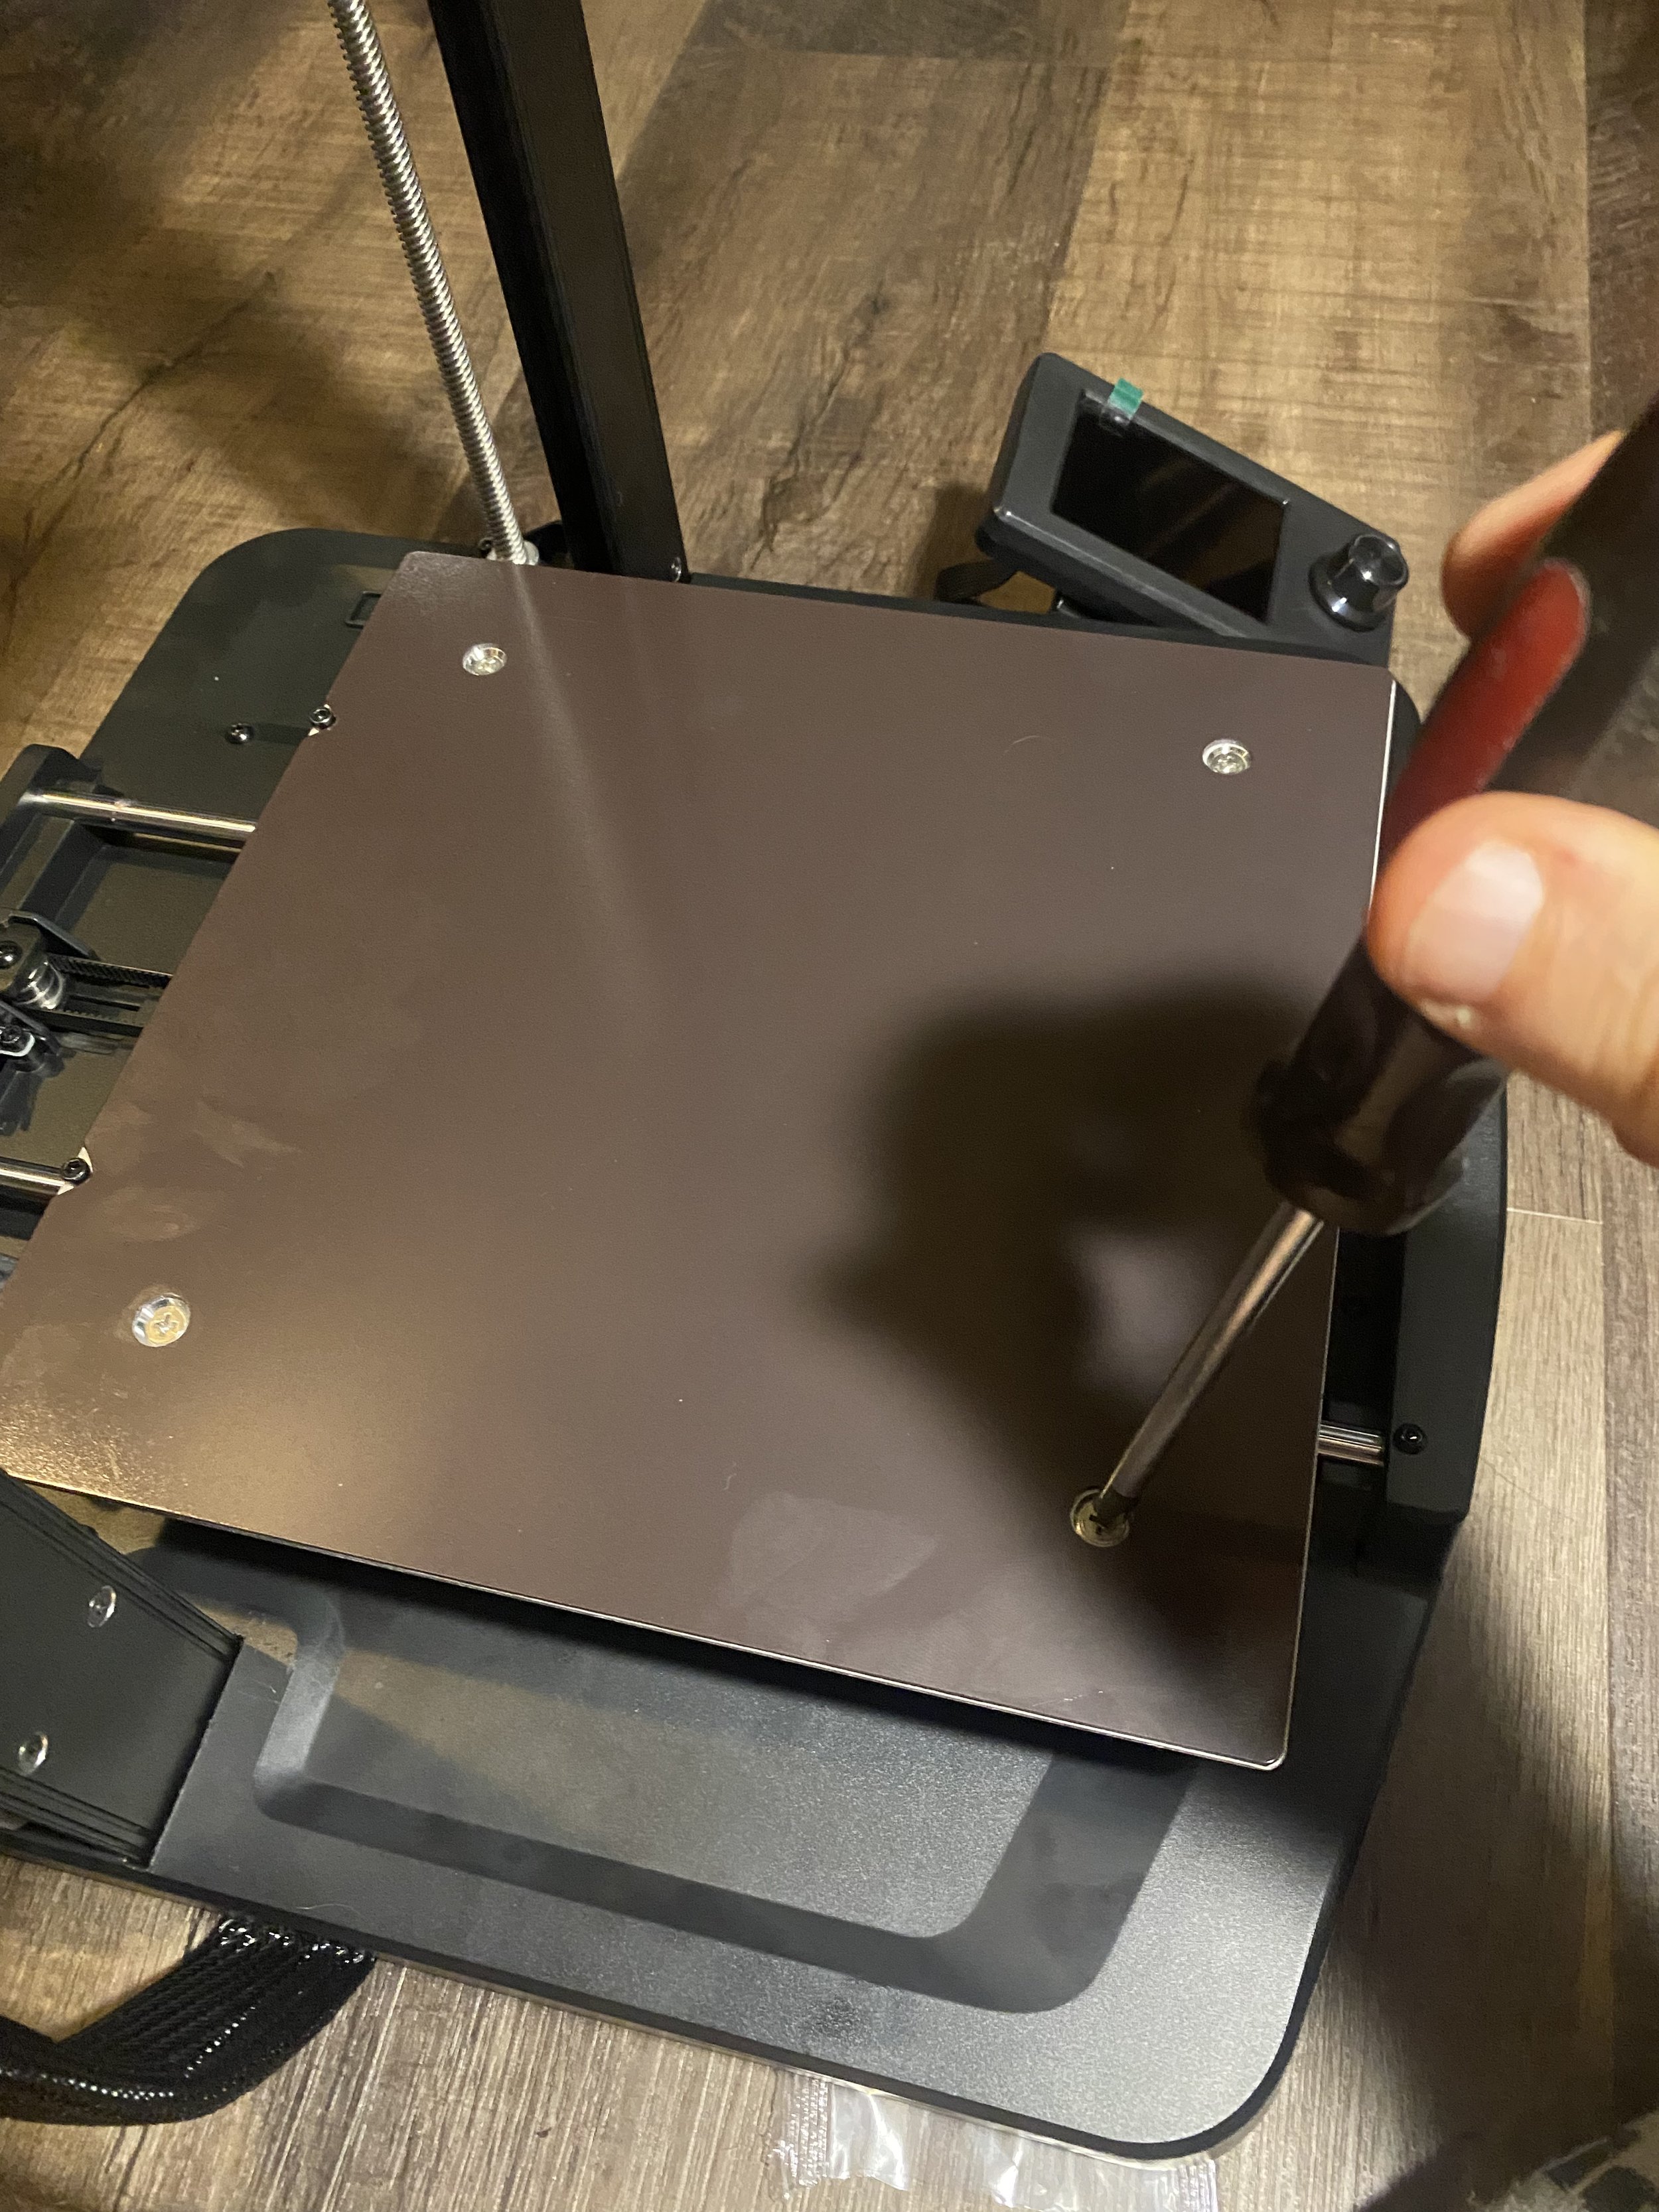
Use a Philips head screwdriver to tighten the bed bolts if the bed rattles. The bed should feel firm and shouldn’t shake up and down.
Use the included wrench to adjust the nut on the base of the extruder carriage if it is loose. It should be tight enough that the carriage does not wobble, but loose enough that you can move it across the rail easily while the printer is powered off.
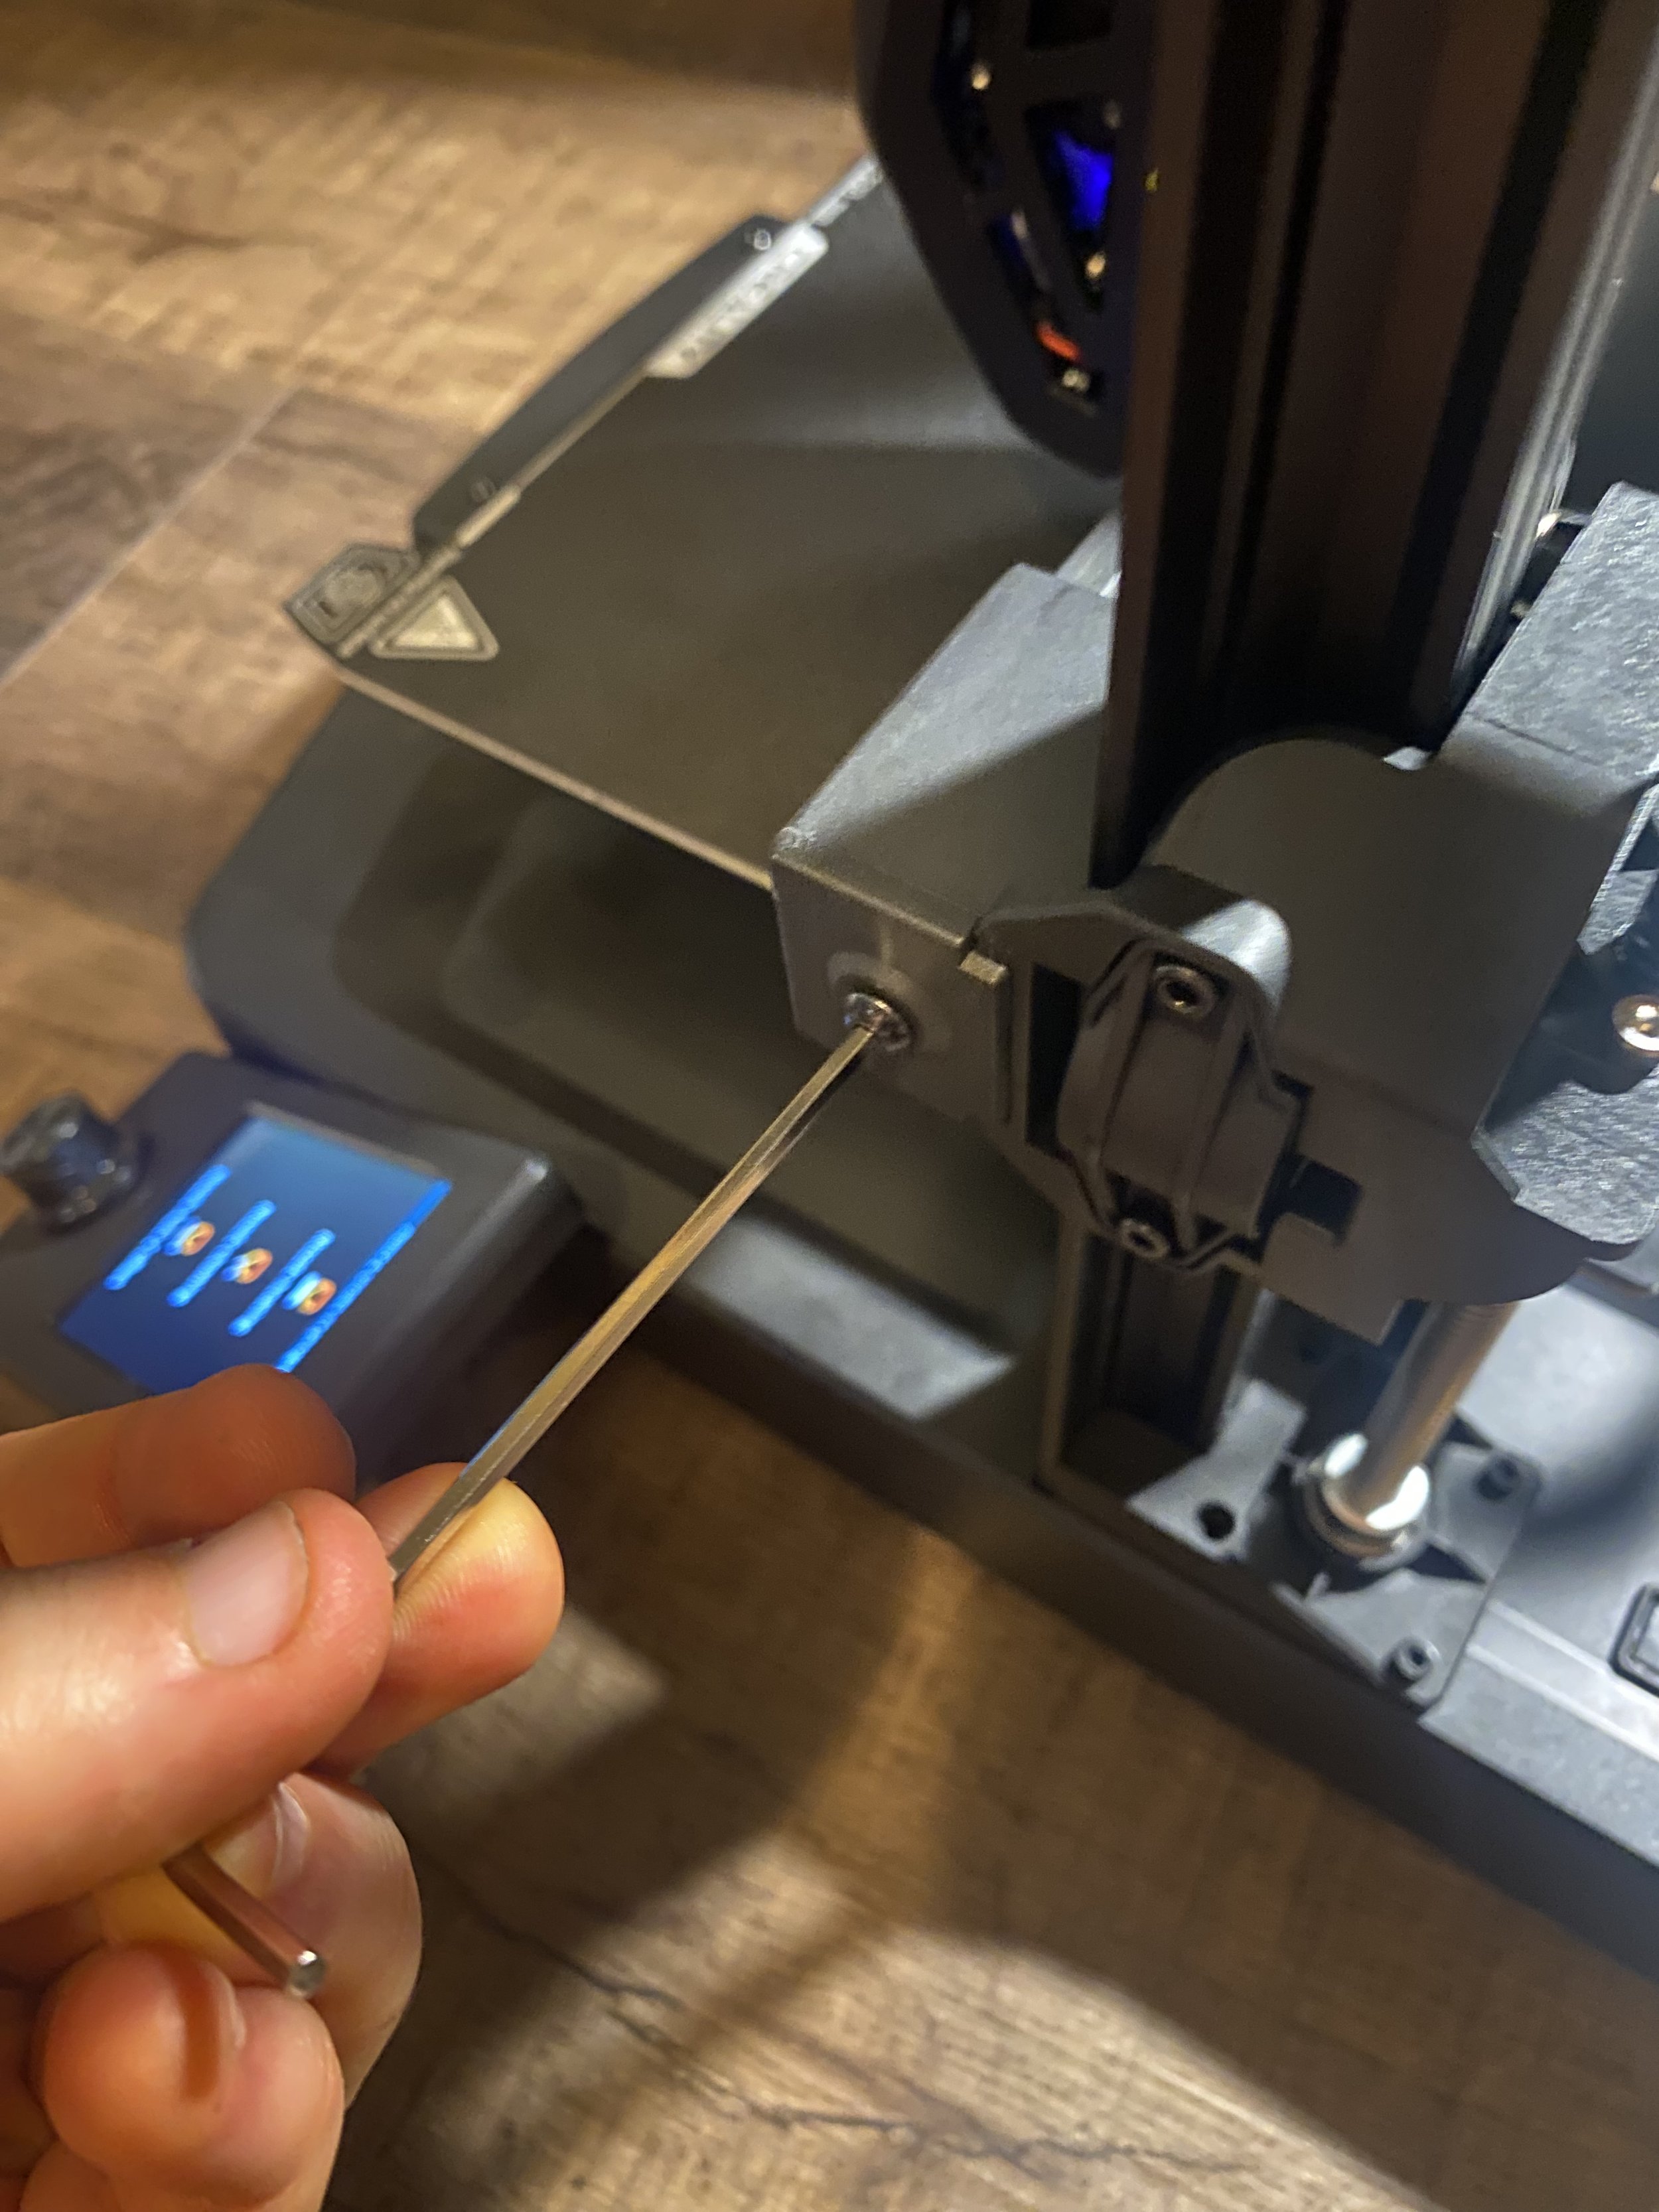
Use an Allen wrench to tighten the Y axis belt. It should be just tight enough to make a low sound when plucked.
The X axis has a similar nut to tighten it on the right side of the machine.
Testing the 3D Printer Hardware
Connect the included power cable to the power supply and plug it in, then power on the printer using the switch next to the power plug. Note that the power supply fans will not start spinning until needed. If the screen does not show anything, power off the printer, then check for these two common issues:
Check that you set the power supply to the correct mains voltage (115V in USA, see step 6 in the assembly section)
Check that you plugged the LCD cable into the screen (see step 3)
Once the screen shows the main menu, the best way to test that all the motors and end-stops are connected is to auto-home the printer, which moves all three axes to their starting points by hitting the end stops and tests the auto-leveling sensor.
To auto-home the Ender 3 V3 SE, push the control wheel to access the menu, then select Leveling » Auto Home. (rotate the wheel to select options in a menu, and press to choose the option).
If you notice that any of the axes don’t move, check that the corresponding motor cable is completely plugged in.
If you hear grinding from any axis, note the source of the sound, then turn the printer off. Check that the end stop for the problem axis is plugged in securely.
If you had any problems, auto-home the printer again after resolving the issue to make sure everything is working properly.
Finally, test that the heat bed and nozzle are working correctly by heating both. You can do this quickly in the menu by choosing Prepare » Preheat PLA. Once selected, watch the temperatures of both the nozzle and the bed to ensure they reach the set point and maintain their temperature.
You’ve now verified that the Creality Ender 3 V3 SE is working properly. Next, we’ll level the print bed and try a test print.
Leveling the Bed
Leveling the bed of a 3D printer is the process of calibrating the height of the print bed to ensure it is the correct distance from the print nozzle across its entire surface. The nozzle needs to be far enough away from the bed that there is a gap for the filament to come out, but also be close enough that the filament sticks to the bed. Getting the leveling as accurate as possible will improve print quality and reduce failures. The built in strain sensor on the Ender 3 V3 SE makes this process much simpler than previous models, since it can automatically determine the correct offset for the nozzle. On many other 3D printers, you have to set the offset manually.
To complete the auto leveling and offset adjustment on the Ender 3 V3 SE, select the auto leveling option in the printer menu (Leveling » Auto Leveling), and wait for it to complete. Do not touch the bed during this process since it can affect the levelling measurements. During the auto leveling process, you’ll see the extruder carriage and bed move as the printer probes a grid pattern on the print bed. This sets the bed leveling information and is also a good additional test of the printer’s motion system.
Loading Filament
Our initial TPU print had some defects, but we were pleased with how easy it was to print. On our other machines with Bowden extruders, TPU is hard to print, often jams, and has significant stringing. The Ender 3 V3 SE had none of these issues.
There is one more step before you can start printing with the Ender 3 V3 SE: you’ll need to load filament into the extruder. You can use the small sample of PLA filament that is included with the printer, or buy a full-sized roll. We recommend that you start with PLA filament since it is the easiest to print and is great for most applications. Make sure you order 1.75mm filament—there is also 2.85mm filament which will not work with this printer. Fortunately, most filament on the market today is 1.75 mm. To see the brands of filament we have had the best results with, take a look at our guide here: The Best Filament for Creality 3D Printers.
Since the Ender 3 V3 SE uses a direct drive extruder, it is well suited for printing flexible filaments, the most common of which is TPU. We’ve had success printing with Overture TPU (Amazon) and NinjaTek Cheetah (Amazon) on our Ender 3 V3 SE.
Before feeding the filament, heat up the nozzle using Prepare » Preheat PLA on the menu, and wait for it to reach the temperature. To feed the filament, place it on the spool holder, then push the end through the extruder while squeezing the finger lever on the extruder. Make sure the end of the filament is straight before doing so to ensure it feeds smoothly. Once the filament is past the extruder, continue feeding it until you feel some resistance. You should see some filament coming out from the printer nozzle, meaning the filament is fully loaded and you are ready to print.
Running a Test Print
The SD card included with the printer includes some 3D models you can print, which is a great way to make sure everything is working as expected. We started with the cat print (select Print » Cat), which shows the printer’s capabilities for handling small details and takes approximately 2-3 hours to complete. The printer will heat up first, then auto-home, then begin to print.
It’s important to watch the first layer as it prints to be sure that the printer is leveled correctly. If you see the plastic peeling up or see the nozzle dragging across the bed surface, stop the print and follow the process above for leveling the bed. You can also tweak the first layer thickness by using the Tune menu during the print to adjust the Z offset on the fly. If the first layer is too low (nozzle is dragging across the bed surface), decrease the Z offset. If the first layer is too high (print peeling up), increase the Z offset.
Our completed cat test print showed that everything on our Ender 3 V3 SE was working properly.
Printing Your Own Models
Once you have printed one of the test files successfully, the next step is to print your own 3D models, which you can find online from sites like thingiverse.com. Printing these models will require you to use slicer software to get them prepared to print. Slicer Software is what converts a 3D model into commands for the 3D printer, or gcode. The SD card includes Creality’s slicer software, Creality Slicer. We prefer using Cura since it is more widely used by the 3D Printing community and has more testing and support.
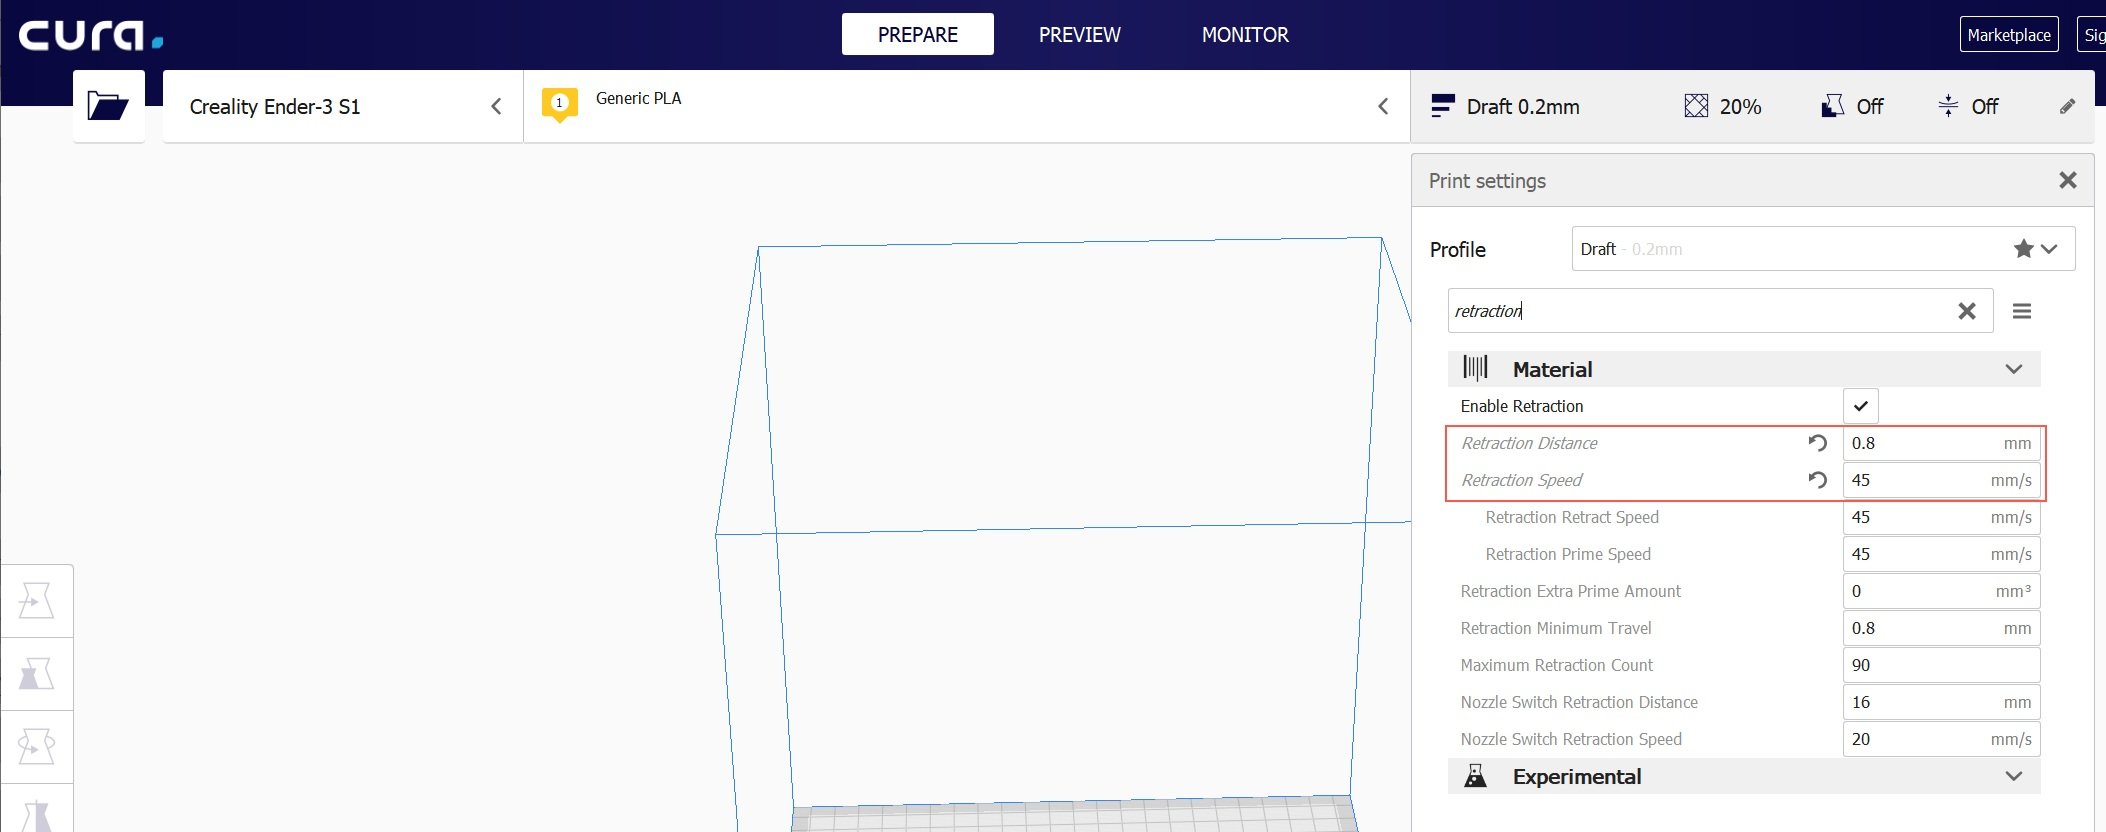
We recommend downloading the latest version of Cura from ultimaker.com to get started. Once you download and install the software, you’ll see prompts to select your 3D printer model. The Ender 3 V3 SE isn’t listed as of this writing, but you can use the Ender 3 profile without issue, as long as you change a few settings:
In the right pane, type “retraction” into the search field to show the relevant settings.
Change Retraction Distance to 0.8mm.
Change Retraction Speed to 45 mm/s.
Configuring the retraction settings in Cura for the Ender 3 V3 SE for PLA filament.
You can now prepare a 3D model file, or STL file, to be 3D printed:
Drag the STL file into Cura. You can find models to print on the included SD card, or online from websites such as thingiverse.com.
Click Slice to generate the gcode printer commands for the model.
Insert your SD card into your computer, then click Save to Removable Drive on the bottom right.
Once completed, you can move the SD card to the printer and print using the Print menu.
You can print many things with the default slicer settings, but its a good idea to learn more about the various printer settings and how they will impact the results. A good place to start is the Cura Getting started guide, which will walk you through the basic settings.
