Creality Ender 3 V3 SE - Review and Tests
Creality’s Ender 3 series has long been a popular choice for no-frills entry-level 3D printers that offer a great value for the price. Since the original Ender 3, Creality has continued to innovate in this space, adding features such as automatic bed leveling to their newer entry-level models. However, Creality has seen more competition in the budget space, with Anycubic, Sovol, and other manufacturers introducing similar printers at even lower prices.
Creality responded in 2023 with the Ender 3 V3 SE, which represents a big step forward for budget 3D printers. This printer offers an unprecedented feature set for its price, and we’re excited to see this level of capability in the entry-level market. Among other improvements, the Ender 3 V3 SE features a Sprite direct-drive extruder and higher speed printing. The price sounded a bit too good to be true, so we purchased one for ourselves to test and make sure it delivers on these impressive specs.
In this article, we’ll cover our experience setting up and printing with the Creality Ender 3 V3 SE. We purchased this printer ourselves from a standard retailer, and did not collaborate with Creality in any way on this review.
Note: Creality Experts receives a commission for items you purchase from this page, at no additional cost to you. For more information, please see our affiliate link policy.
Unpacking and Assembly
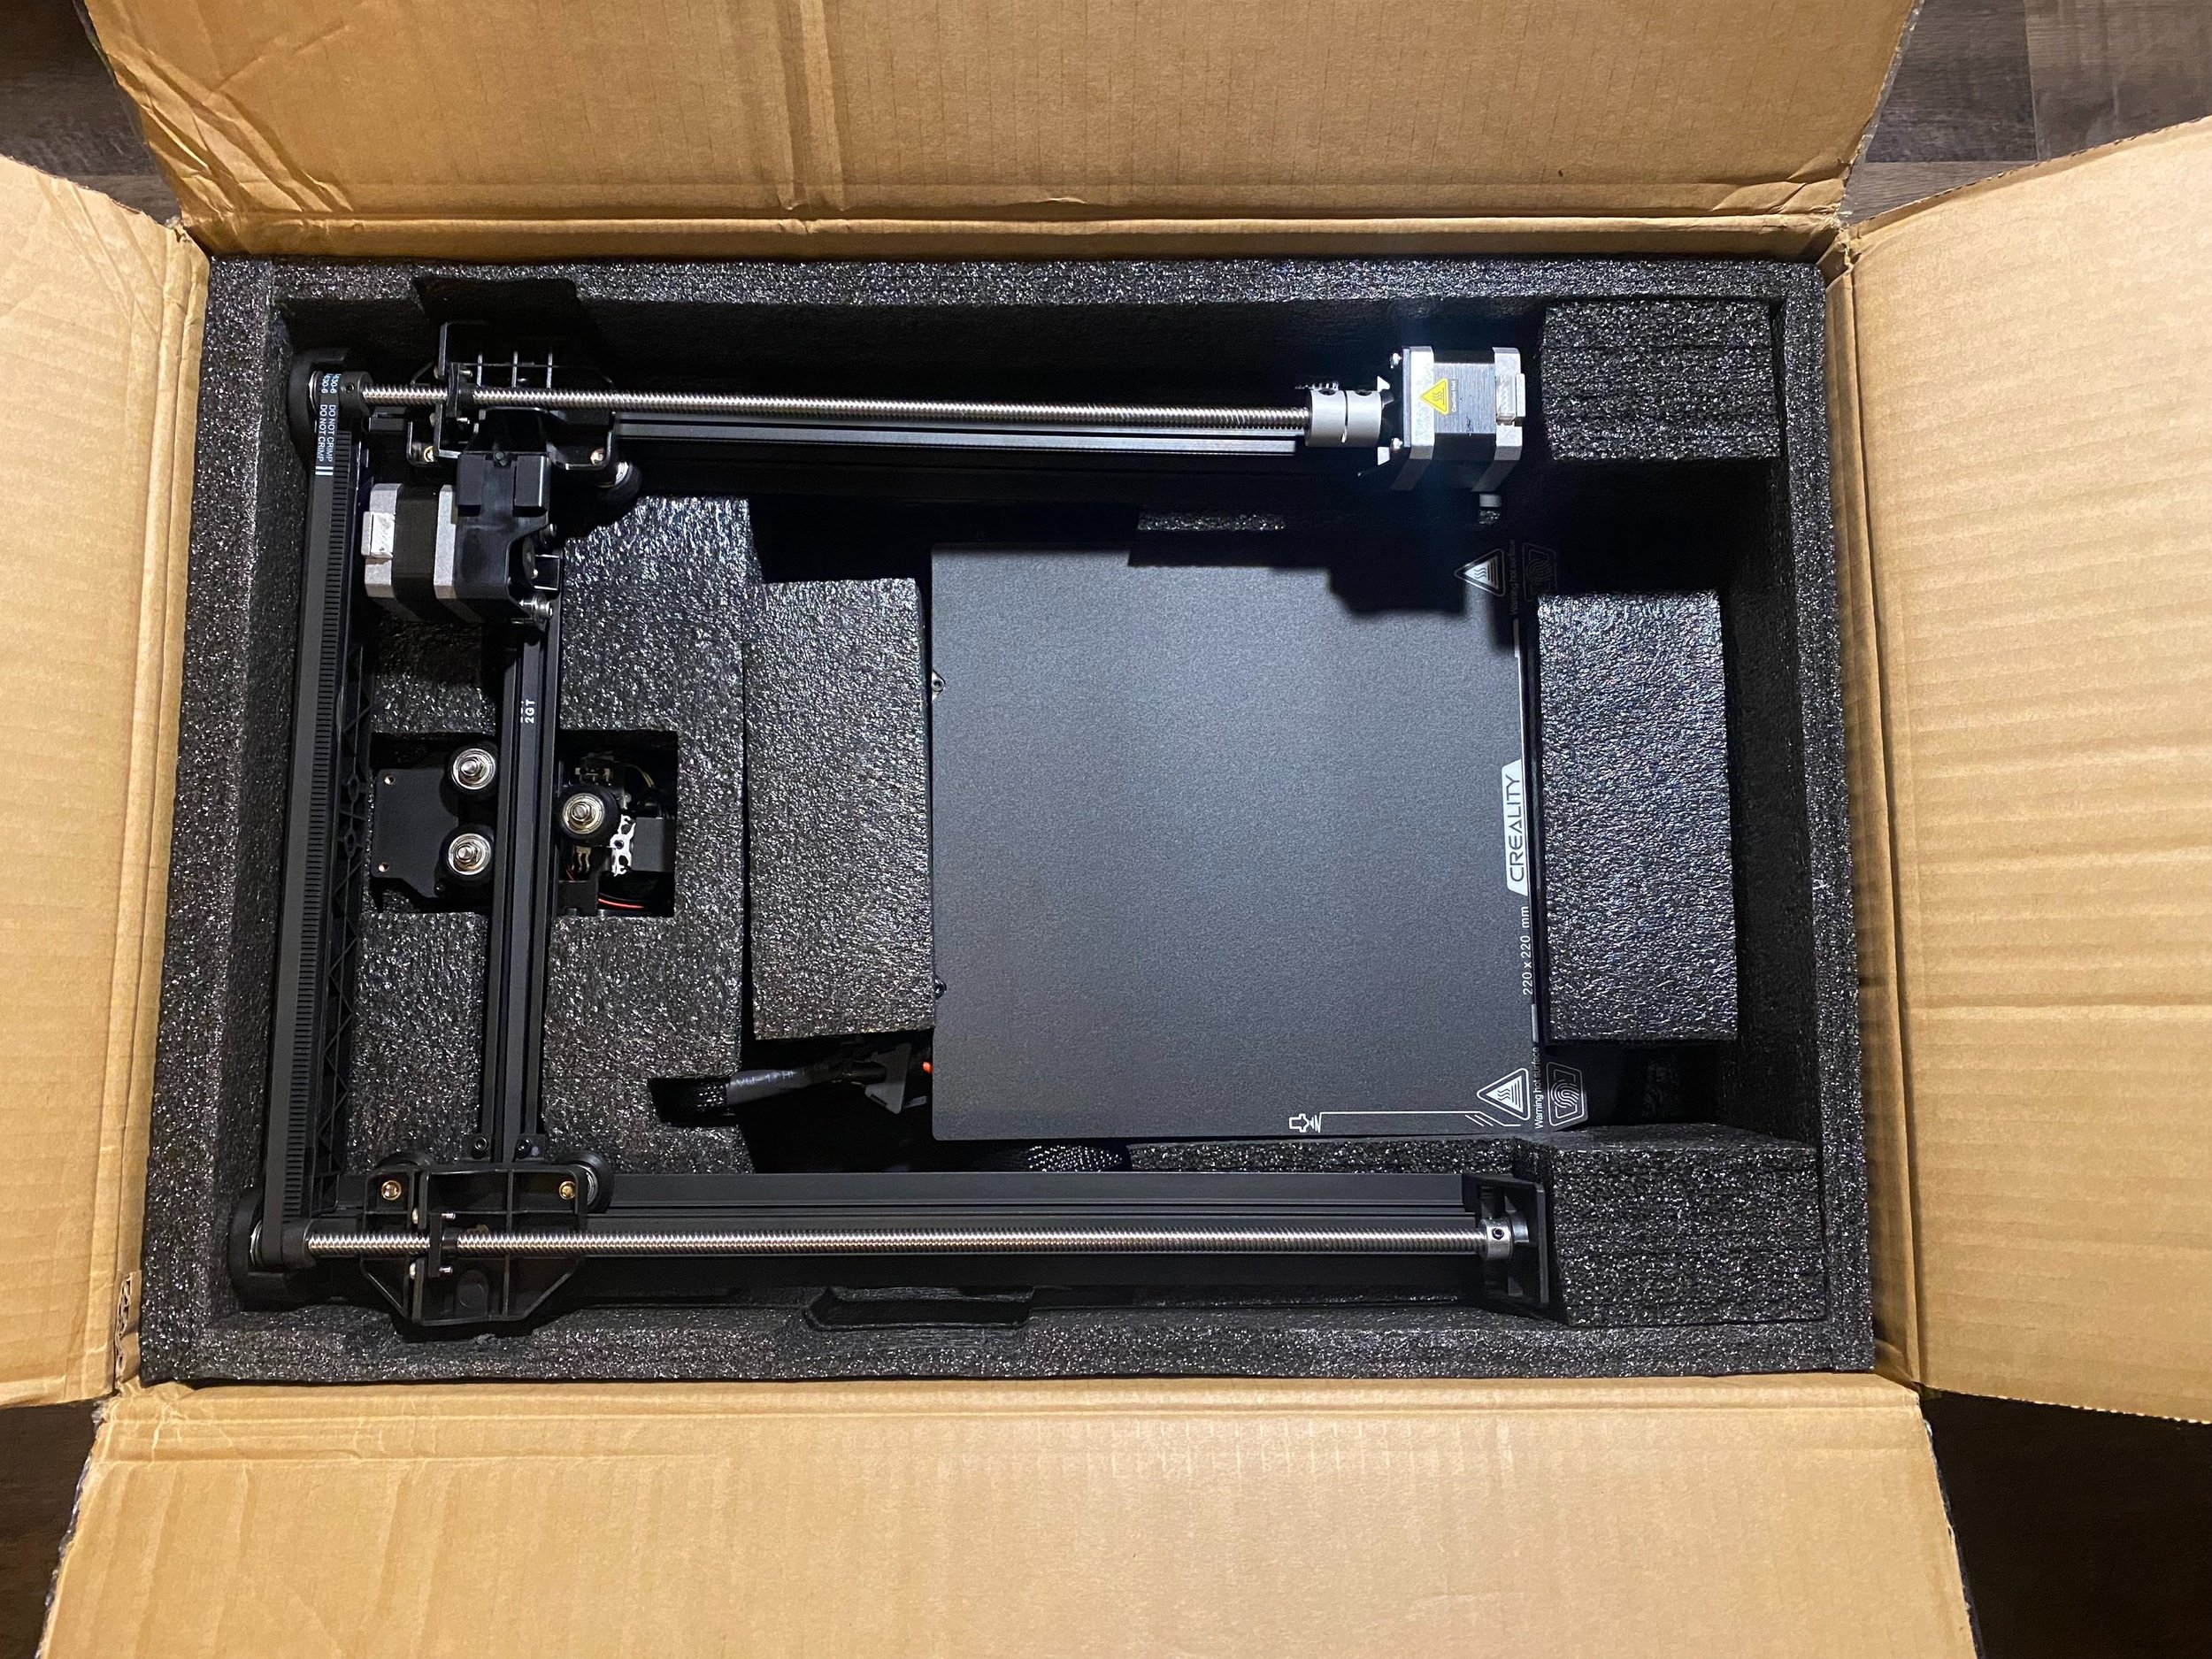
Like the other Creality printers we have purchased, the Ender 3 V3 SE arrived well-packed in a box with foam inserts. We found the printer fairly easy to assemble, requiring you to put together only a few prebuilt pieces. The entire Sprite extruder and Z axis beams are pre-assembled, and just need to be mounted to the base of the printer. The Ender 3 V3 SE takes 10-15 minutes to fully assemble. All required tools are included, and the assembly process is easy to follow.
A quick look at the assembly process (for the full assembly process, see our Ender 3 V3 SE assembly guide):
Use screws to attach the gantry frame to the base of the printer (6 screws).
Mount the screen to the side of the base (3 screws).
Mount the filament holder to the top of the printer (2 screws).
Plug in the LCD cable to the screen.
Plug in the Z motor connector.
Plug in the Extruder ribbon cable (which includes the endstop connection) and the Y motor.
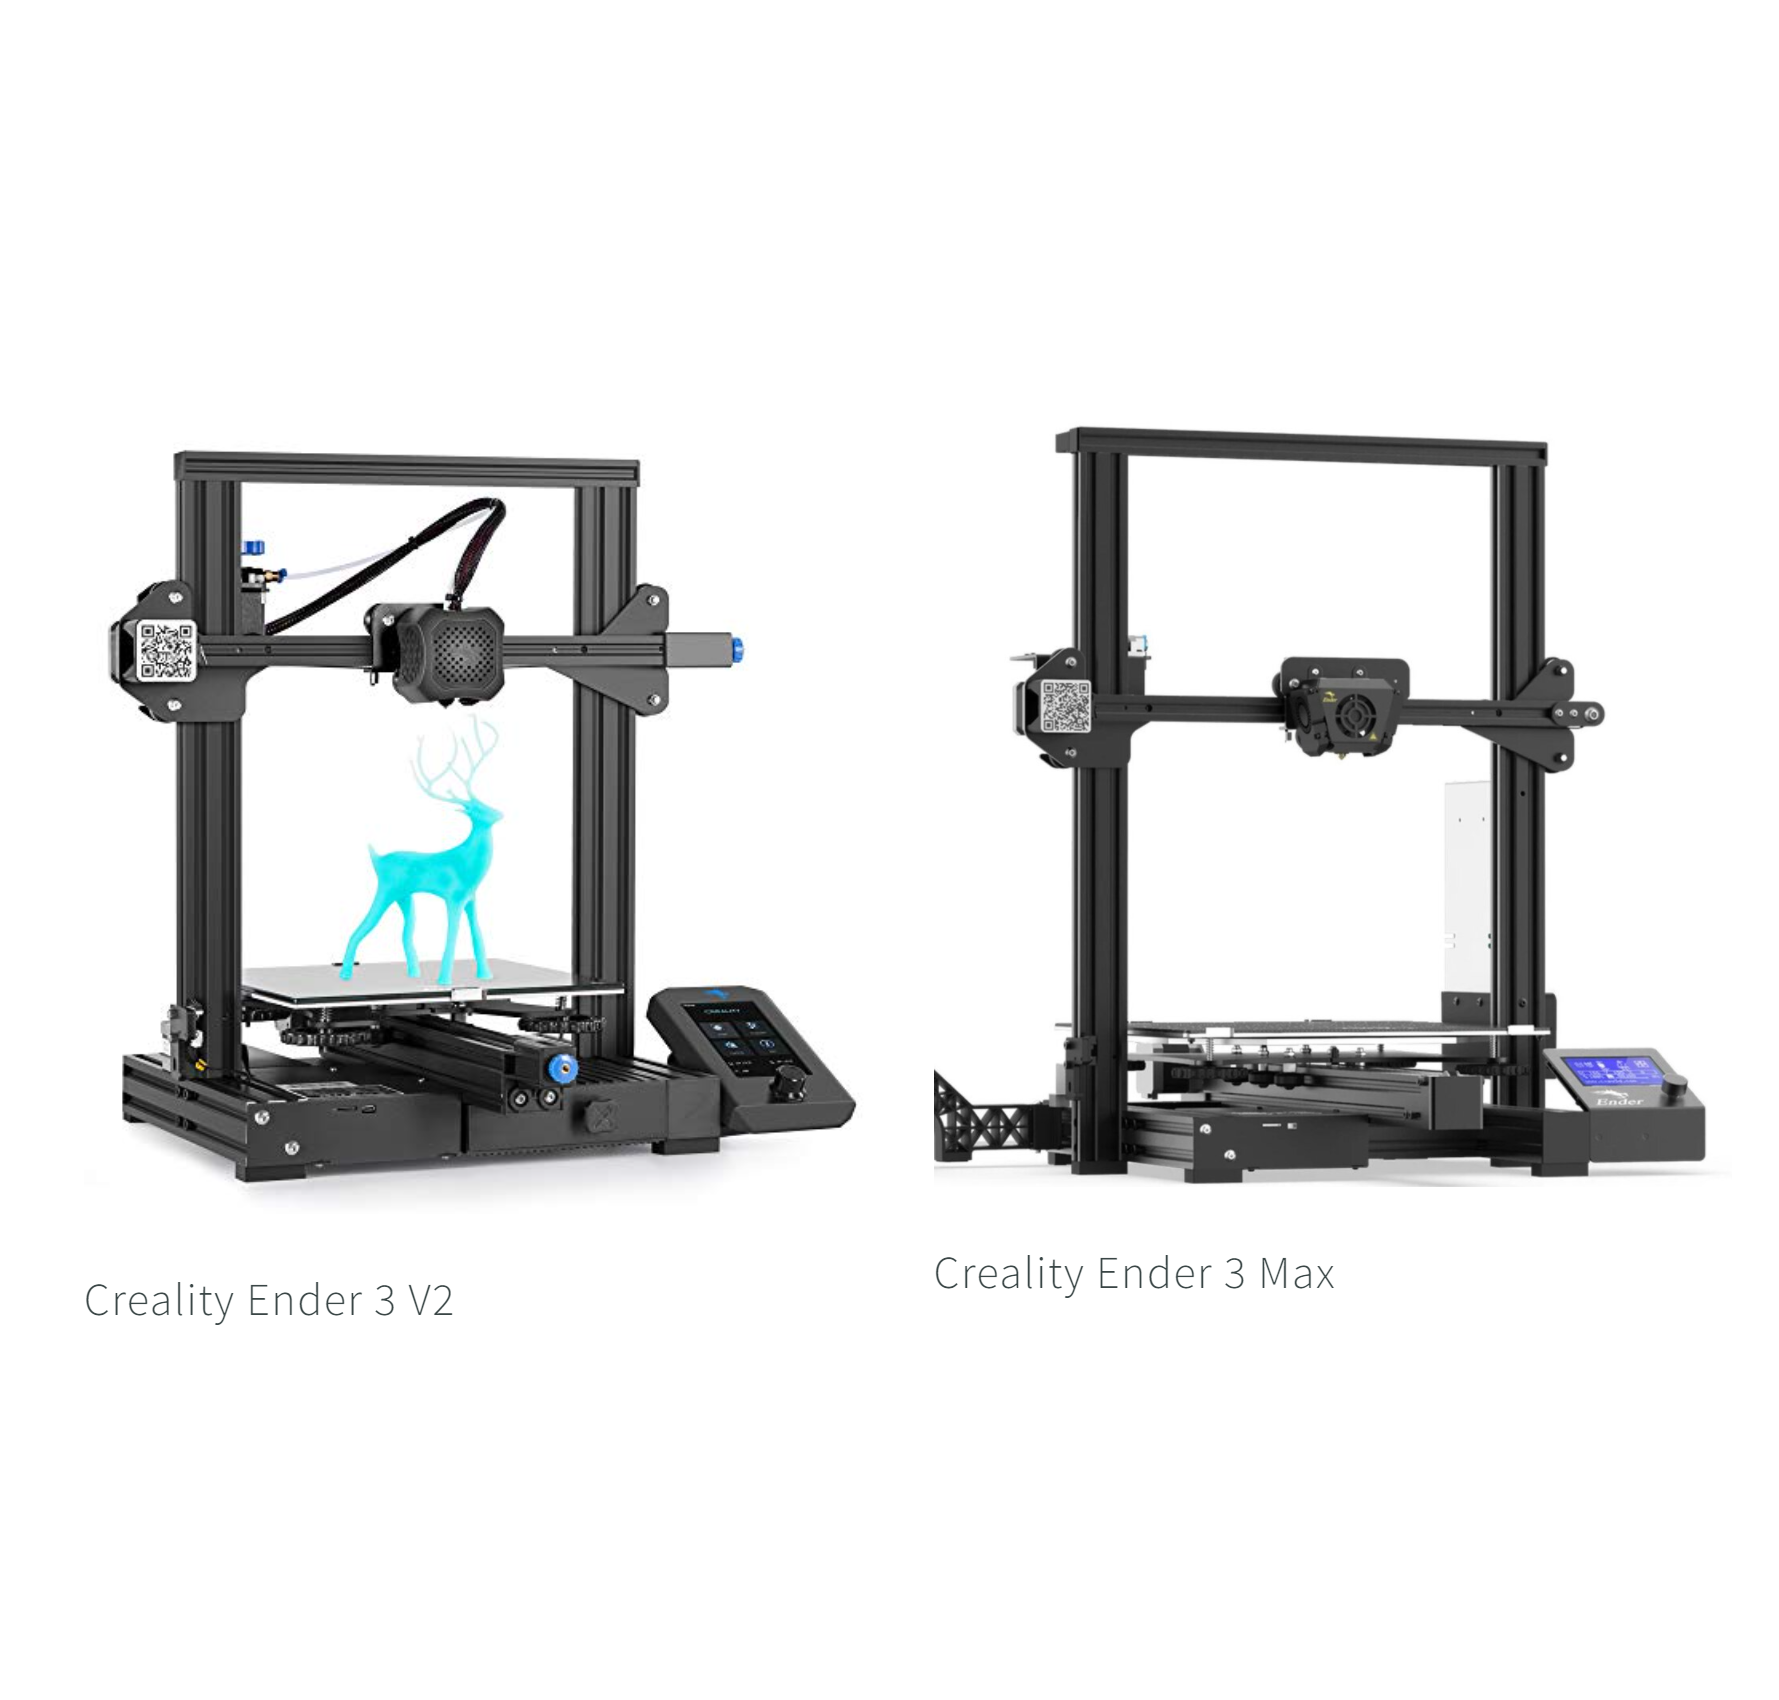
This assembly process is a big improvement over Creality’s older entry-level machines. The original Ender 3 and Ender 3 V2 required much more assembly, which could take an hour or more. In comparison, you’ll be up and running with the Ender 3 V3 SE much faster.

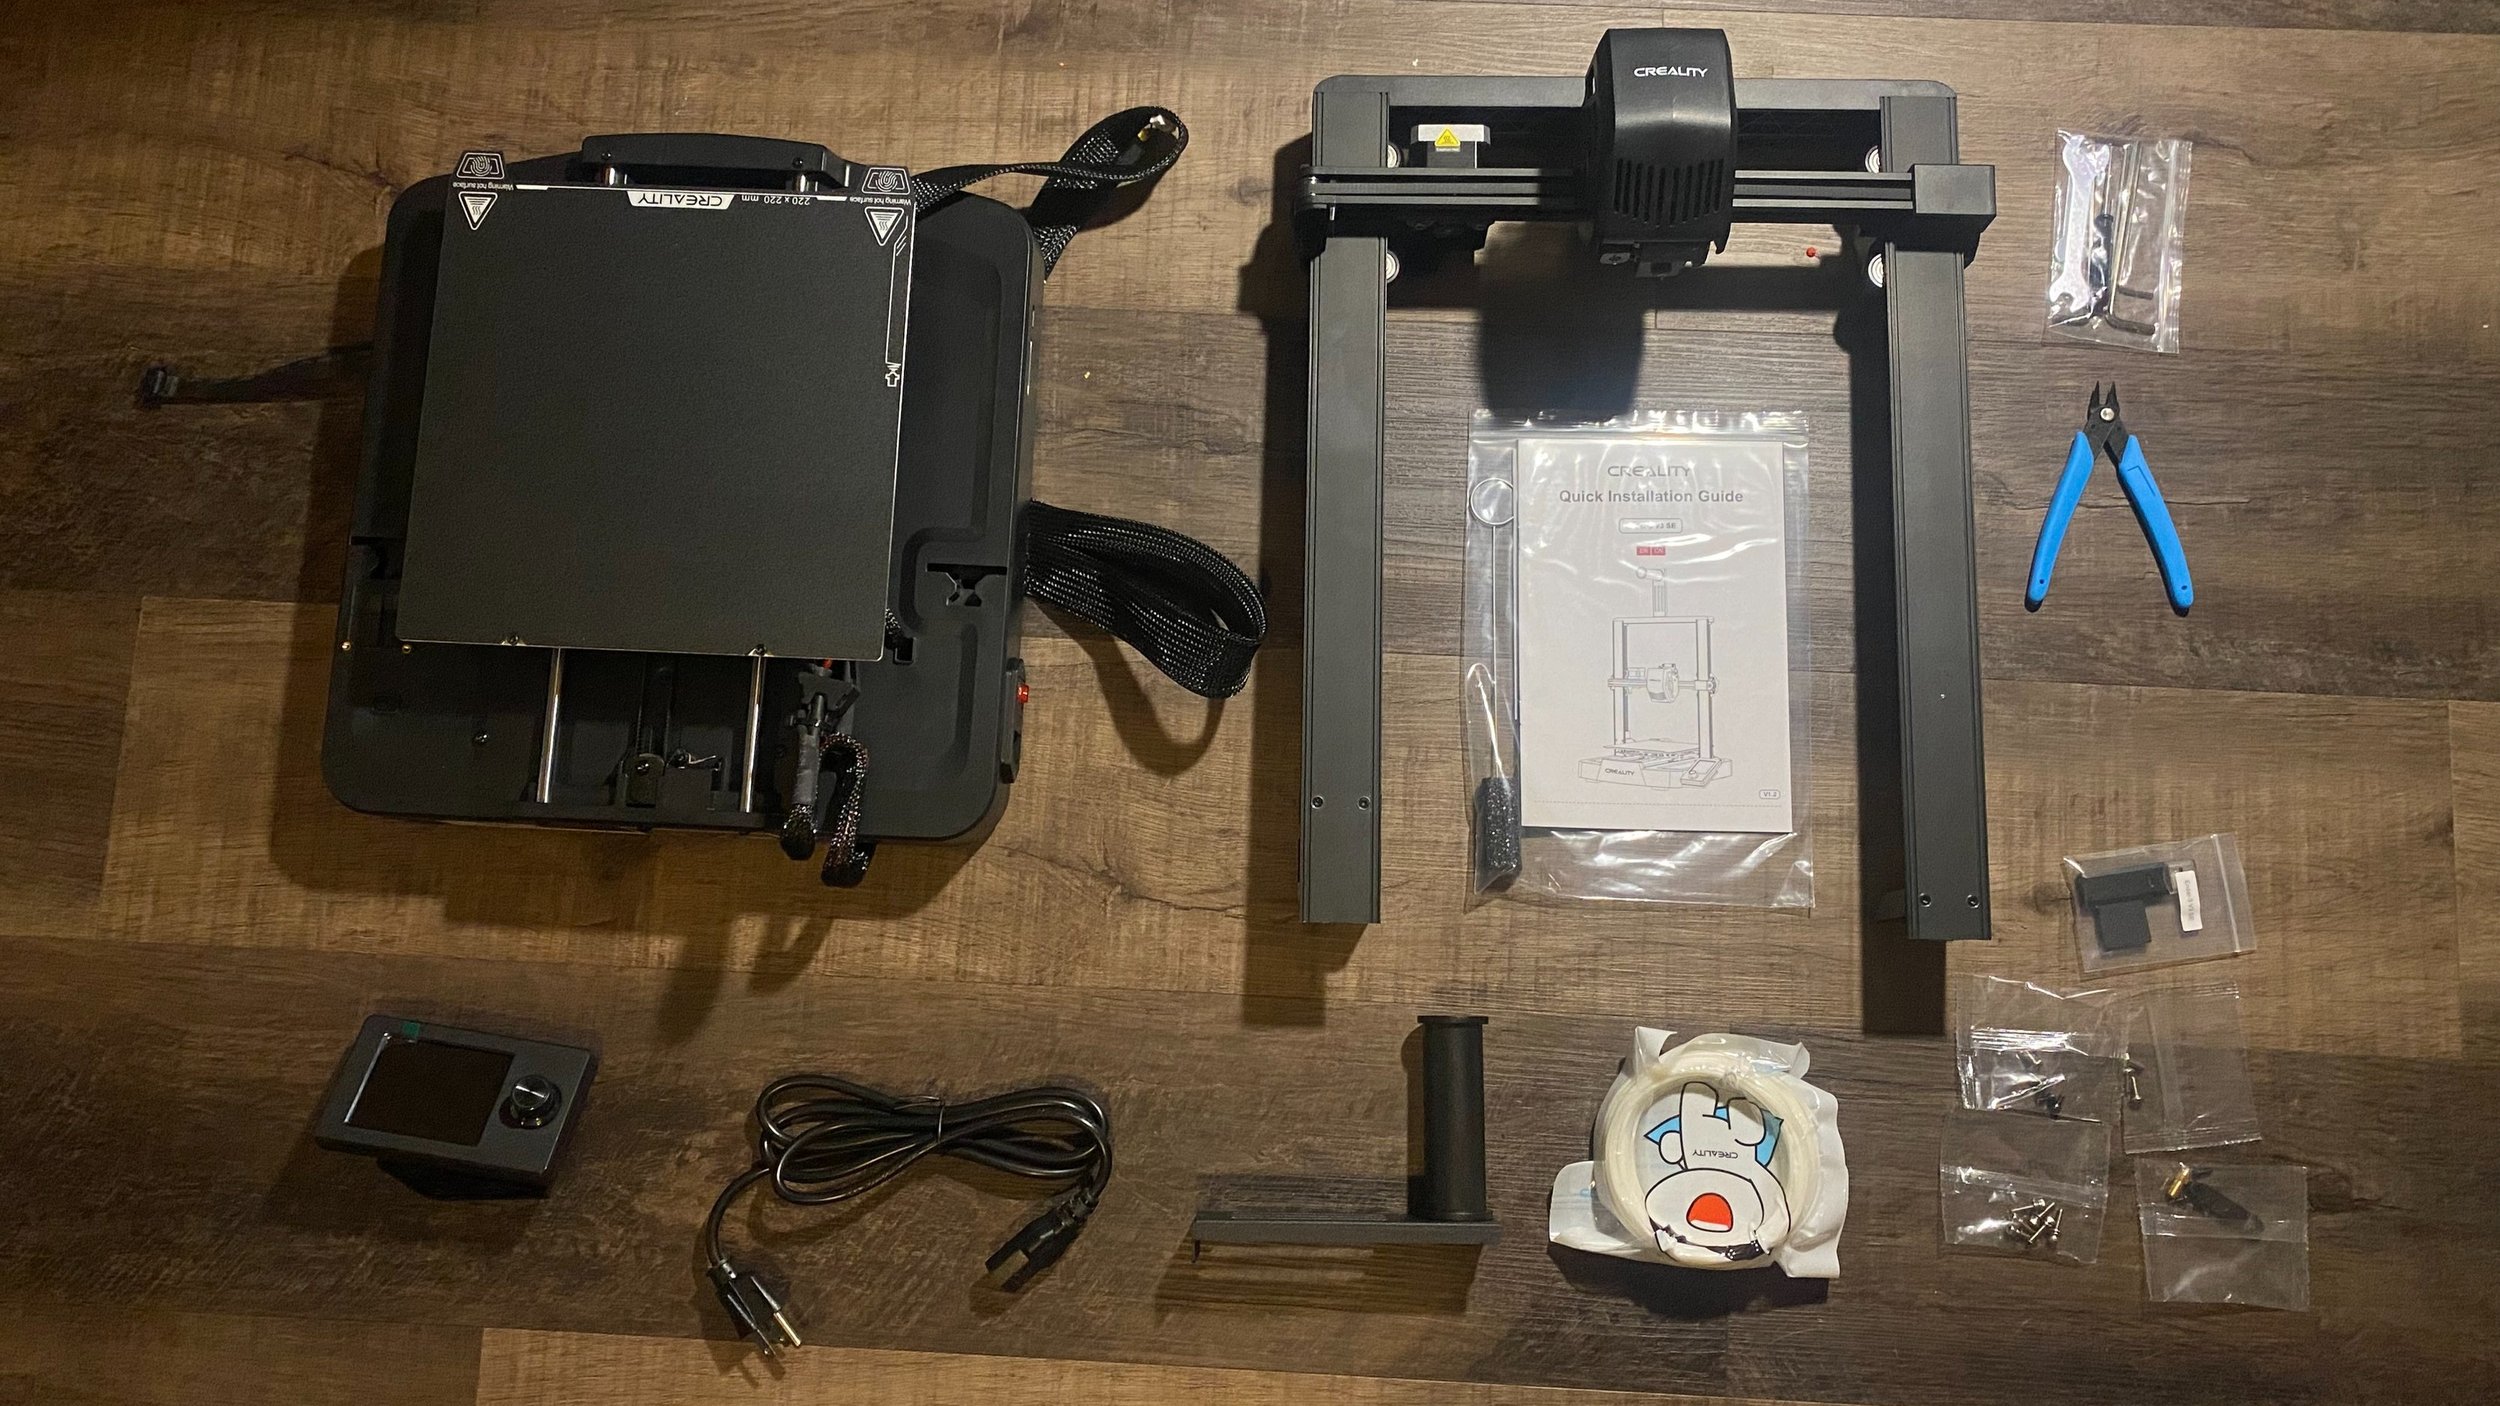
The components of the Ender 3 V3 as shipped. The printer is mostly assembled, and is pretty straightforward to assemble. This is a big improvement over older machines, such as the Ender 3 V2.
Printer Overview
Physical Size & Build volume
Size: 475 x 450 x 490 mm (18.7” x 17.7” x 19.3”)
Build Volume: 220 x 220 x 250 mm (8.6” x 8.6” x 9.4”)
The Ender 3 V3 SE is similar in size to previous models, but does offer a reduction in the horizontal footprint due to the redesigned gantry, which has flush edges. This gives it a sleeker appearance, but does mean that the adjustment knobs for belt tension are not longer present. You can still adjust the tension with a convenient bolt using an Allen wrench, and we don’t think the hand-adjustable knobs are that big of a loss—belt tension isn’t something you should have to change very often.
The Ender 3 V3 SE has a build volume of 220 x 220 x 250 mm, comparable to previous models in the series. Build volume is one of the most important measurements to look for in a 3D printer, because it directly affects your ability to print certain types of models. We appreciate larger build volumes for the capability they provide, but a larger build volume also means a larger printer that takes up more space. With a smaller physical footprint but the same build volume as previous Ender 3 machines, the Ender 3 V3 SE would be a good choice if you’re tight on space.
Material Capabilities
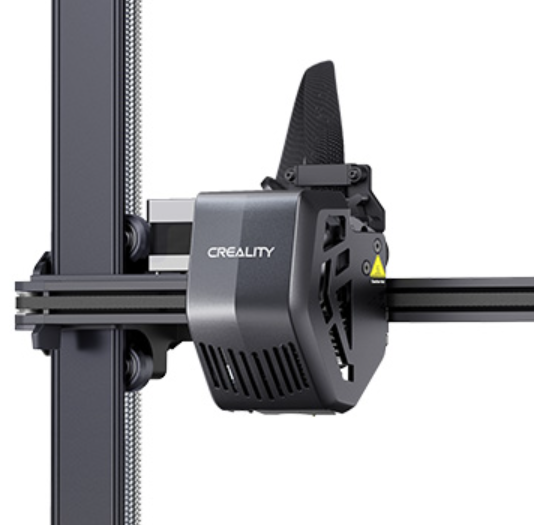
The Ender 3 V3 SE adds a new hot end enclosure, and uses a new variant of the Sprite direct drive extruder. This variant appears to be functionally very similar to the existing Sprite.
Like its predecessors, the Ender 3 SE is capable of heating up to 260C, which is hot enough to print common materials such as PLA, PETG, and ABS. The hot end includes a part cooling fan which cools models as they print and is especially useful when printing in PLA. The hot end in use here is a slightly modified version of the Sprite hot end, which was initially released with the S1 series. We have used an Ender 3 S1 with this hot end extensively, and it is one of the most reliable we have ever used, so we expect similar long-term reliability on the Ender 3 V3 SE.
The Ender 3 V3 SE also includes a direct drive extruder, a first for Creality at this price point. Direct drive extruders offer a number of benefits over Bowden extruders, most notably:
Less prone to stringing, which can occur if material continues to flow while the printer moves between two sections of the print. Bowden extruders require more retraction to combat this, and it is generally a bit harder to calibrate this setting on Bowden extruders, since too much retraction can cause the hot end to jam.
Much easier to print with flexible materials, such as TPU. While it is possible to print with these materials on a Bowden setup, you have to print very slowly, and even so the extruder can often jam.
Loading and unloading filament is faster, since there is no Bowden tube to run the filament through.
They do not require Bowden tube couplers. These are a common failure point on other Creality 3D printers, and while this is an easy problem to fix, it is a nuisance that isn’t encountered on direct drive extruders.
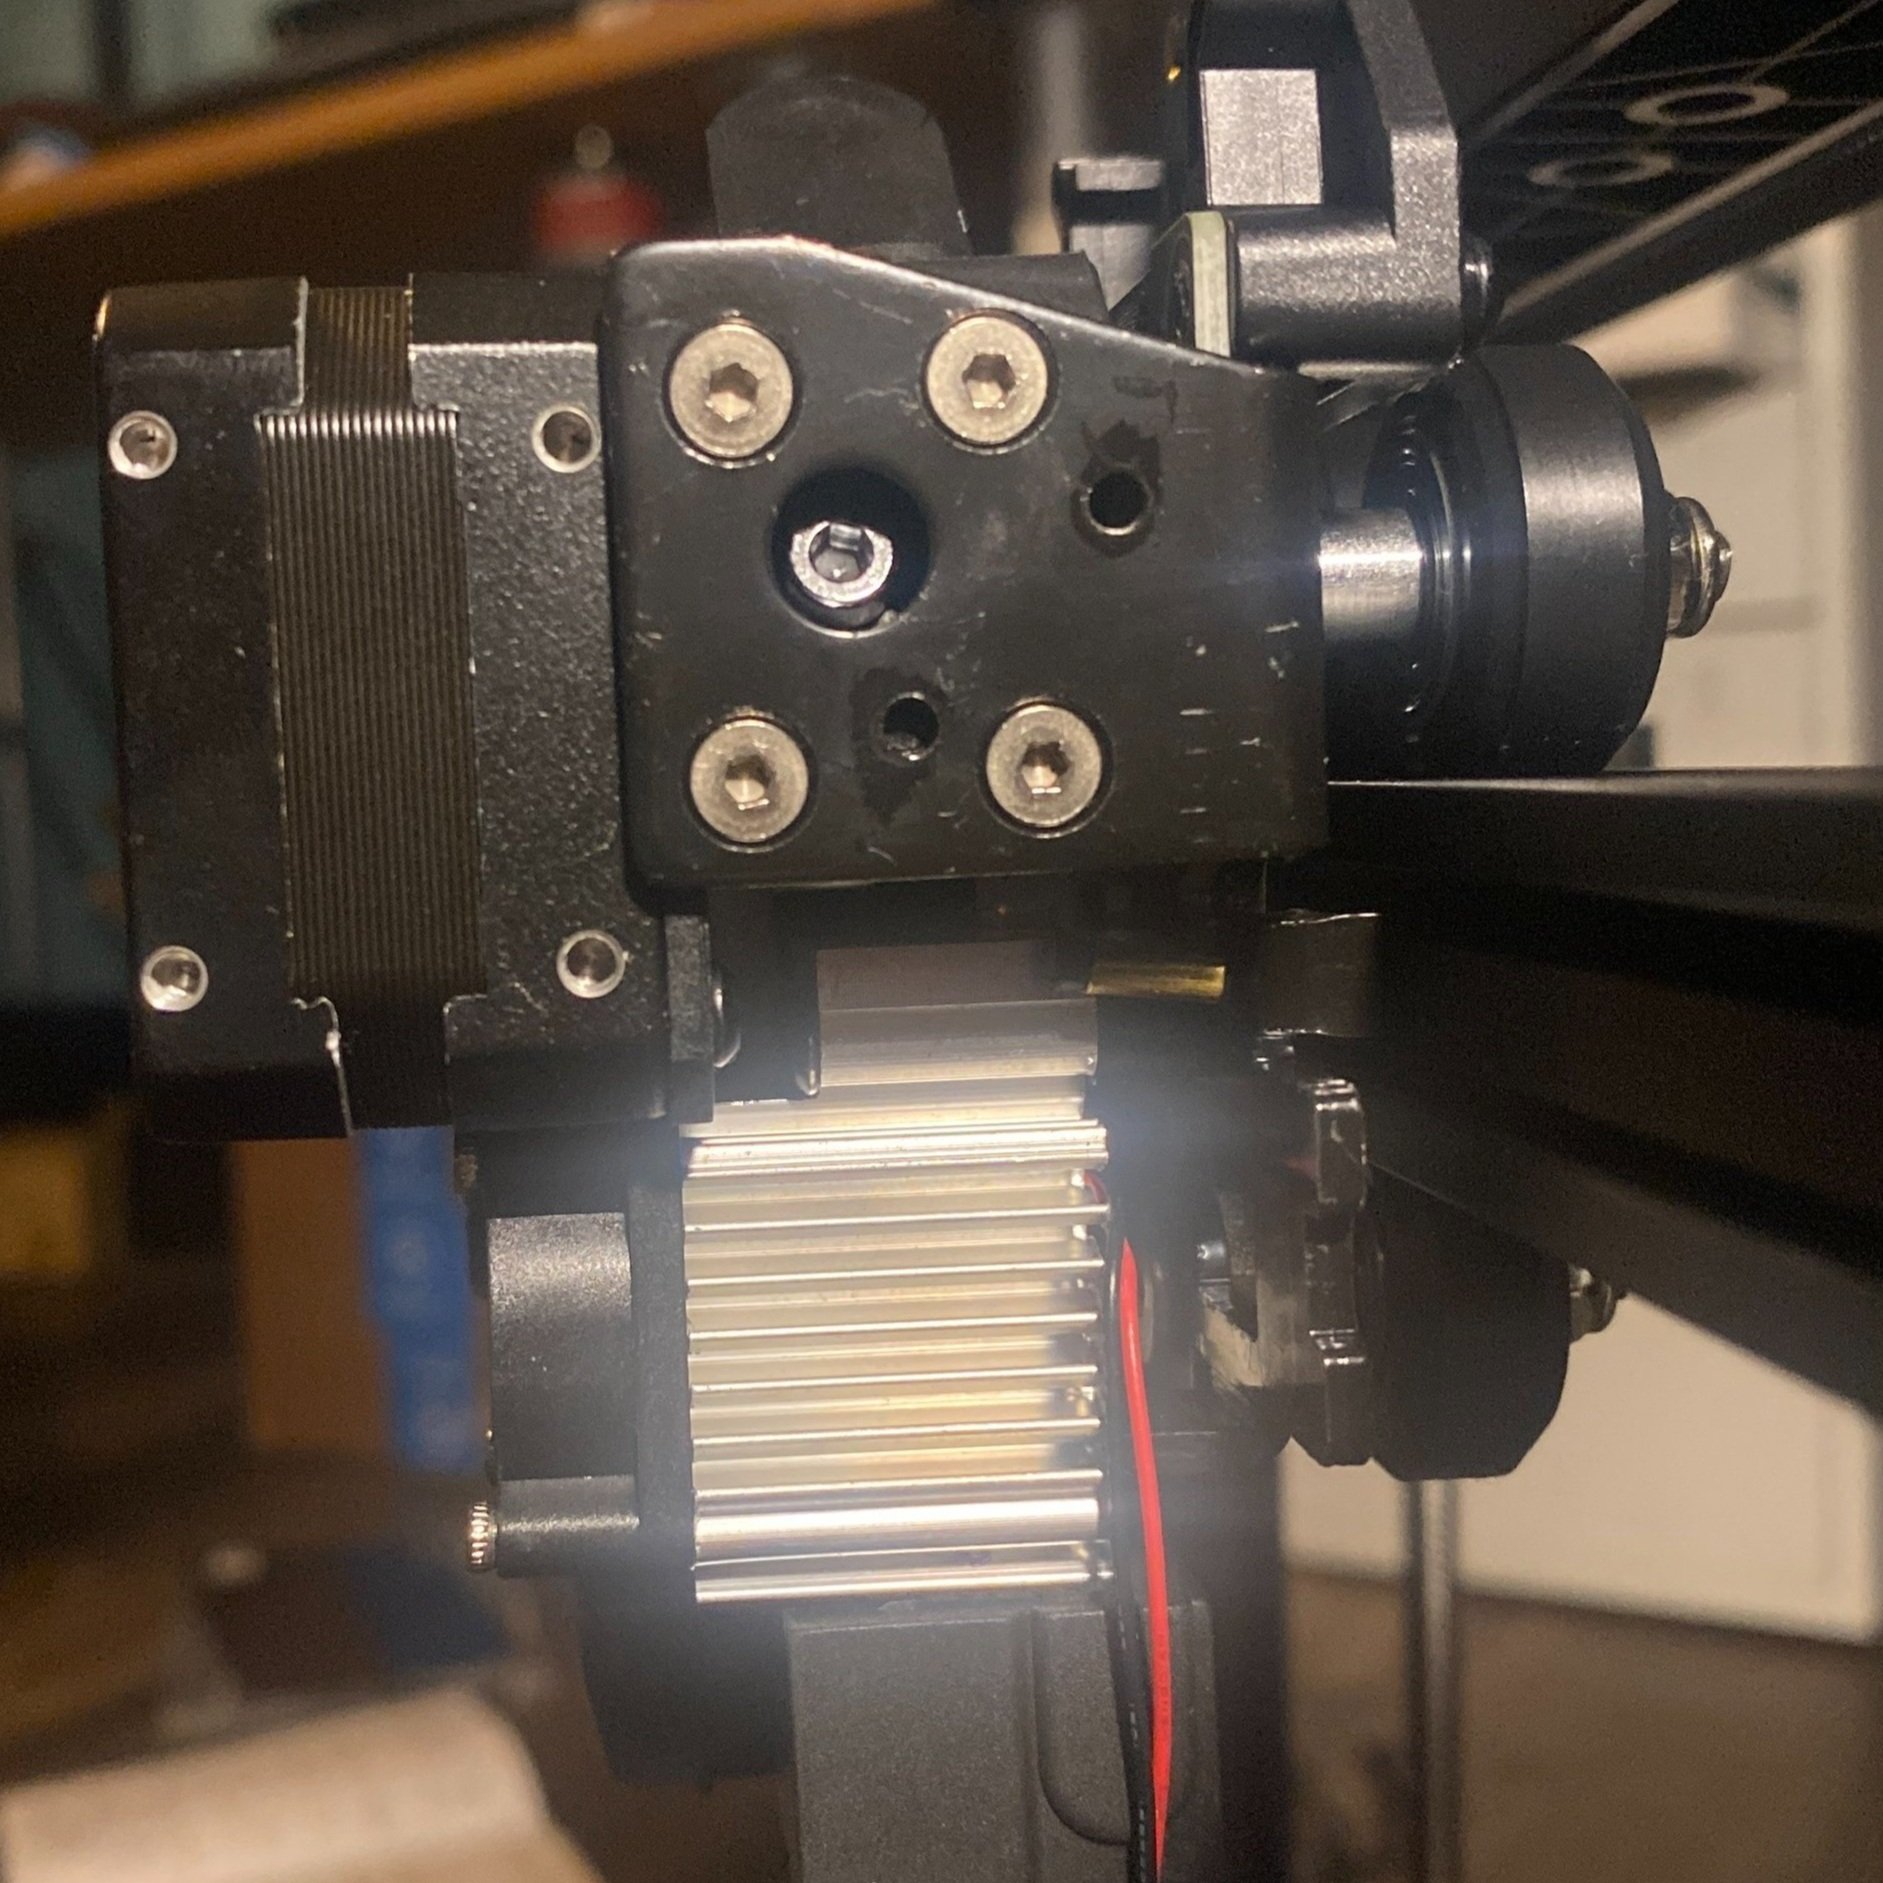
Opening the extruder enclosure reveals the direct-drive Sprite extruder.

Inside the extruder, a dual gear drive system provides good grip on the filament.
Bowden extruders do have some benefits as well, such as allowing the hot end assembly to be lighter since the extruder is mounted elsewhere. Previous direct-drive printers from Creality, such as the Ender 3 S1, have addressed this issue by including an additional Z axis motor to handle the additional weight of the direct drive extruder.
Interestingly, the Ender 3 V3 SE only has a single motor on the left side, and uses a belt across the top to drive the righthand Z rod from the motion of the left rod. While this is a design we haven’t seen from Creality before, we don’t think a second motor is really necessary since the Z drive does not require much power to move, and the belt ensures that the gantry stays consistently level. The gantry is very rigid due to the additional support of the secondary Z rod regardless of the additional motor.
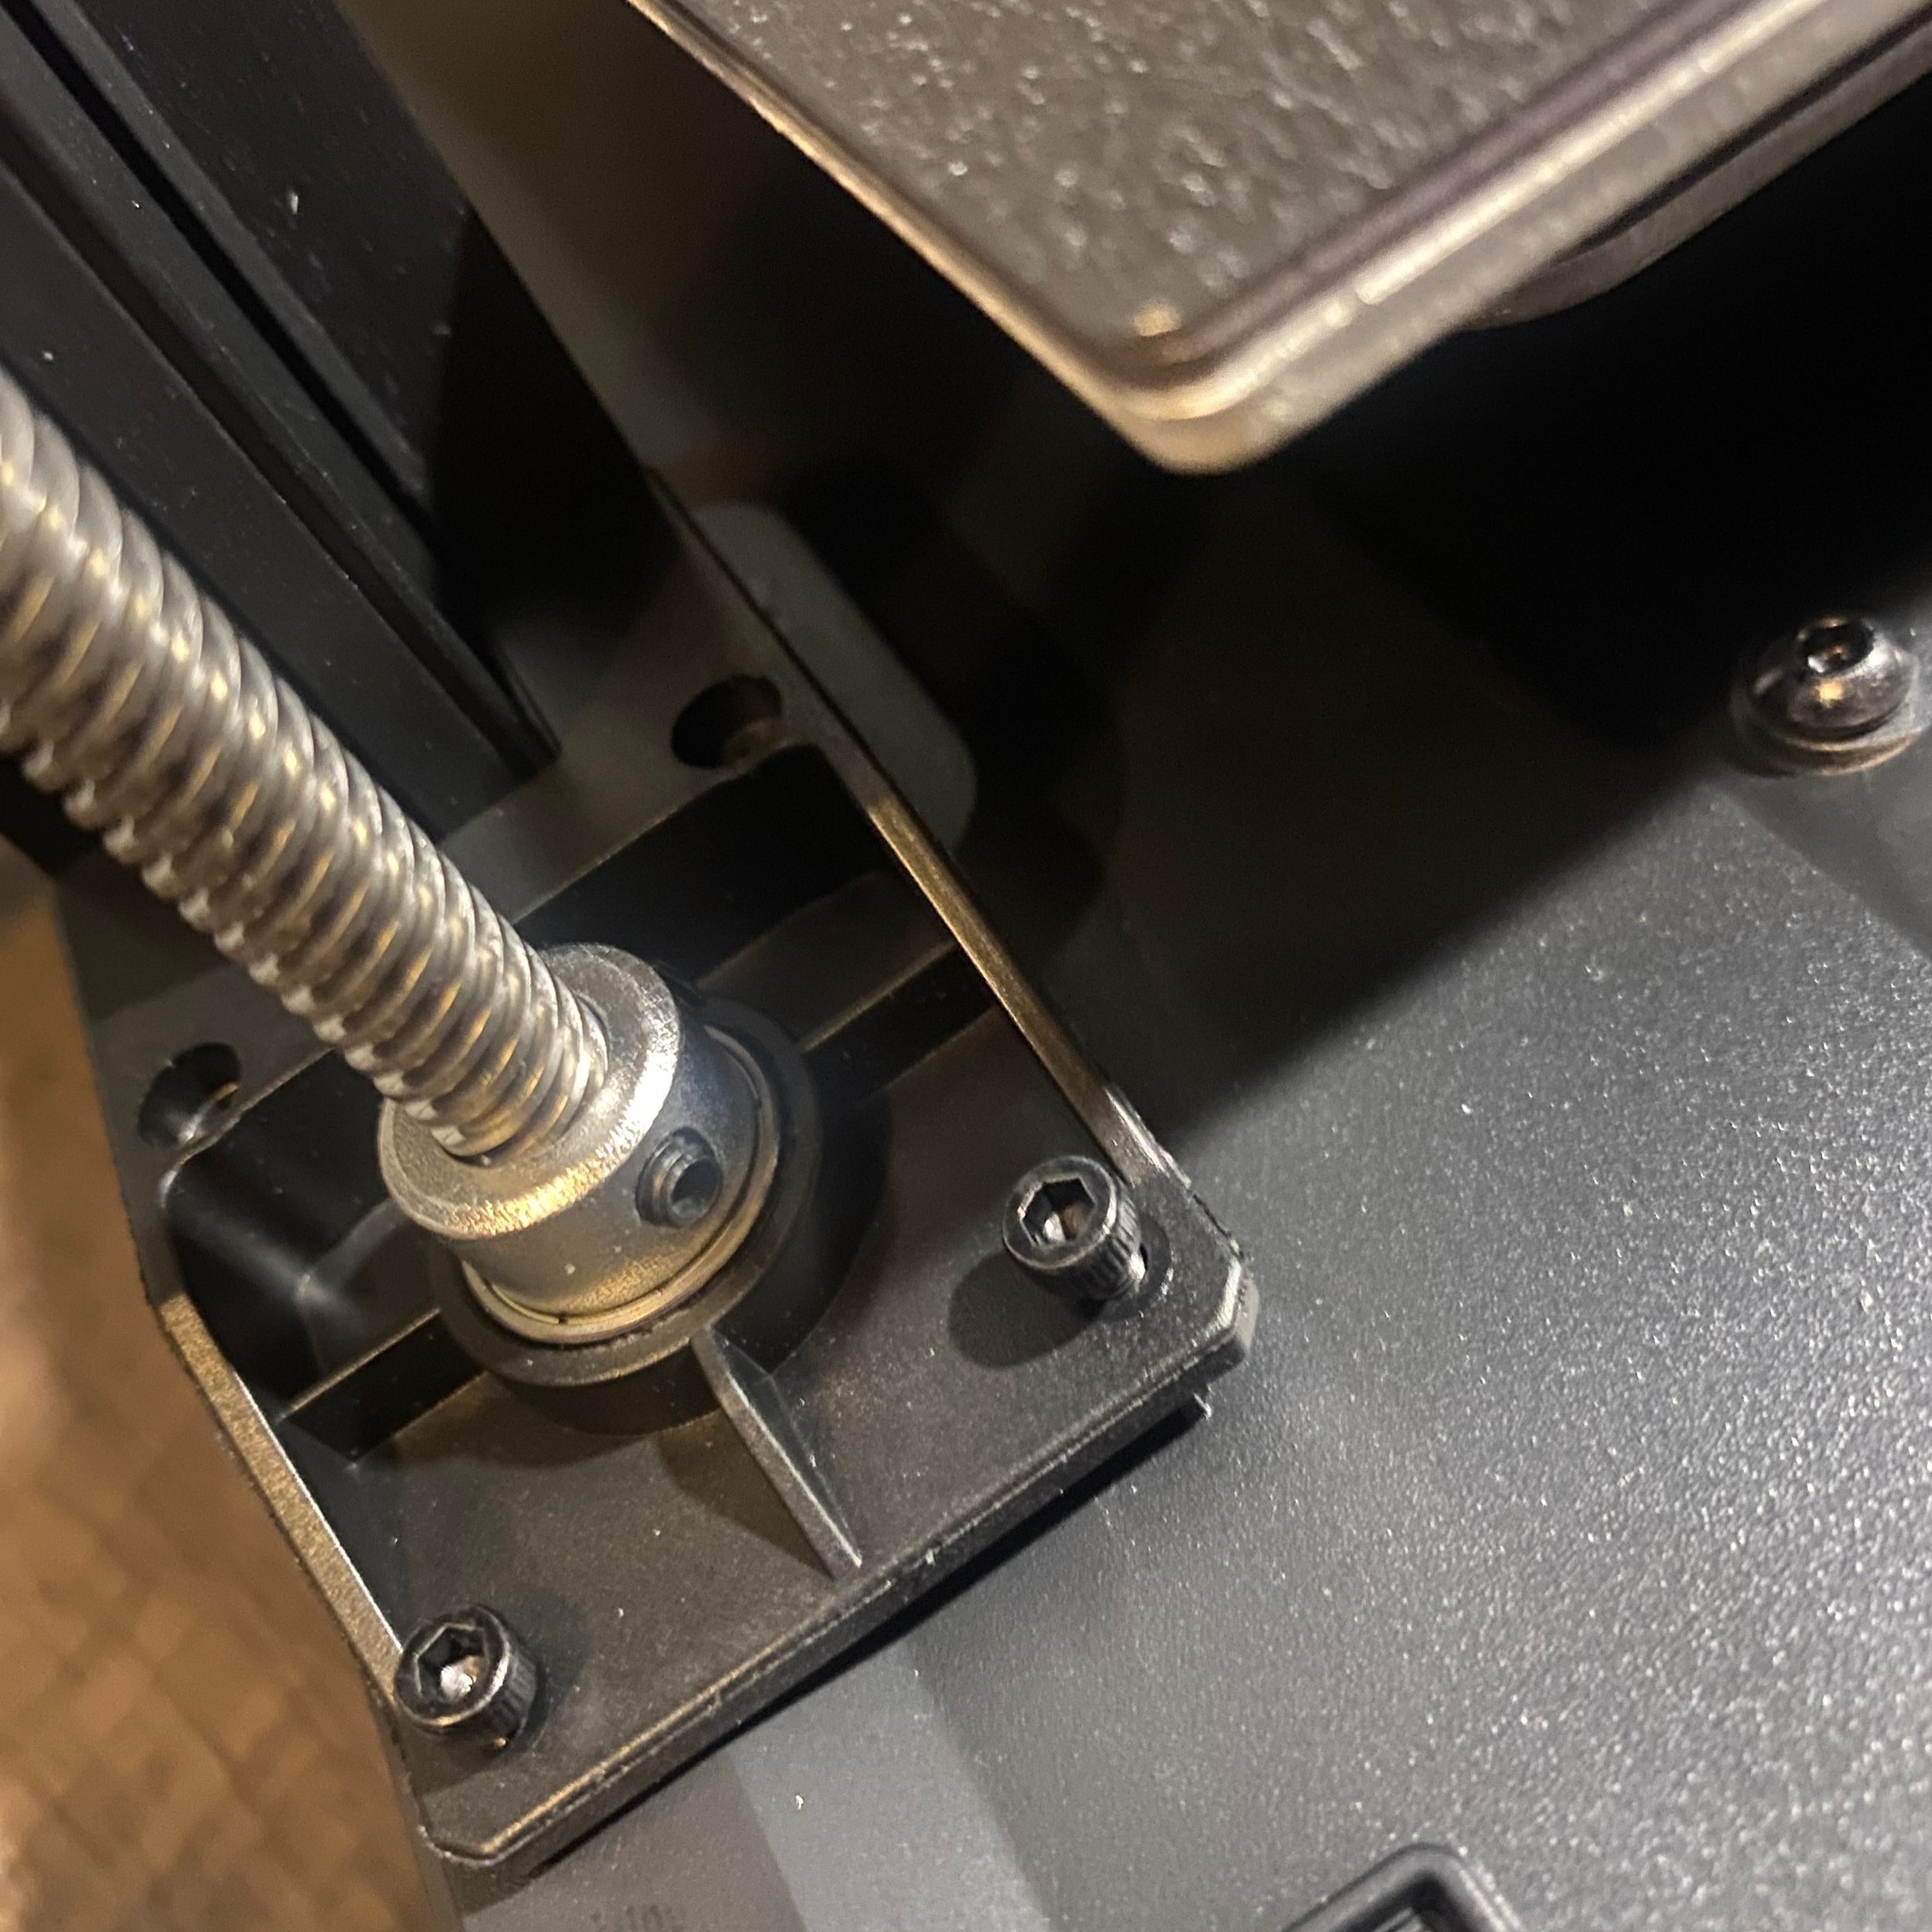
The right side z rod does not have its own motor.

It is instead driven by a belt across the top of the printer, keeping the motion of the two rods in sync.
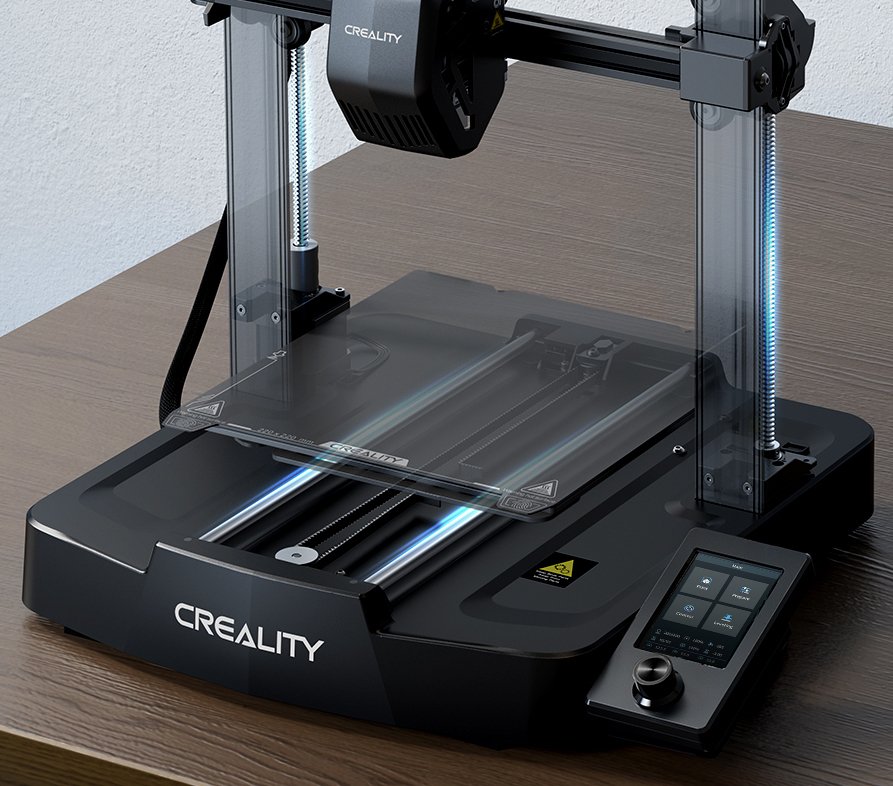
Chassis Style
The Ender 3 V3 SE has the same compact body style typical of the Ender series, but adds an enclosure to the base, versus previous models where the components were more exposed. We don’t have any complaints about this body style—it doesn’t take up much space on a desk, and neatly hides all wires. We also like that the Ender 3 V3 SE redesigned the gantry to have flush edges, which reduce the space needed for the printer and also give it a sleeker appearance. In general, the printer has a cleaner appearance than previous models.
The chassis includes quite a bit of plastic, which may be less durable than the metal enclosures used on some of Creality’s more expensive machines. However, we’re not particularly concerned—this part of the chassis is not under any particular stress during use, and it feels like Creality chose to save money on aspects of the printer that matter less, so they could focus the value on the important parts (such as the direct-drive extruder).
Print Quality
The Ender 3 V3 SE offers impressive print quality out of the box. We printed a few models to show the quality you can expect. The cat model on the left was included on the SD card, while the other two were sliced by us to test the higher speed capability. What we were really impressed with was that even when printing at high speeds (175 mm/s), the quality did not decline in any noticeable way.

The cat sample was included on the SD card. The Benchy and Dragon model were printed at high speed (175mm/s).
Part Cooling
The Ender 3 V3 SE utilizes a single blower fan mounted to the front of the hot end, identical to the Ender 3 S1 series. This fan is a bit larger than the one on the previous Ender 3 models, and it is positioned closer to the nozzle, which leads to superior cooling and overhang performance. We did notice that the cooling performance can be worse if the overhangs are facing away from the fan, which is typical of printers with a single cooling fan. You’ll get better results if you orient your prints so that the most severe overhangs face toward the part cooling fan duct.

These parts were printed with the same settings, but the left print was rotated 180 degrees so that the overhang faced toward the part cooling fan duct. As a result, the overhang is significantly better.
Internals
The mainboard and power supply are easy to access from the bottom of the printer, and only requires removing 8 screws from the base. We found that the Ender 3 V3 SE has clean internal wiring, and uses a Creality branded power supply. The mainboard version is not clearly marked, but looks very similar to the Ender 3 S1 32-bit mainboard.

The internals are all accessible from the bottom of the printer.
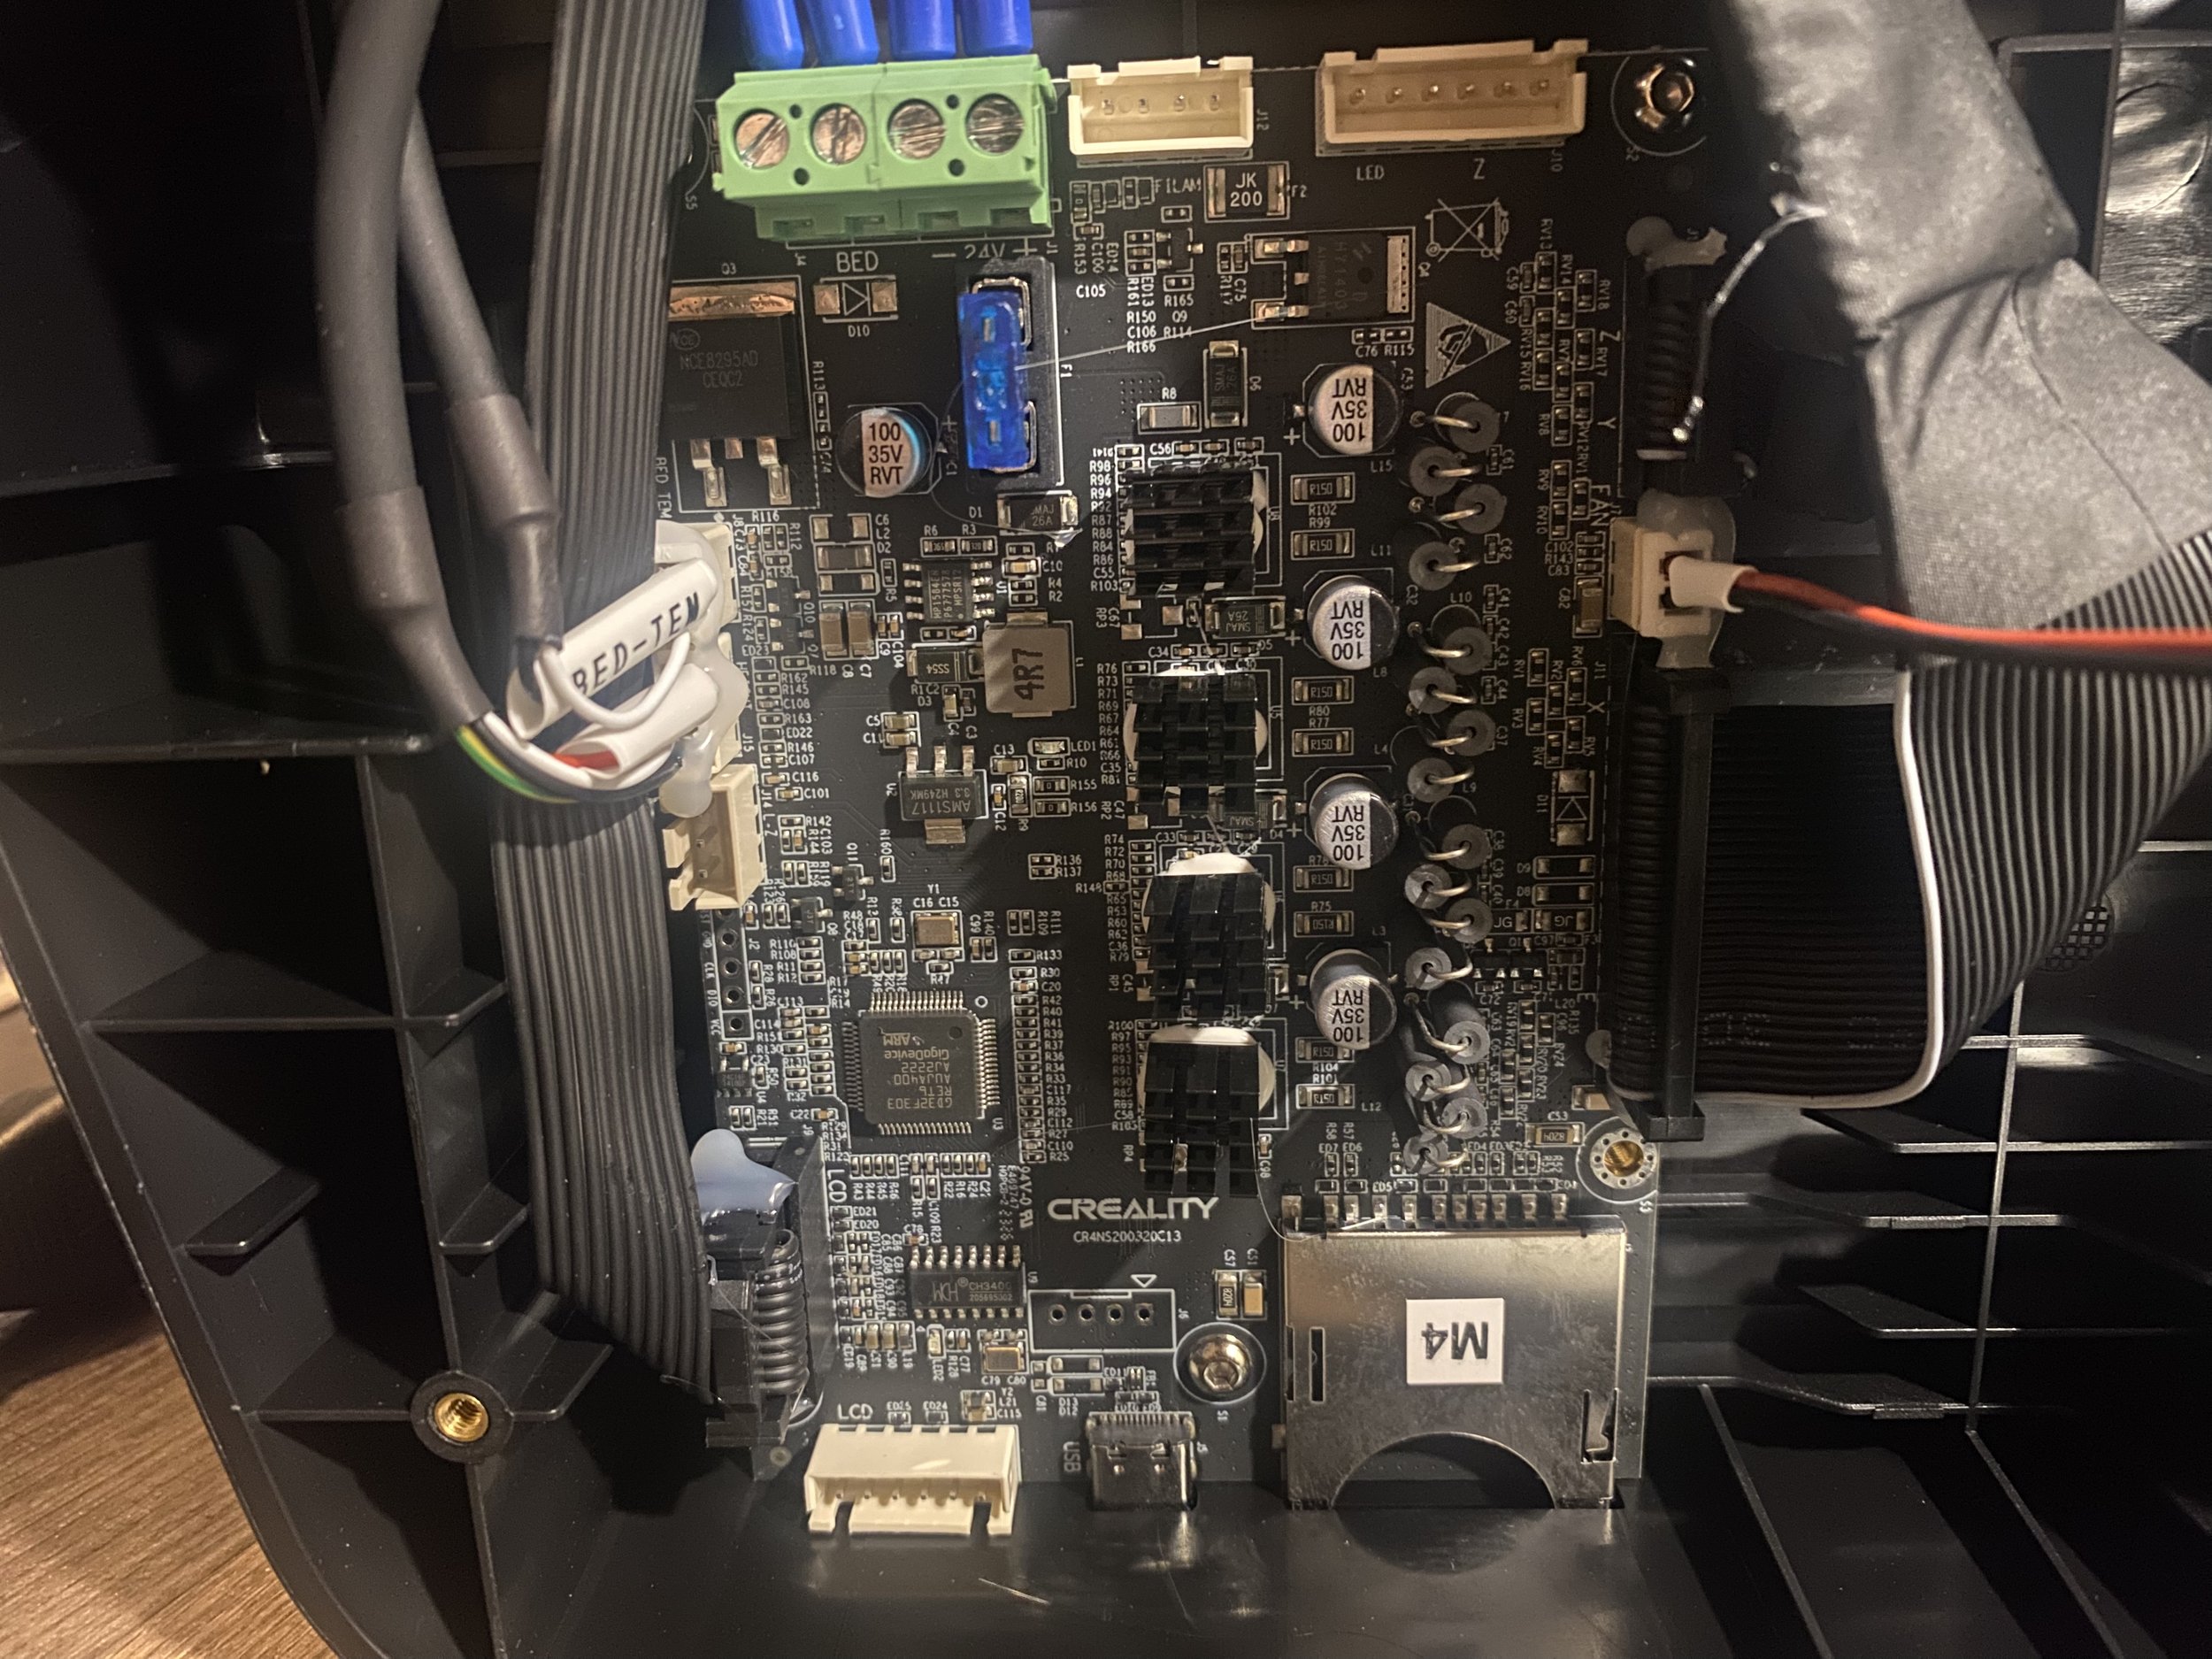
The mainboard of the Ender 3 V3 SE looks very similar to that of other modern Creality machines, such as the Ender 3 S1.
New Features on the Ender 3 V3 SE
Faster Print Speeds
The firmware on the Ender 3 V3 SE supports much higher acceleration speeds than previous Creality 3D printers, allowing for much faster print speeds. The default acceleration is set to 4000 mm/s, as compared to 1000 mm/s maximum on the Ender 3 S1. We tested a Benchy print at a high speed setting (30 minute print time) and were impressed with the near-perfect quality despite the high speed. Additionally, the Ender 3 V3 SE includes linear rods to guide the Y axis movement, which improves stability and results in better print quality at high speeds.
Creality advertises capability of up to 250 mm/s, which is 5x typical printing speeds, but we saw some slippage when testing at this speed. However, our max reliable speed of 175 mm/s on the Ender 3 V3 SE is still very impressive and faster than what is possible on the Ender 3 S1 without firmware updates. We do think similar speeds are achievable on the Ender 3 S1 since there are few hardware differences, but it would require updating the firmware to unlock higher acceleration settings.

We printed this Benchy at high speed in 30 minutes on the Ender 3 V3 SE and were very impressed with the quality.
The Ender 3 V3 SE adds linear rails which provide more stability than the pulley system used on the Ender 3 S1.
Strain-Based Z Offset Calibration
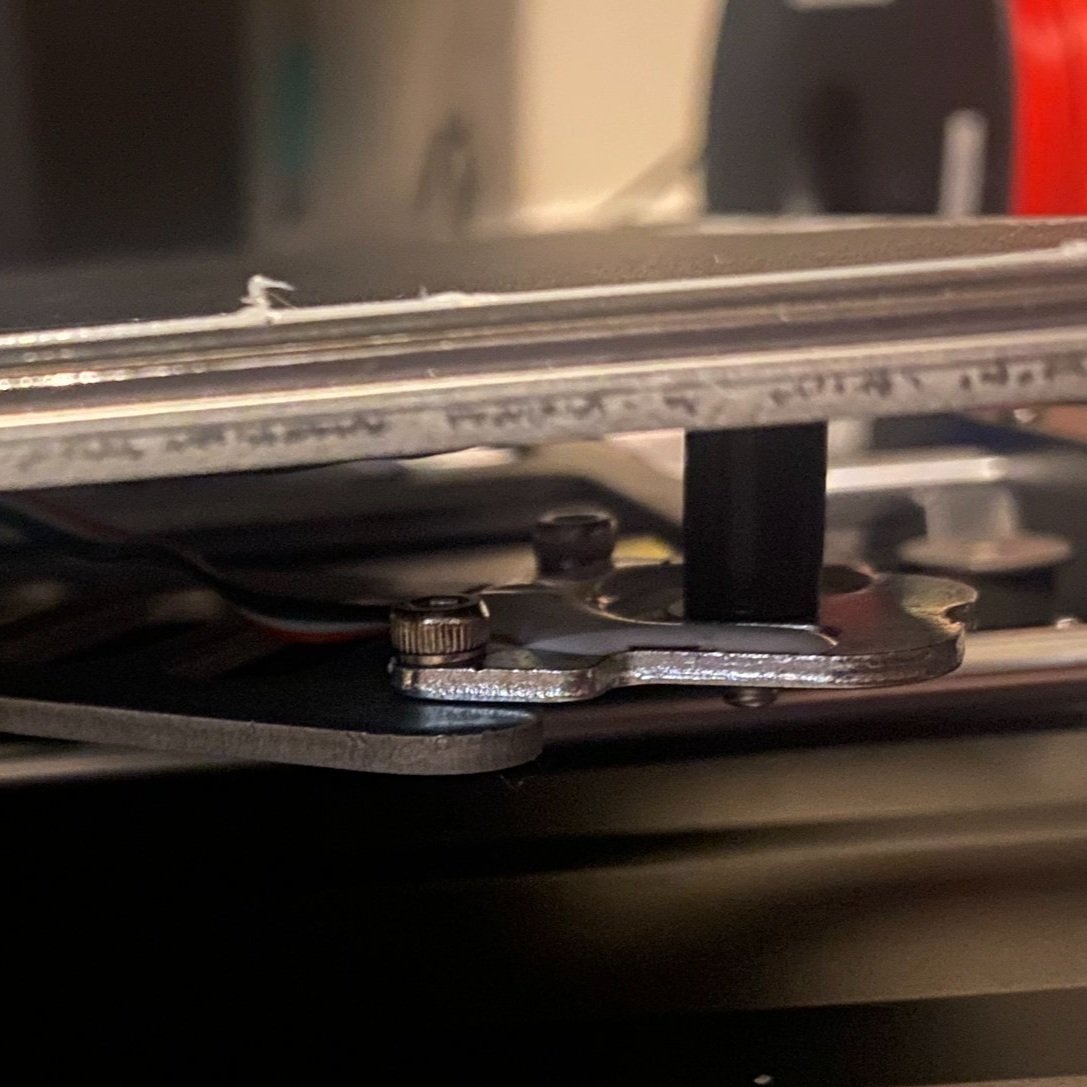
A strain sensor under one corner of the bed allows the printer to measure the nozzle height and set the Z offset automatically.
The Ender 3 V3 SE added a clever secondary system for calibrating the Z offset of the printer automatically. On previous models, the printer calibration process required you to adjust the print head until the nozzle was slightly above the bed, and then save the offset so that the nozzle is the correct height after auto leveling. In contrast, the Ender 3 V3 SE uses a strain sensor on the bed to measure the actual position of the nozzle by gently touching the nozzle to the bed. Using this data, it can set the Z offset automatically.
This feature allows you to use different bed materials of different thicknesses with minimal effort, and should also make it faster to calibrate after changing the nozzle or making other hardware changes.
When we tested this feature, we did find that the initial offset was a bit too close to the bed, but it was easy to tweak this on the fly while the test print was running, and we only had to adjust it by about 0.08 mm. Overall, this is a great improvement to the Ender 3 V3 SE that should get you up and running more quickly than with previous models.
Usability Updates
While the user interface of the Ender 3 V3 SE does not have a touch screen and uses knob controls like previous models, the display supports more colors and includes more information than what you get on previous models. For example, the Ender 3 V3 SE displays a graph of the current hotend temperature, allowing you to monitor the temperature more easily than the simpler numbers-only display found on many other printers. Other features also benefit from the improved display, such as the automatic bed leveling, which allows you to view the mesh parameters. This isn’t a major improvement, but is still nice to see and makes the printer feel more modern.

While still not a touch screen, the Ender 3 V3 SE adds many usability improvements to the LCD.
Downsides of the Ender 3 V3 SE
The Ender 3 SE uses more plastic components than is typical on Creality printers. The base enclosure and top crossbeam, along with much of the side pieces of the gantry, are all made of plastic. The printer uses metal where it matters, such as on the side beams and gantry beam. We don’t foresee the plastic parts having any functional downsides, but they do make the printer feel slightly cheaper than its predecessors. However, we aren’t too surprised by this decision, and think the choice makes sense to get this printer into the budget price range without sacrificing functionality.
Additionally, there are a few minor things we noticed that were lacking:
No bed leveling knobs
Almost every other Creality 3D printer has had 4 knobs on the edges of the bed to allow for manual adjustment of the bed height. This is not often needed since the automatic bed leveling sensor adjusts for the bed height, and the Ender 3 V3 SE does not include manual bed leveling knobs. We don’t foresee this being a concern, especially with the new strain-based Z offset system, but it does remove one means of adjusting the printer.
Filament runout sensor is not included
The S1 series printers, and many of Creality’s higher-end models, include a filament runout sensor, but the Ender 3 V3 SE does not. We aren’t too bothered by this, because we usually don’t use the runout sensor at all. On default Creality firmware, the printer cools down the bed when it detects that filament has run out, which releases the print and prevents it from being successfully resumed. However, if you typically print functional parts and are usually monitoring the printer, a runout sensor can be a useful addition. If you want to use the feature, you can buy it as an upgrade for the Ender 3 V3 SE.
How Does the Ender 3 V3 SE Compare To Other 3D Printers?
We’ve written several articles comparing the Ender 3 V3 SE to other 3D printers from Creality and other brands. You can find those here:
Is the Ender 3 V3 SE worth buying?
The answer is very clear here. The Ender 3 V3 SE offers many improved features at a lower price than previous Creality Ender 3 models, and is the currently best choice for a budget Creality 3D printer. The only potential catch is that the Ender 3 SE V3 can be difficult to find as of this writing, and Creality may have fulfillment issues or raise the price if they are unable to keep up with demand.
In many ways, the Ender 3 V3 SE doesn’t feel like an entry-level 3D printer. Features such as the direct-drive extruder and strain-based Z offset calibration make it a strong competitor against many higher-end machines. And with those machines often coming at a substantial price premium, the Ender 3 V3 SE looks like a great deal for new users and experienced hobbyists alike.