Getting Started With Your Creality 3D Printer
If you are considering purchasing a new 3D printer, you may be wondering how hard it is to get it set up and ready to print quality parts. Is a 3D printer a good gift for a child or will it just lead to frustration? Do you have to be an engineer to get good prints? Fortunately, getting good results out of an entry level 3D printer like the Creality Ender 3 is likely not as difficult as you think. Creality’s 3D printers are designed to work well out of the box with minimal calibration or tuning, and most of the software you’ll use has preconfigured settings for Creality printers since they are so ubiquitous among hobbyists.
In this article, we will go through the process of setting up and using a 3D printer to give you a better idea of the level of complexity so you can make an informed decision on whether a 3D printer is a good fit for you. We’ll start with a general overview of what to expect when assembling a 3D printer. We’ll then look at what you’ll need to do to start using the machine to make 3D printed parts.
Note: Creality Experts receives a commission for items you purchase from this page, at no additional cost to you. For more information, please see our affiliate link policy.
Assembly
The difficulty of assembly can vary quite a bit depending on which 3D printer you purchase. On the extreme end, machine such as the Prusa i3 require you to assemble almost everything yourself and can take 5 or more hours to assemble. The Creality Ender 3 and Ender 3 V2 are in the middle of the road; some components come preassembled, and assembly takes about an hour to complete. More expensive machines such as the Creality Ender 3 Max or the CR-10S Pro are shipped in only 2-3 pieces, and can be assembled in only 15 minutes.

The Prusa i3 requires extensive assembly which will usually require 5 or more hours.

The Creality Ender 3 and Ender 3 V2 are partially assembled, and take about an hour to put together.

The Creality Ender 3 Max is almost fully assembled, and takes 15-20 minutes to fully assemble.
Creality printers include a set of allen wrenches and 2 small wrenches, which are the only tools required for assembly. The assembly process for the Creality 3D printers all involves the same types of tasks, including:
Using the included allen wrenches to fasten parts together with machine screws
Mounting a belt over pulleys (This is pre-assembled on the Ender 3 Max)
Plugging in labeled cables to various electronic components, such as motors and endstop sensors
Adjusting the tension of belts and the print bed
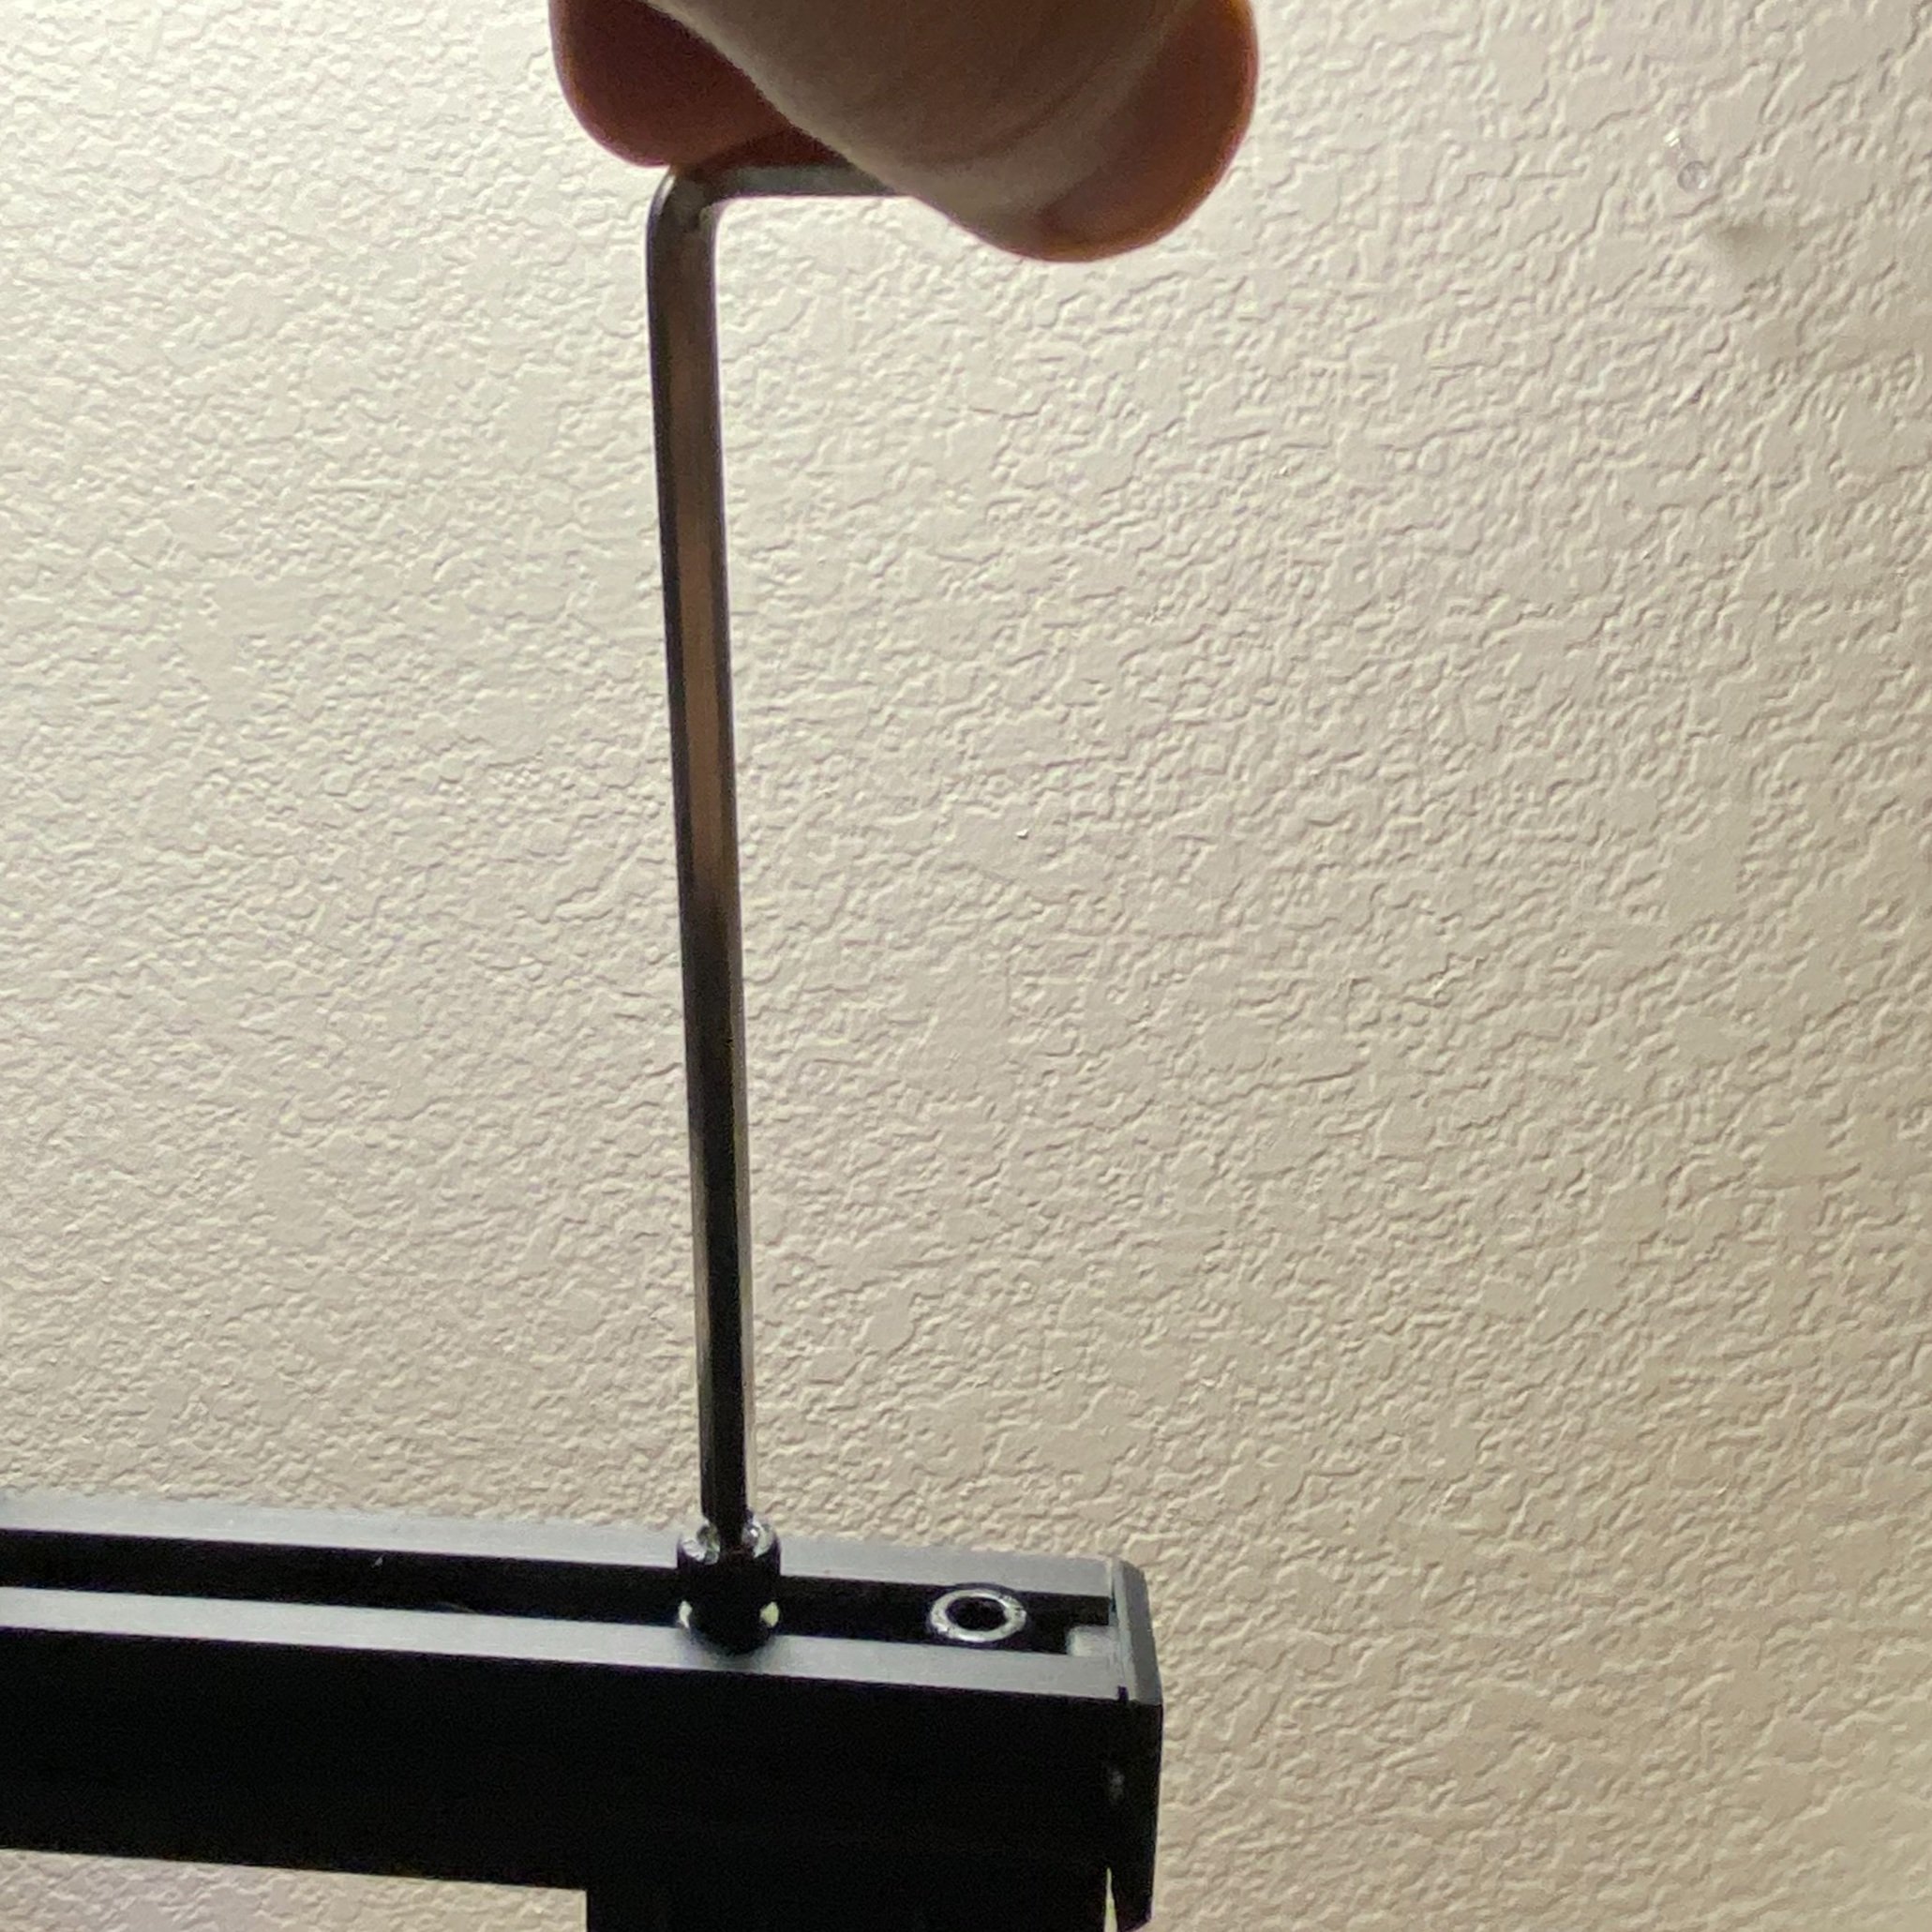
Assembling the frame with included allen wrenches.

Attaching a labeled cable to a motor on the 3D printer.
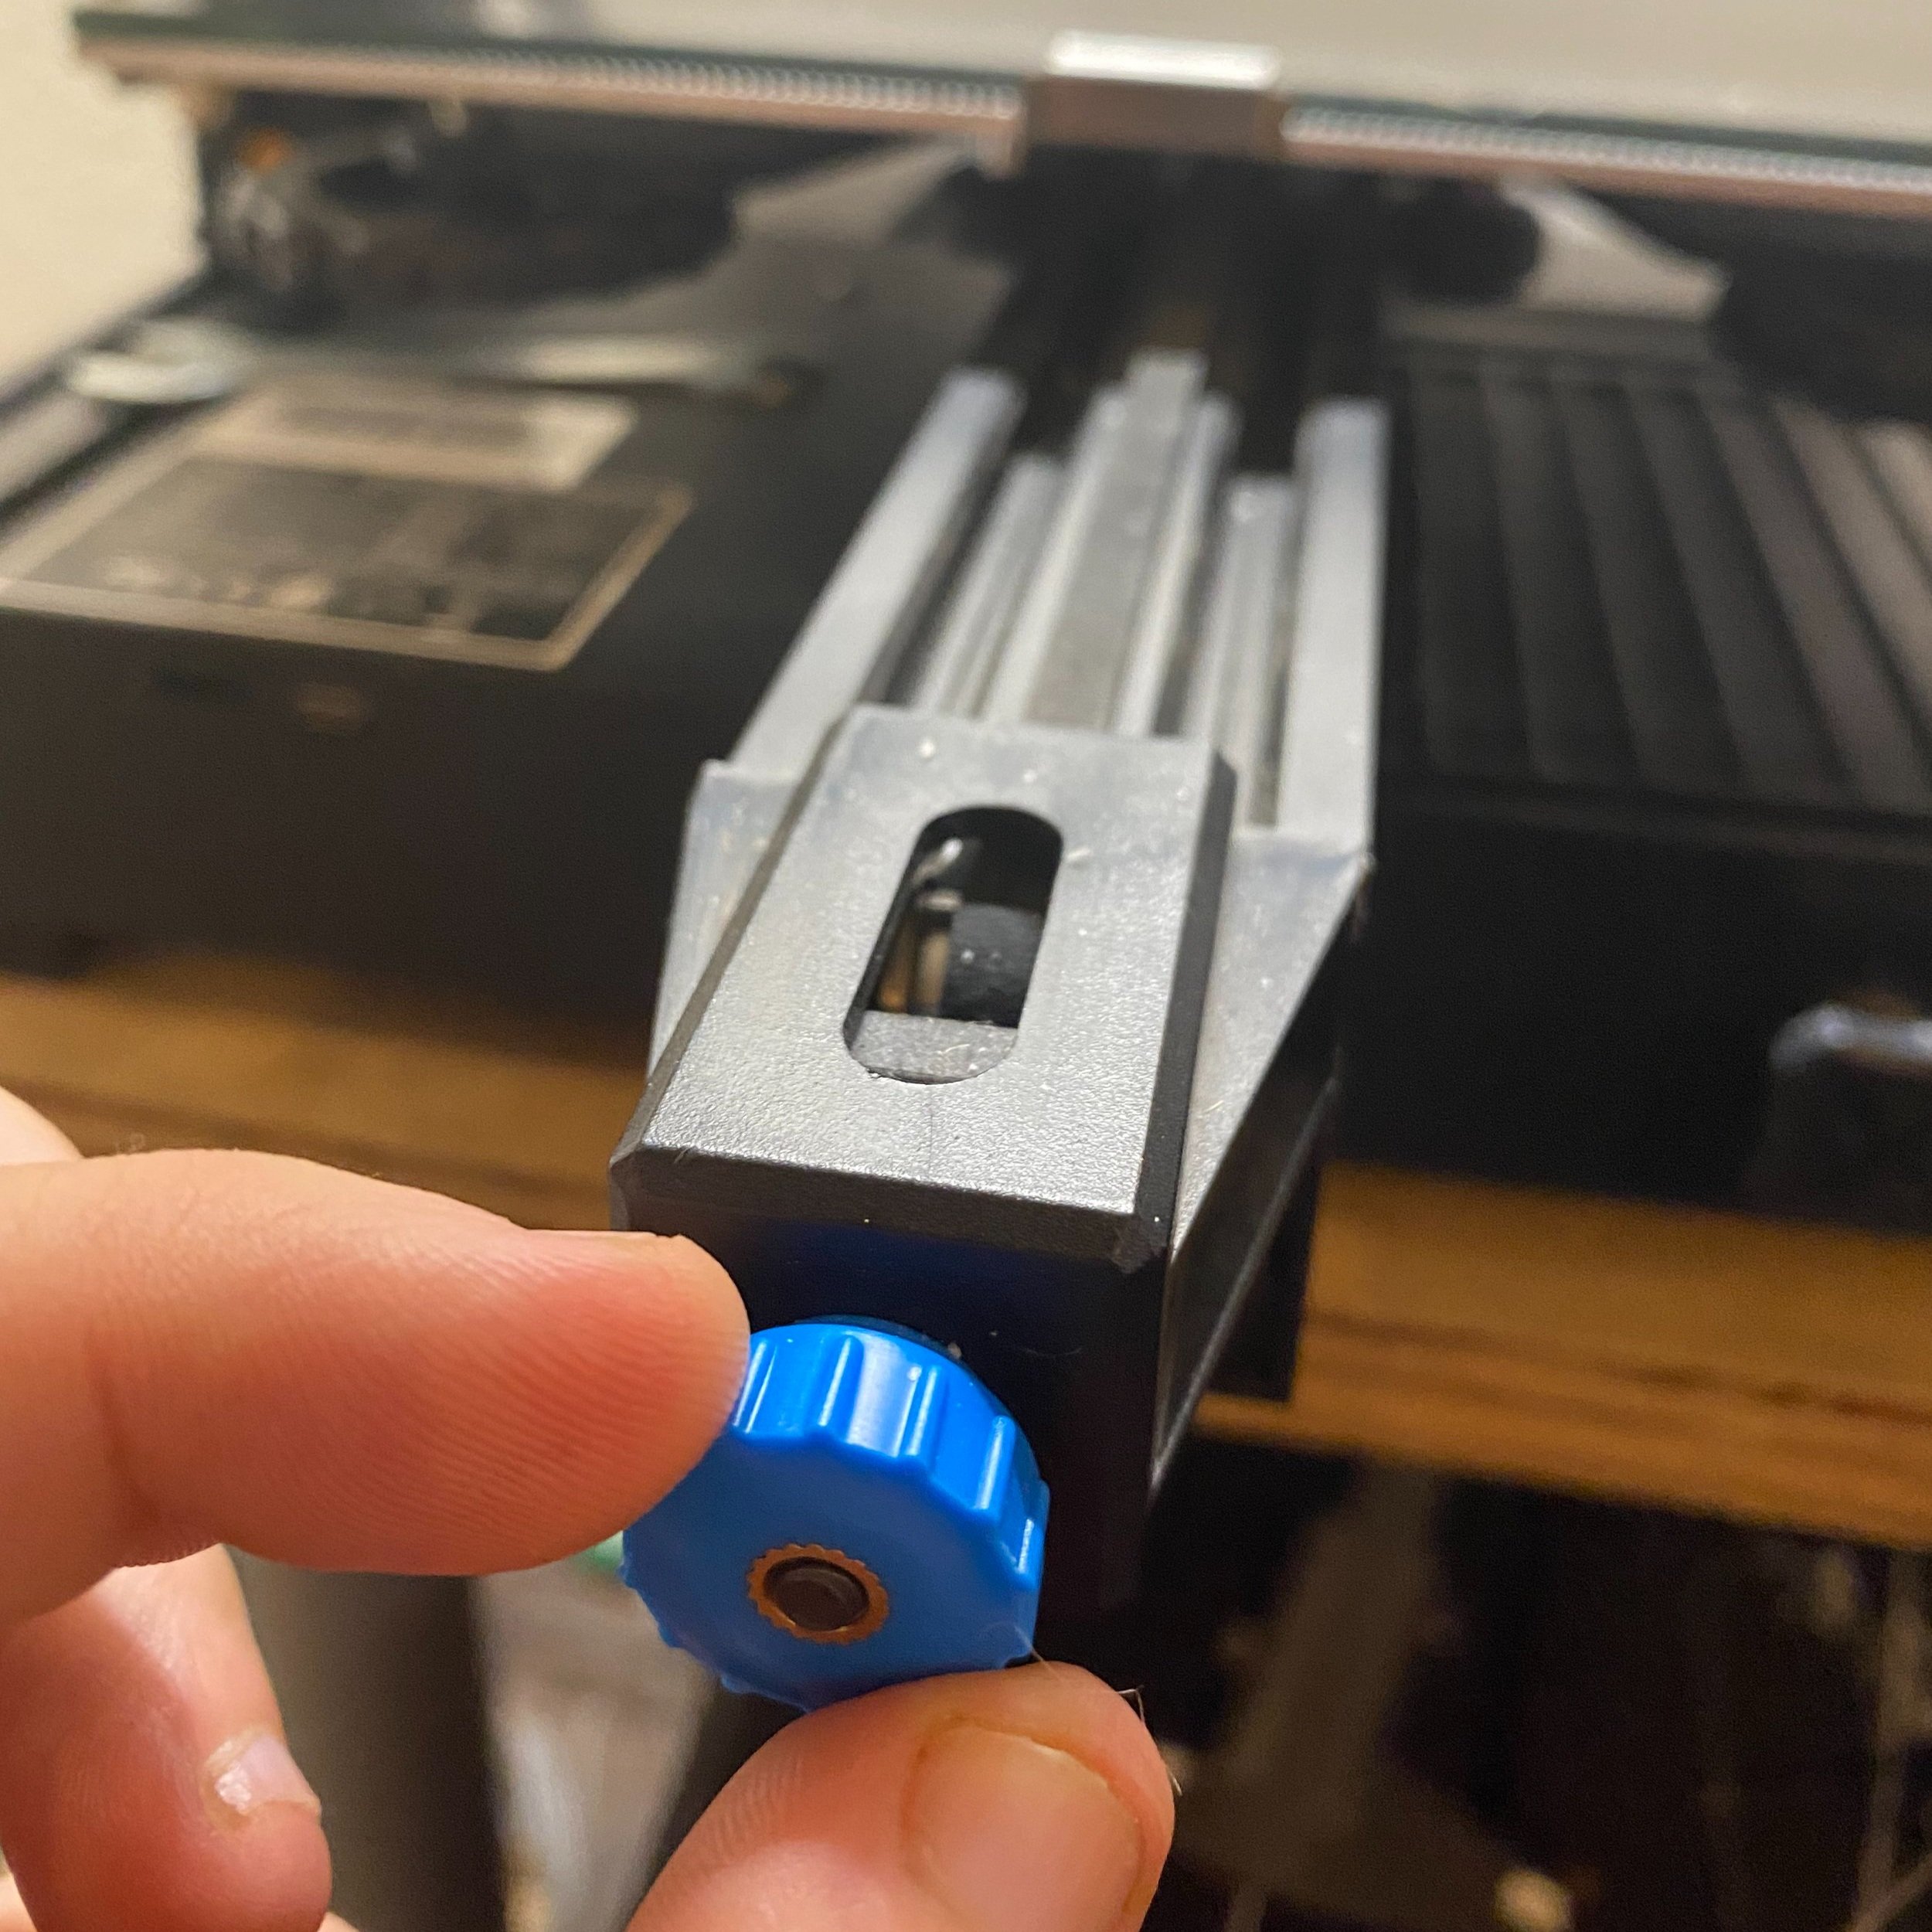
Adjusting the belt tension using a hand nut.
You can find a full assembly guide for the Creality 3D printers here if you are looking for more detail on the process:
Creality Ender 3 V2 (~1 hr) - Assembly Guide
Creality Ender 3 Max (~15 min) - Assembly Guide
If you are nervous about the assembly process, we would definitely recommend the Ender 3 Max or CR-10S Pro since they are substantially easier to assemble. If you need help, the detailed manual and many online guides on YouTube are available to walk you through the process.
Once the 3D printer is assembled, the only required calibration is leveling the bed to adjust it to the correct height.
Leveling the Bed
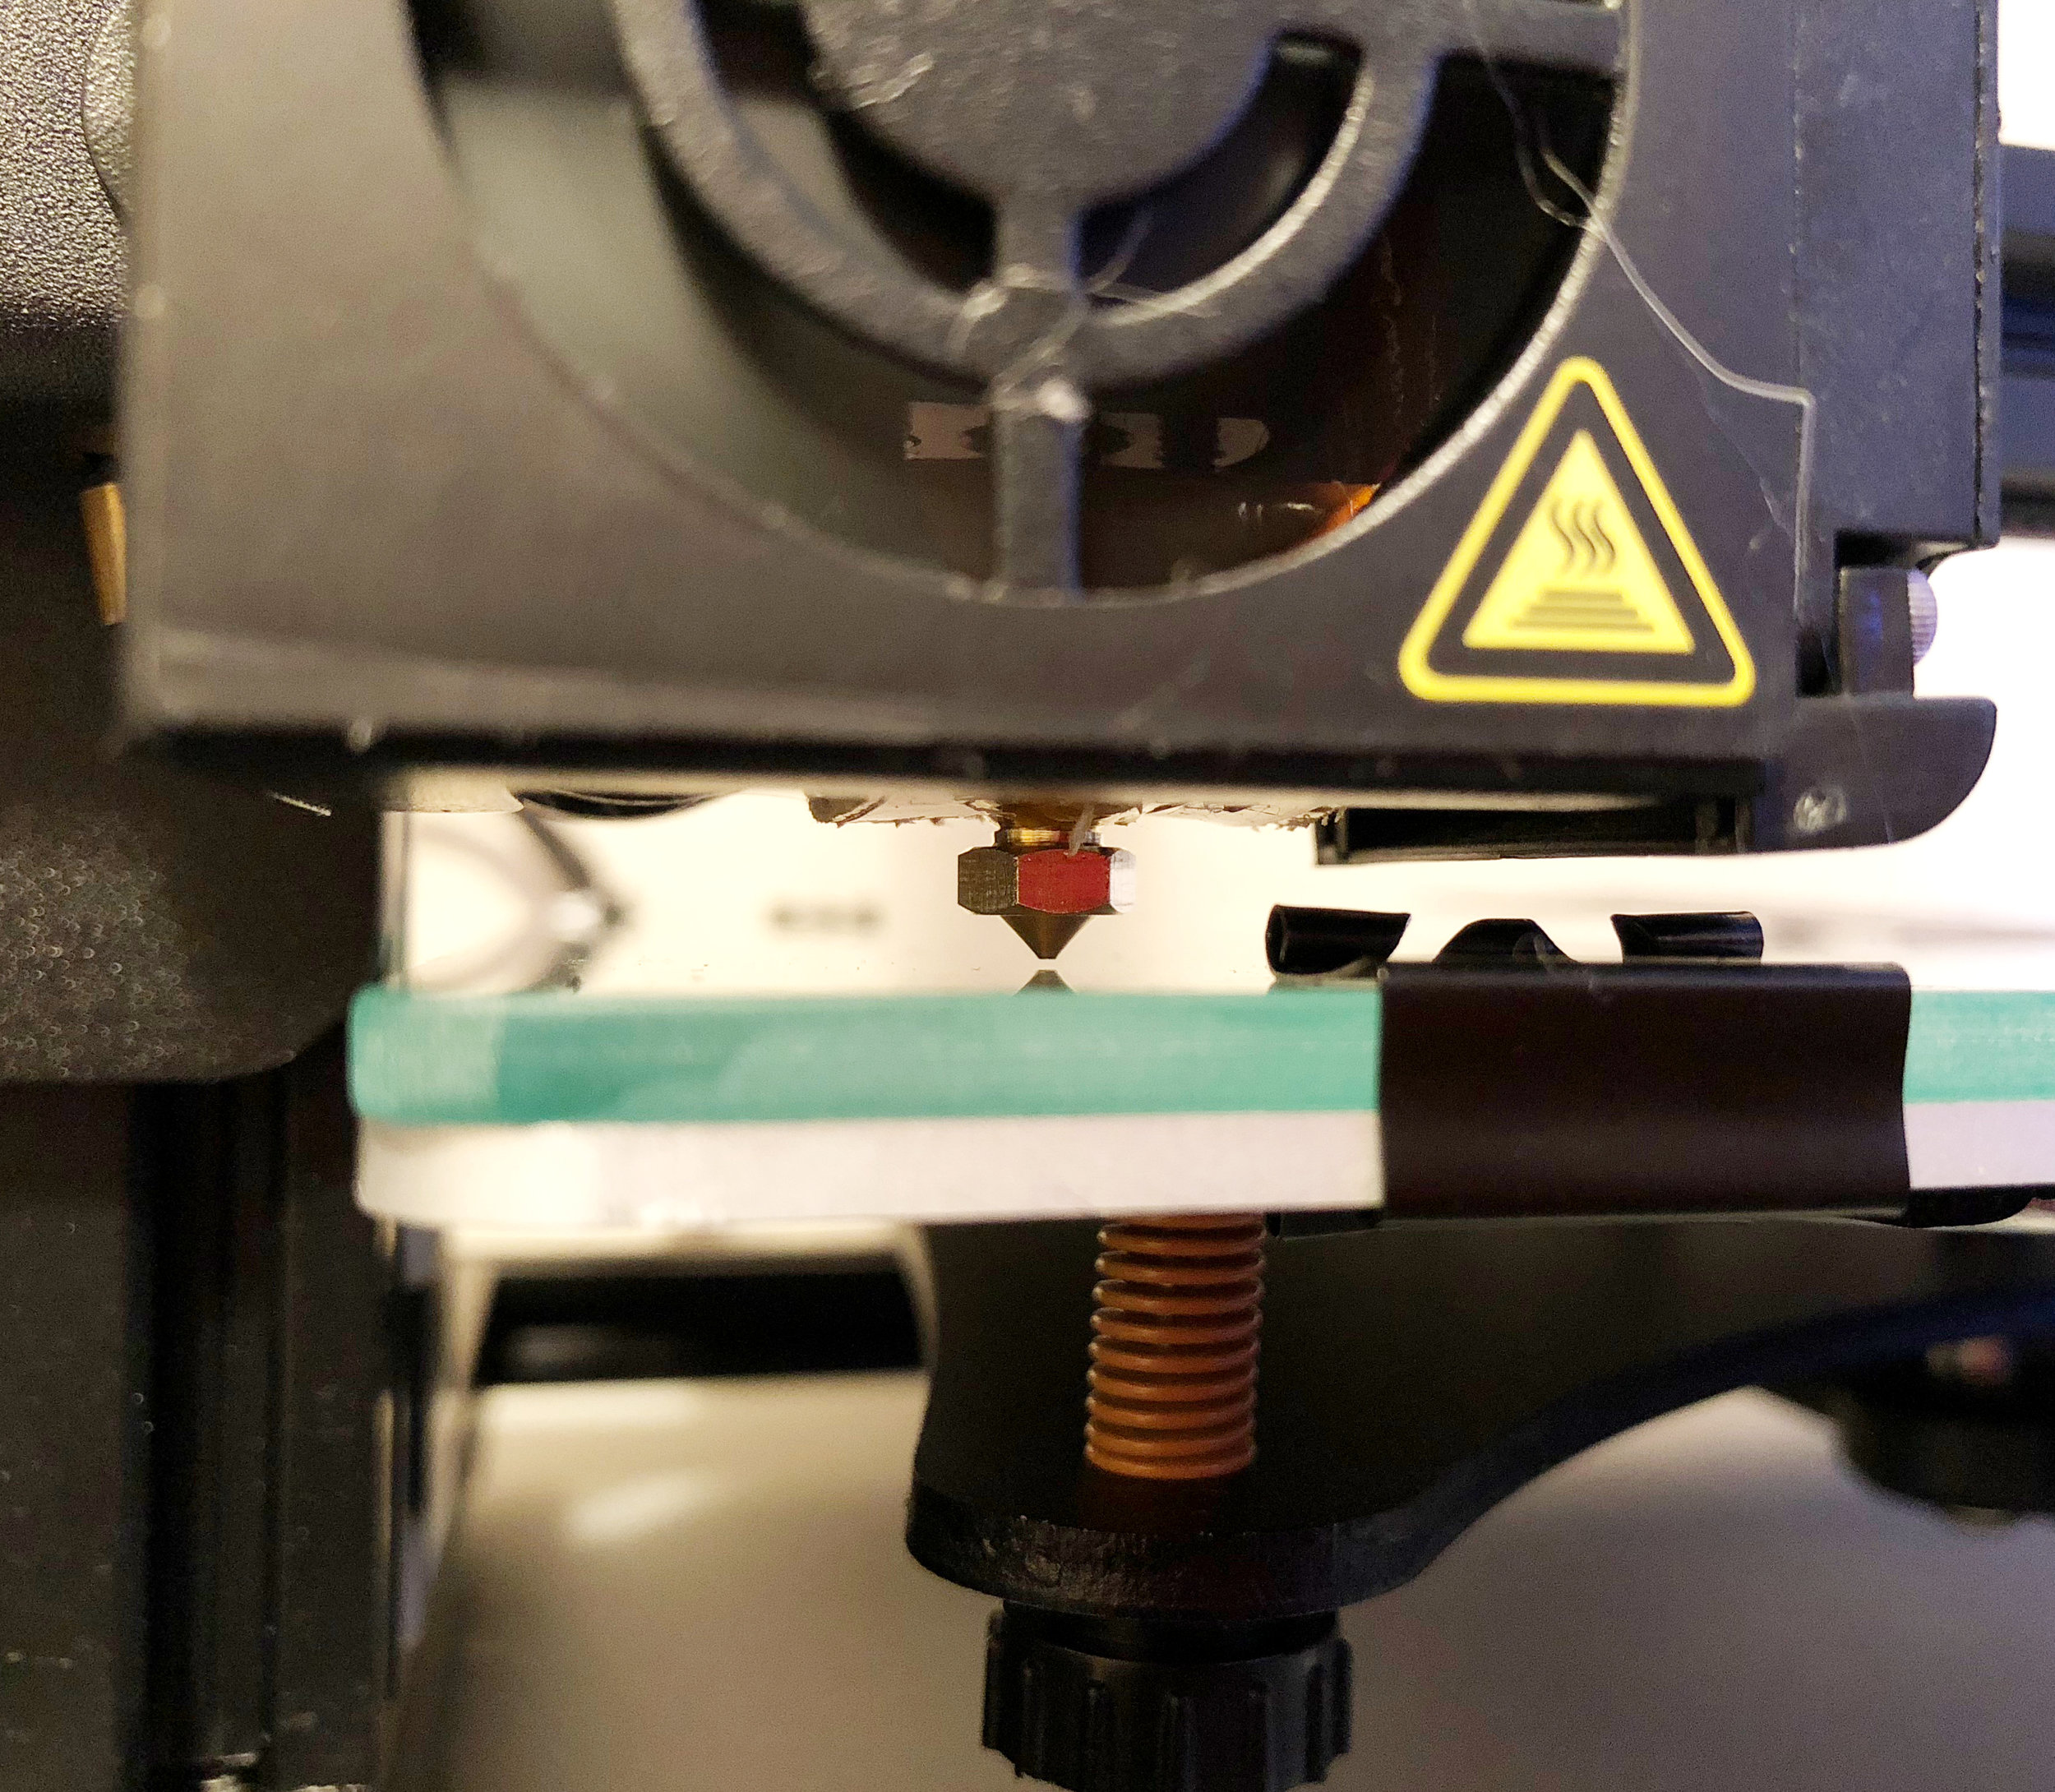
A correctly levelled nozzle is about a width of a sheet of paper above the print bed when homed.
Leveling the bed of a 3D printer is the process of calibrating the height of the print bed to ensure it is the correct distance from the print nozzle across its entire surface. The nozzle needs to be far enough away from the bed that there is a gap for the filament to come out, but also be close enough that the filament sticks to the bed. Getting the leveling as accurate as possible will improve print quality and reduce failed prints.
The basic process for leveling the bed is:
Auto-home and heat up the printer nozzle and bed. This is within the Prepare menu for Creality 3D printers.
Unlock the motors (also typically within the Prepare menu).
Move the print head and bed by hand to move the nozzle directly over one of the four leveling knobs.
Turn the leveling knob to adjust the height of the bed until there is a small gap. Use a sheet of paper to test the gap:
If the paper can’t fit under the nozzle, lower the bed by twisting the knob counter-clockwise.
If the paper moves under the nozzle with no resistance, raise the bed by twisting the knob clockwise.
If the paper can be moved with slight resistance, you are done!
Repeat this procedure for the remaining three leveling knobs.
Once completed, auto home the printer one more time, then repeat the process on all four knobs to fine tune the leveling.
For a more detailed look at leveling the printer, refer to Bed Leveling For Your Creality Printer.
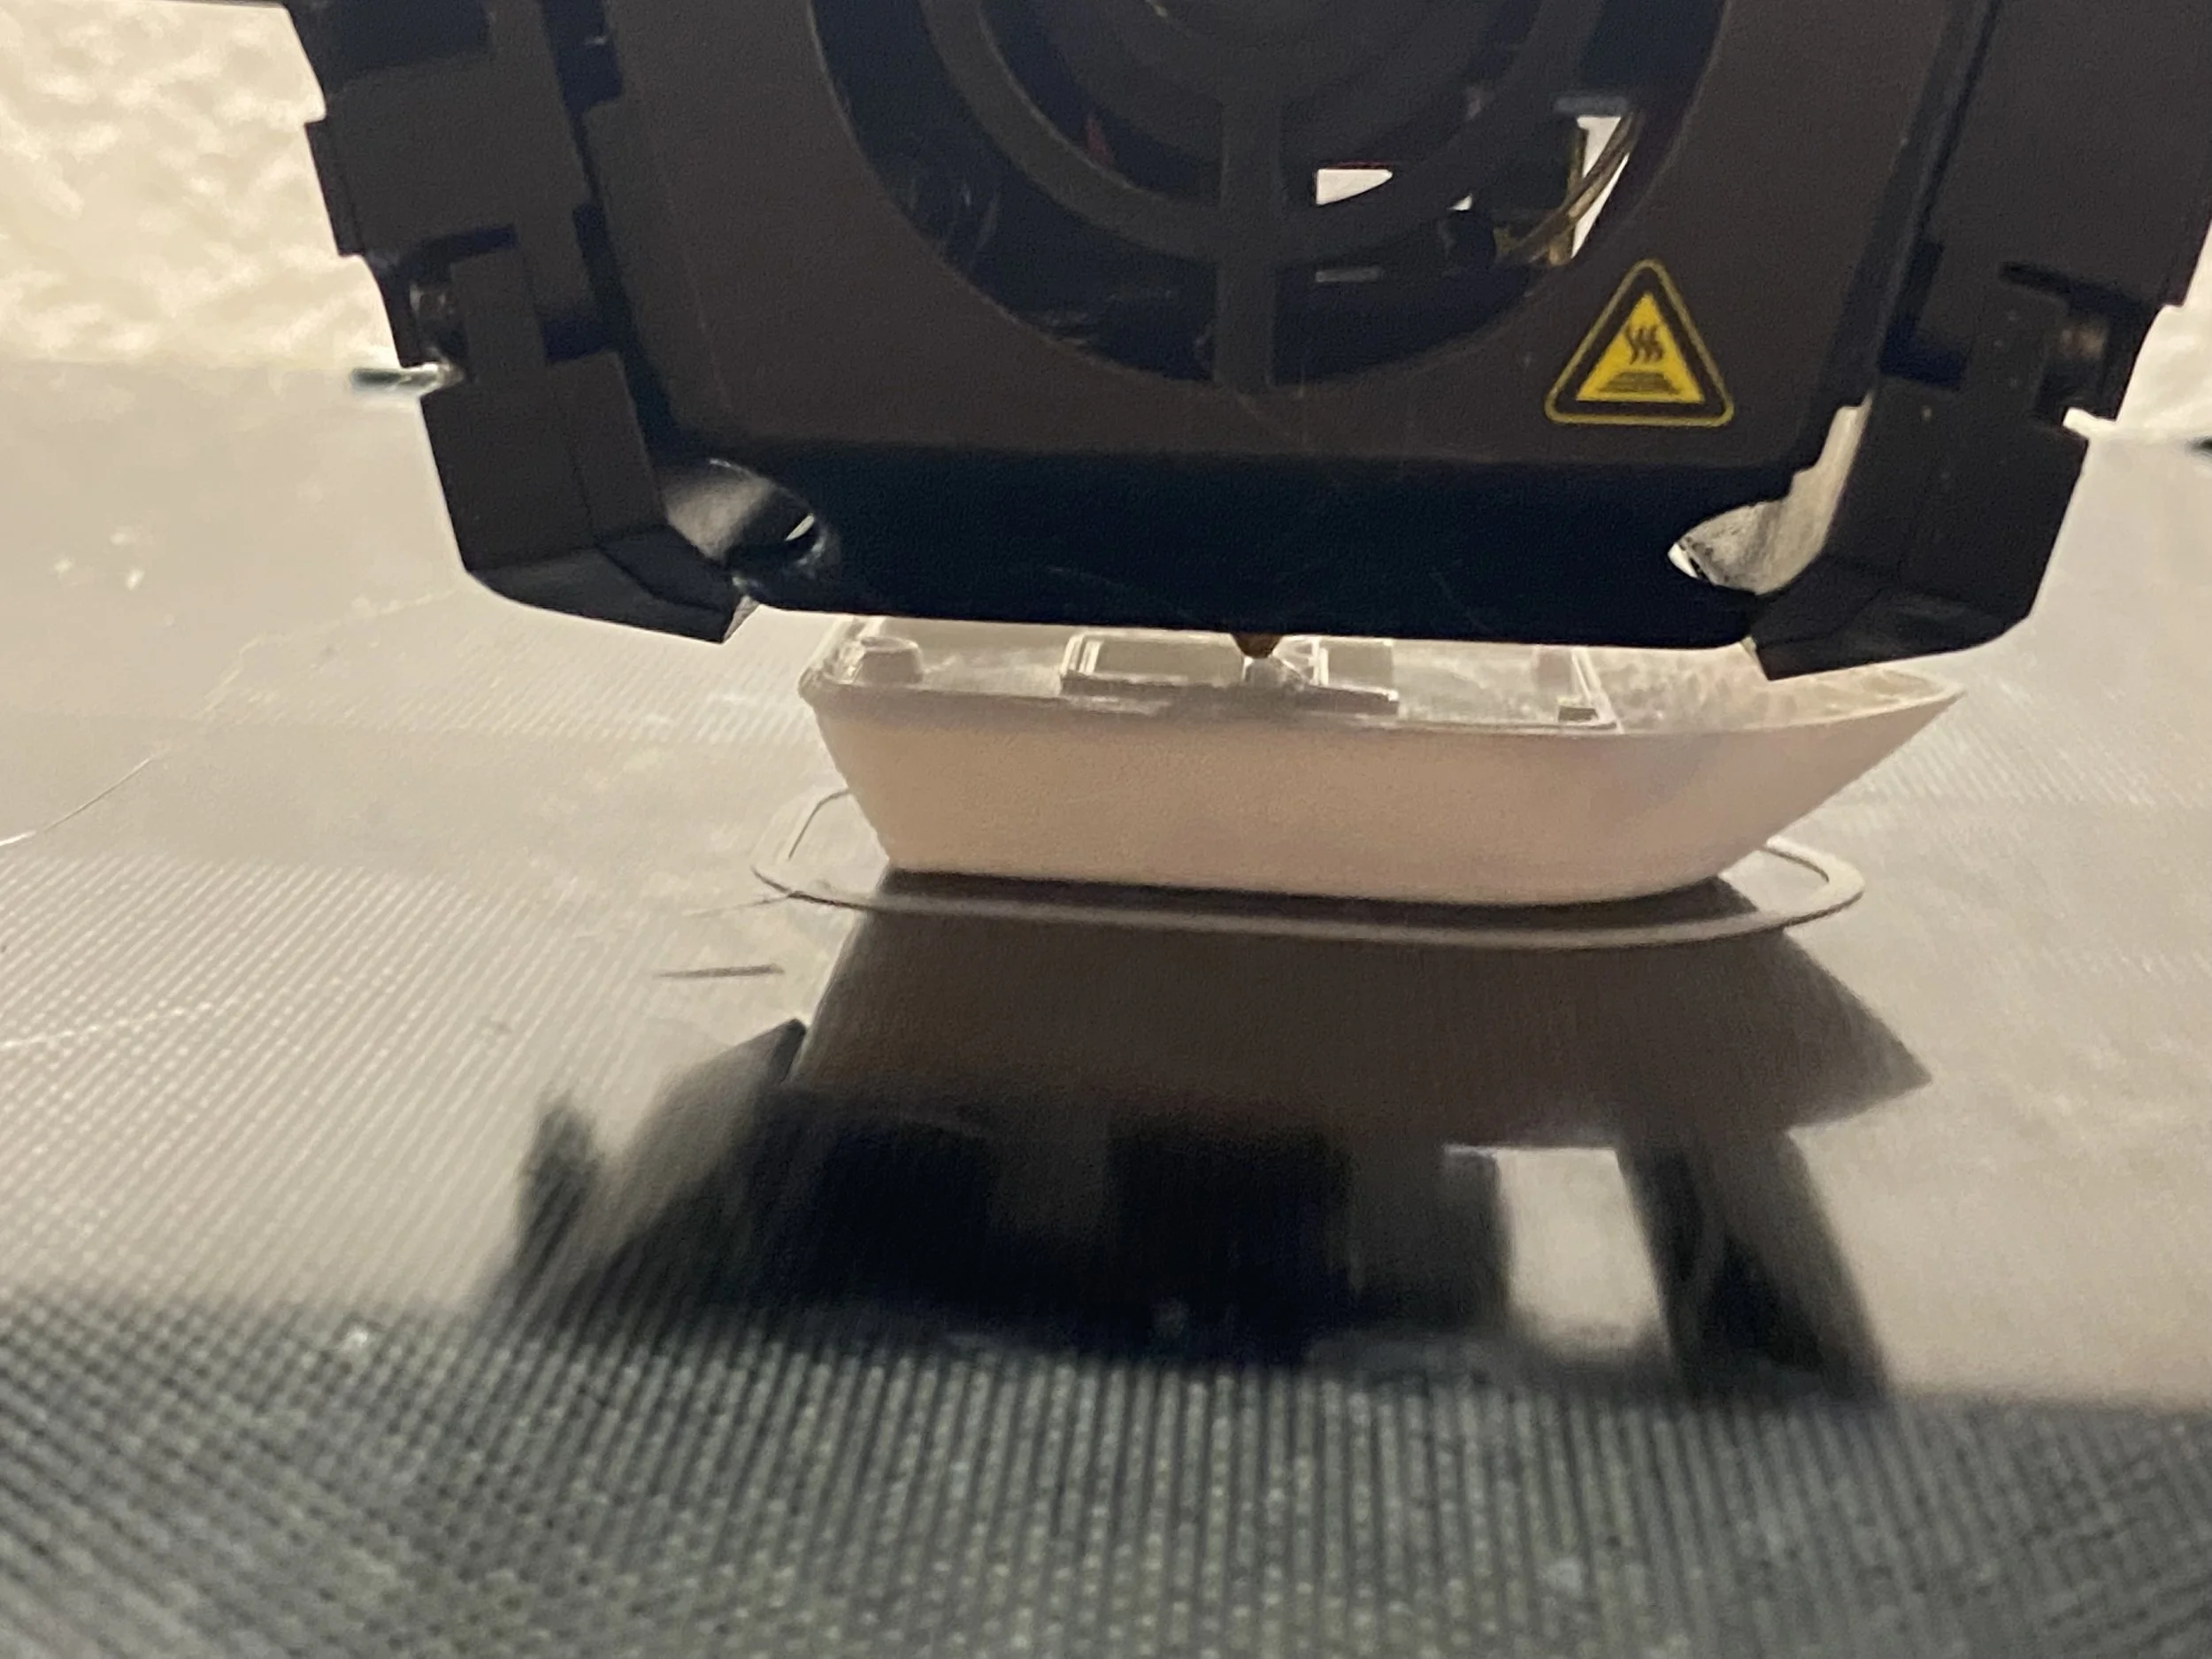
Loading Filament
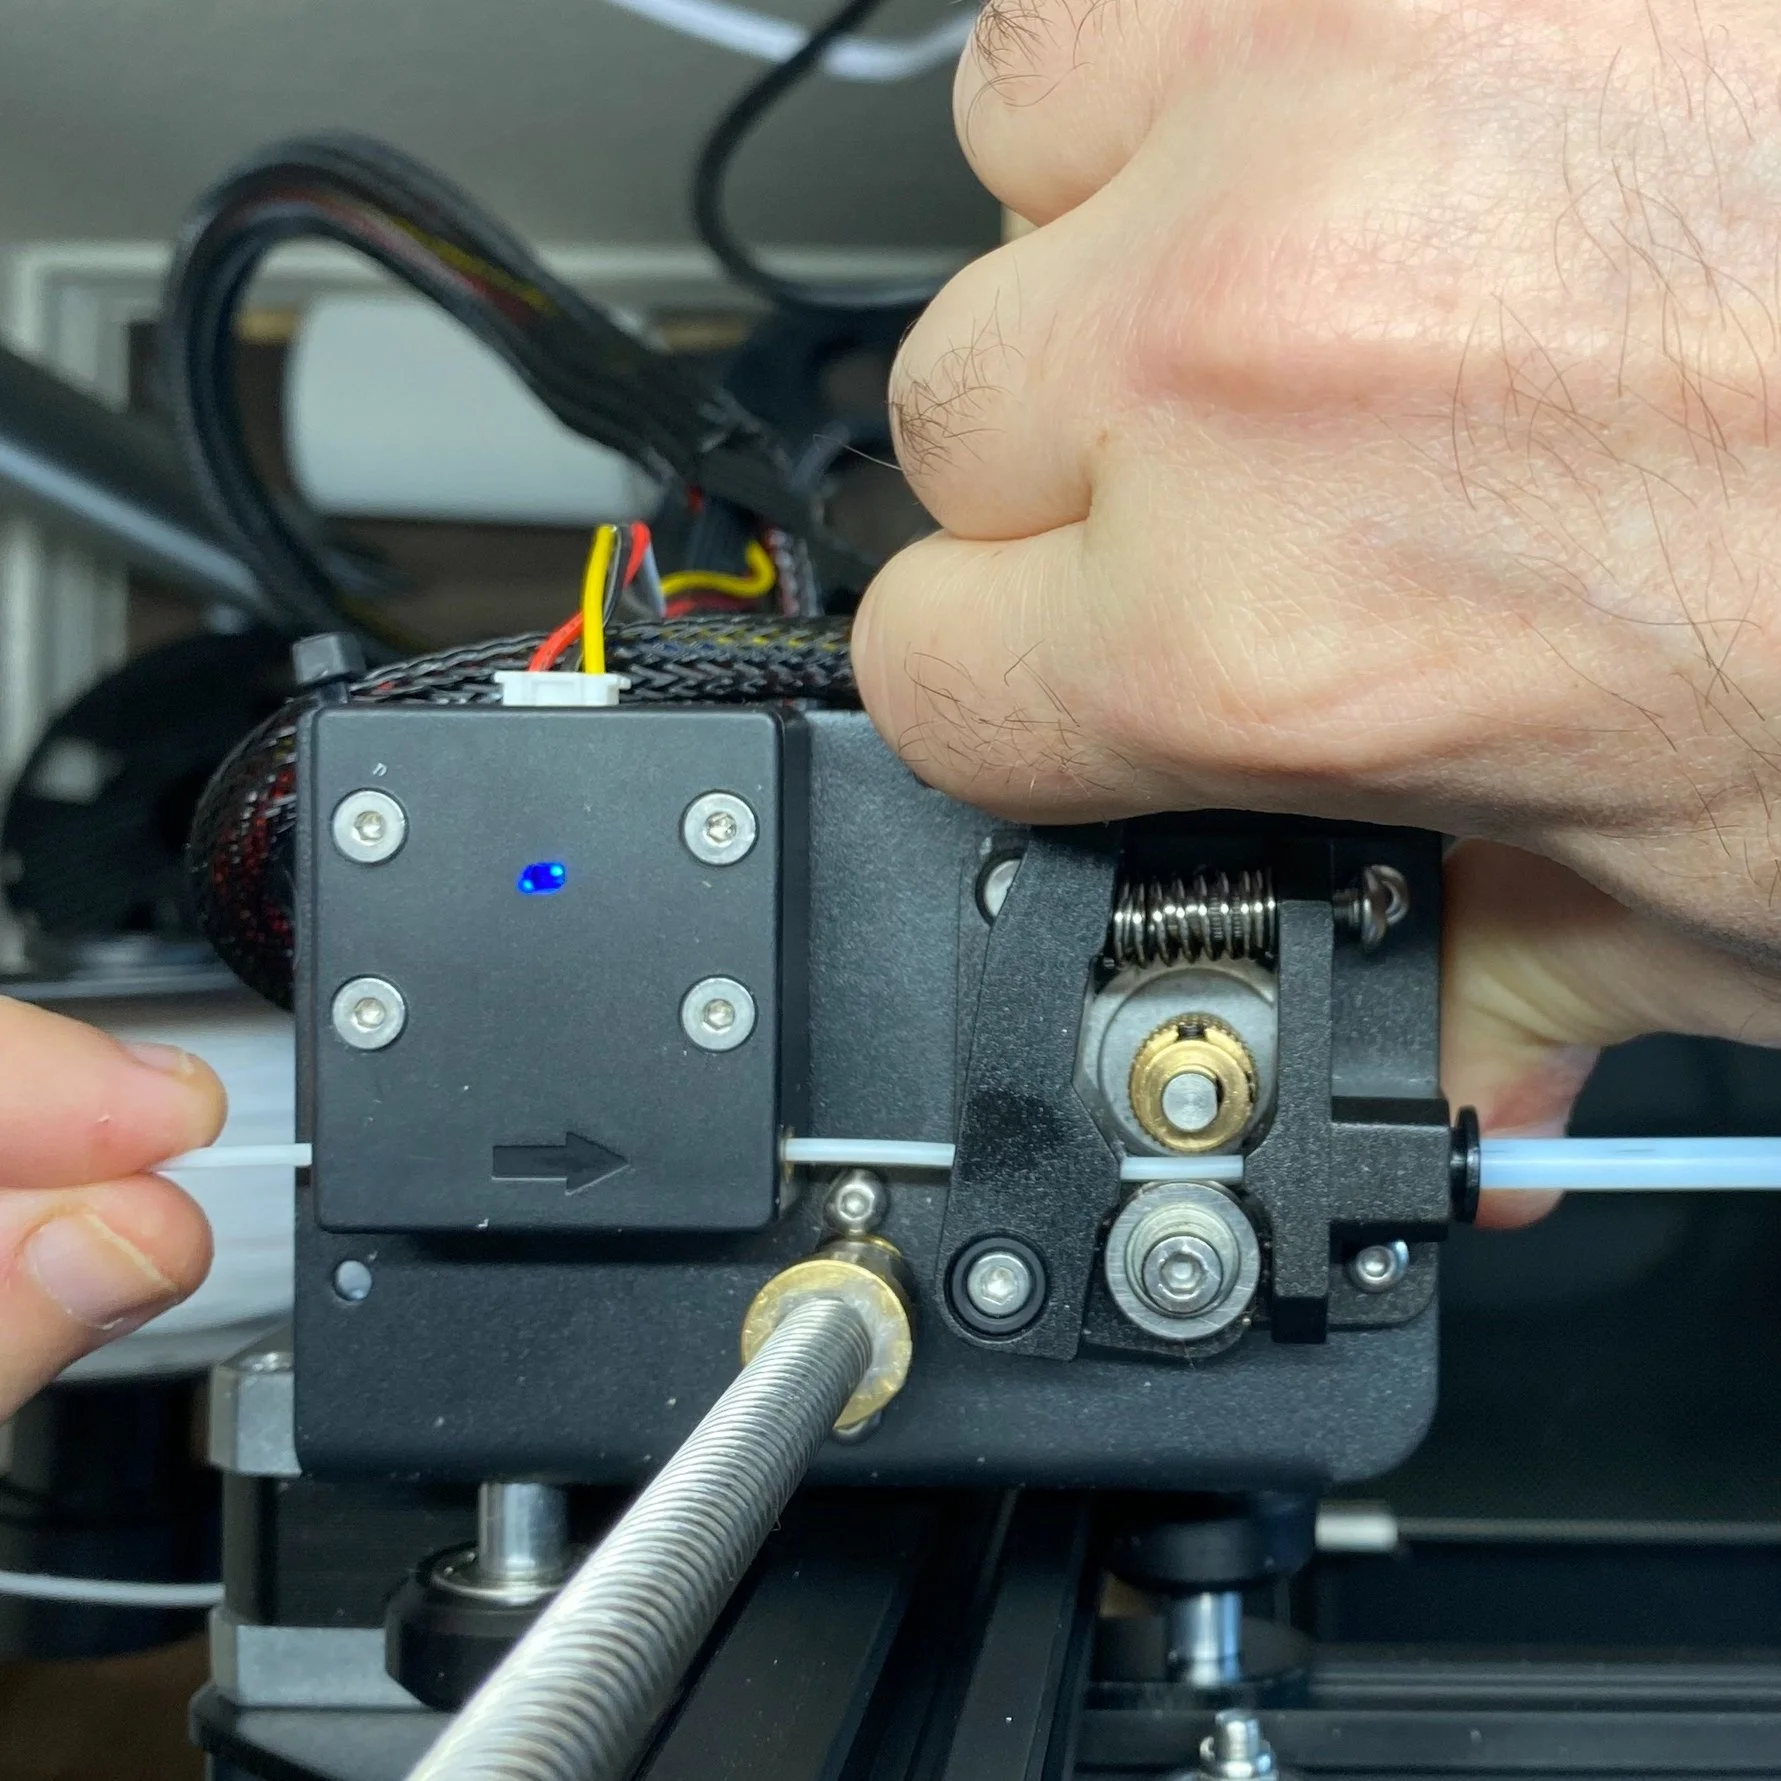
Loading filament into a Creality Ender 3 Max 3D printer.
Before you can print anything, you’ll need to load filament into the extruder. You can use the small sample of PLA filament that is included with the printer, or buy a full-sized roll. We recommend that you start with PLA filament, since it is the easiest to print and is great for most applications. Make sure you order the right diameter of filament for your printer. All Creality 3D printers use 1.75mm filament, so make sure to buy that instead of the other 2.85mm filament size, which will not work with this printer. Fortunately, most filament on the market today is 1.75 mm. To see the brands of filament we have had the best results with, take a look at our guide here: The Best Filament for Creality 3D Printers.
Running a Test Print
For most 3D printers, the SD card included with the printer includes at least one 3D model you can print, and potentially some gcode files, which you can print right away. For 3D models such as STL files, you will first need to use special software called a slicer to prepare the file for printing. Slicer Software is what converts a 3D model into commands for the 3D printer, which is known as gcode. There are a number of free slicers available, but we prefer using Cura since it is widely used by the 3D Printing community and has significant testing and support.
Printing a 3DBenchy, a common first print, is a good way to identify issues with the printer or configuration.
Getting Started with Slicer Software
Once you have a slicer installed, you can start printing your own 3D models. We recommend downloading the latest version of Cura from ultimaker.com to get started. Even if you don’t have a 3D printer yet, you can go through this process to get a feel for it. Once you download and install it, you’ll see prompts to select your 3D printer model. Look for your printer model in the menu; if it isn’t present, select a similar model from the same brand.
You’ll follow this general process for preparing a 3D model file, or STL file, to be 3D printed:
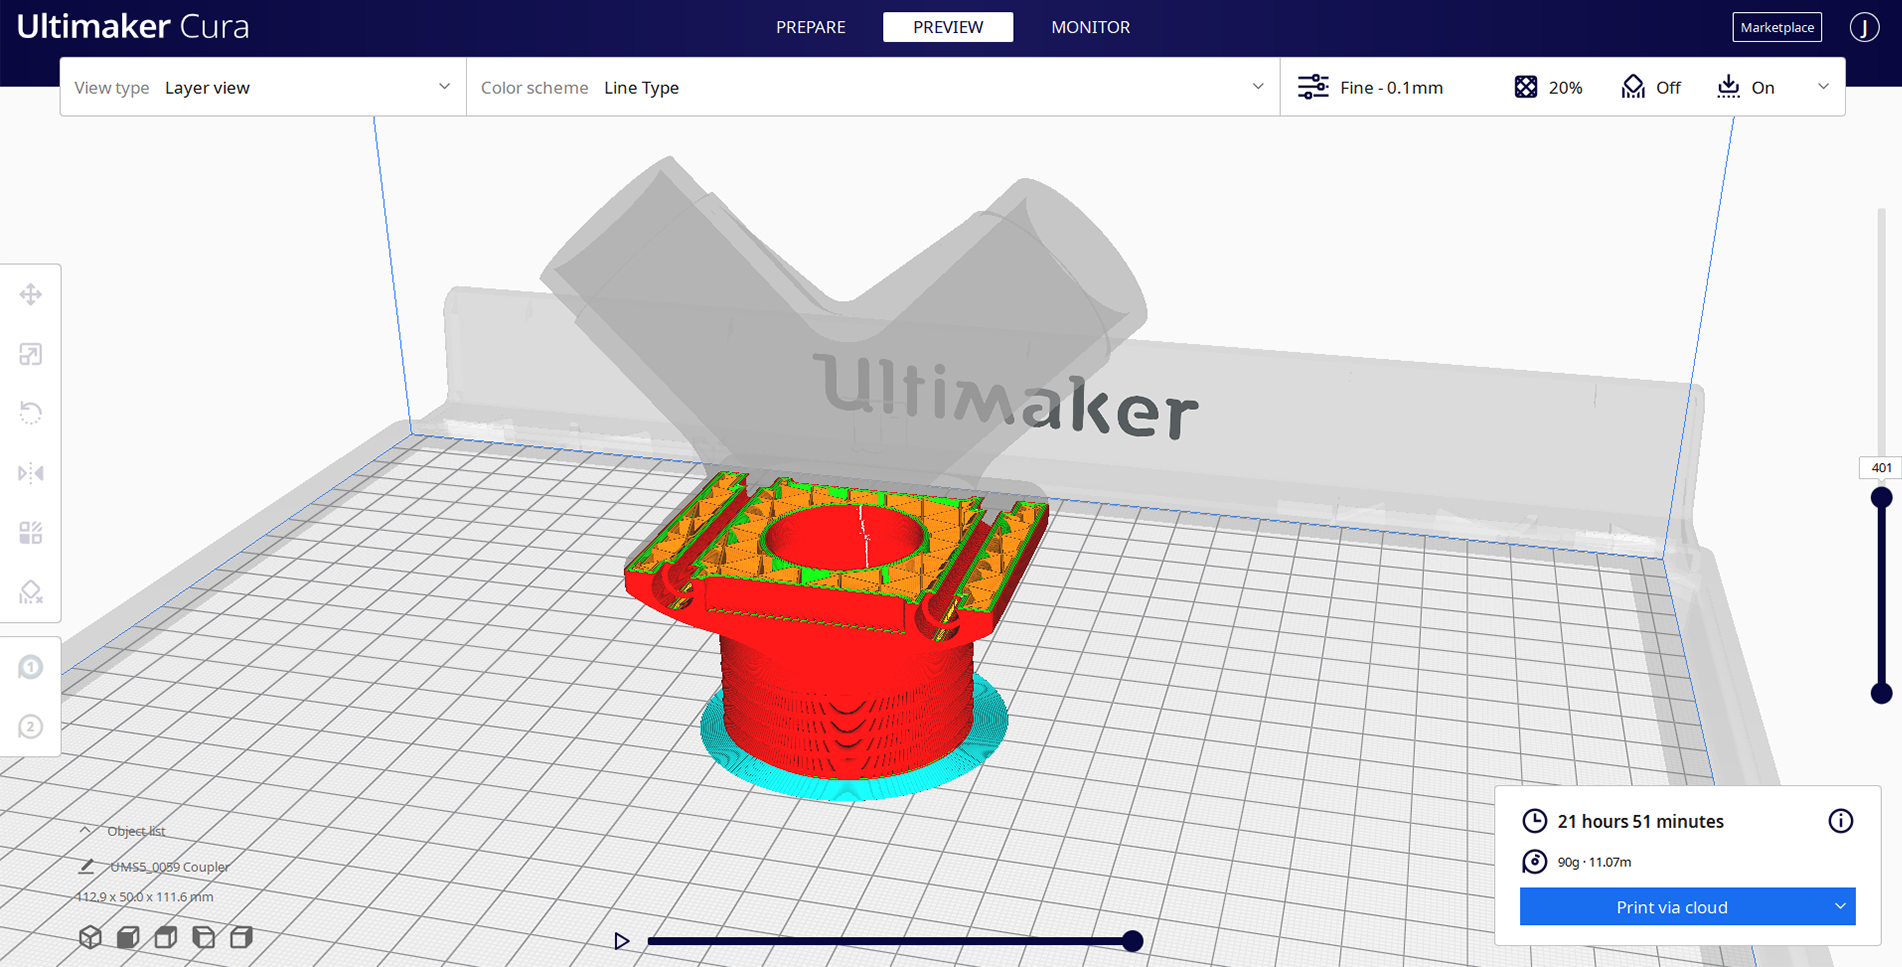
After importing an STL model, you can preview the printing process layer by layer within Cura before exporting it to your 3D printer (credit ultimaker.com).
Drag the STL file into Cura. You can find models to print on the included SD card, or online from websites such as thingiverse.com.
To start, you’ll use the default printing settings, but as you get more experienced you can adjust the configuration settings to improve your print quality.
Click Slice to generate the gcode 3D printer commands for the model.
To move the file to the printer, you insert your SD card into your computer, then click Save to Removable Drive on the bottom right.
Once completed, you can move the SD card to the printer to print the file from the on-screen menu.
You can print many things with the default slicer settings, but its a good idea to learn more about the various printer settings and how they will impact the results. A good place to start is the Cura Getting started guide, which will walk you through the basic settings.