
Our Top Recommended Creality Ender 3 Upgrades
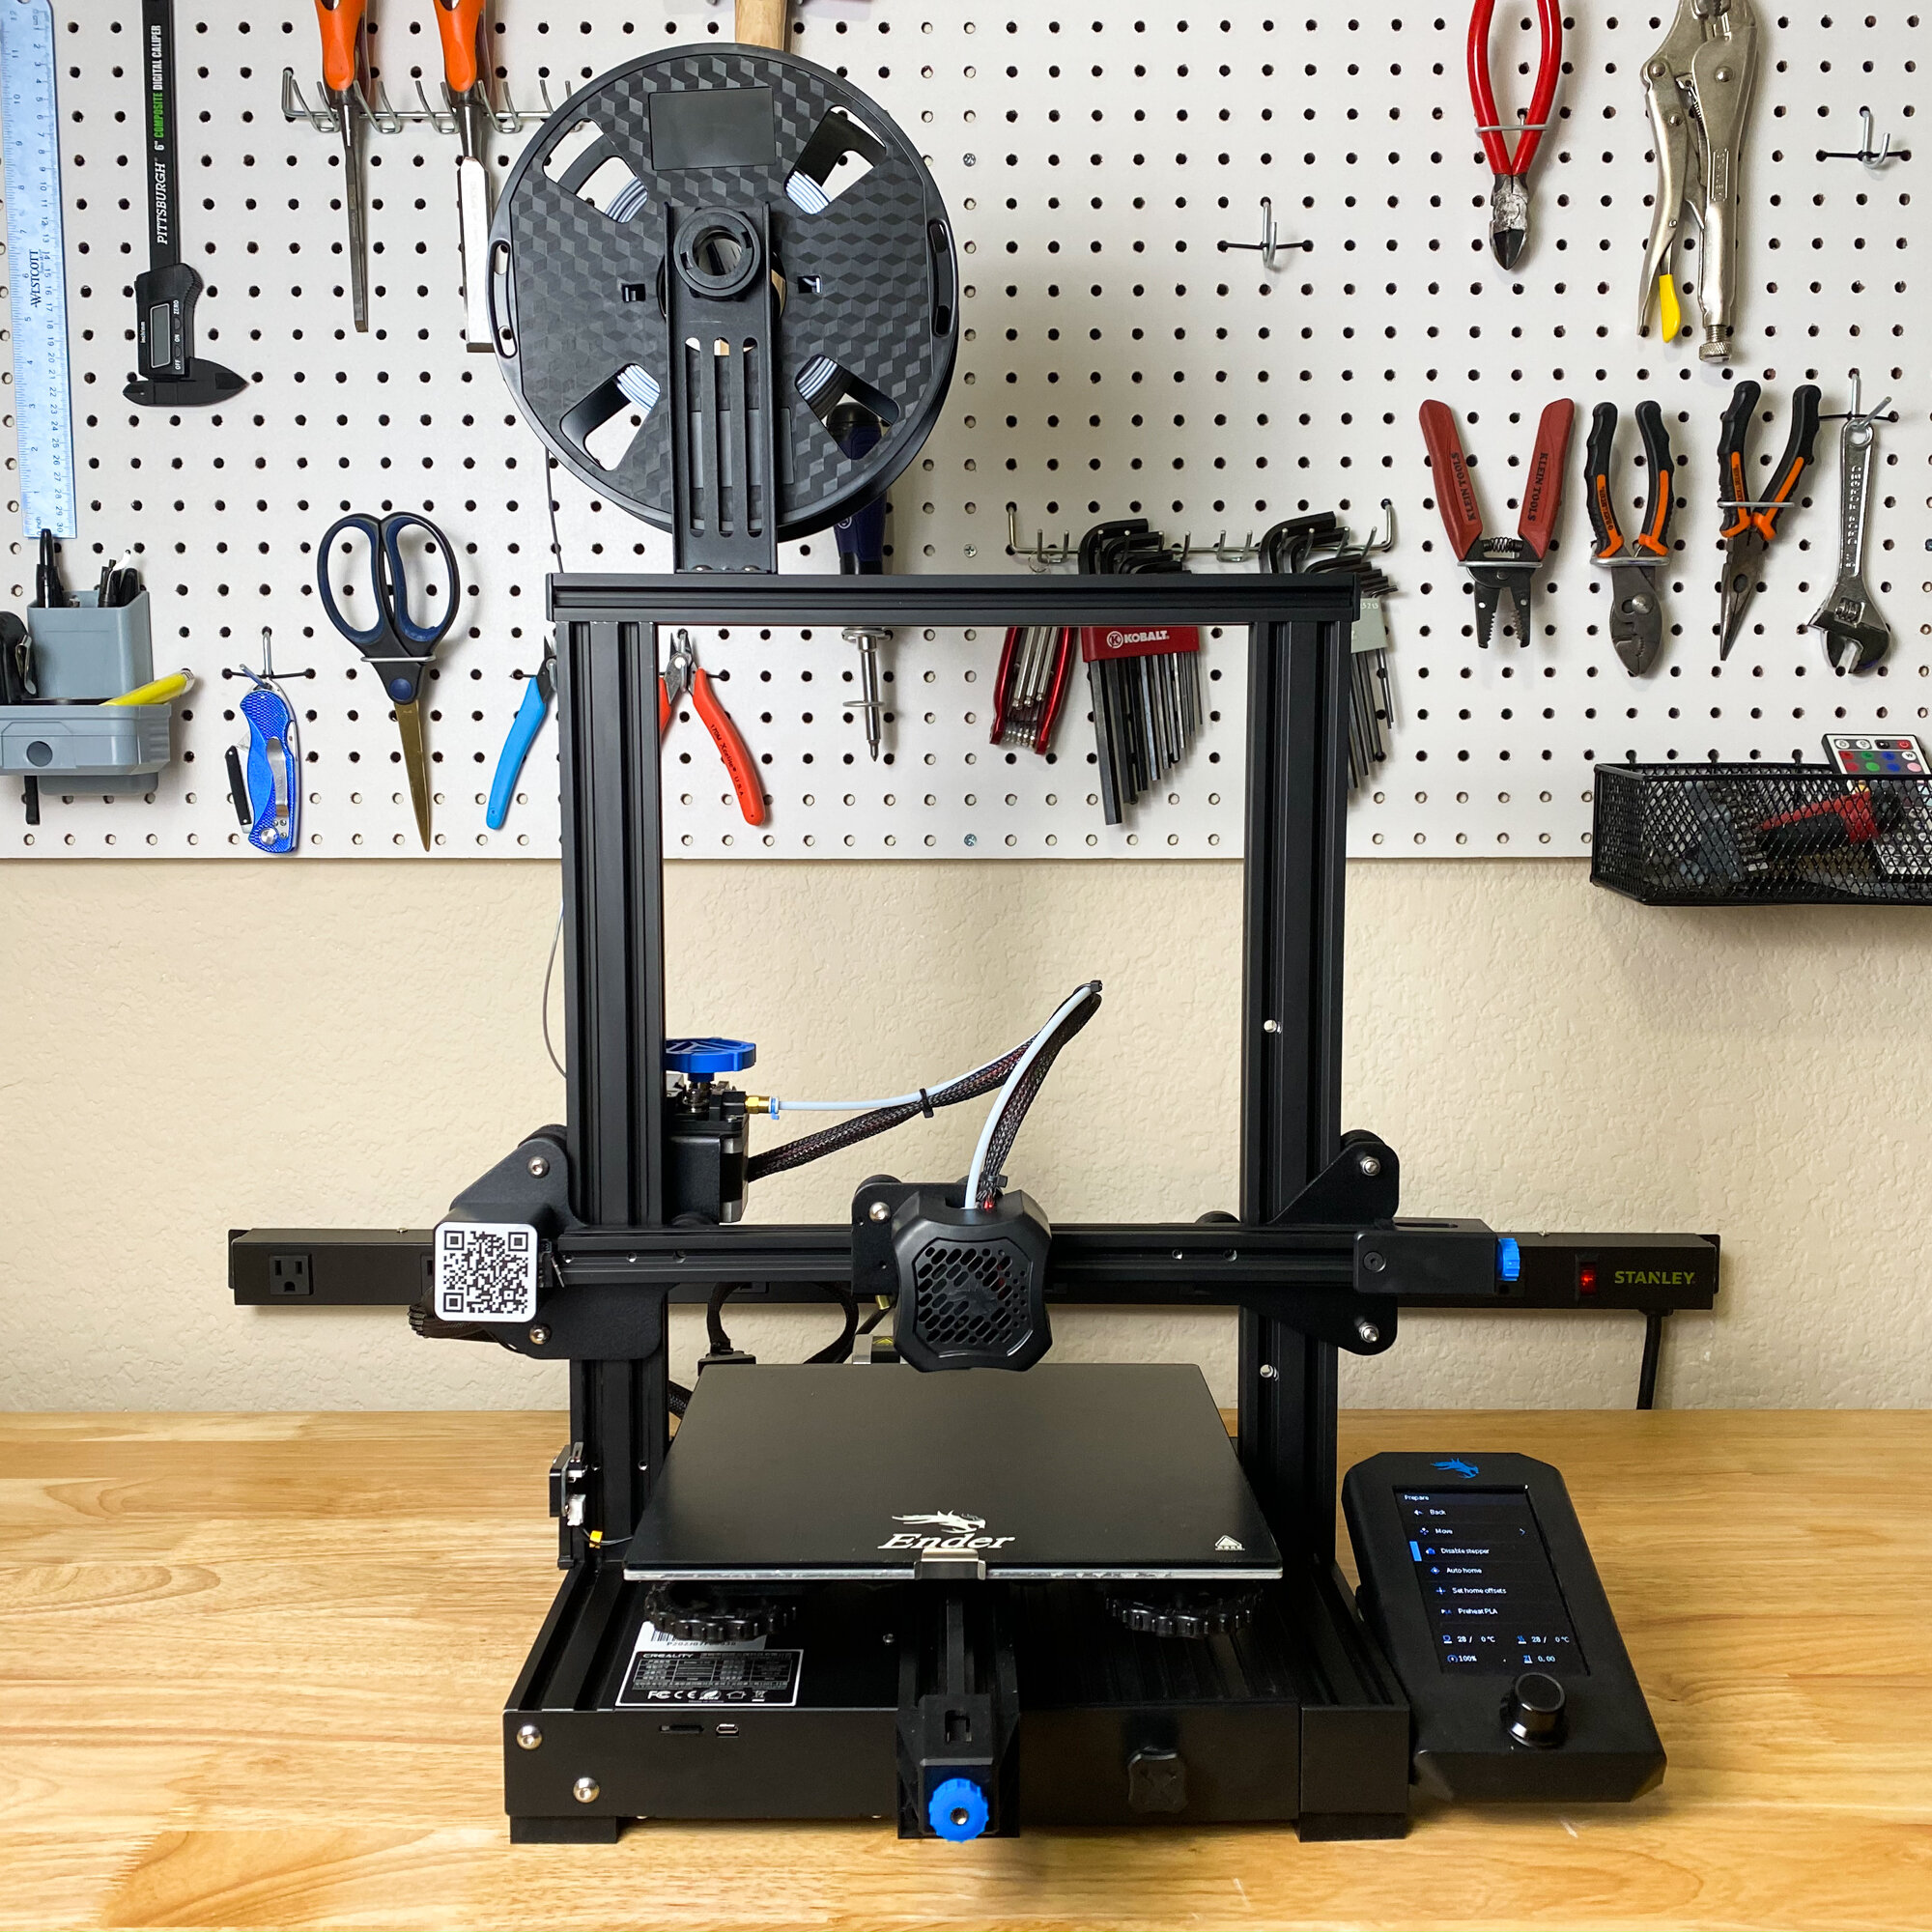
These Creality Ender 3 upgrades are the ones we think give the most bang for your buck, and are upgrades we’ve applied to the printers we use to make sure they can keep up and running with minimal maintenance. Although there are many Ender 3 mods online, we feel that these particular upgrades provide the most improvement for your new 3D printer, including improving print quality, reducing maintenance, and preventing frustration chasing down problems down the road. Each of these upgrades are fairly easy to install and just require the tools that come with your printer.
We've also tried a few upgrades that we don't think you need, and we'll talk about why to save you the trouble and expense.
All of the Ender 3 mods we recommend here can be used with the base Creality Ender 3, the Ender 3 Pro, or the Ender 3 V2. Some are also compatible with other printers like the CR-10 (we will note these in each section).
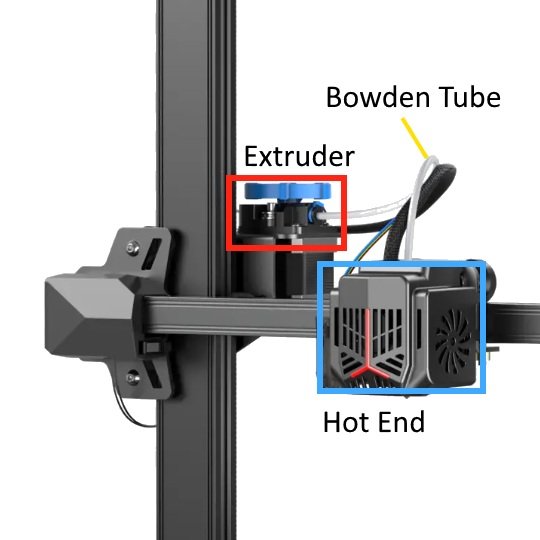
Before diving in, a little background: The hot end and the extruder are the most important parts of your printer to maintain, since both see the most wear out of any other part and have the biggest impact on print quality. The extruder is on the left side of the printer and is what pushes filament through a tube to the hot end. The hot end is where the filament is rapidly heated and melted immediately before becoming your 3D printed part. We typically use stock hot ends on our printers because they work great out of the box. However, there are a number of extruder upgrades that we recommend, and we’ll discuss them in this article.
Note: Creality Experts receives a commission for items you purchase from this page, at no additional cost to you. For more information, please see our affiliate link policy.
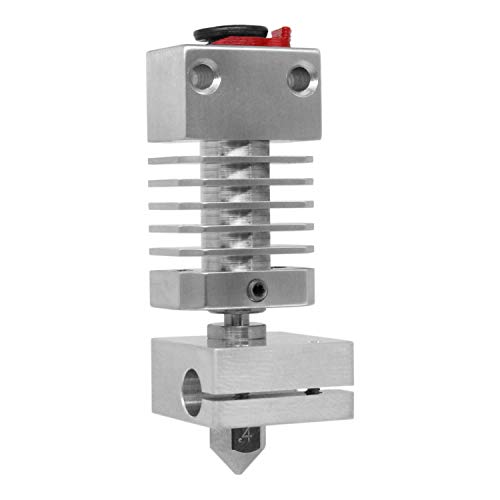
Sprite Pro Direct Drive Extruder Upgrade
Cost: $90-100
Install time: 30 minutes
Benefits: Reduced maintenance, improved print quality
Applicable Printers: Ender 3 series
while the Sprite Pro extruder [Amazon link] upgrade has a fairly high price tag for an upgrade, it offers a significant improvement in the quality (especially when a lot of retraction is needed), and maintenance. In contrast to the Bowden-style extruder which pushes filament through a long tube to the hot end, the Sprite combines the extruder and hot end into a single assembly. This approach makes the Sprite more reliable and less likely to jam than Creality’s other extruders and hot ends, as well as making it better suited to printing with flexible materials such as TPU. In our experience, the Sprite extruder is noticeably more reliable than our other Creality extruders, making it a worthwhile upgrade.
he Sprite pro also includes a bimetallic heat break, which will allow for higher printing temperatures for materials like Nylon, however you may need to update the firmware to allow temperatures above 260C.

Metal Extruder Kit

Cost: $15-20
Install time: 15 minutes
Benefits: Reduced maintenance
Applicable Printers: Ender series and CR Series
If you’d prefer to stick with a bowden extruder, we recommend upgrading the plastic extruder with an all-aluminum extruder, if your printer does not include it already. After installing this Ender 3 extruder upgrade on all of our printers, we’ve noticed far fewer quality issues from our extruders, and no breakages of extruder components. The stock plastic extruder will work well for a while, but there are many wear points that won’t hold up and it is only a matter of time before something like this happens:

The Ender 3 extruder is prone to breaking after extended use; we recommend replacing it before this happens.
The worst part about issues like this is that you might not notice a small crack right away, but it will cause significant under-extrusion on your prints since the extruder tension will be reduced.
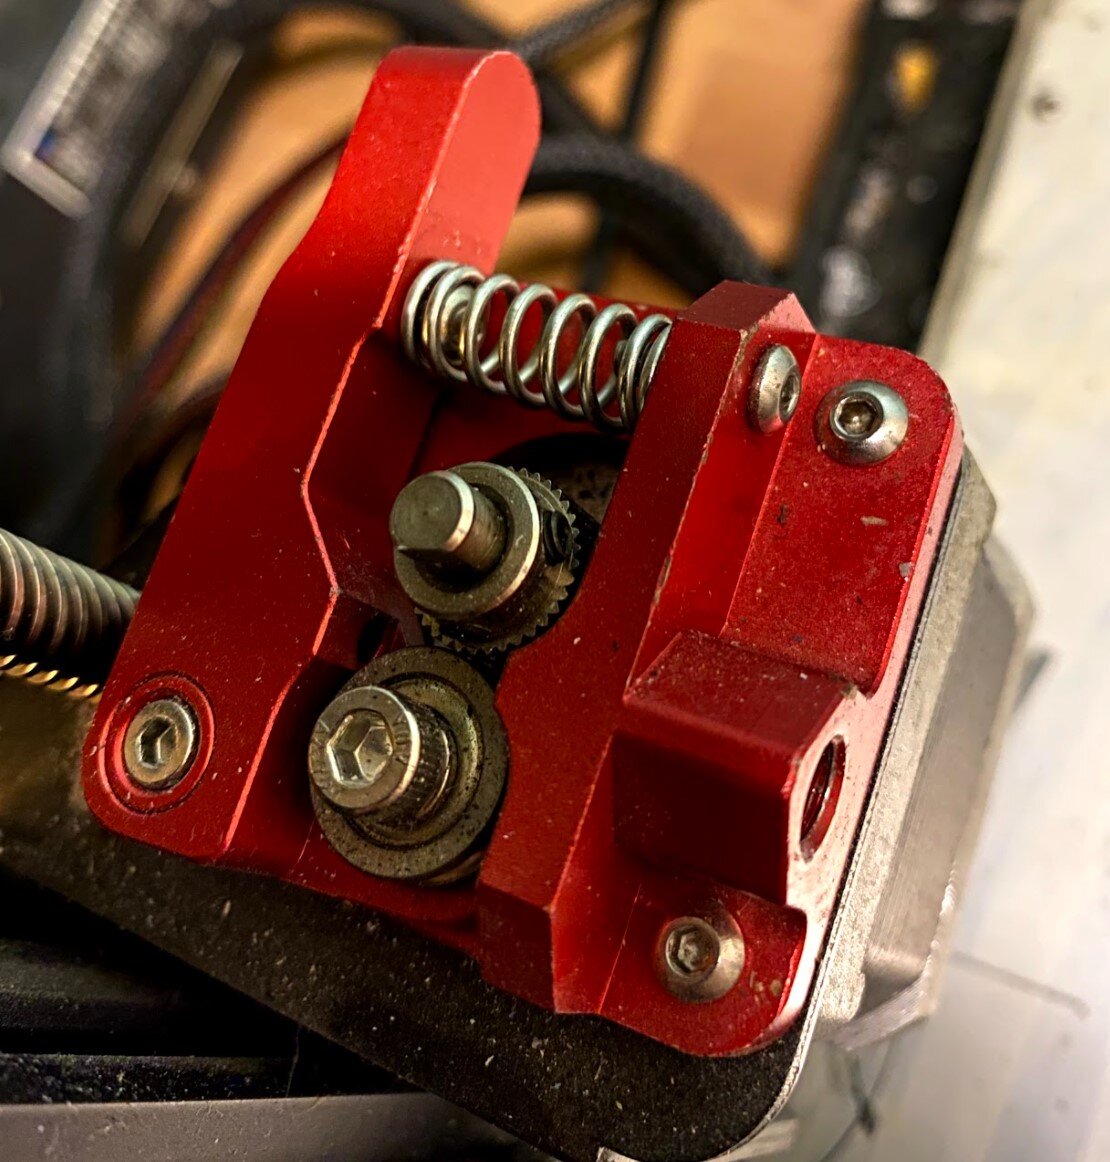
The All-metal extruder upgrade is far more durable that the stock extruder
This can all be avoided by replacing the extruder early on with a metal one that will never break. Replacing the extruder assembly is a fairly quick job, but it does require a bit of use from the allen wrenches that come with your printer.
The Ender 3 metal extruder assembly we recommend also includes upgraded springs, which is a nice-to-have upgrade to the bed that will help your printer bed stay level. They provide more tension than the stock springs and will prevent gradual movement of the leveling nuts over time.
You can find detailed assembly instructions for this and the other extruder upgrades in this article here.
Click here to view the all-aluminum extruder kit on Amazon.
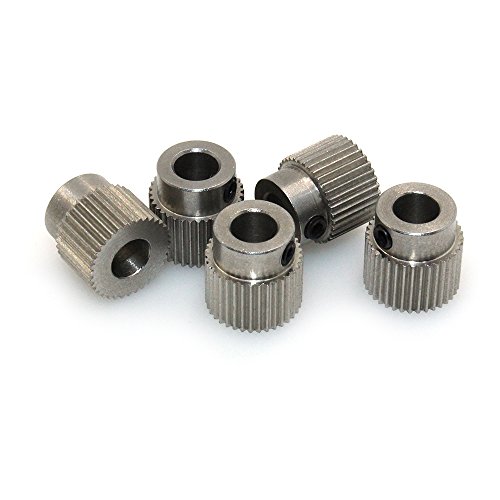
Steel Extruder Gear
Cost: $5-8
Install time: 10 minutes
Benefits: reduced maintenance
Applicable Printers: Ender series and CR Series
While you are upgrading the bowden extruder, we also recommend replacing the stock extruder gear with a steel extruder gear, which will wear significantly less than the brass gear that ships with the printer. This is what will eventually happen to the stock brass gear if you don’t replace it:

The brass extruder gear included with Creality printers is prone to wear over time, which will cause degraded prints and ultimately total failure to extrude.
Like a broken extruder arm, this wear will cause a gradual degradation of print quality that will probably take a lot of digging around to solve. Steel extruder gears are harder and will last much longer, and have no drawbacks. We have these on all of our printers and have not had to replace any so far after plenty of use.
You can find detailed assembly instructions for this and the other Extruder upgrades in this article here.
Click here to view the steel extruder gear on Amazon.
Improved Bowden Tube Couplings

Cost: $8-12
Install time: 5 minutes
Benefits: reduced maintenance
Applicable Printers: Upgrade for Ender series and CR Series
If your printer does this instead of printing, you’ll need to replace the Bowden tube couplers.
Another component that will commonly wear out over time are the couplings that connect the Bowden tube from the extruder to the hot end. When these fail, the Bowden tube will detach, and the filament will start coiling outside the printer. Once they have failed, you can sometimes reconnect the tube, but it will fail again quickly so we recommend you replace them if this ever happens.
The stock couplings use plastic “teeth” to hold the Bowden tube in place, so we recommend picking up some improved F1RST LAYER couplings with metal teeth which will last longer. It’s also a good idea to have spares of these pieces, since you can’t print at all if they fail.
There are two different sizes of these couplings; a smaller size connects to the extruder, and a larger size to the hot end. Both parts have the same issue, so we recommend replacing both.
Many kits also include a Capricorn PTFE tube as well, but we have found that these tubes don’t provide a significant improvement and are not something we usually add on our printers.
You can find detailed assembly instructions for this and the other extruder upgrades in this article here.
Click here to view the upgraded Bowden tube couplings on Amazon.
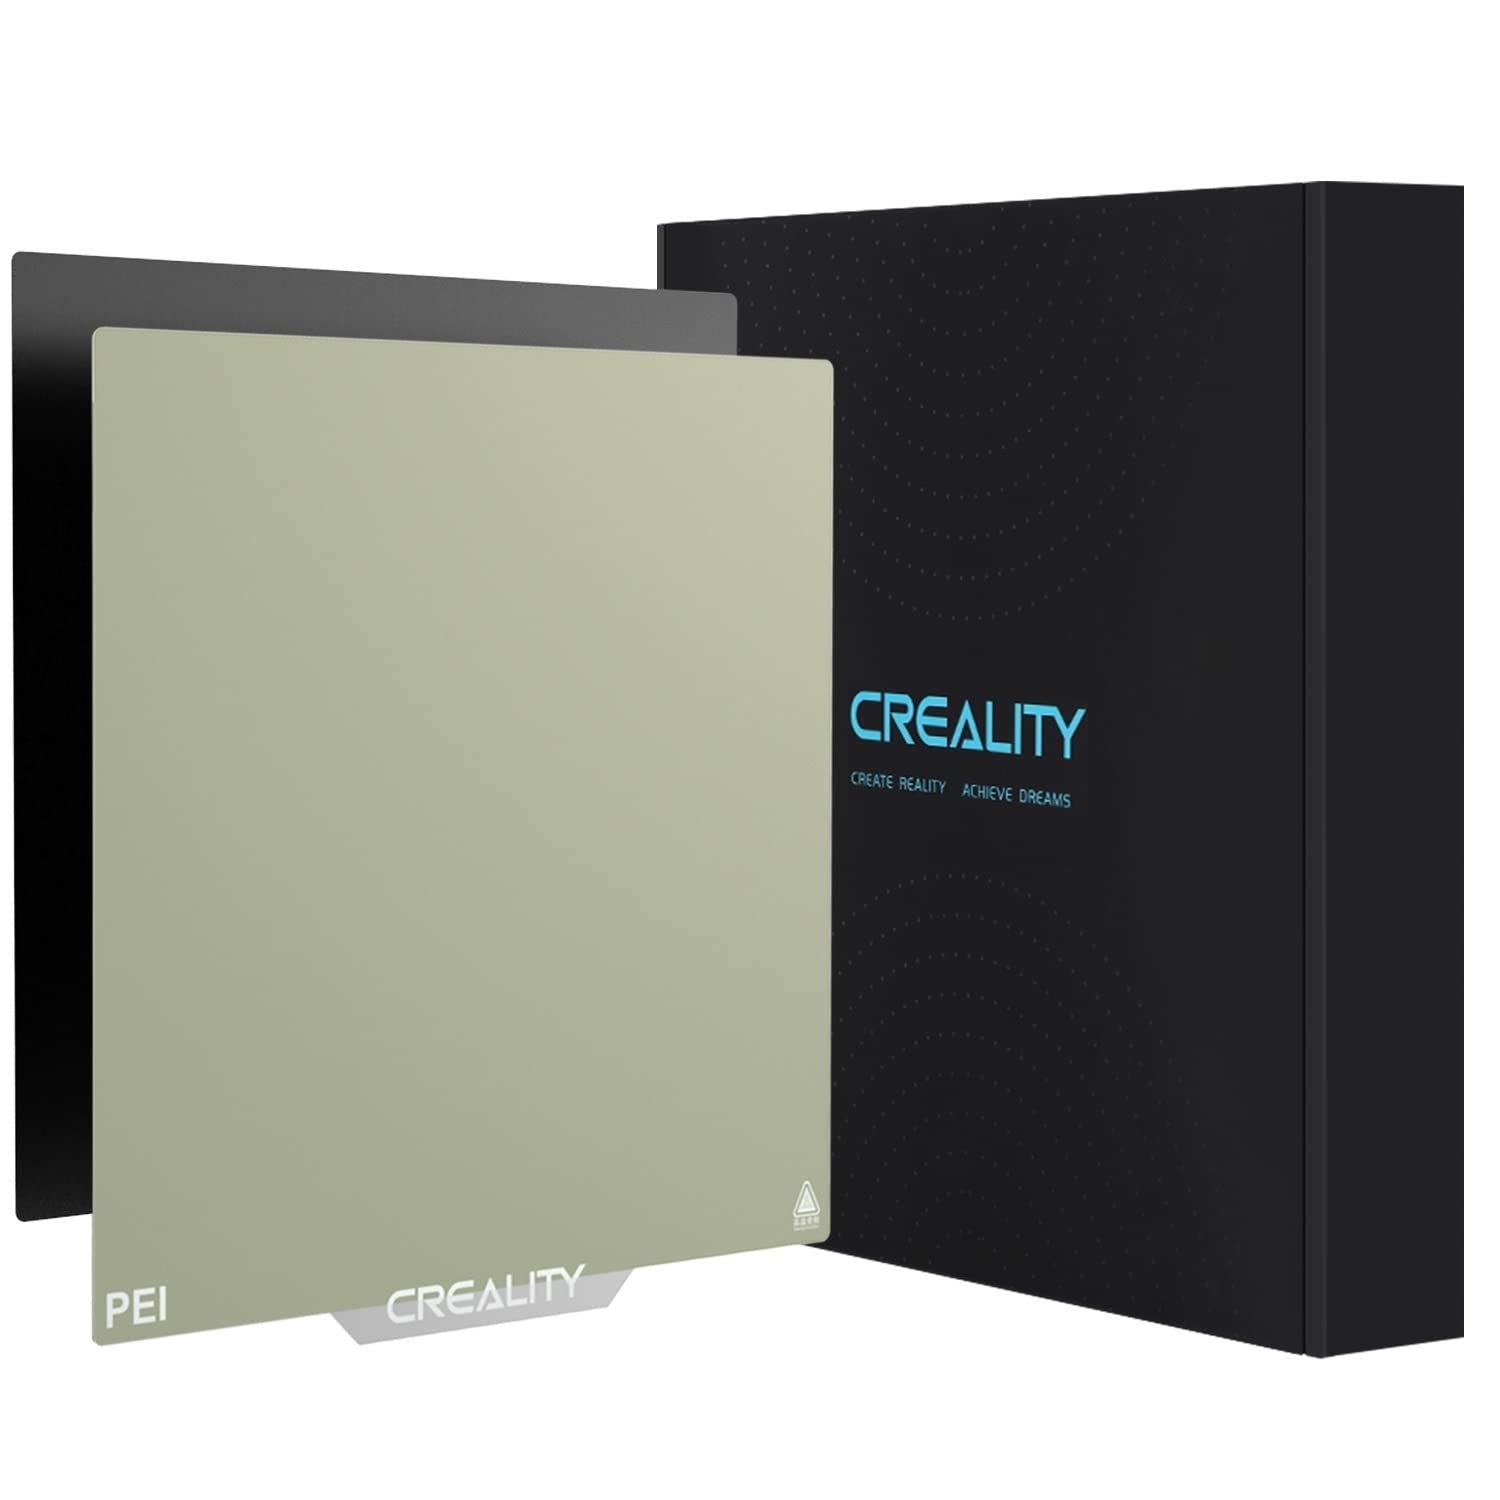
PEI Build Surface Upgrade Kit
Cost: $10-20
Install time: 5 minutes
Benefits: Better print adhesion, easier print removal
Applicable Printers: Upgrade for Ender 3 series or CR series
We have found that the best all around bed adhesion combination is a smooth PEI build surface. As an added bonus, you’ll get shiny smooth bases on your prints. While Creality has released some coated glass panes, we have found that straight borosilicate glass has the most consistent bed adhesion, so we use that on all of our own printers.
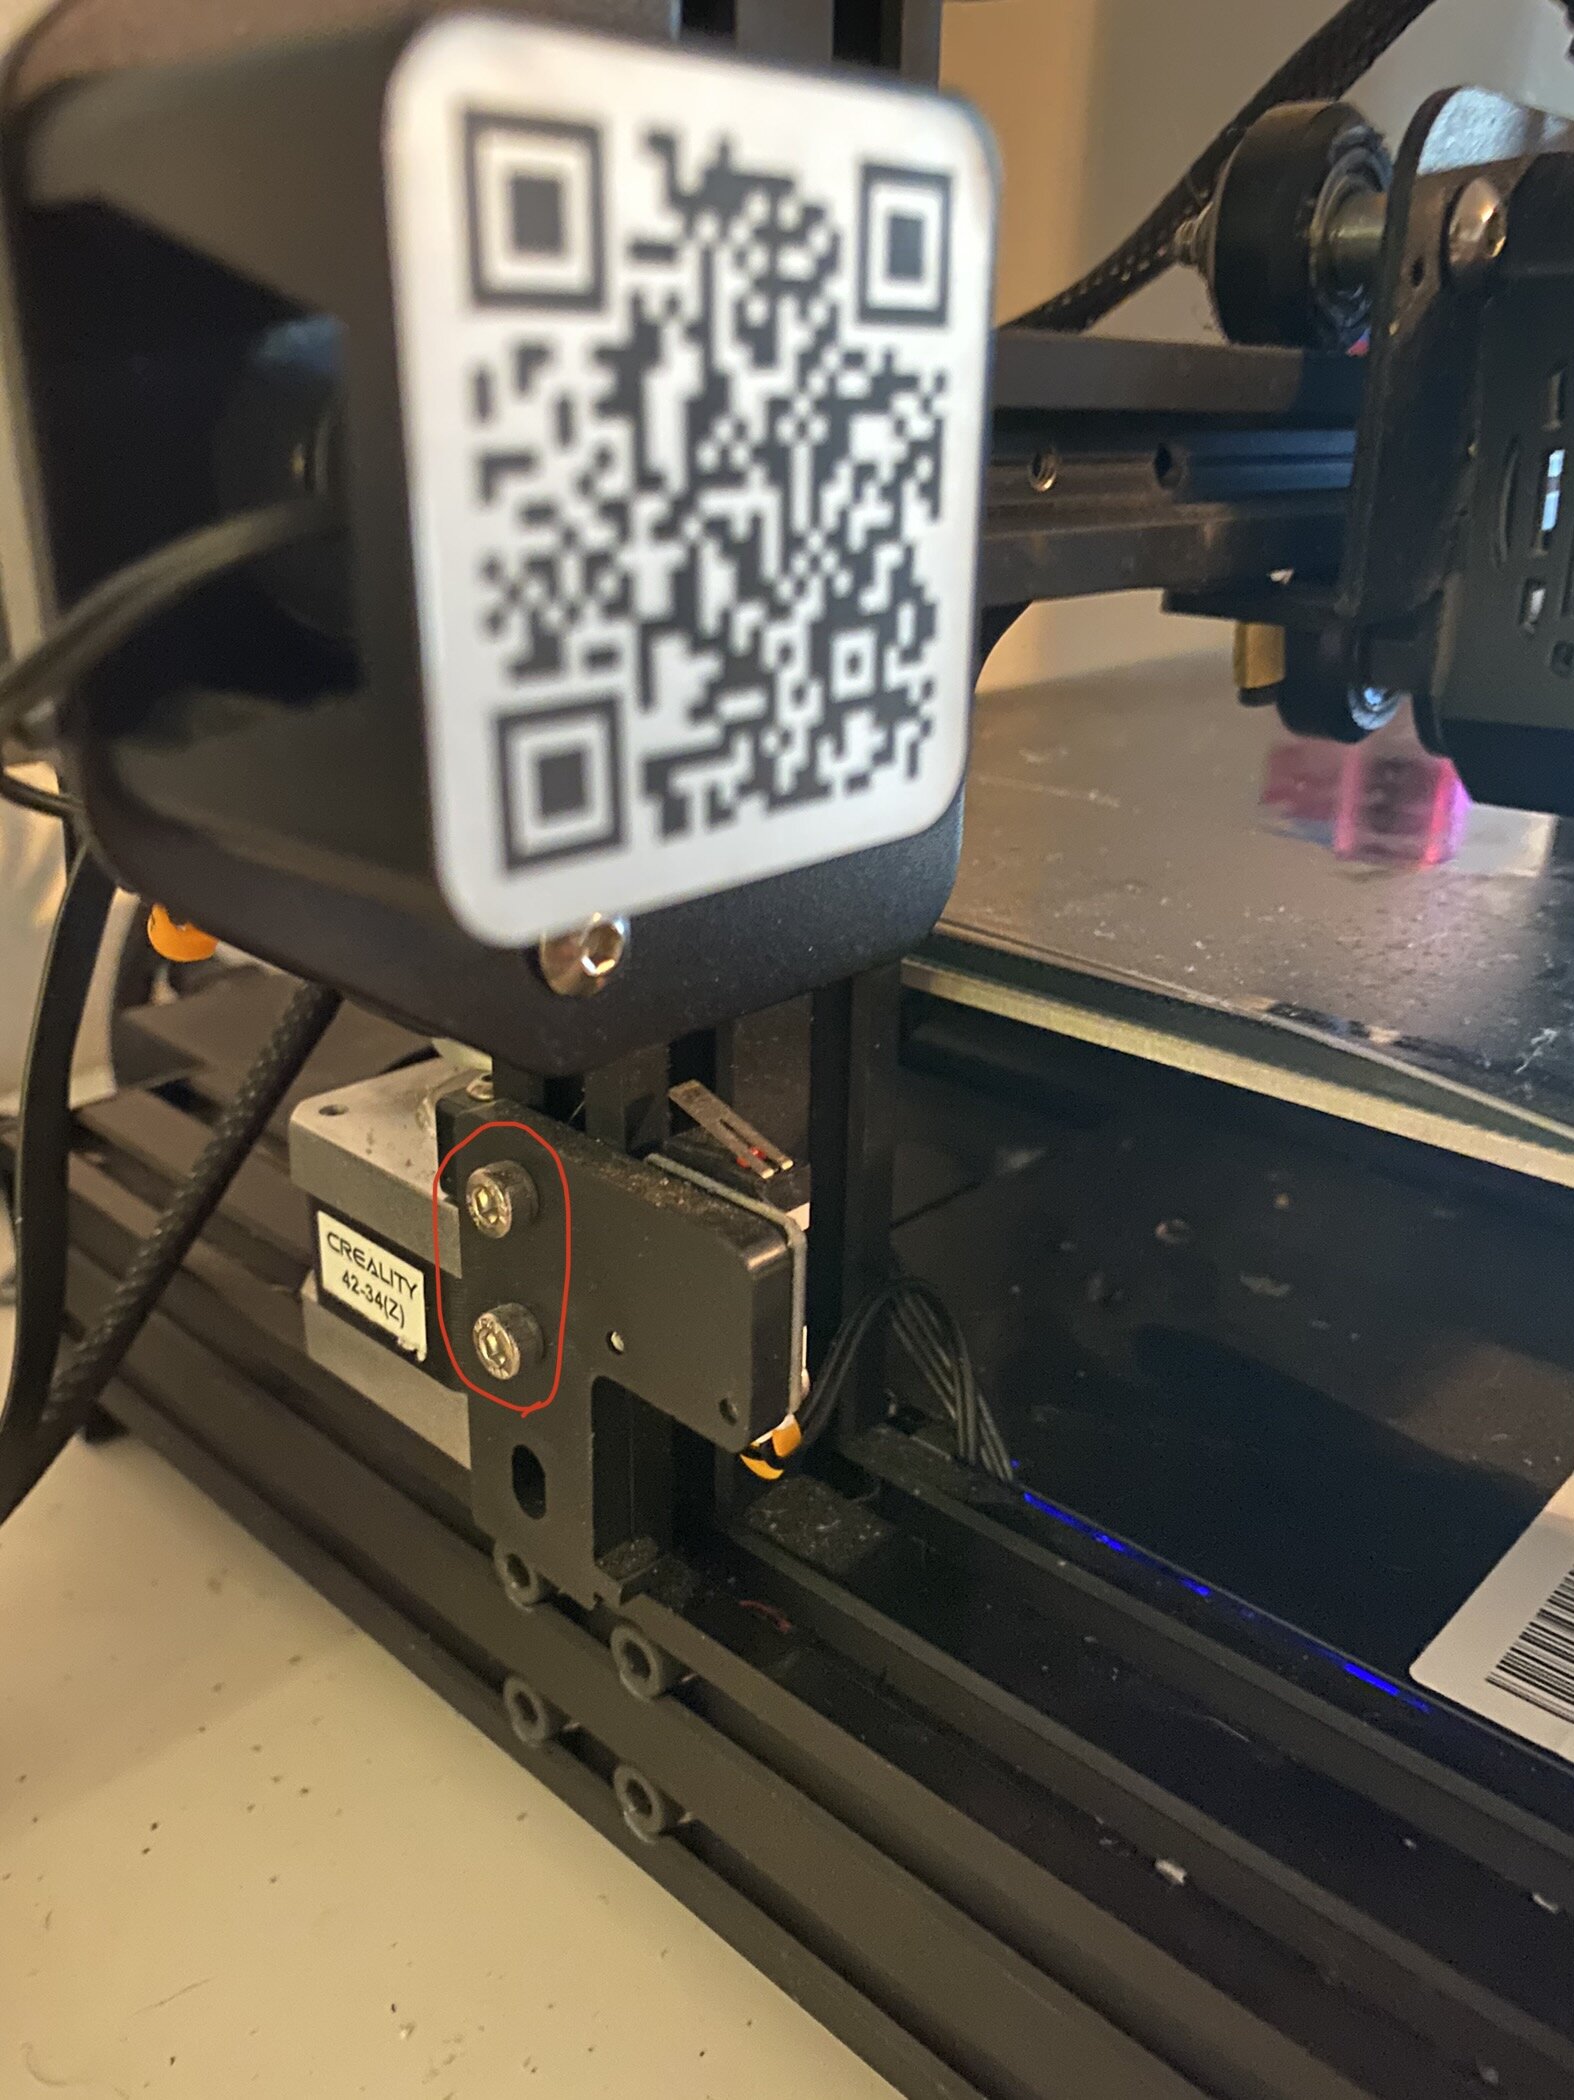
Loosen these two screws to adjust the endstop after mounting the bed.
Another nice feature of PEI is that the prints will release from the bed once it cools, making print removal easy. Occasionally a print will still stick, but you can remove the bed and flex it to remove the print.
We also suggest cleaning the bed every 50-75 prints using isopropyl alcohol (rubbing alcohol) or acetone to make sure the bed is clean
Installing the bed is fairly simple - if your printer already has a removable build surface like a PC coated bed, you can simply remove this surface and replace it with the PEI. We do recommend keeping the PC surface since it can be better for parts with very detailed or small bases, however in general we have found that PC remains stuck to parts and makes them very difficult to remove, so we prefer PEI for most prints.
If your printer does not have a magnetic surface, the kit includes a magnetic layer with an adhesive bottom. Remove the existing bed and clips, and attach the adhesive directly to the aluminum base. Once completed, you can place the PEI surface onto the magnet.
If your printer does not have automatic bed levelling, you will need to adjust the leveling due to the increased thickness of the bed. This may require raising the Z end stop on the bottom left of the machine. This requires loosening the two screws, moving it up slightly, and re-tightening. If your printer uses auto leveling, the sensor will adjust for the changed height with no calibration needed.
Click here to view the Ender 3 smooth PEI bed kit on Amazon.
Upgrades We Don’t Recommend
There are also a few upgrades that we have tried that we just didn’t feel were worth the effort or cost. Some of these are useful in specific situations, but we don’t recommend them as upgrades for everyone since they have drawbacks that aren’t necessarily mentioned on the product page.
Capricorn PTFE Tubing
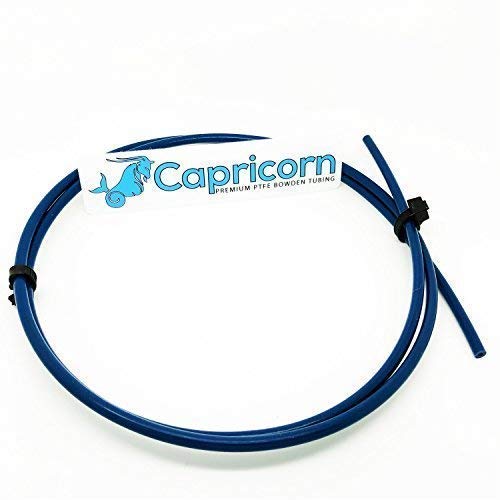
We’ve seen a lot of hype around Capricorn PTFE tubes and how they reduce friction on the filament and improve print quality, but when we have tried them we didn’t notice a significant difference in print quality from standard tubing. While it works just as well as standard PTFE, we didn’t feel like they were worth the elevated price tag.
Click here to view the Capricorn PTFE tube on Amazon.
Steel Nozzles
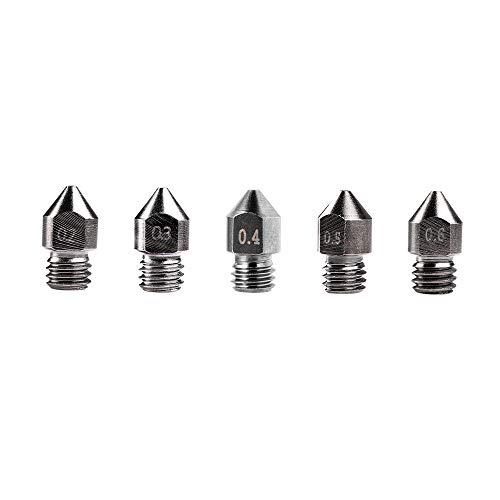
Steel nozzles are often marketed as a harder, more durable alternative to standard brass nozzles, and while this is true, they often don’t mention that steel is a poorer conductor of heat than brass. When we have tried steel nozzles in the past, it was much harder to dial in the print quality and overall not a pleasant experience. Since Brass nozzles are so cheap, we recommend sticking with them, and replacing them every so often as needed.
Steel nozzles do have their place when printing particularly abrasive filaments like metal-fill or glow in the dark, which can quickly wear out brass nozzles, but they aren’t worth it for standard uses like PLA or PETG.
Click here to view the steel nozzles on Amazon.
All-Metal Hot End
All-metal hot end kits replace the stock hot end on your printer, and are advertised as a premium product that will improve your print quality and improve the performance of your printer. We have found however that these hot ends are much harder to dial in than the standard ones, especially with retraction settings, and are more prone to jamming if your retraction is too much. This makes it more difficult to get consistent results with these hot ends. While they do require less maintenance than a standard hot end, we don’t feel like they are worth the increased cost and difficulty to calibrate.
It’s important to note that these hot ends are a requirement for certain filaments that need high temperatures, such as nylon or Polycarbonate (PC), since the PTFE tubing in standard hot ends can release harmful fumes when the temperature is above 260C, however you will never need to print standard materials like PLA or ABS at this temperature.
E-fit extruder Upgrade kit
This is essentially a cheaper way to get a direct drive extruder, and it looks like a good idea since it reuses the existing hot end to reduce parts. We bought one to test it and found that the hot end becomes loose very easily, which causes serious quality issues. We recommend going with the sprite upgrade kit which offers much better performance.
Get Printing!
Once you have completed these upgrades, your printer will be ready for many trouble-free prints to come. We’d also suggest taking a look at our recommended spare parts to make sure you are ready in case any issues do occur so you can quickly get your Ender 3 back up and running.